LIGIER JS19... 1/12 OSONS!! (let's dare!!!! )

About making you own...
User avatar

Topic author
JamesB
FOTA Chairman
FOTA Chairman
Posts: 8279
Joined: Fri Jul 11, 2003 2:26 pm
Status: Offline

Re: LIGIER JS19... 1/12 OSONS!! (let's dare!!!! )

Post by JamesB »

Thanks guys! :D I really felt like doing it, if I look back it's approx 8 months since I had done a smilar thing, and it did not go too far... :lol:
This is quite rewarding believe me.
Honestly it's not such a challenge. SImple shapes and big size make life really easy. I hope to post more today.
I think I really needed this, it fuels the mojo to make modeling, and surely helps to have a bigger pleasure and momenum on the other things.
BR and stay tuned 8) or "watch this space" as they used to say :lol:
User avatar

Topic author
JamesB
FOTA Chairman
FOTA Chairman
Posts: 8279
Joined: Fri Jul 11, 2003 2:26 pm
Status: Offline

Re: LIGIER JS19... 1/12 OSONS!! (let's dare!!!! )

Post by JamesB »

OK, guys, let´s go with the daily update...

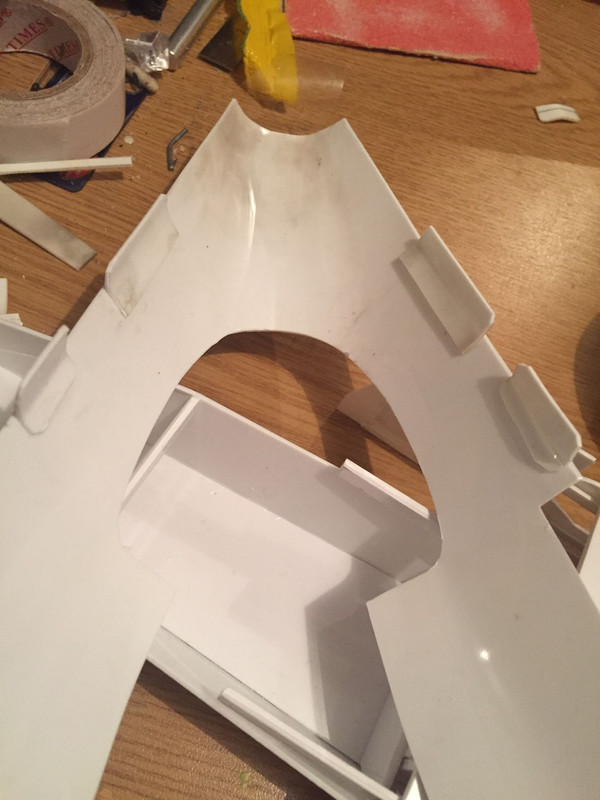
Now it is time to make the chassis, specially the parts that will be visible. That´ll give a structure for the rest of the model.
The parts...
https://i.postimg.cc/mDnJ4vtS/026.jpg

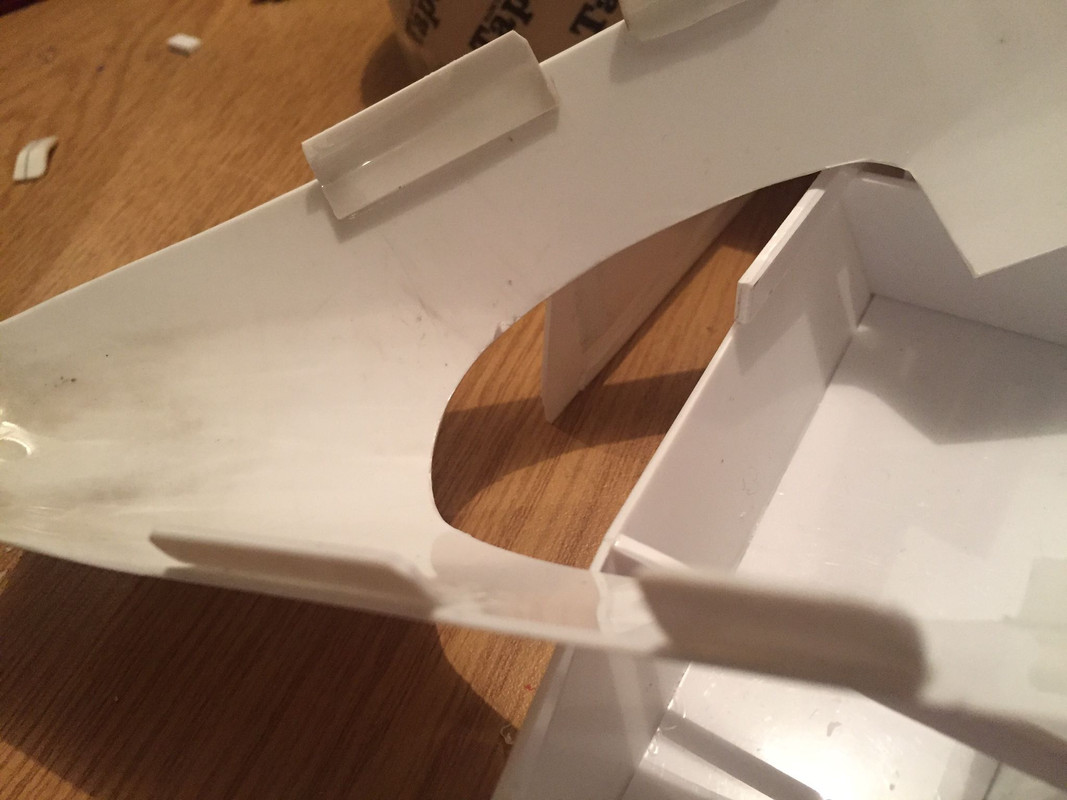
The front part of tub...
https://i.postimg.cc/w38ryD5y/027.jpg

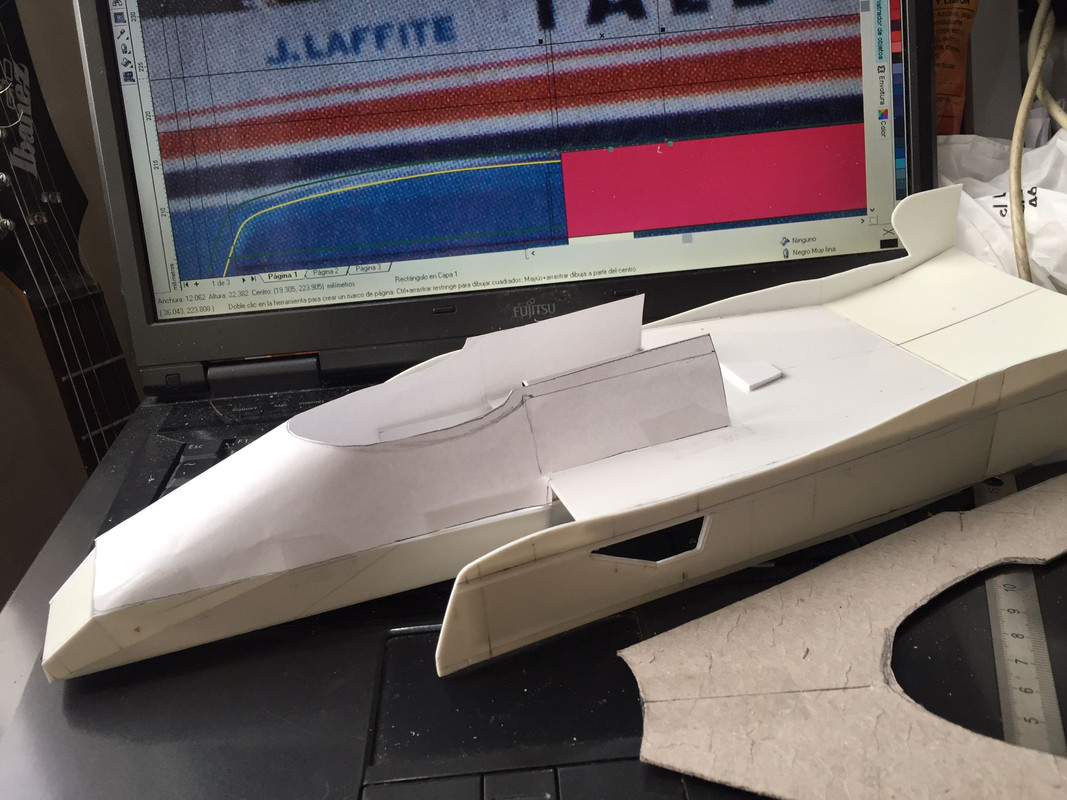
The picture, the computer and a drawing program are a quite useful tool...
https://i.postimg.cc/zf28LPyy/028.jpg

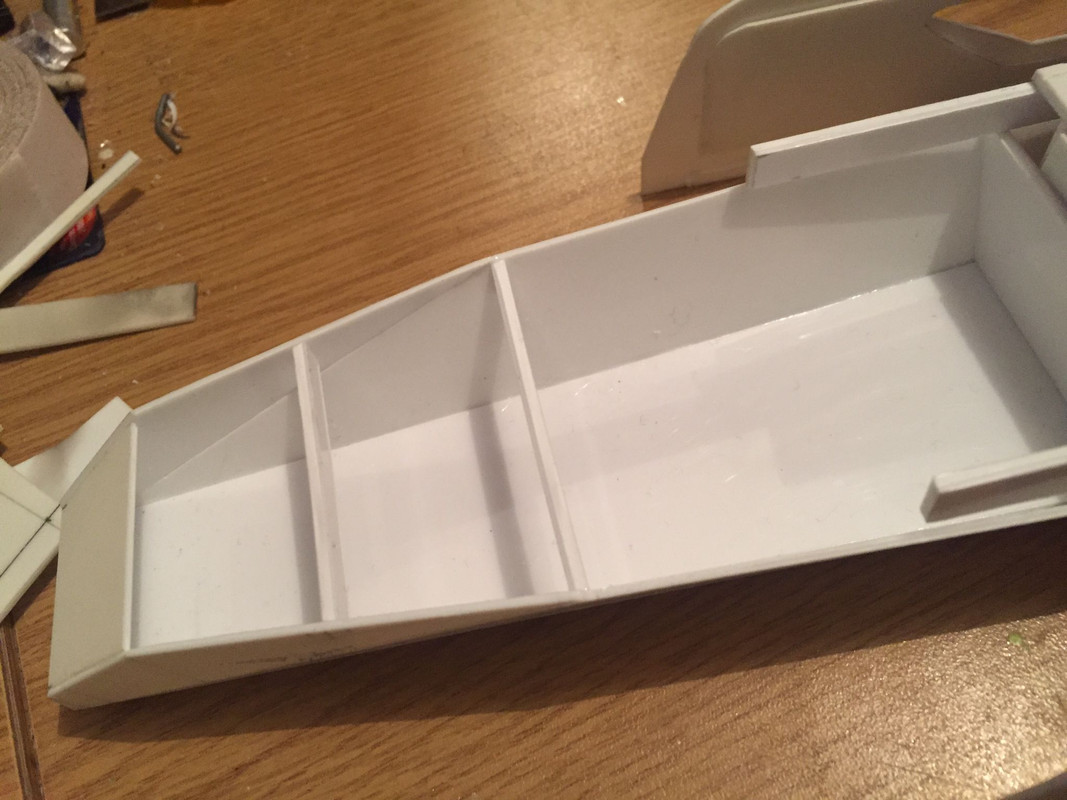
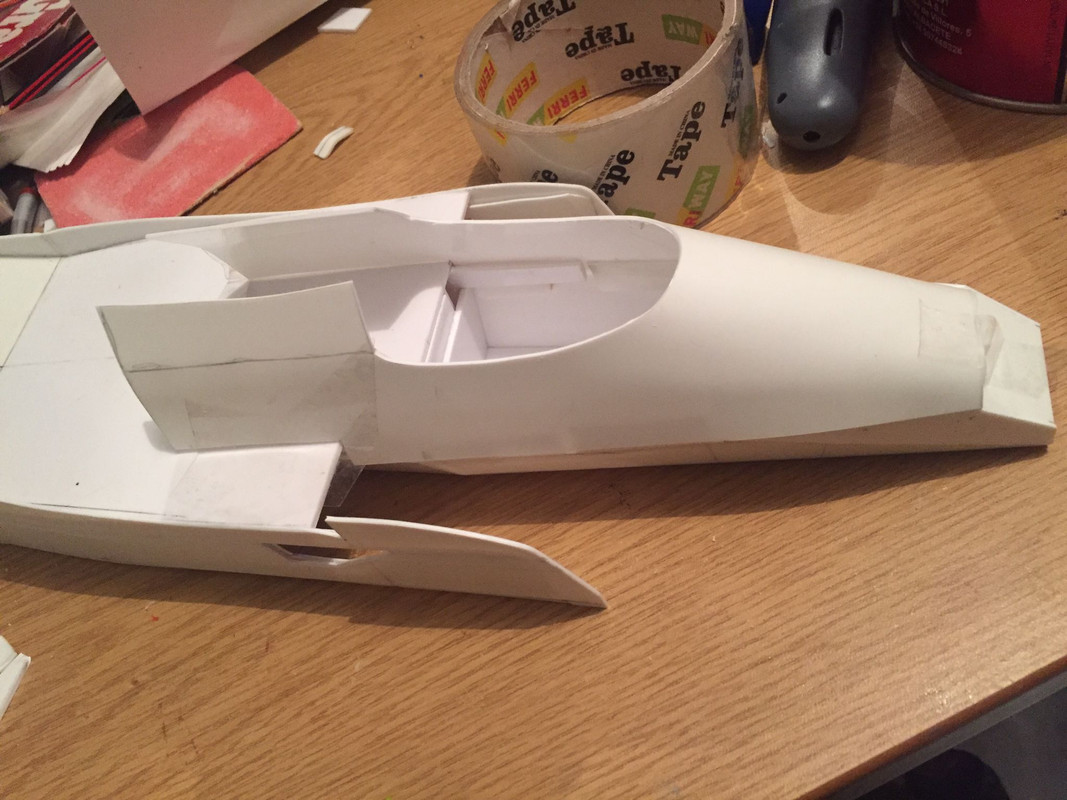
I forgot to take a pic of the tub, sorry. Then came a big doubt. I really did not know how to attach the chassis so the construction could go on, while keeping accessibility to parts that will have to be installed and painted later. It´s a curbside, but there will be stuff visible from the outside. The fact the chassis is not an easy match (even after adding the lower part of the fuel tank) made things worse.
Then I saw the light. I would make the chassis a detachable part, maybe with screws. So I can build up the bodywork on it, and then later when it is set and robust, detach again teh chassis to paint it all and add inner parts. It won´t be a detachable body in full sense, but yes it will be respect to what we need.
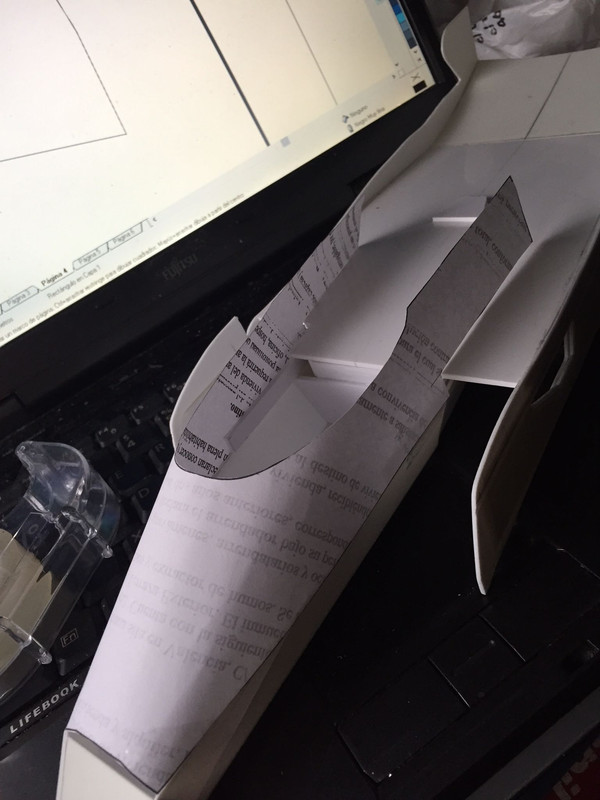
https://i.postimg.cc/G38hDrJd/029.jpg
What´s that? A sofa?? :shock: :shock:

https://i.postimg.cc/YqQrX3sP/030.jpg
Nope! :lol: 
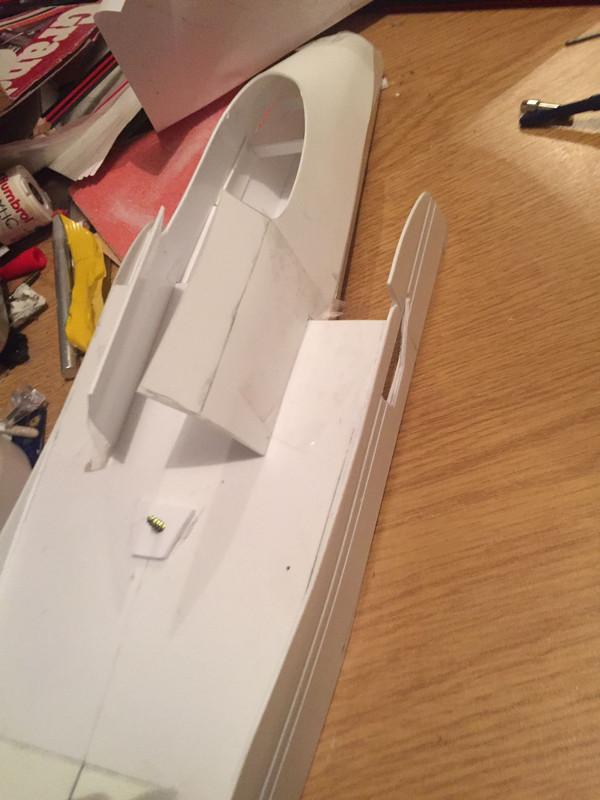
It´s the tab that will make the chassis a bolt on part.
https://i.postimg.cc/wjH6nNKj/031.jpg

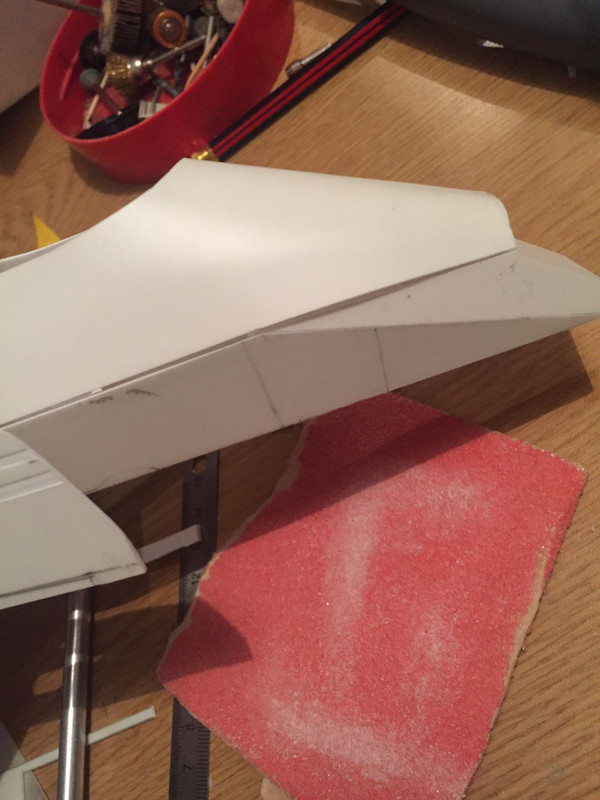
I make a tab that rests firmly and precisely located on the body, then I glue it to the back of the chassis bulkhead
https://i.postimg.cc/YC3p7Skf/032.jpg
The result was great. The chassis is located firmly, precisely and smoothly

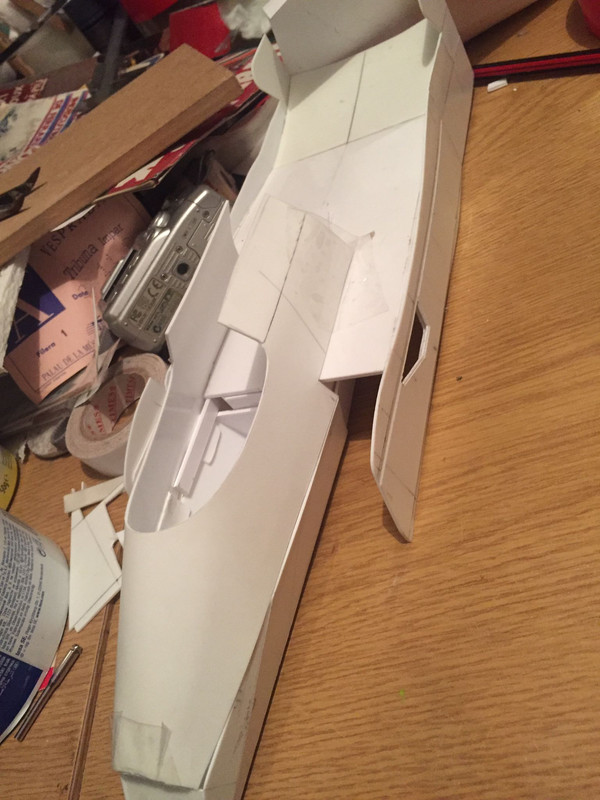
Meanwhile I realize how close is an RE20 body to what we need. Because I admit I don´t know how the hell to make the body, nose and cockpit... :lol: see...
https://i.postimg.cc/Ls8m8M8d/033.jpg

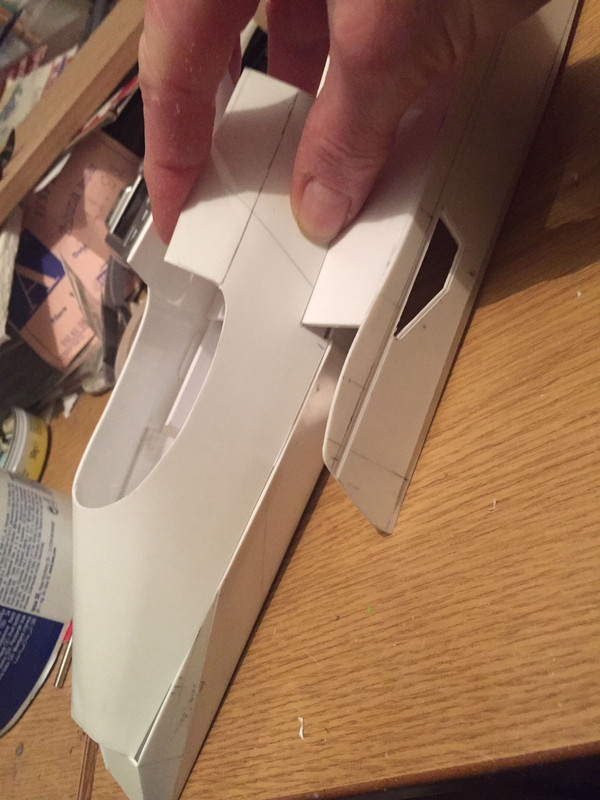
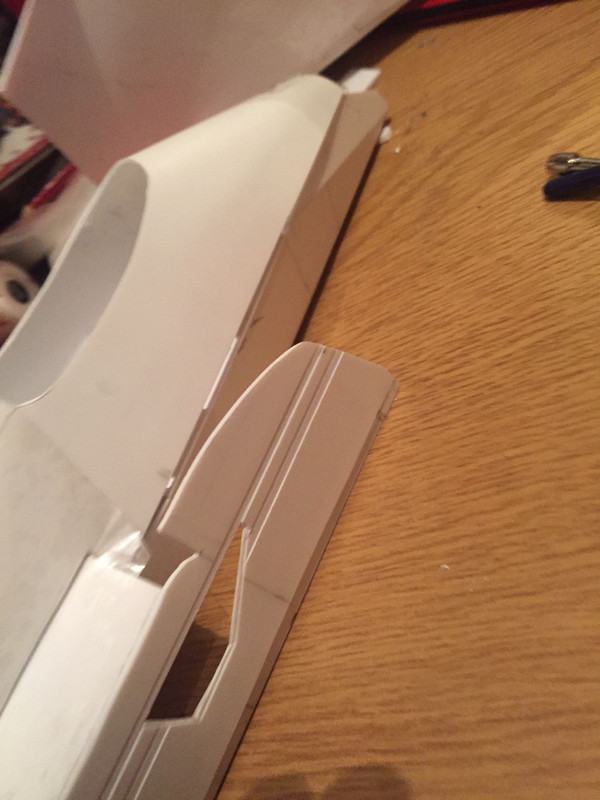
Now I built the part where the screw will hold the chassis in place...
https://i.postimg.cc/Kc6crVJL/034.jpg

https://i.postimg.cc/zBL5TSh0/035.jpg

And a reinforcement tab on the body, so the screw will have enough room to be screwed.

Now a pair of images... it´s huge!
https://i.postimg.cc/RFjmd6Q9/036.jpg

https://i.postimg.cc/vTfsNY3n/037.jpg

Not sure how I´ll deal with this, but honestly using the RE20 cockpit is a great temptation! :lol:
https://i.postimg.cc/8k6N54NC/038.jpg

That´s all, off to the football!! :D
User avatar

whatisdeletrazdoing
Midfield
Midfield
Posts: 467
Joined: Fri Jul 01, 2016 2:14 am
Favorite F1 Team or Driver: Super Aguri, Ligier, Minardi, Rial
Status: Offline
United States of America

Re: LIGIER JS19... 1/12 OSONS!! (let's dare!!!! )

Post by whatisdeletrazdoing »

Whoa, this is awesome! Impressive work, James. I support the idea of using the Renault cockpit as a base. It's a lot harder to tell if something is exactly 100% accurate to scale with so many compound curves.
User avatar

CK
Constructors Champion
Posts: 1311
Joined: Mon Mar 06, 2006 9:38 am
Your Name: C K
Favorite F1 Team or Driver: Mercedes, McLaren, Williams
Location: Canada
Status: Offline
Canada

Re: LIGIER JS19... 1/12 OSONS!! (let's dare!!!! )

Post by CK »

Hi James,

One of the way that I can think of to make the cockpit and rear body work is to use a buck. The buck can be made using drawings on the internet. I find a drawing with top and side view of the car.

Once you have the buck made, you can use masking tape or paper on the buck to work out the panel shape. The body shape of the JS19 is still most straight plains. The top of the rear body will be a glue on part to the sides. The joining line can then be file to the round radius as seen in the car. You may need to add more support from inside along the join line.
C K
Canada

cevert
F2 Champion
F2 Champion
Posts: 140
Joined: Sun Aug 17, 2008 2:24 am
Status: Offline

Re: LIGIER JS19... 1/12 OSONS!! (let's dare!!!! )

Post by cevert »

I made this part of tyrrell 008 1/12 from 2mm plastic from two halves. After shaping, I sanded it to resemble the original as much as possible. I used hot water and my fingers to bend. A modified paper cutter from Mr. Spinler 1/24 served as a template for me. Maybe you could take advantage of such a post
https://www.facebook.com/photo?fbid=249 ... 2633675955
User avatar

CK
Constructors Champion
Posts: 1311
Joined: Mon Mar 06, 2006 9:38 am
Your Name: C K
Favorite F1 Team or Driver: Mercedes, McLaren, Williams
Location: Canada
Status: Offline
Canada

Re: LIGIER JS19... 1/12 OSONS!! (let's dare!!!! )

Post by CK »

Hi James,

I find a paper model JS19. You may be able to use that as a rough template for the cockpit/rear body. You need to scale that to 1/12. I think the paper model is around 1/25 if the pattern is printed on 8.5"x11" with 0.25" margin around.

Here's the link.
http://craft-paper-craft.blogspot.com/2 ... carlo.html
C K
Canada
User avatar

Seema
F1 Test Driver
F1 Test Driver
Posts: 282
Joined: Tue Aug 09, 2016 5:27 am
Your Name: Martin Seelos
Favorite F1 Team or Driver: Lotus, Williams, Toleman, Mclaren.
Location: Innsbruck
Status: Offline
Austria

Re: LIGIER JS19... 1/12 OSONS!! (let's dare!!!! )

Post by Seema »

Great project. I would have a transparent upper part of my Protar Renault RE23, as in your picture, and the upper side parts. If it would help you I can take pictures and send it to you if it comes to that.
Seema
User avatar

Topic author
JamesB
FOTA Chairman
FOTA Chairman
Posts: 8279
Joined: Fri Jul 11, 2003 2:26 pm
Status: Offline

Re: LIGIER JS19... 1/12 OSONS!! (let's dare!!!! )

Post by JamesB »

whatisdeletrazdoing wrote: Thu Mar 03, 2022 9:59 am Whoa, this is awesome! Impressive work, James. I support the idea of using the Renault cockpit as a base. It's a lot harder to tell if something is exactly 100% accurate to scale with so many compound curves.
Thanks mate! :D though, as you´ll see, my pennywiswe keep-it-all told me not to use the Renault part! :lol:
Seema wrote: Thu Mar 03, 2022 7:38 pm Great project. I would have a transparent upper part of my Protar Renault RE23, as in your picture, and the upper side parts. If it would help you I can take pictures and send it to you if it comes to that.
THanks for the offer, I finally did something else.
CK wrote: Thu Mar 03, 2022 11:54 am Hi James,

One of the way that I can think of to make the cockpit and rear body work is to use a buck. The buck can be made using drawings on the internet. I find a drawing with top and side view of the car.

Once you have the buck made, you can use masking tape or paper on the buck to work out the panel shape. The body shape of the JS19 is still most straight plains. The top of the rear body will be a glue on part to the sides. The joining line can then be file to the round radius as seen in the car. You may need to add more support from inside along the join line.
Great plan! thanks :D I considered the idea of the buck for the front, then coat it with epoxy putty. I did that for the RE5o, but went a different path, you´ll see. For the rear, what you say, that´s exactly the idea. Looks feasible. THanks, I saw the paper model, but did not use it finally....
cevert wrote: Thu Mar 03, 2022 2:34 pm I made this part of tyrrell 008 1/12 from 2mm plastic from two halves. After shaping, I sanded it to resemble the original as much as possible. I used hot water and my fingers to bend. A modified paper cutter from Mr. Spinler 1/24 served as a template for me. Maybe you could take advantage of such a post
https://www.facebook.com/photo?fbid=249 ... 2633675955
Wow, wow and wow!!! :shock: :shock: The result is quite impressive!! :D And not just the upper body, the main structure is awesome. Please post a WIP at f1m :D
Thanks for the input, boys that´s such a great group. 8)
And there goes what I did.
As usual, I made two lateral parts, quite similar to side view, and bridged them on the nose. After some iterations, I came to this...
Image

And then this
Image

Image
Plastic is 1mm, so I struggled to bend the curved part. I was too aggressive and warped the front a bit. But fixed it.
Image

As you see, I left the sections over the edge of fuel tank uncut, so I had enough material to bend it by hand, so the bending will remain after cutting.
Image

Image

Above you see I put some angled tabs so they fit inside the chassis panels, they are angled. I´d like the body to fit easily afterward without much cement.
I needed to add some transversal reinforcements so the chassis holds the inner pressure... see.

Image

ANd the result by now... it looks well the part, right?
Image

Image

Image

Image
The idea is the body does not change shape too much, so the paint wont pop up. I´ll use as less putty as possible, just in case :wink: The nose´s shape probably can be achieved just with plastic and sanding. I might also pour resin inside to make the part keep the shape.
That´s all, I hope to finish general shape soon.
When I sort the nose out, I´ll do the engine cover and then the parts that smoothen the rear tray with the side plates.
BR, thanks for looking, suggesting, criticizing, cheering..!! :D
JamesB
User avatar

CK
Constructors Champion
Posts: 1311
Joined: Mon Mar 06, 2006 9:38 am
Your Name: C K
Favorite F1 Team or Driver: Mercedes, McLaren, Williams
Location: Canada
Status: Offline
Canada

Re: LIGIER JS19... 1/12 OSONS!! (let's dare!!!! )

Post by CK »

Hi James,

Great work on the body front!

I have done similar curve shapes using two layers glued together. This way, it helps the bending as each layer is half the thickness. The two layers glued together also help to keep the shape better. The tricky part is to hold down the part to keep the shape when the two layers are glued together. A buck will do the job but added a lot more work.
C K
Canada
User avatar

Hein
Backmarker
Backmarker
Posts: 375
Joined: Thu Jul 31, 2014 1:01 pm
Favorite F1 Team or Driver: Leyton House, Ferrari, Simtek
Location: Lengenfeld Austria
Status: Offline
Austria

Re: LIGIER JS19... 1/12 OSONS!! (let's dare!!!! )

Post by Hein »

Very cool scratch building project! :)
Post Reply