Re: Ferrari 256F1, Phill Hill. 1960 Italy GP, Monza. MFH 1/12.
Posted: Wed Mar 23, 2022 3:59 pm
Good evening,
Some progress today, but a lot of preparation, painting… and compressors to repair and maintain!
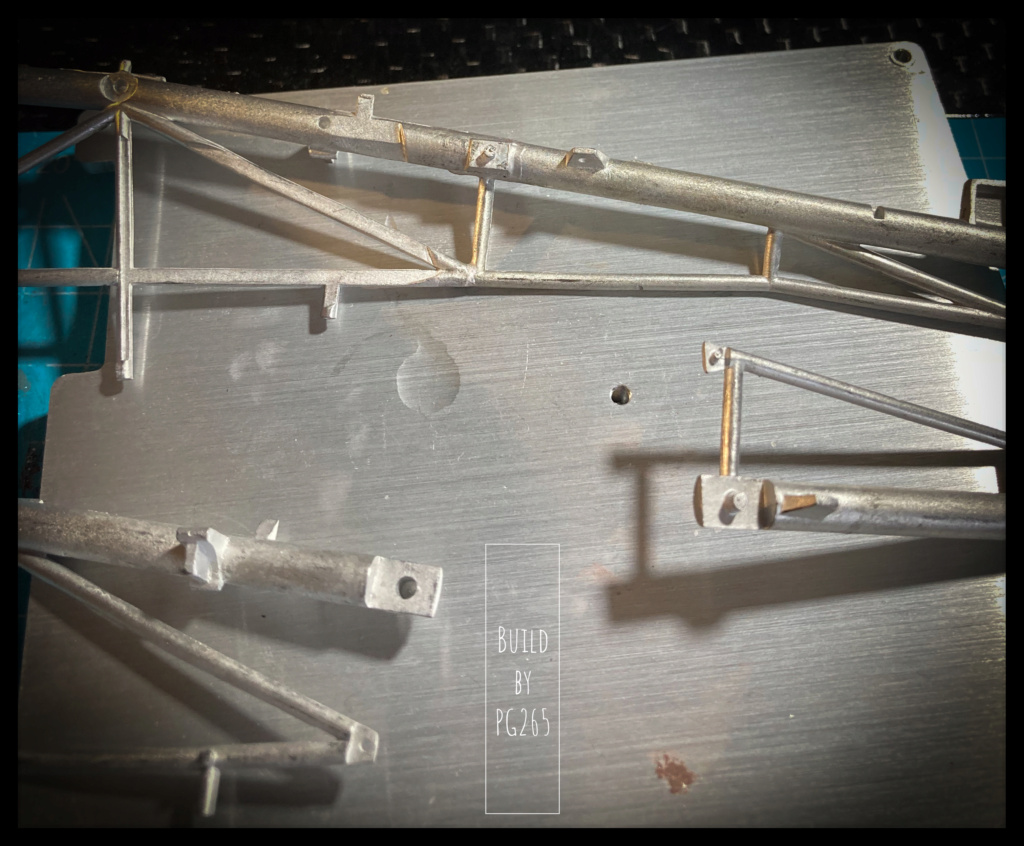
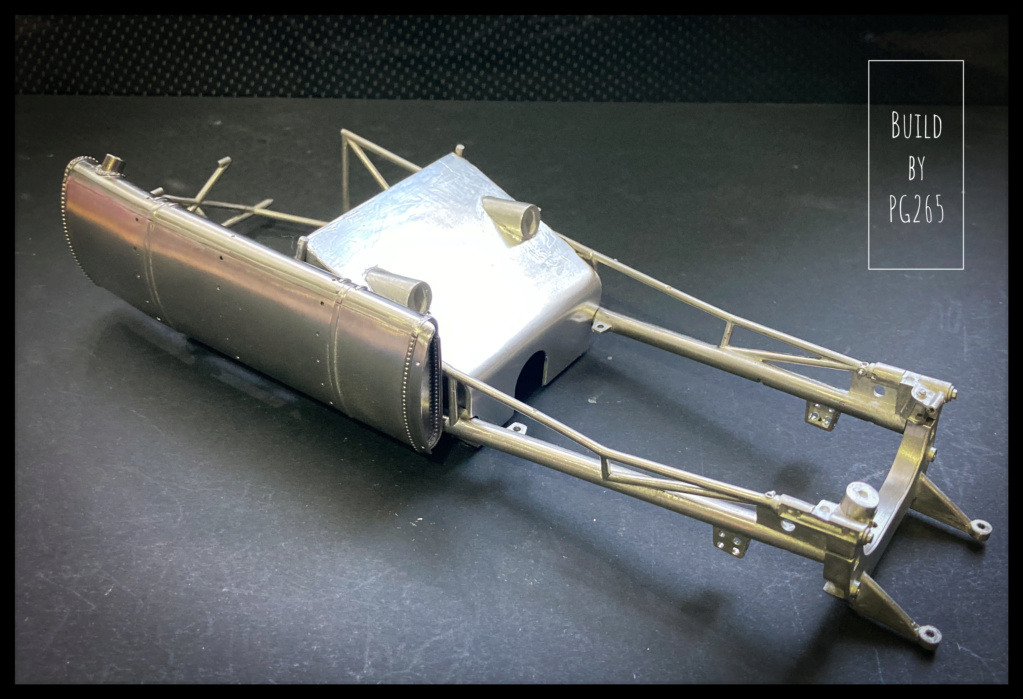
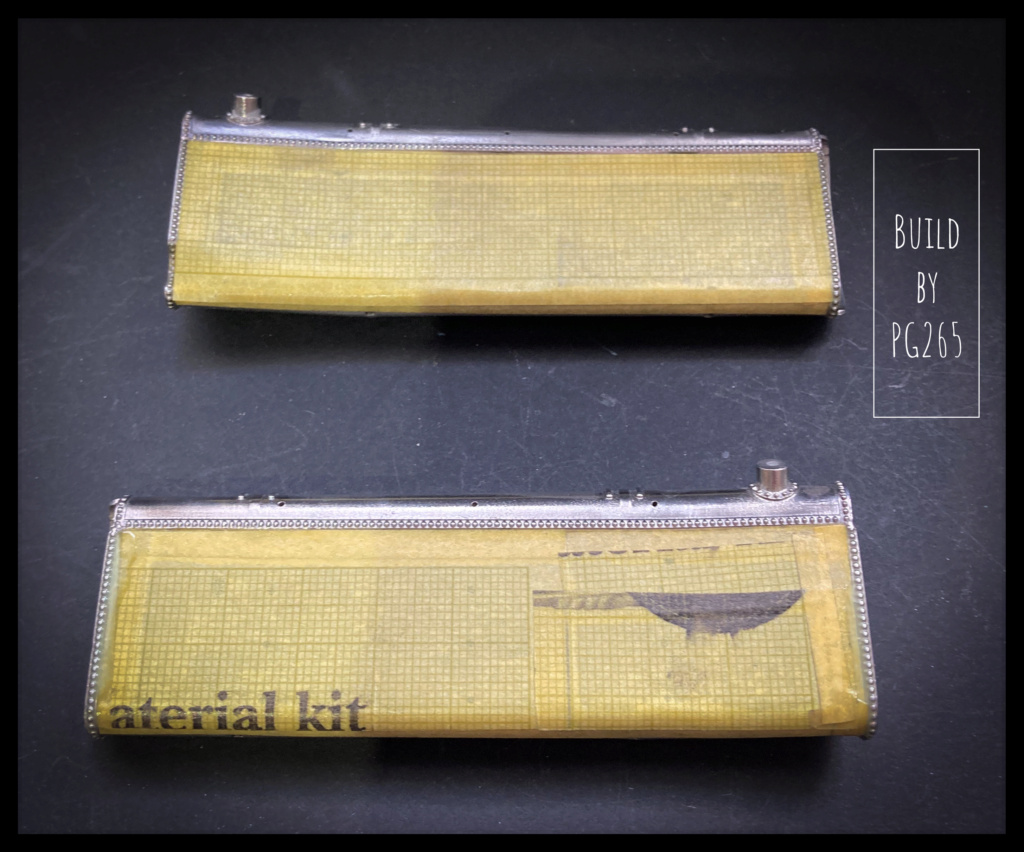
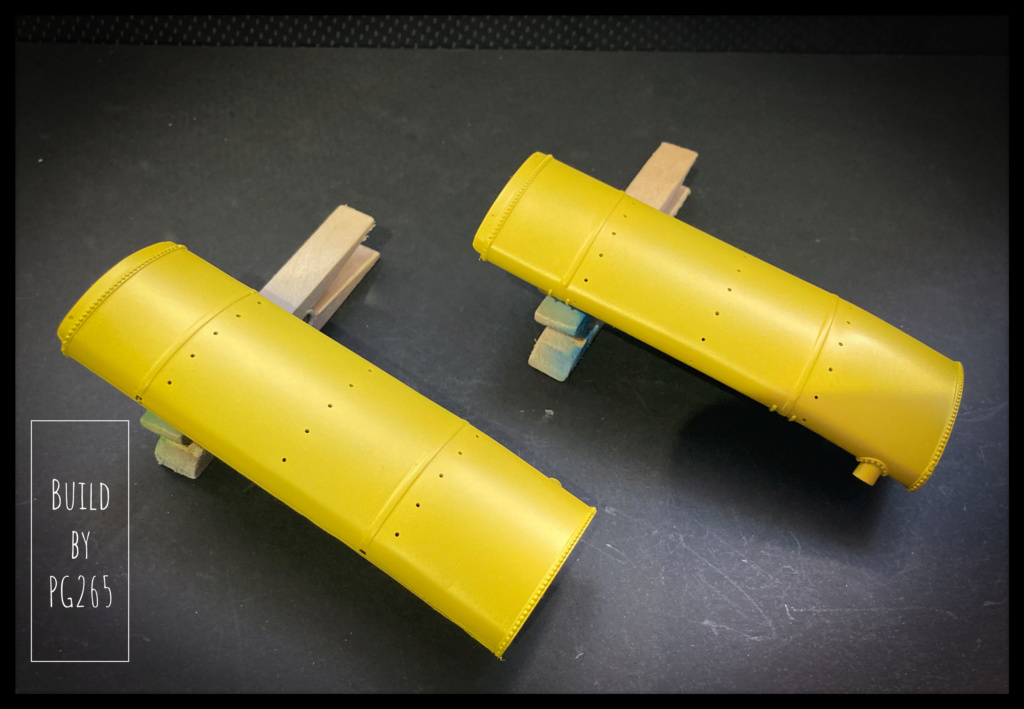
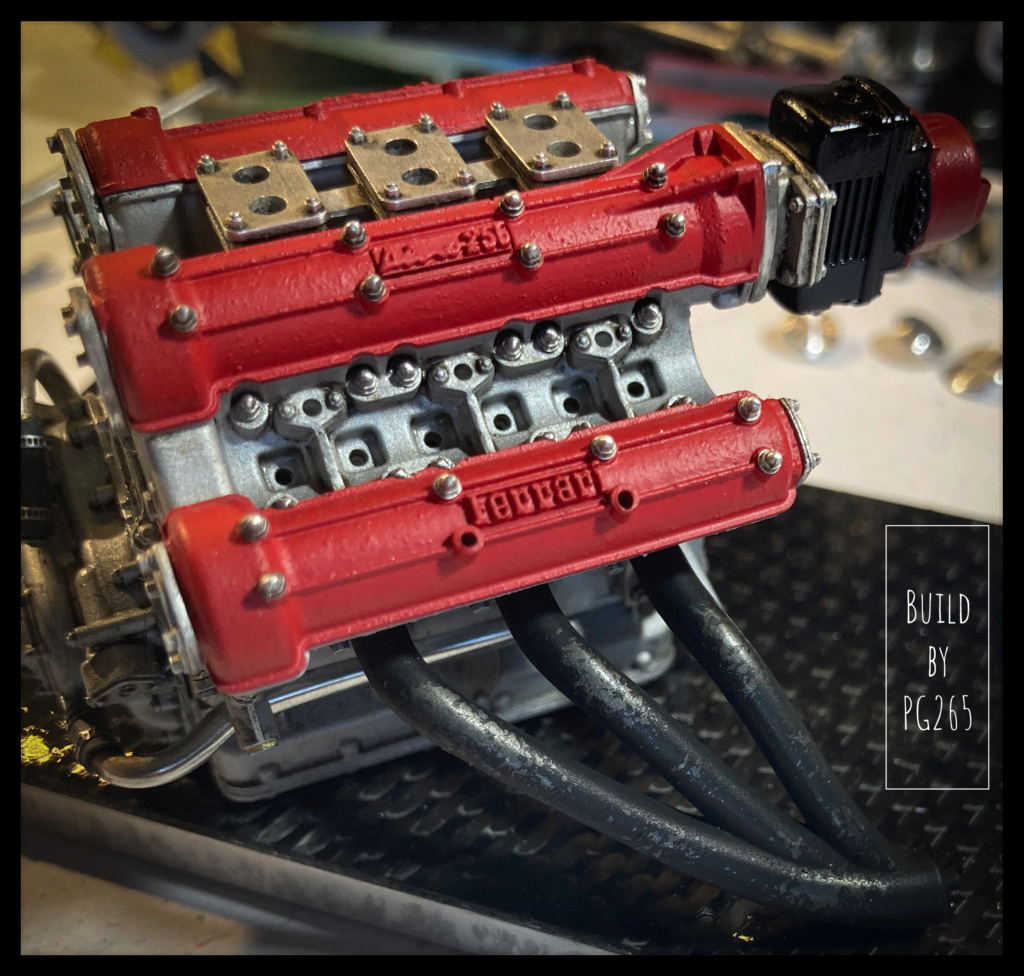
A little work on the exhaust manifolds to start.
They are passed under different grits and then lightly polished.
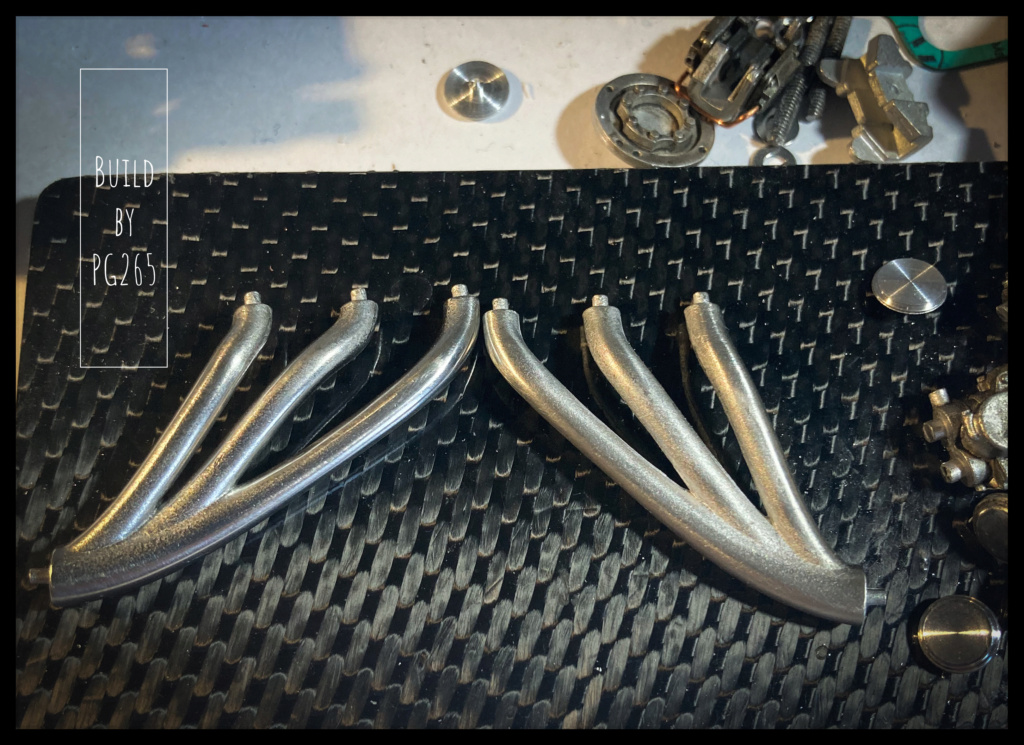
A small bath in Blacken'it to burnish the exhaust tubes and a bath in water to stop the reaction.
Then suick wipe with a soft cloth to shine a little
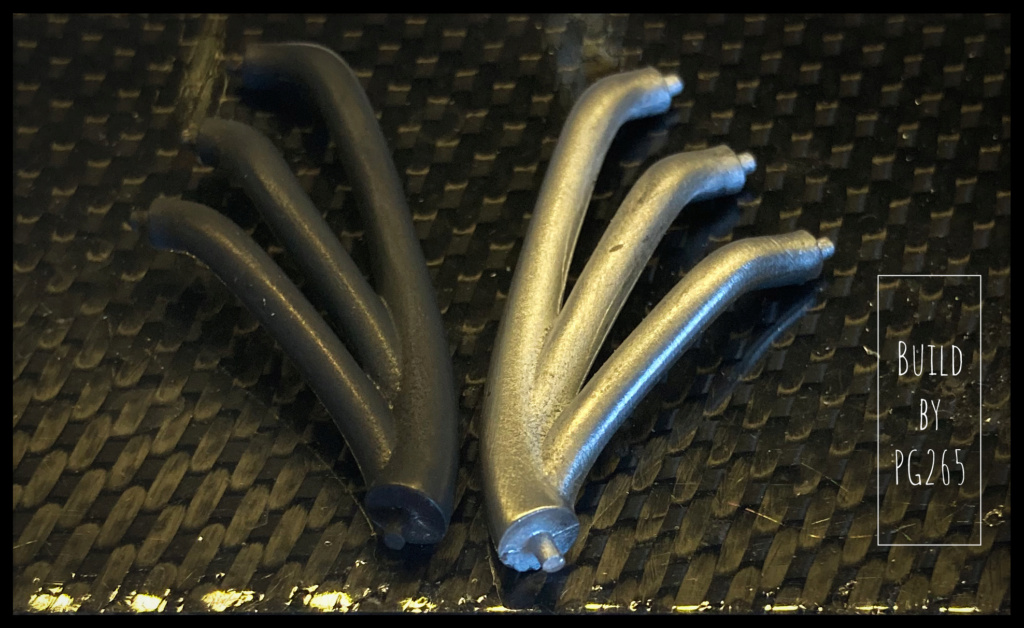
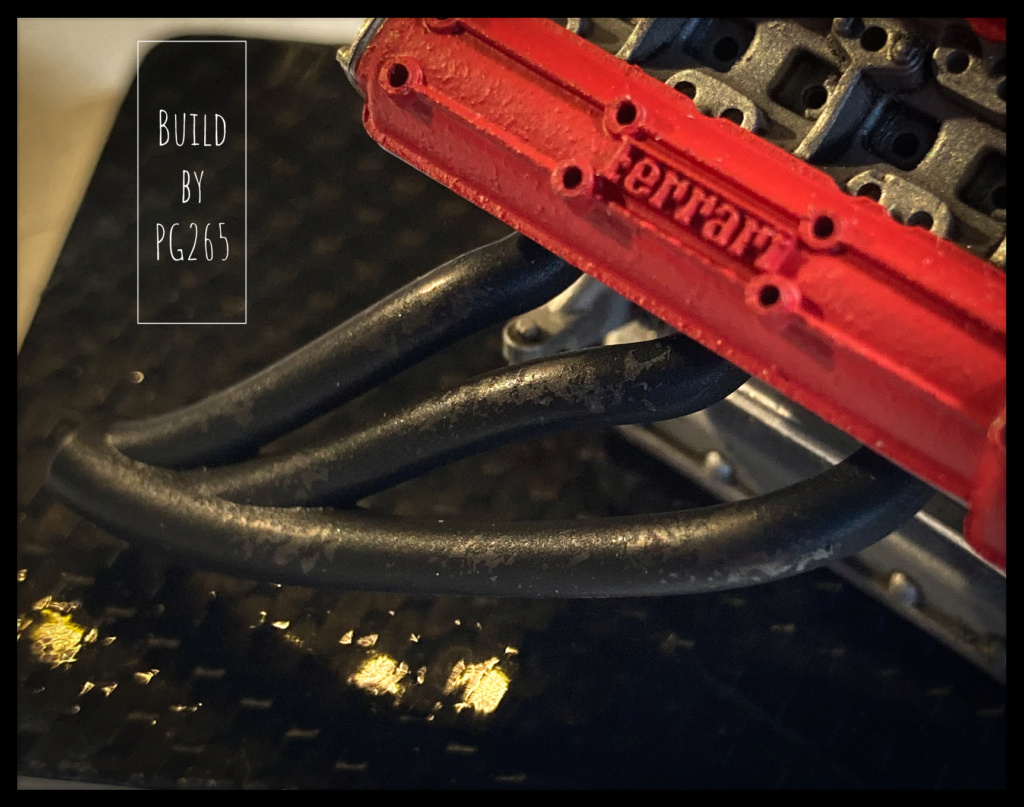
The purpose of the operation is to give a slightly used appearance due to the heat by flaking the paint while having tubes marked by the heat.
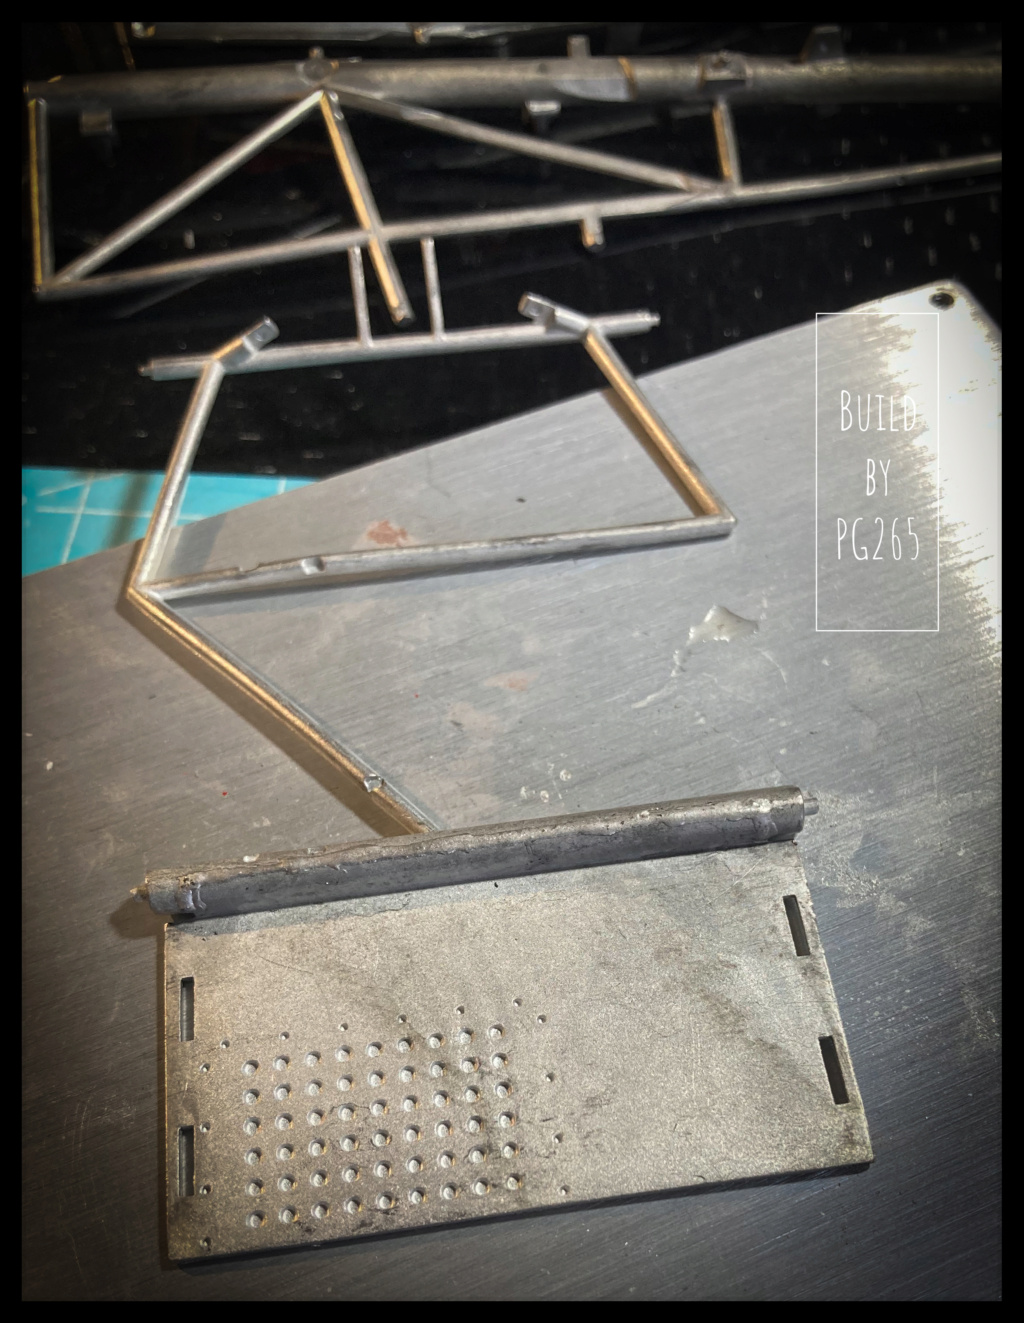
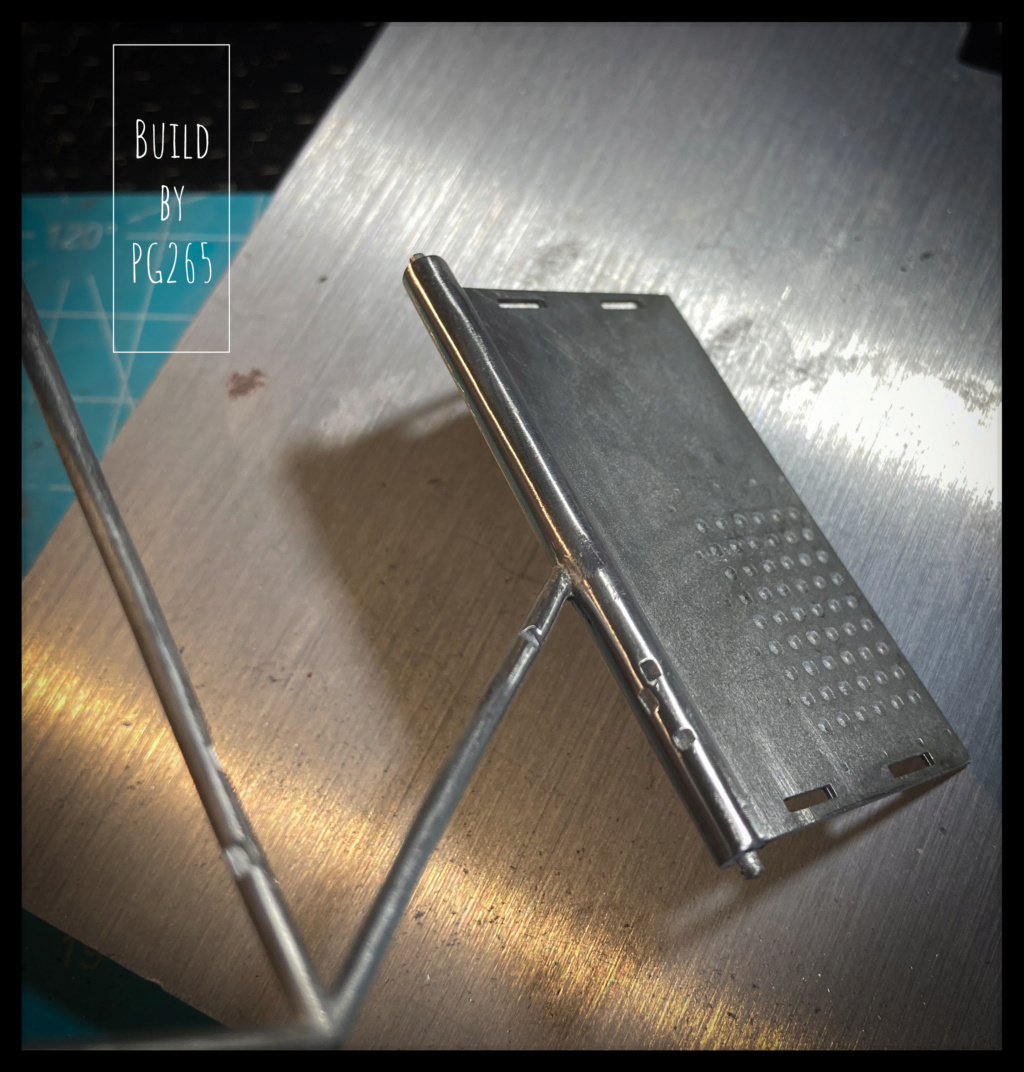
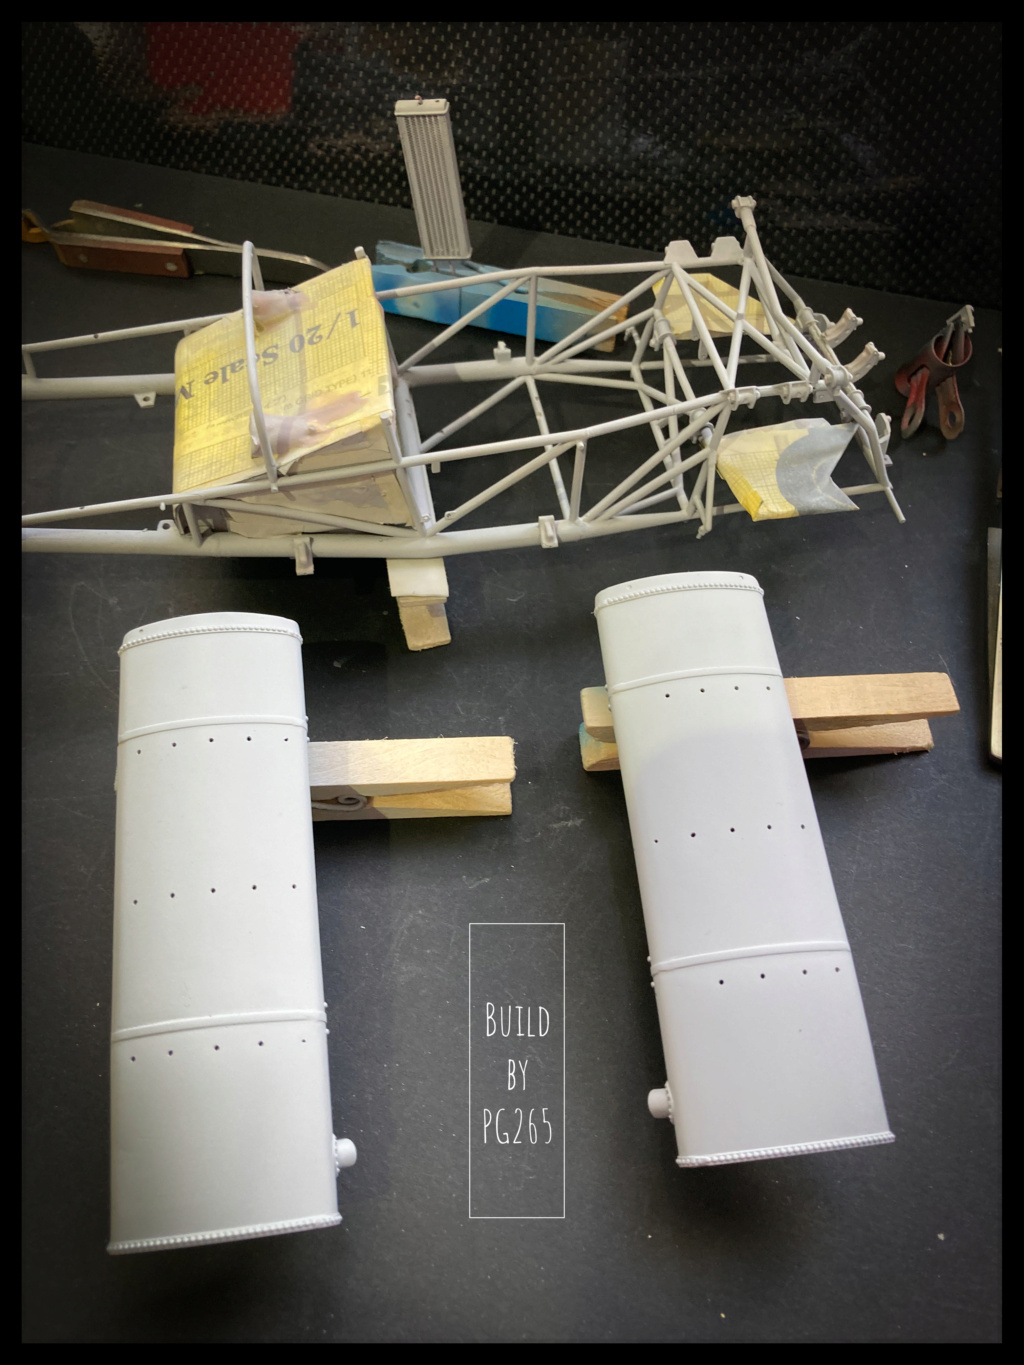
We dab a bit of liquid mask using a foam pad, then comes a coat of well-diluted matte black paint; here some Tamiya matt black.
After passing a brush with medium bristles, I get the result I was looking for.
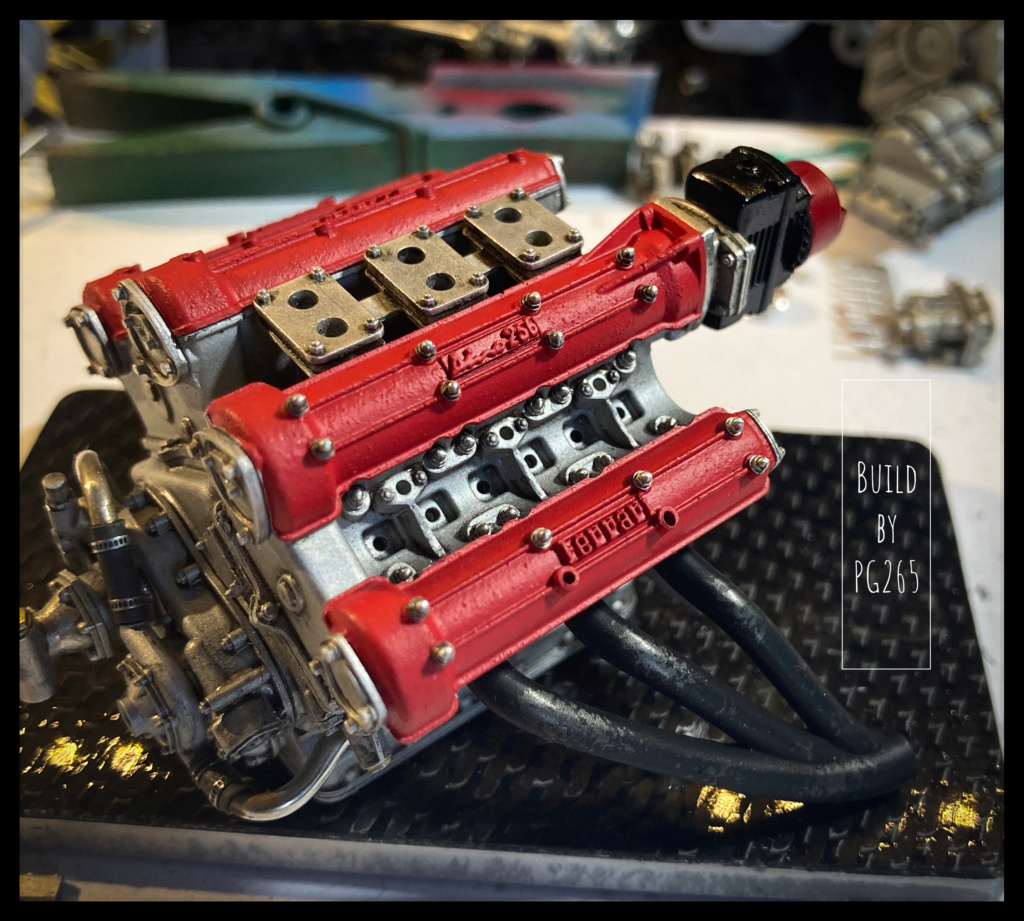

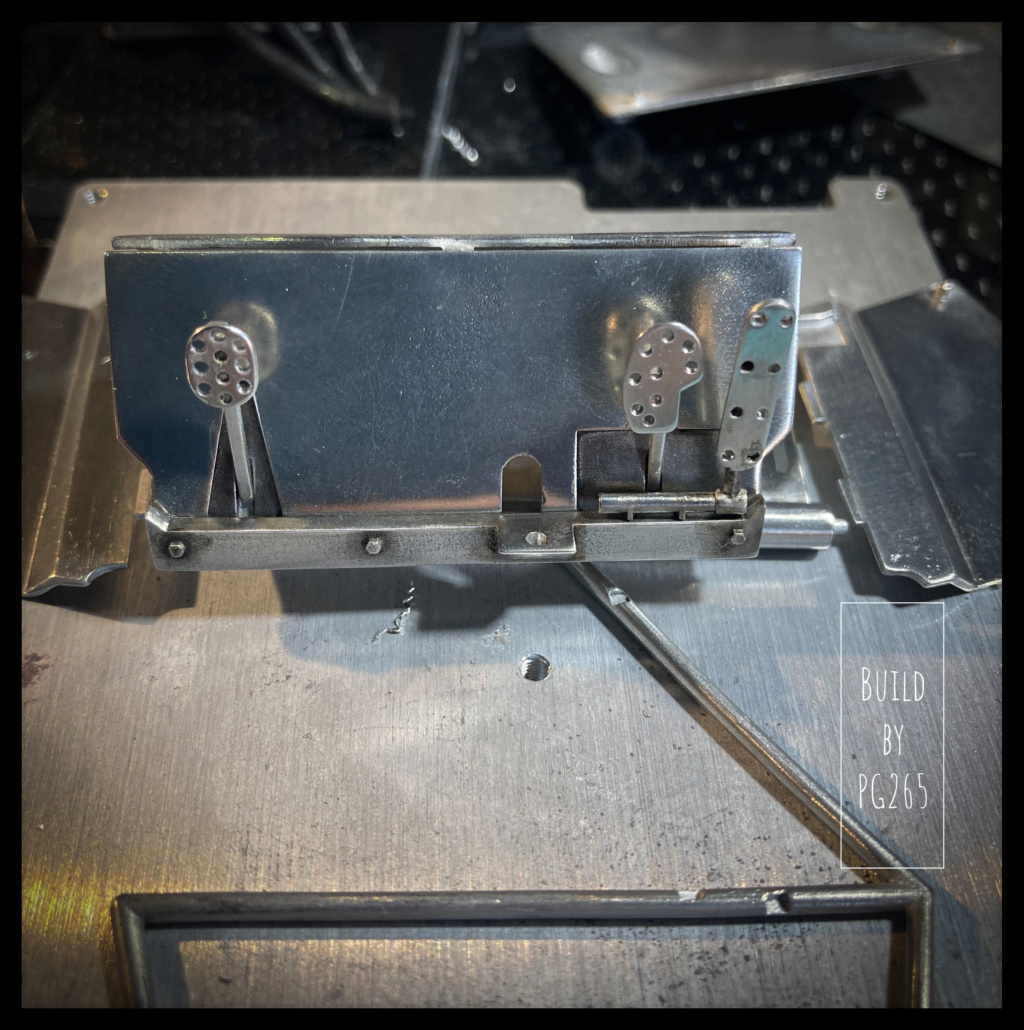
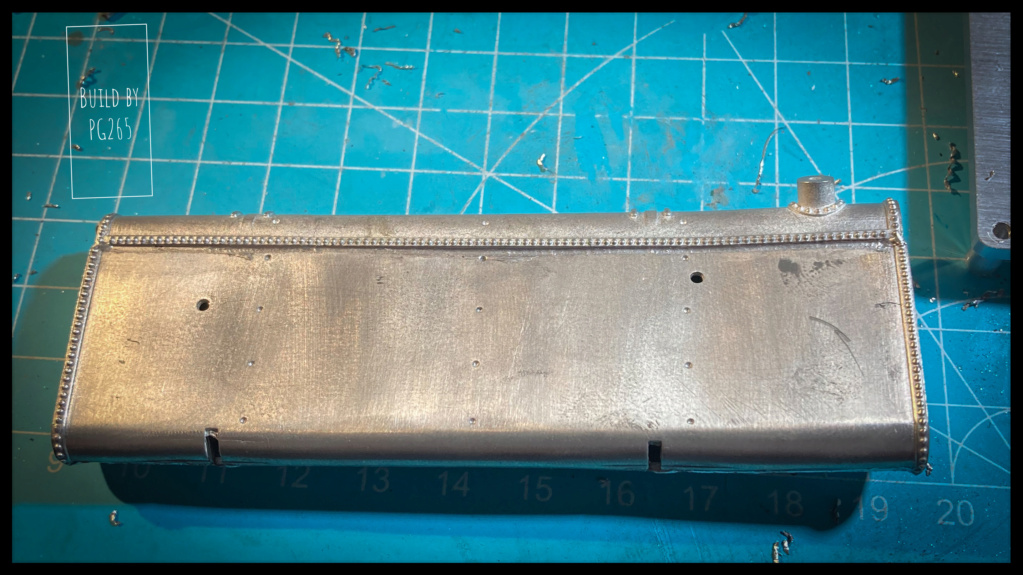
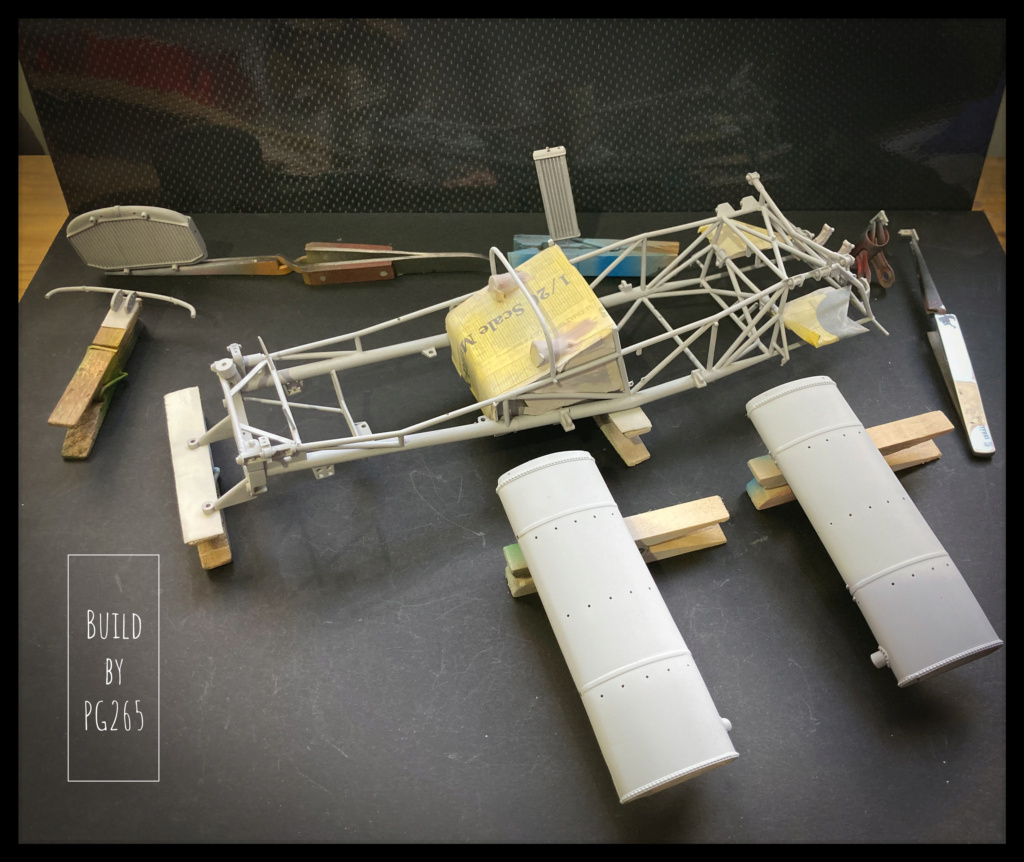
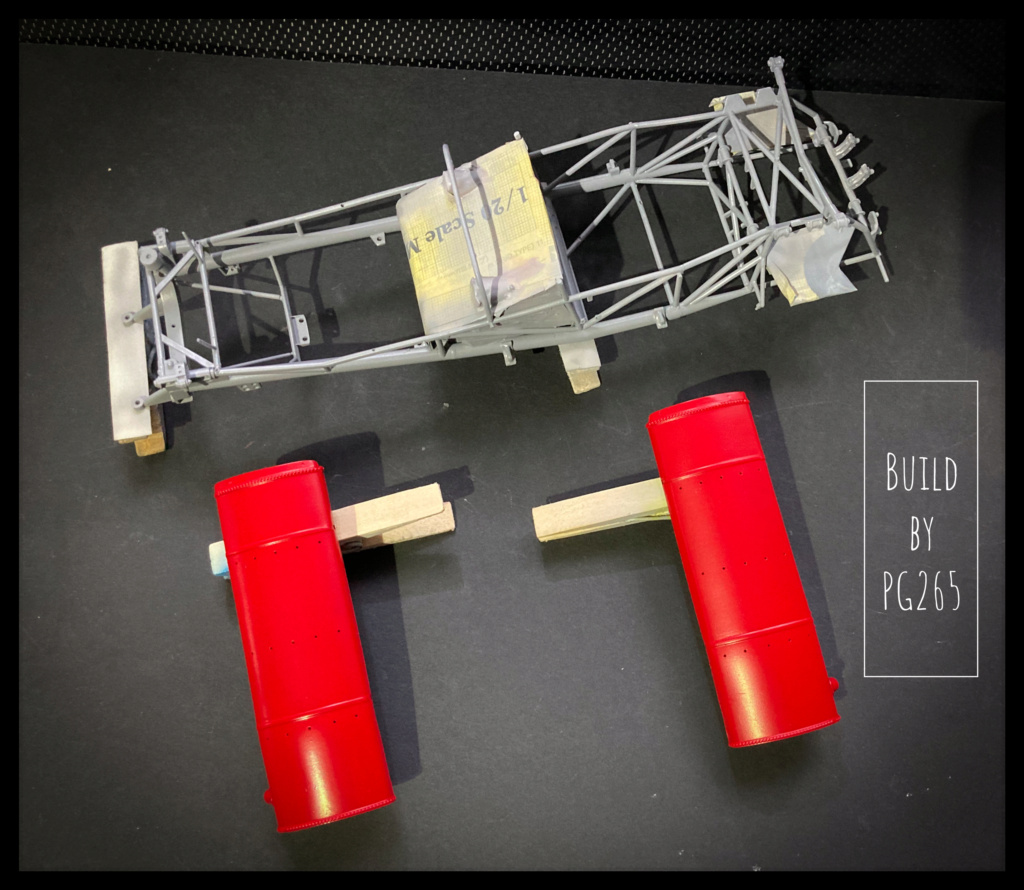
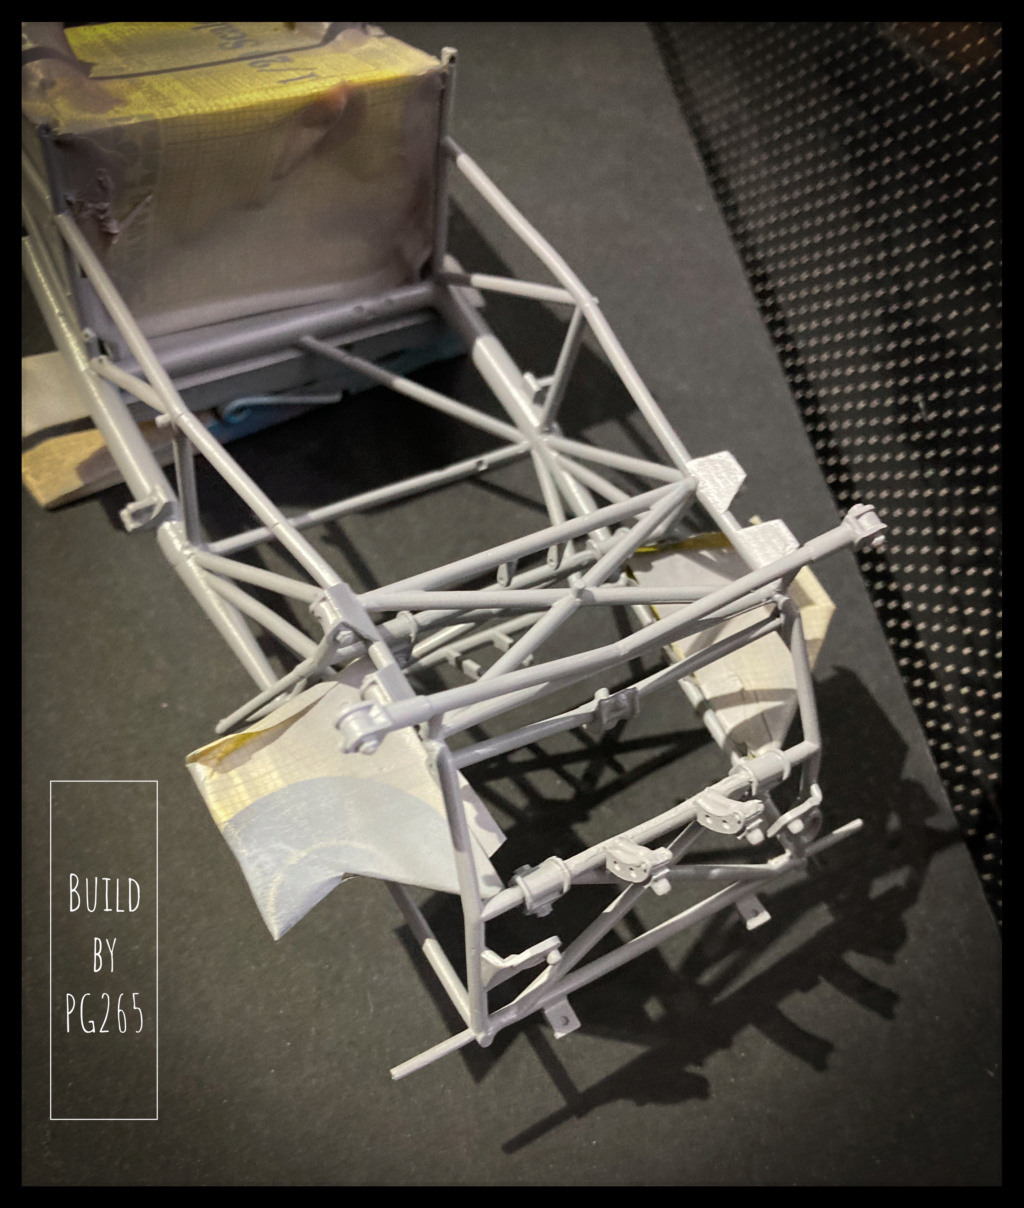
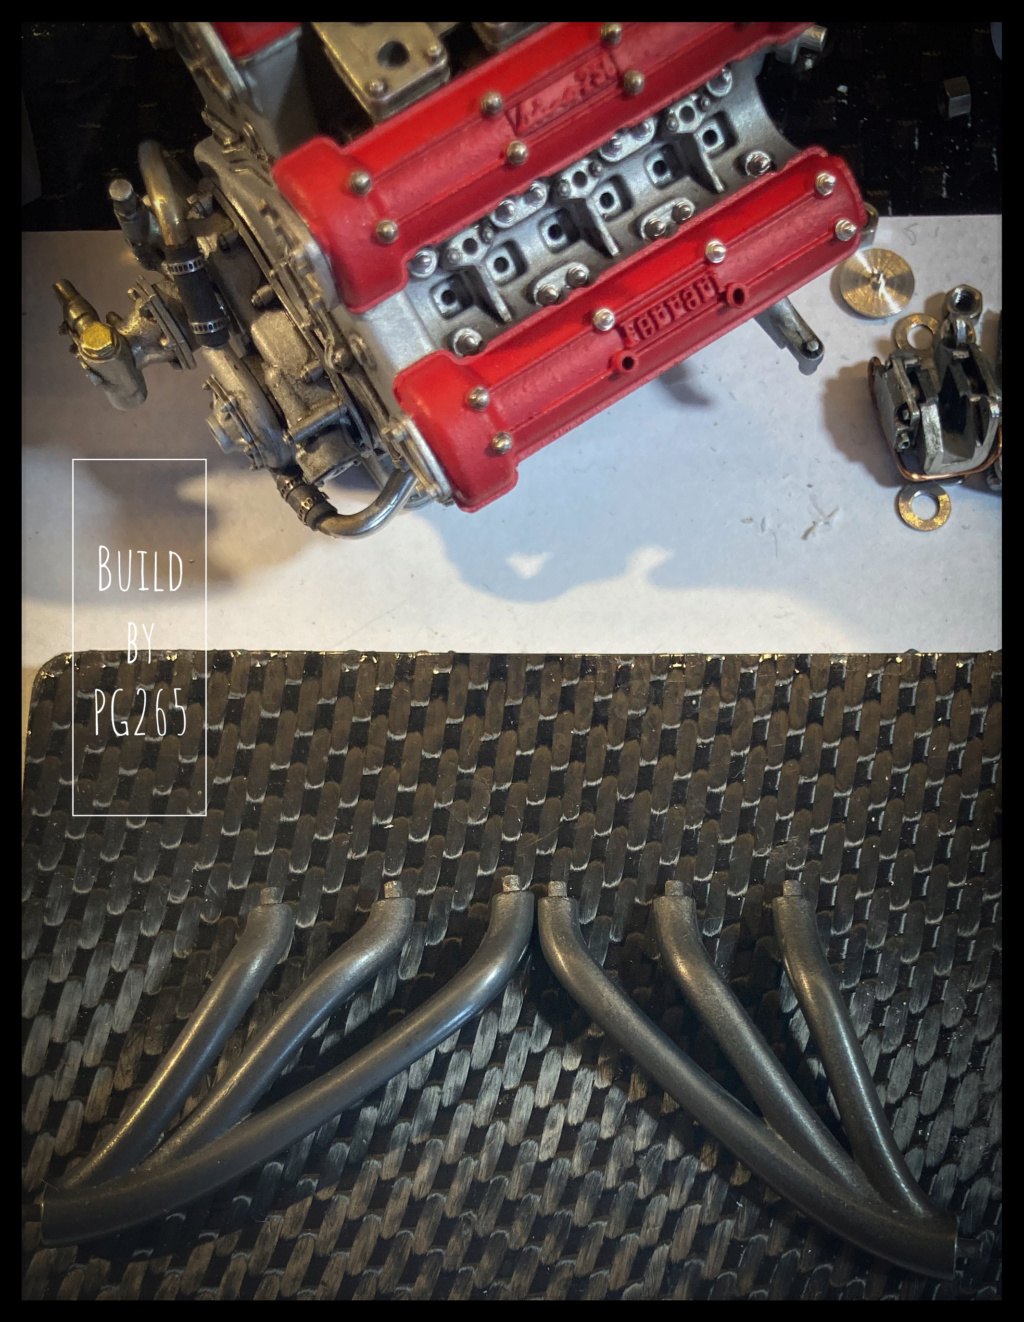
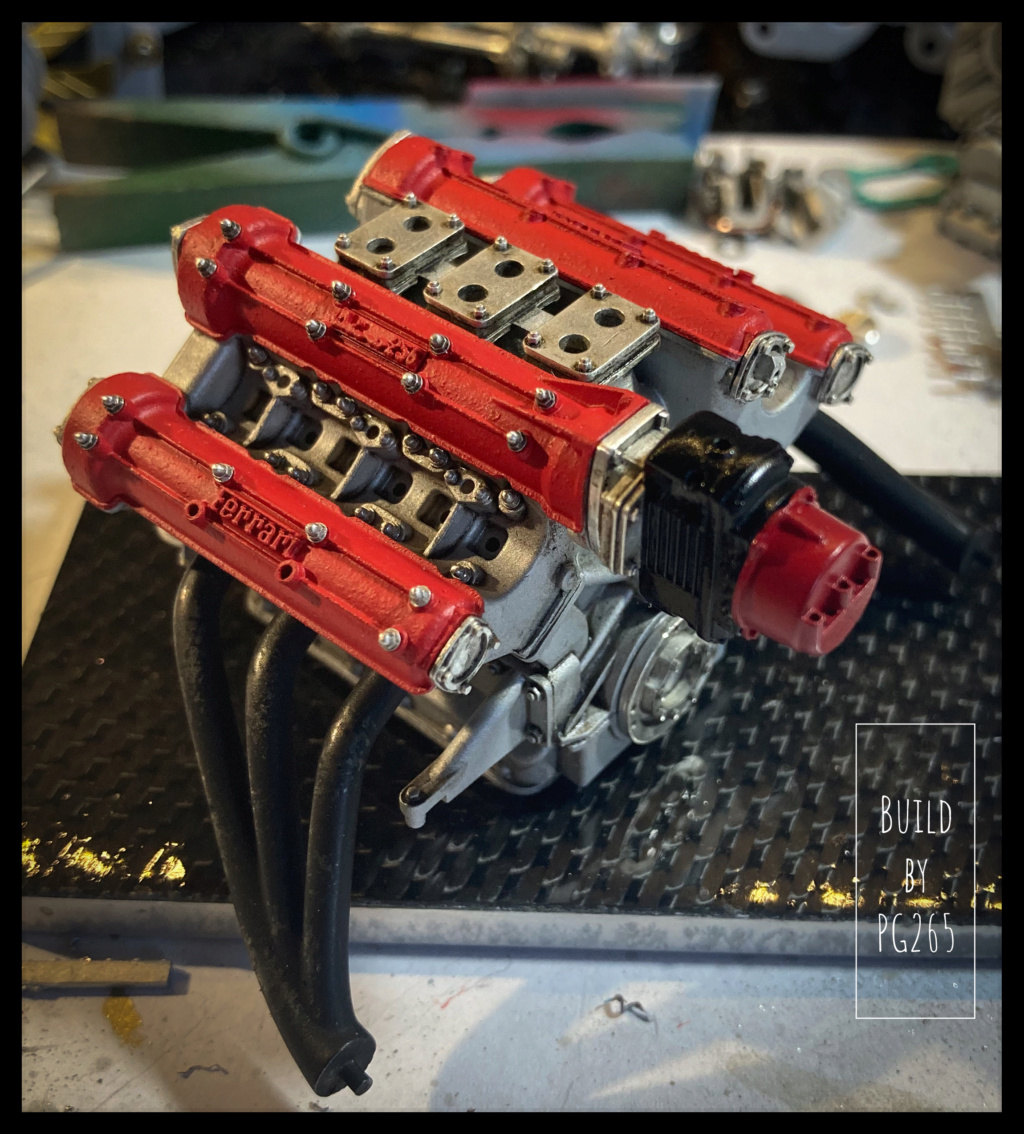
The magneto is painted and installed, the distributor head drilled.
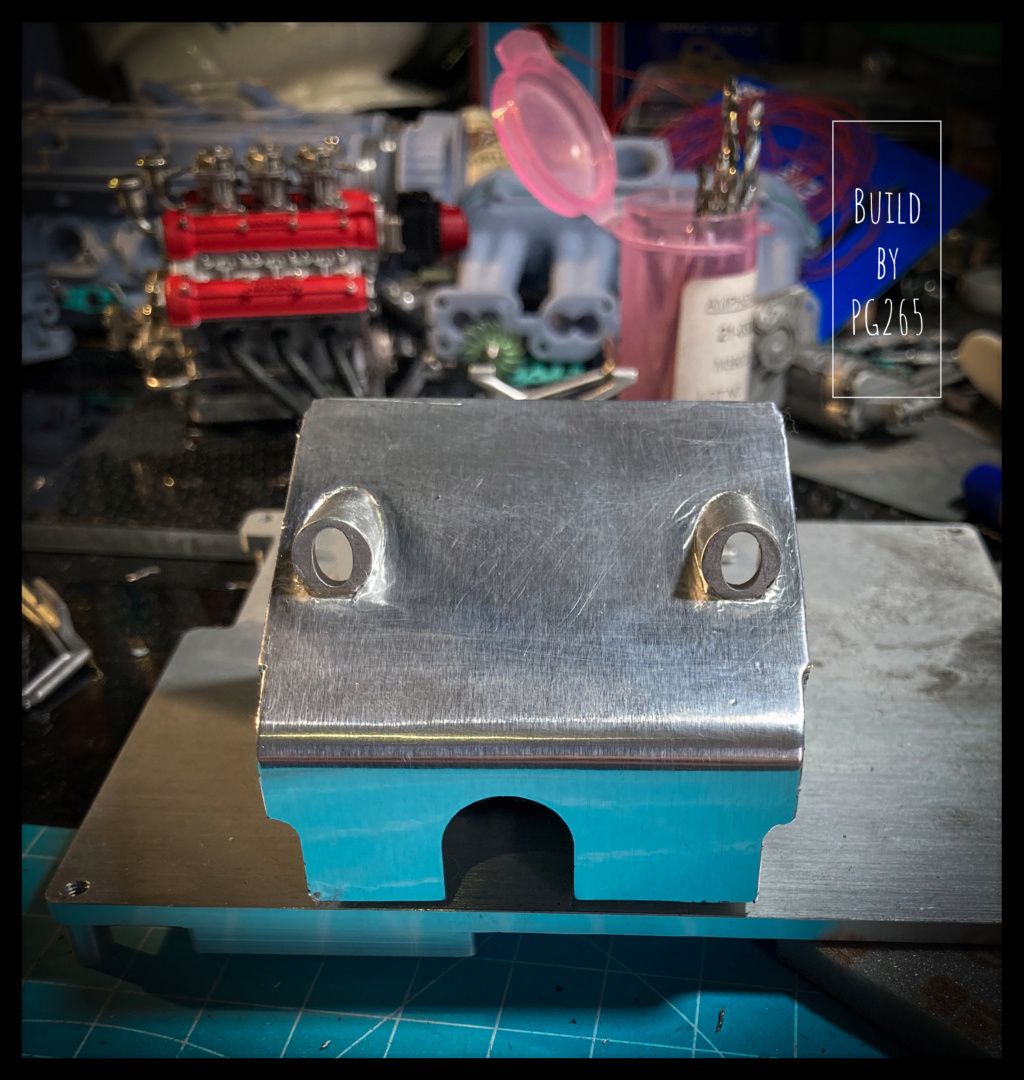
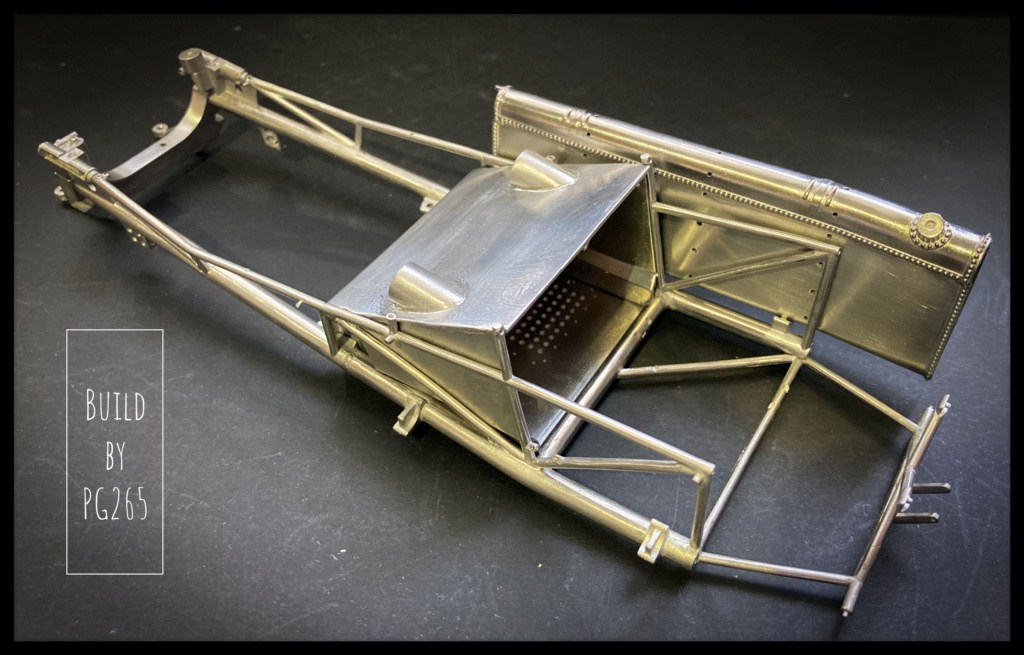
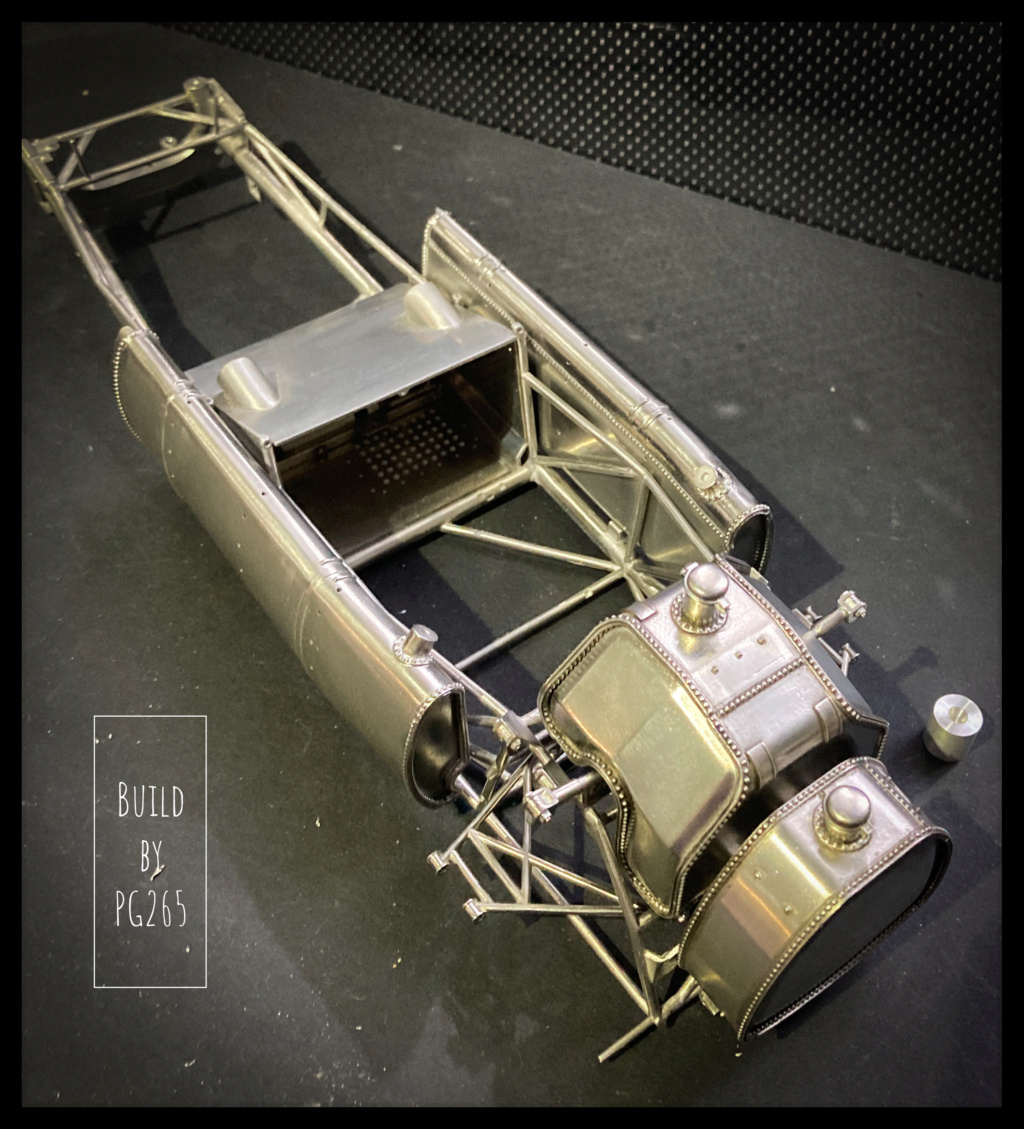
The rear of the engine is fitted with covers.
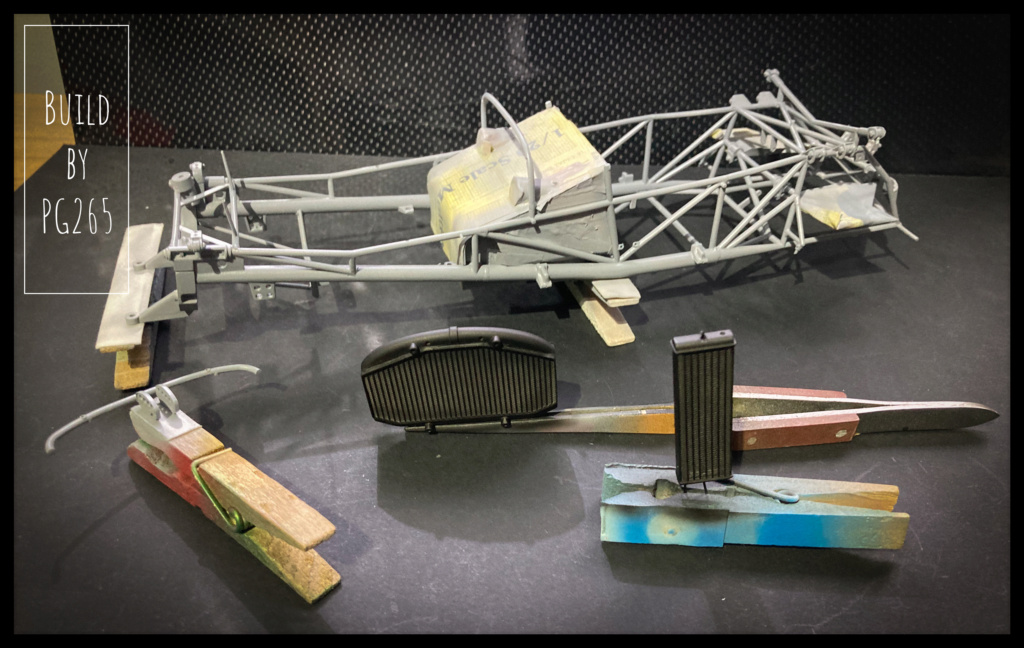
Working on the carbs, linkage and fuel supply, stacks...


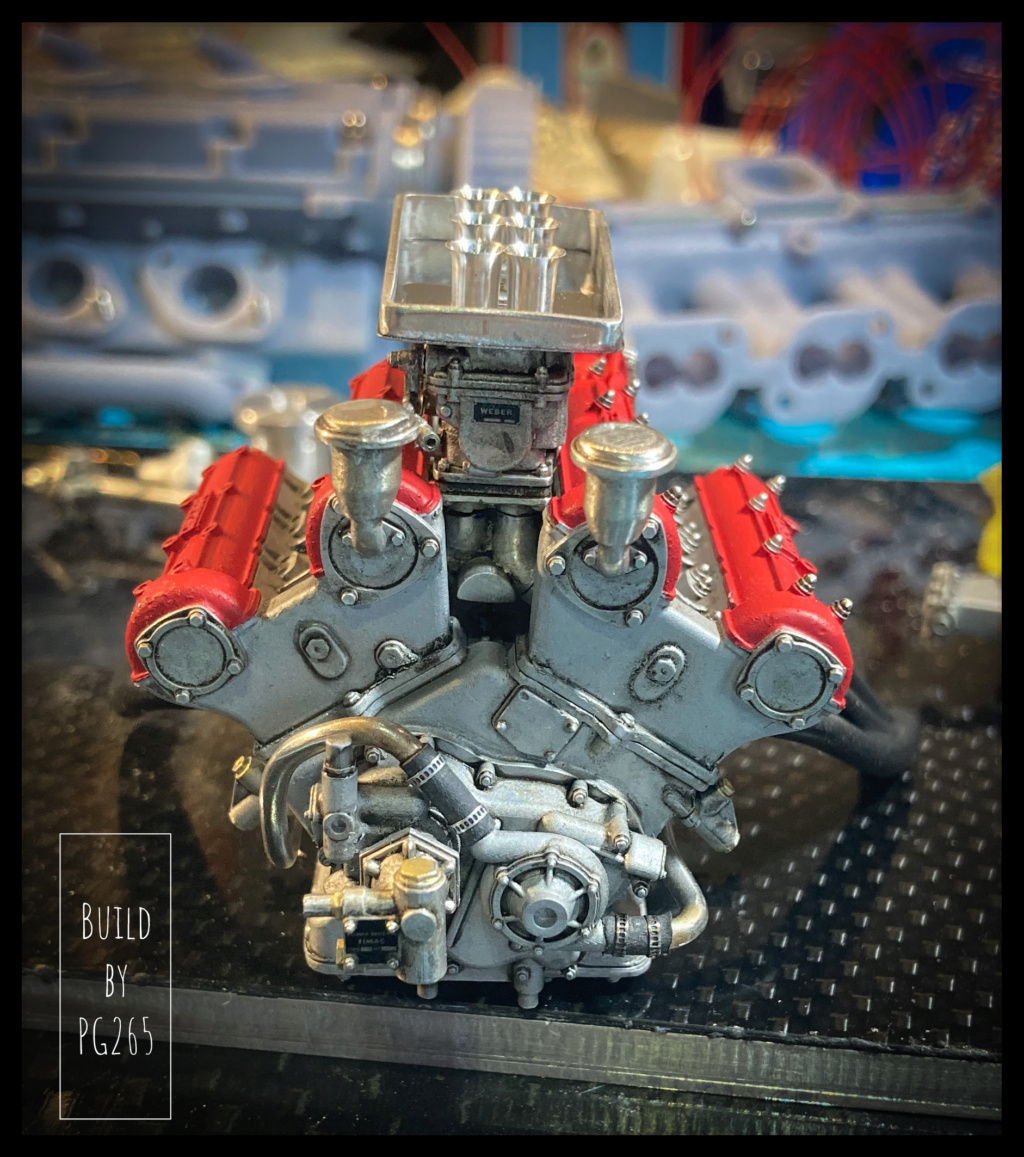
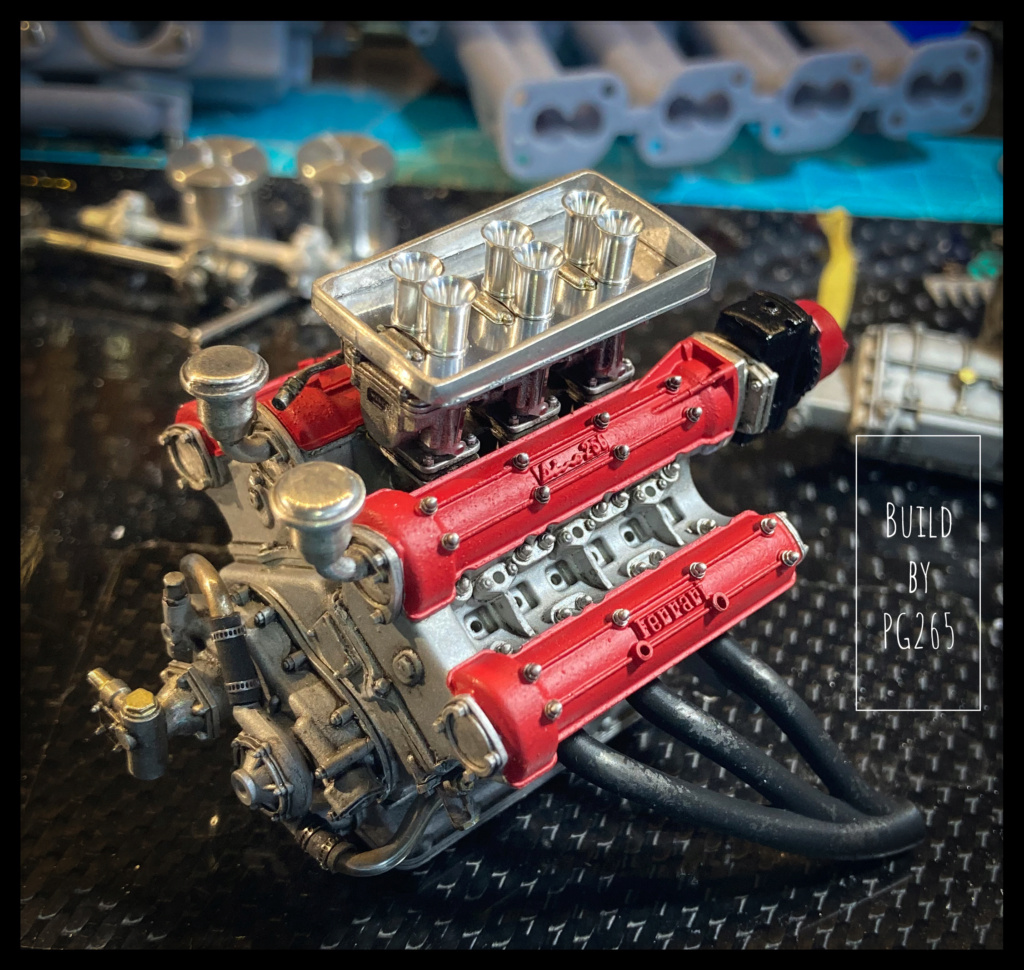
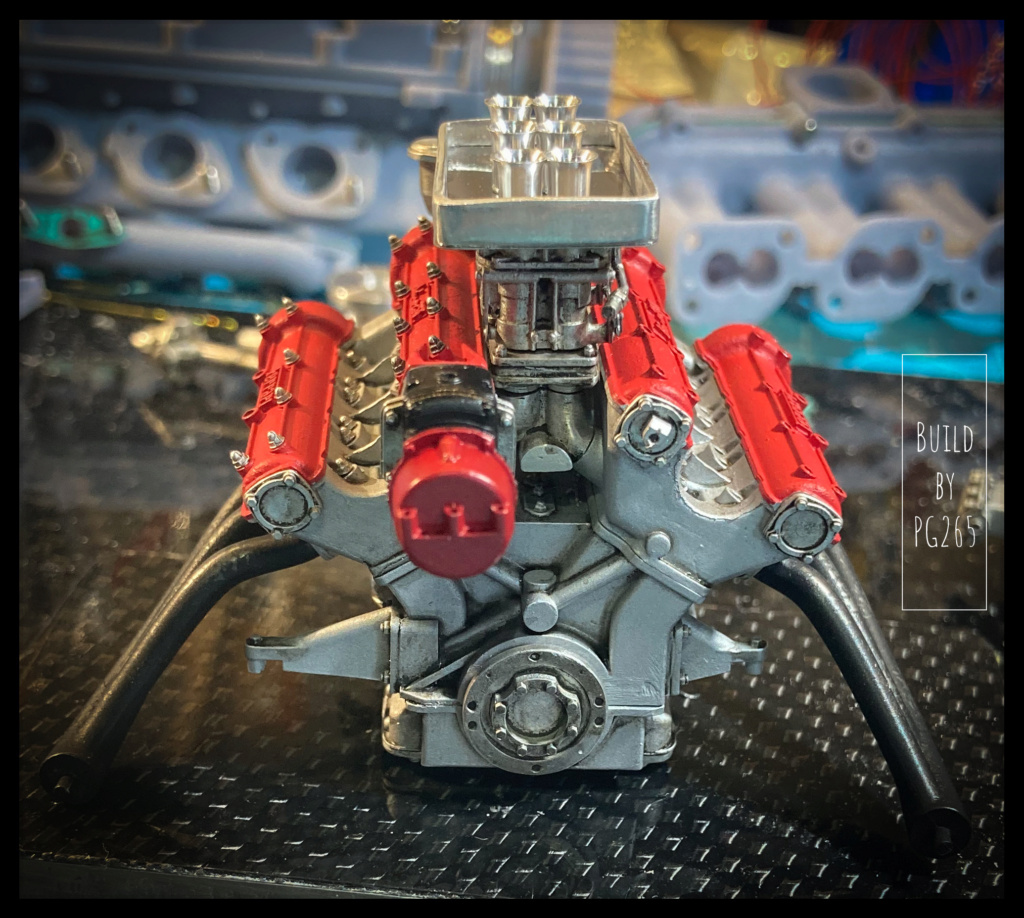
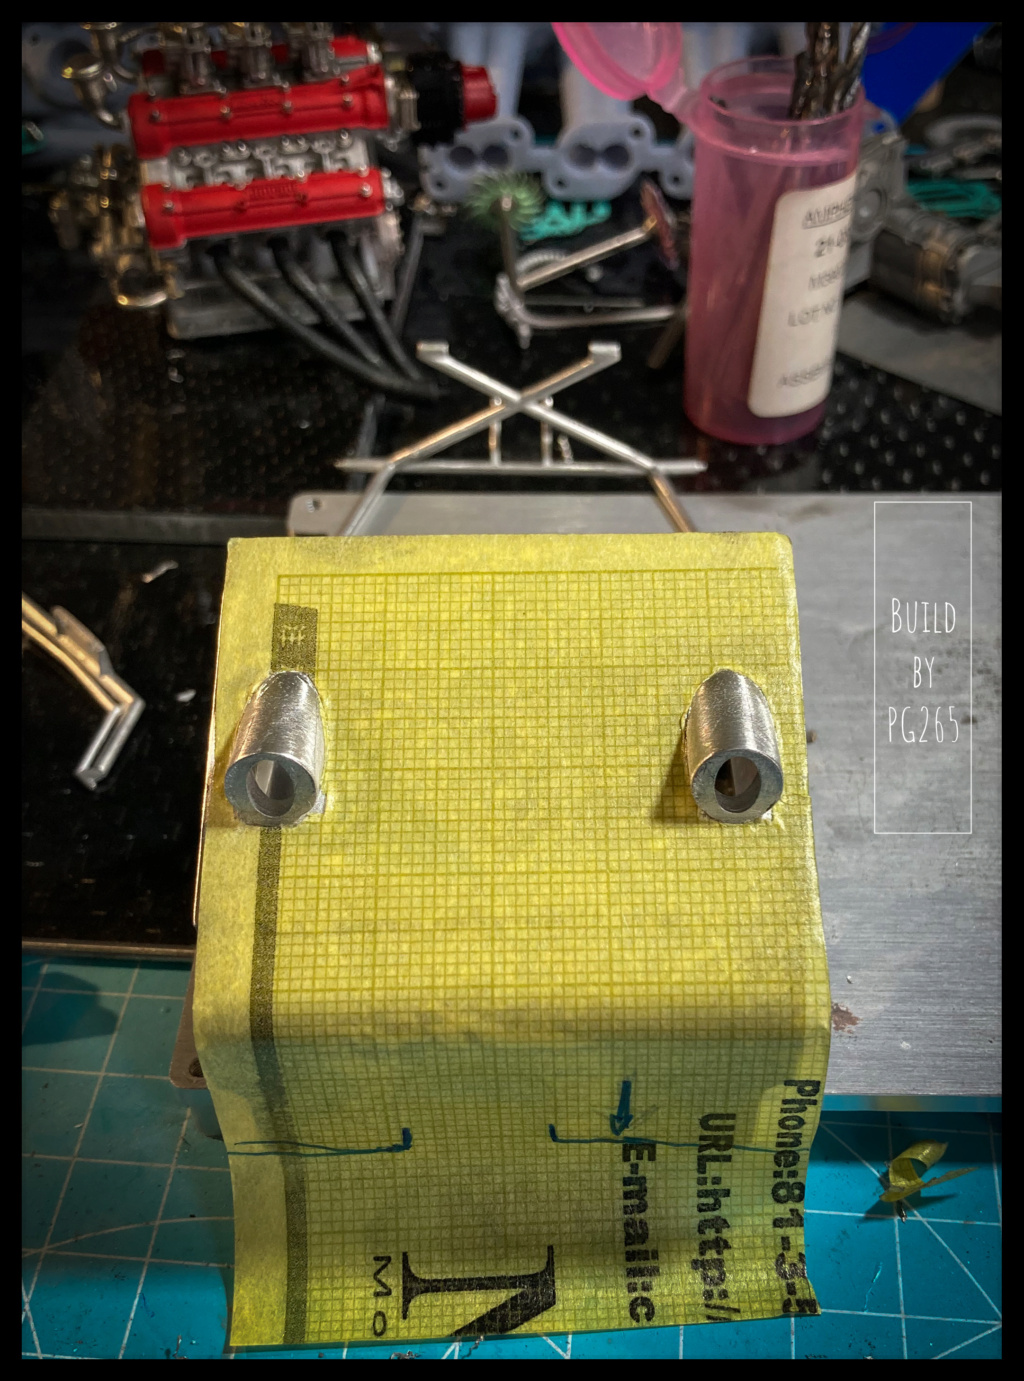
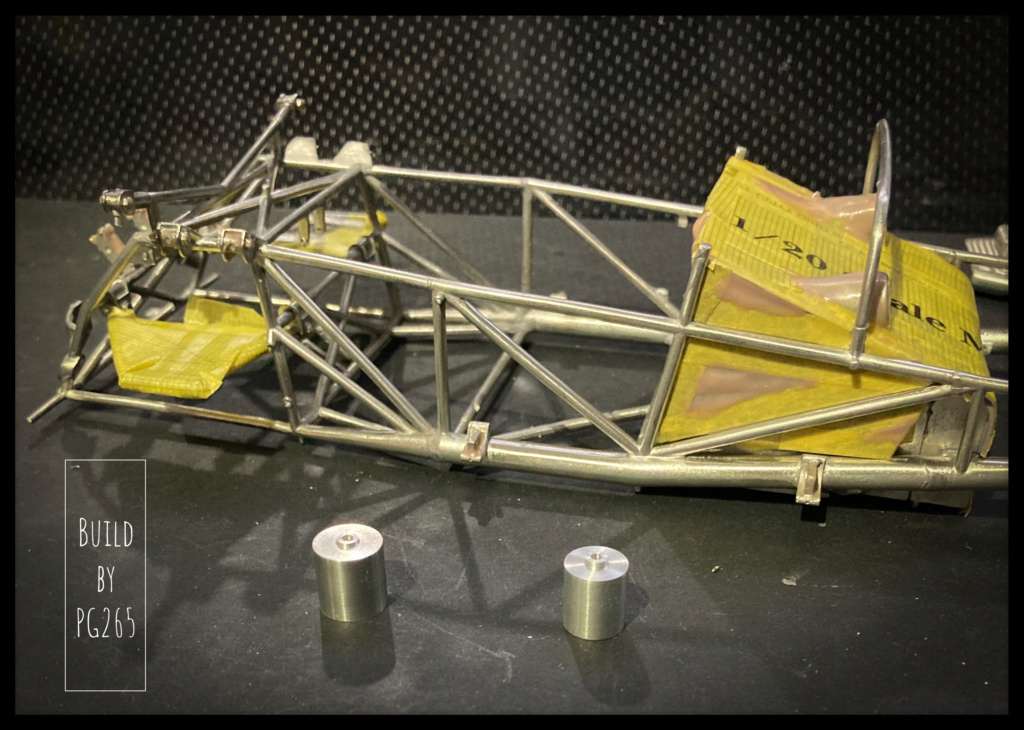
In the end, I did not use the corks that I had turned yesterday.
More soon.
Pascal
Some progress today, but a lot of preparation, painting… and compressors to repair and maintain!
A little work on the exhaust manifolds to start.
They are passed under different grits and then lightly polished.
A small bath in Blacken'it to burnish the exhaust tubes and a bath in water to stop the reaction.
Then suick wipe with a soft cloth to shine a little
The purpose of the operation is to give a slightly used appearance due to the heat by flaking the paint while having tubes marked by the heat.
We dab a bit of liquid mask using a foam pad, then comes a coat of well-diluted matte black paint; here some Tamiya matt black.
After passing a brush with medium bristles, I get the result I was looking for.
The magneto is painted and installed, the distributor head drilled.
The rear of the engine is fitted with covers.
Working on the carbs, linkage and fuel supply, stacks...
In the end, I did not use the corks that I had turned yesterday.
More soon.
Pascal