M23 1973 Yardley WIP

A special Forum for the McLaren M23 series of F1 race cars.
User avatar

Topic author
adamg1987
Backmarker
Backmarker
Posts: 341
Joined: Wed Jun 12, 2013 10:15 am
Status: Offline

M23 1973 Yardley WIP

Post by adamg1987 »

Hello to all, please go easy on me this is my first attempt at modeling since my gluebombed attempts as a small child, i started this project about a year ago and quickly realised the depth i had got my self into i purchased some cheaper kits to practise on but too this day am yet to finish one :) as this is a first build for me it is mostly about getting a clean build and not so much a 100% accurate model but feel free to guide me in anyway possible we all need start somewhere :)

The Kit is a 1973 M23 as driven by E.fittipaldi after some research and looking at the different M23's i decided i wanted to go for a different livery and chose the Yardley Livery. the build itself will be fairly oob with the obvious change of livery and some braided lines to liven up the Engine bay. of course i might get carried away as i have found most people do so this may change during the build. anyway progress to this date.

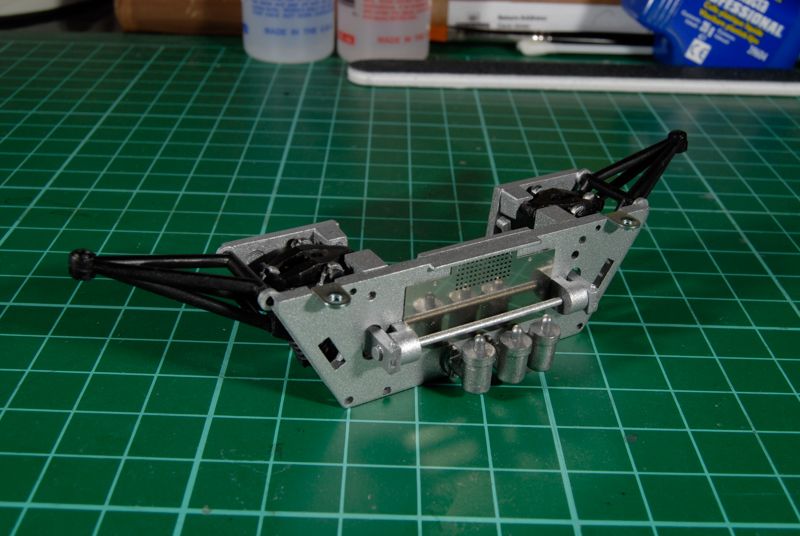
First part i managed to start, still not finished need to add the tops to the reservoirs will add them once they're painted will add the front subframe and battery once this part is glued into the chassis
Image

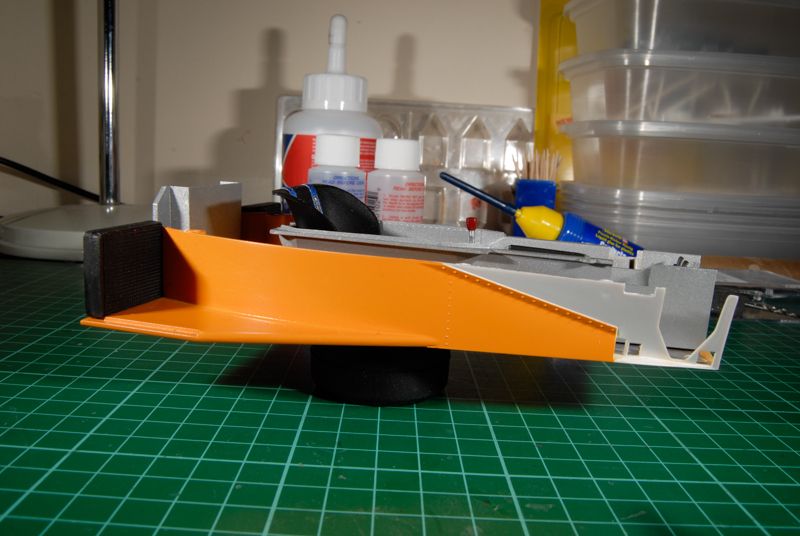
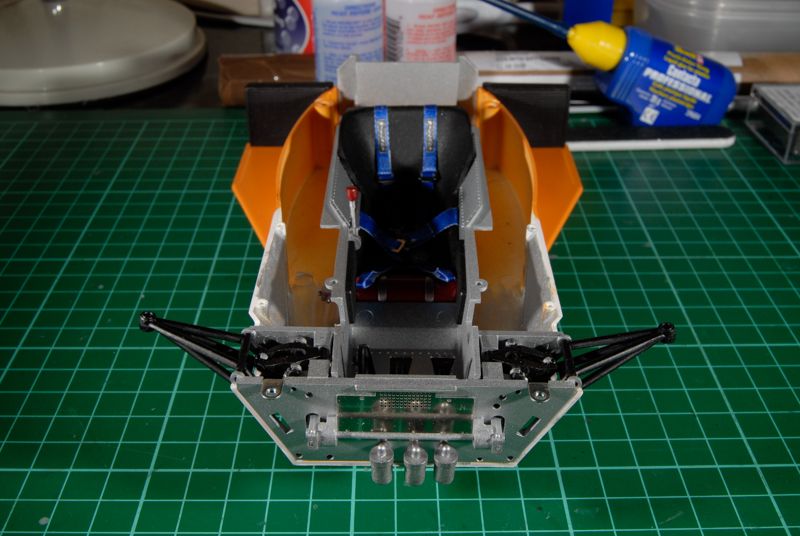
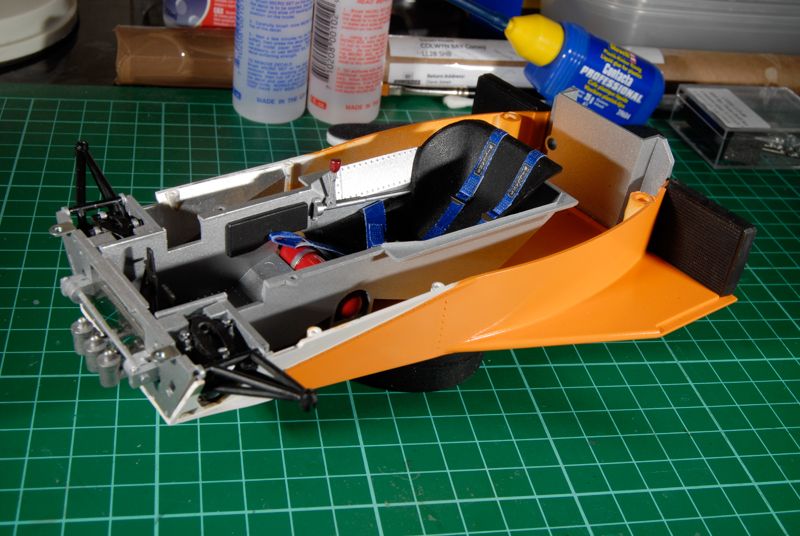
Chassis complete with the drivers cockpit and front suspension to test fit, also added the radiators and rear firewall at this time. Orange is Tamiya TS-56 which i believe is to be a close match to the Mclaren orange
Image
Image
Image

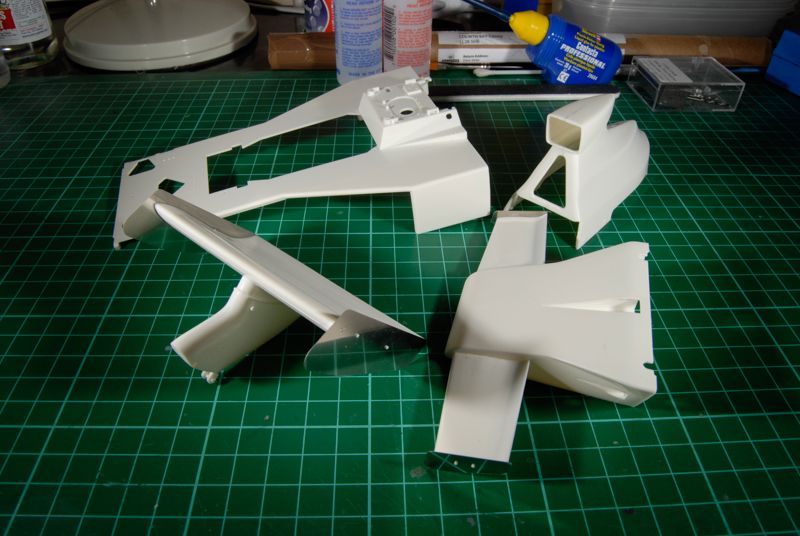
Rest of bodypanels need cleaning up prior to primer and paint, i am also going to try to modify the opening on the airbox to that of a 1973 Yardley
Image

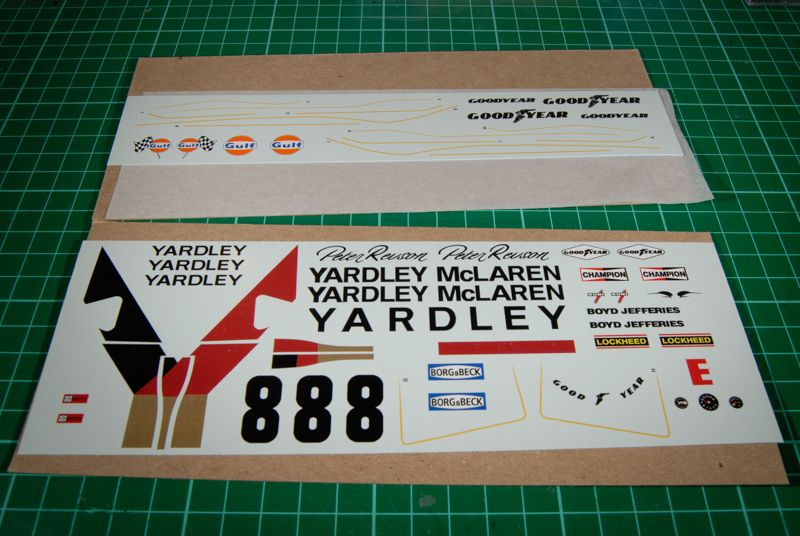
The Yardley decals from Indycals, excellent turnaround from these guys and superquick delivery considering they had to cross the pond :)
Image

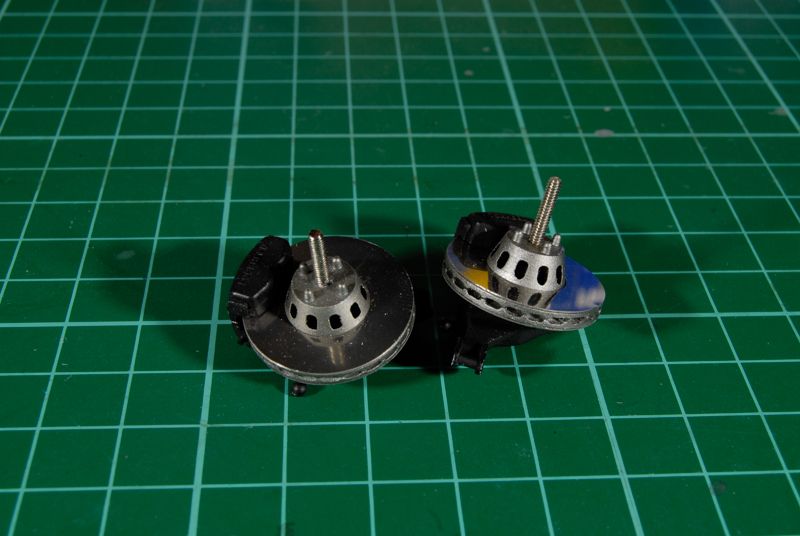
Front discs just need to touch up the calipers with some flat black
Image

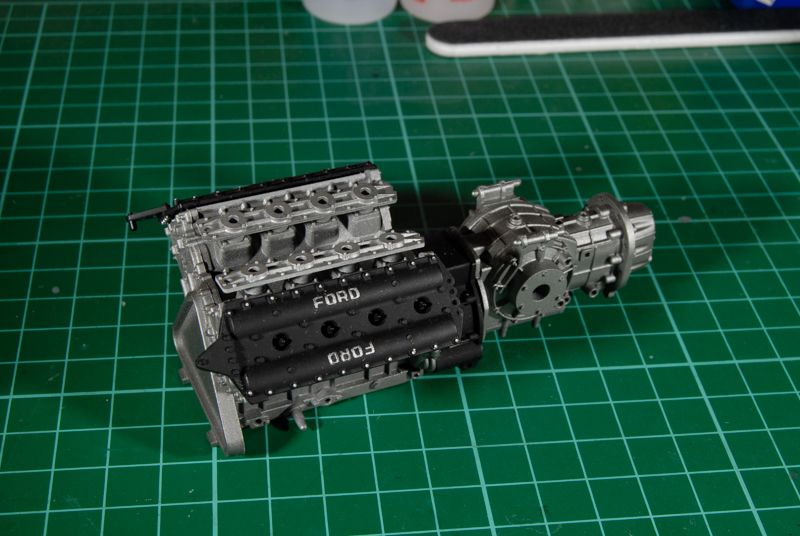
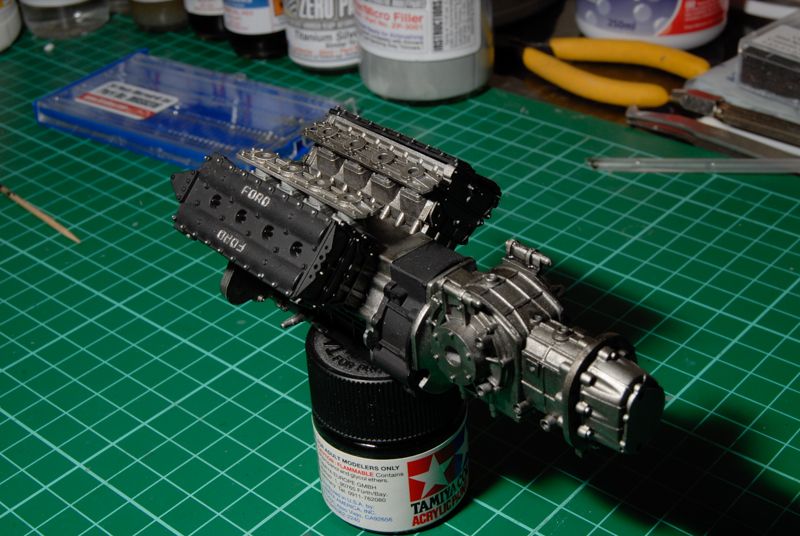
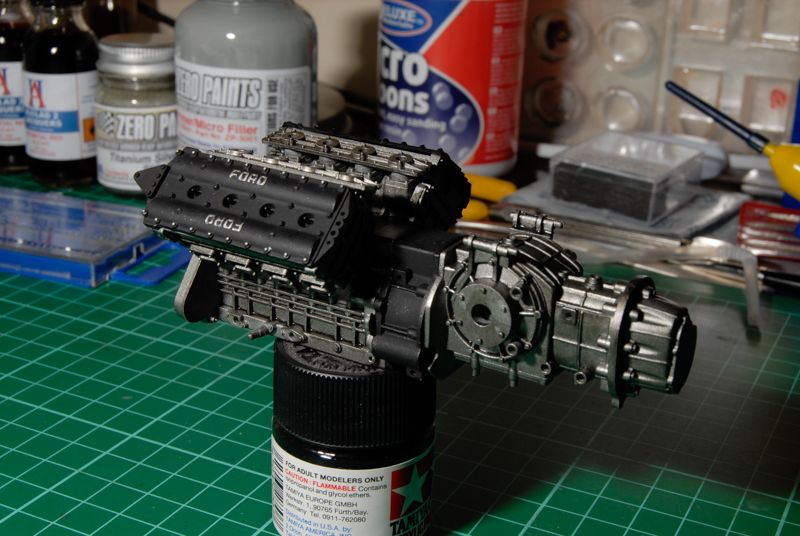
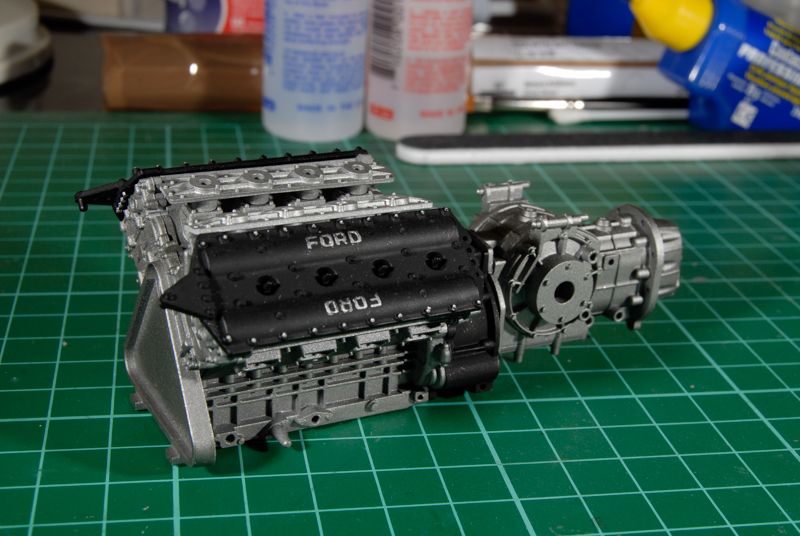
Start of the engine assembly, cant help but thinking it looks a bit plain. Would it look better with a wash never done one before?
Image
Image

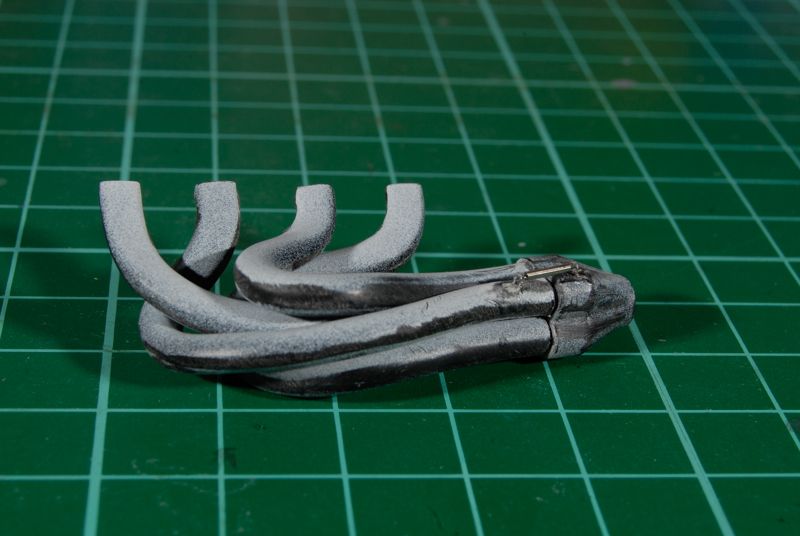
Exhaust manifolds from the reference pictures i have been using the manifold was held together with exhaust springs so i've started to add these. also manual calls for a matt black colour but the reference pictures look like a dirty stainless. so i'm thinking alclad stainless and again attempting a go at a wash to make them look used, any tips?
Image
User avatar

Topic author
adamg1987
Backmarker
Backmarker
Posts: 341
Joined: Wed Jun 12, 2013 10:15 am
Status: Offline

Re: M23 1973 Yardley WIP

Post by adamg1987 »

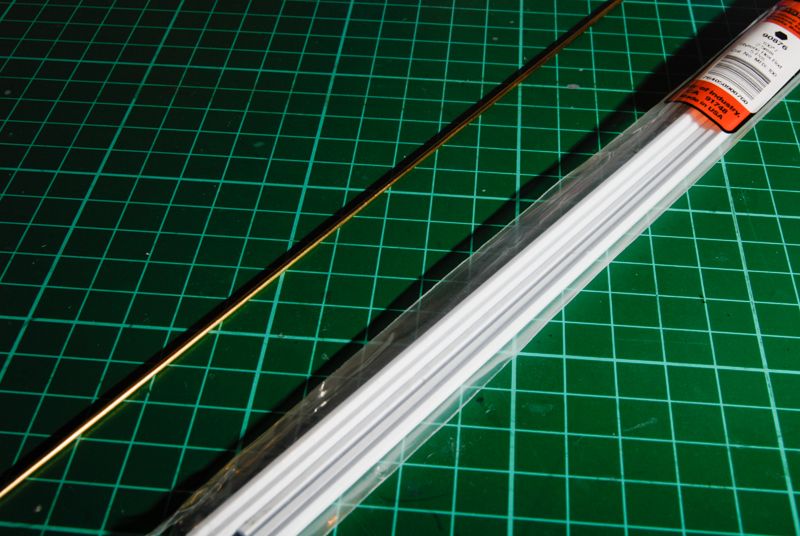
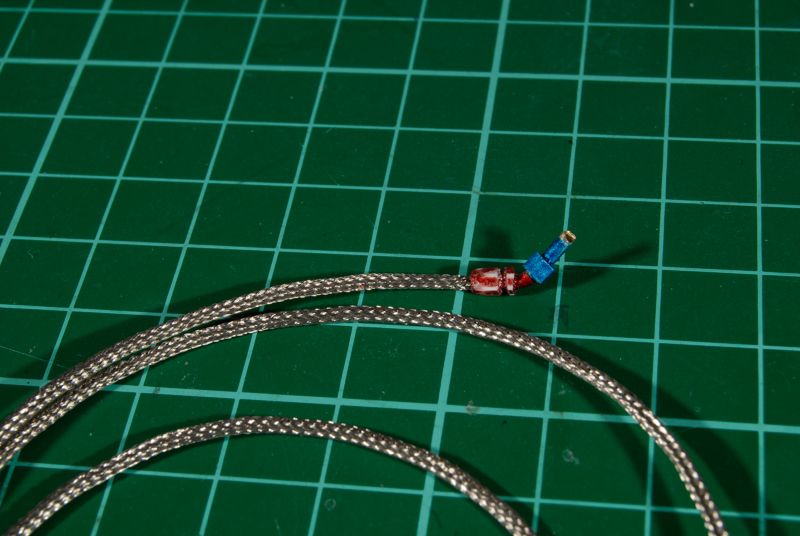
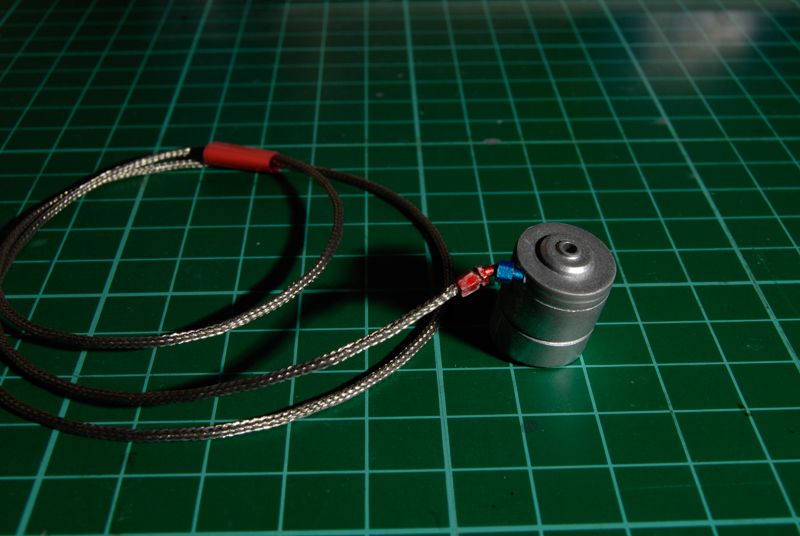
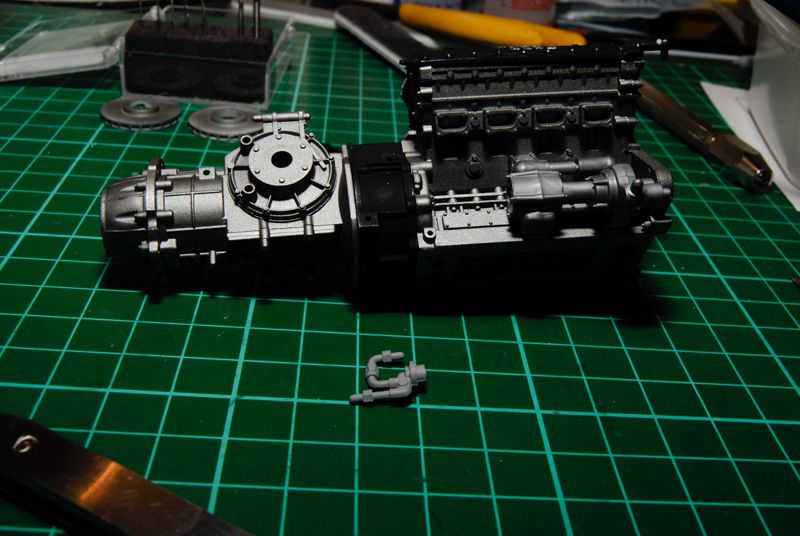
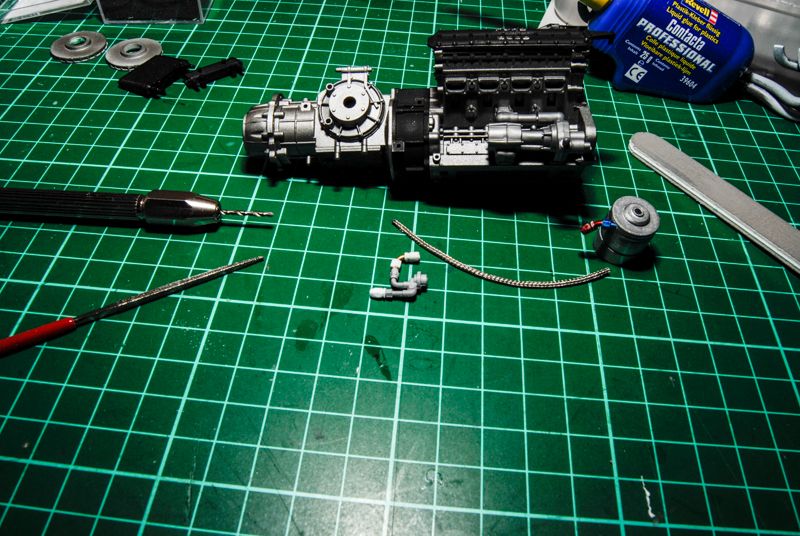
Also forgot to add my first attempt at making my own a/n fittings the large Top Studio ones didnt seem to be big enough and i couldnt drill them out to a size that i could use 1.5mm or 1.6mm braided hose so i purchased some 2.5mm hex and some 1mm copper pipe (i think will need check the size) you can bend the pipe to what ever angle you need and then drill through the hex rod and glue them onto the copper pipe, the hex rod can be shaped lightly with some sanding sticks or diamond files as i have used and them painted silver, with the clear blue & clear red to finish. mine look a little rough as a first attempt and i've rubbed the paint off where i got crap on them but you get the idea :)

Supplies
Image

Possible outcome
Image
Image
User avatar

daveyman
FOTA Chairman
FOTA Chairman
Posts: 4540
Joined: Sun Jun 24, 2007 11:39 am
Favorite F1 Team or Driver: Riccardo Patrese
Location: Hull, England.
Status: Offline
Great Britain

Re: M23 1973 Yardley WIP

Post by daveyman »

That A/N fitting looks really good. Nice work!
As for the engine colour, a dark wash would give it some depth. Liven it up a bit. I've found that spraying Alclad colours over gloss black on the engine give it a kind off 'washed' look.
All in all your build is coming along nicely, will be watching for progress...
User avatar

Topic author
adamg1987
Backmarker
Backmarker
Posts: 341
Joined: Wed Jun 12, 2013 10:15 am
Status: Offline

Re: M23 1973 Yardley WIP

Post by adamg1987 »

daveyman wrote:That A/N fitting looks really good. Nice work!
As for the engine colour, a dark wash would give it some depth. Liven it up a bit. I've found that spraying Alclad colours over gloss black on the engine give it a kind off 'washed' look.
All in all your build is coming along nicely, will be watching for progress...
Thanks :)
User avatar

Topic author
adamg1987
Backmarker
Backmarker
Posts: 341
Joined: Wed Jun 12, 2013 10:15 am
Status: Offline

Re: M23 1973 Yardley WIP

Post by adamg1987 »

Today has been semi productive, mostly cleaning up parts so don't feel like i'm getting anywhere. ive been trying to work out the routing for the braided hose's and the manual seems to contradict my reference pictures. i also had another stab at using the top studio fittings for the smaller braided hoses and managed to drill them out to the required size without breaking them, thanks to a member on here for suggesting on working my way up with drill bit sizes.

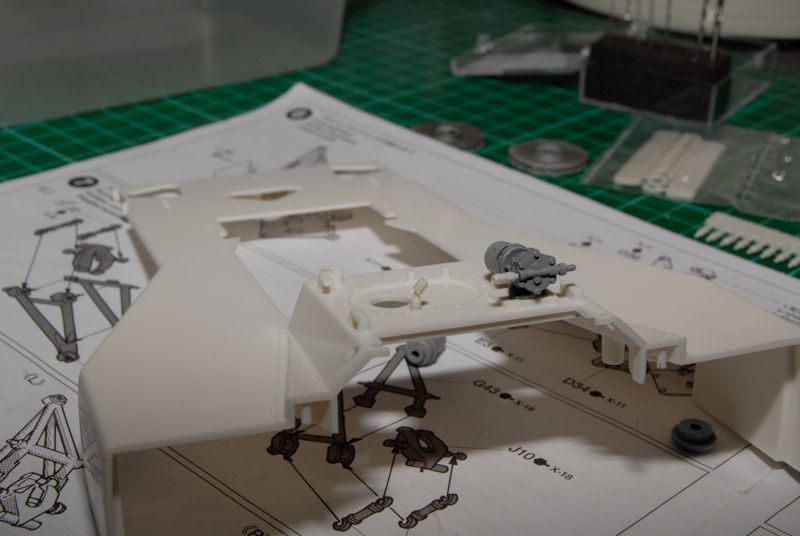
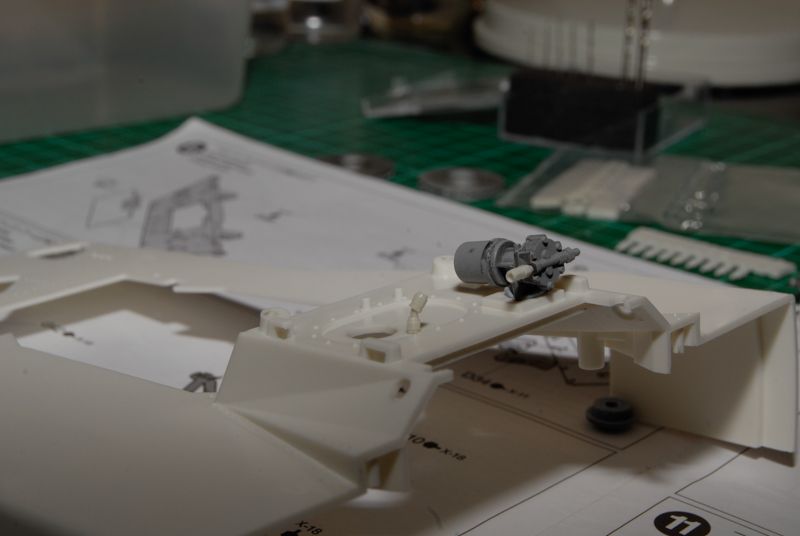
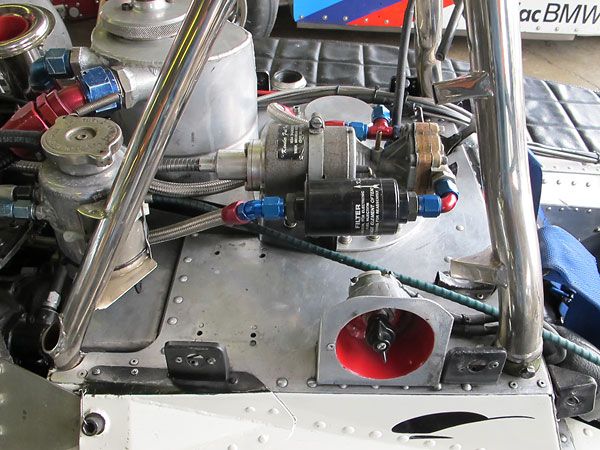
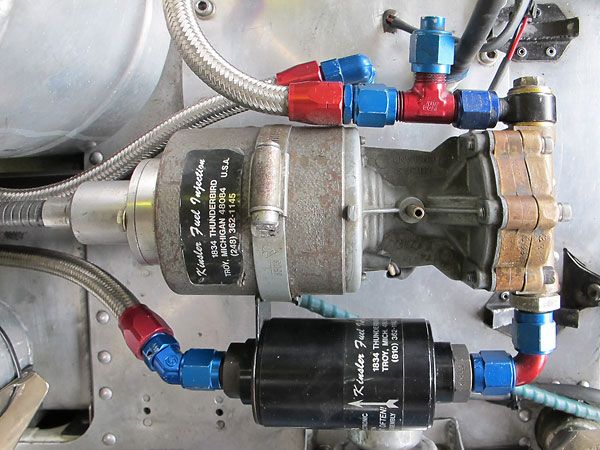
the part in question that i cant work out is this one on top of the fuel tank
Image
Image

according to my reference pictures i downloaded from the net its the wrong way round, unless they changed it on the 74 car
Image

can anyone tell me where the two braided hoses on his picture to the left lead too?
Image

also had to modify this piece here to accept a 1.5mm braided hose i had to make my own fittings and attach them too it,
Image

the top piece required trimming then a 1.5mm hole drilled down into it to accept my custom a/n fitting. i was very worried as i've had plastic split on me before trying to do this. I took my time and it seemed to work out. i then just made a sleeve fitting for the lower piece to accept the other hose.
Image

Engine was treated to a black wash to make things look a little more realistic :)
Image
Image

loads more parts awaiting primer and then paint so this is next stage before i can assemble any further
Image
User avatar

harveyb258
FOTA Vice Chairman
FOTA Vice Chairman
Posts: 1950
Joined: Wed Dec 19, 2012 4:36 am
Location: UK
Status: Offline

Re: M23 1973 Yardley WIP

Post by harveyb258 »

Nice work Adam, you are off to a great start :D
Cheers, H
User avatar

vekkuli
FOTA Chairman
FOTA Chairman
Posts: 4438
Joined: Wed Dec 21, 2005 3:20 pm
Favorite F1 Team or Driver: Stake Sauber
Location: Oulu-Uleåborg Finland
Status: Offline
Finland

Re: M23 1973 Yardley WIP

Post by vekkuli »

Good Work, keep 'Em comin' :D .
User avatar

Terry
FOTA Chairman
FOTA Chairman
Posts: 2514
Joined: Fri Dec 19, 2008 10:09 pm
Favorite F1 Team or Driver: Chris Amon
Location: New Zealand
Status: Offline
New Zealand

Re: M23 1973 Yardley WIP

Post by Terry »

adamg1987 wrote: can anyone tell me where the two braided hoses on his picture to the left lead too?
Image
I'm no Cosworth expert (Stephen is the man for that) but this engine appears to be running a much later fuel system (restored car and hence why I assume) because it has an electric pump with a mechanical drive. The two braided hoses to the left are from top to bottom; the main fuel return and the fuel to the metering unit. Hope that helps.
User avatar

Waza
Formula e
Formula e
Posts: 36
Joined: Sun Aug 12, 2012 4:05 am
Status: Offline

Re: M23 1973 Yardley WIP

Post by Waza »

hi wayne I'm no expert but my car runs the same lucas fuel pump and the pump looks to be upside down the nipple you see is a bleed point for the fuel to come out if one off the oring's fail. if it doesn't bleed the fuel out it will bleed back into the electric motor and thay don't like that
User avatar

CK
Constructors Champion
Posts: 1311
Joined: Mon Mar 06, 2006 9:38 am
Your Name: C K
Favorite F1 Team or Driver: Mercedes, McLaren, Williams
Location: Canada
Status: Offline
Canada

Re: M23 1973 Yardley WIP

Post by CK »

Great work!

May I ask if the model is a 1/12 scale?

C K
Canada
Post Reply
  • Similar Topics
    Replies
    Views
    Last post