Renault RE20 1_12 Shelf of Doom WIP

User avatar

Topic author
ModelTime
F2 Champion
F2 Champion
Posts: 193
Joined: Wed Jun 10, 2015 5:12 pm
Status: Offline

Re: Renault RE20 1_12 Shelf of Doom WIP

Post by ModelTime »

Happy New Year fellow modelers! While I've not posted any new progress since 9/4 on my "2016 Group Build" Renault, I am picking it up again as my stash is waiting....I need to finish this thing and move on! So, what do we say? Hell yeah!

So, where I left off is chassis, motor and transmission going well and now all the body pieces need equal attention. I stopped as these are always the pieces that make or break the model and lots of prep work, masking, polishing, decaling to do, so like anything you need to attack straight on!

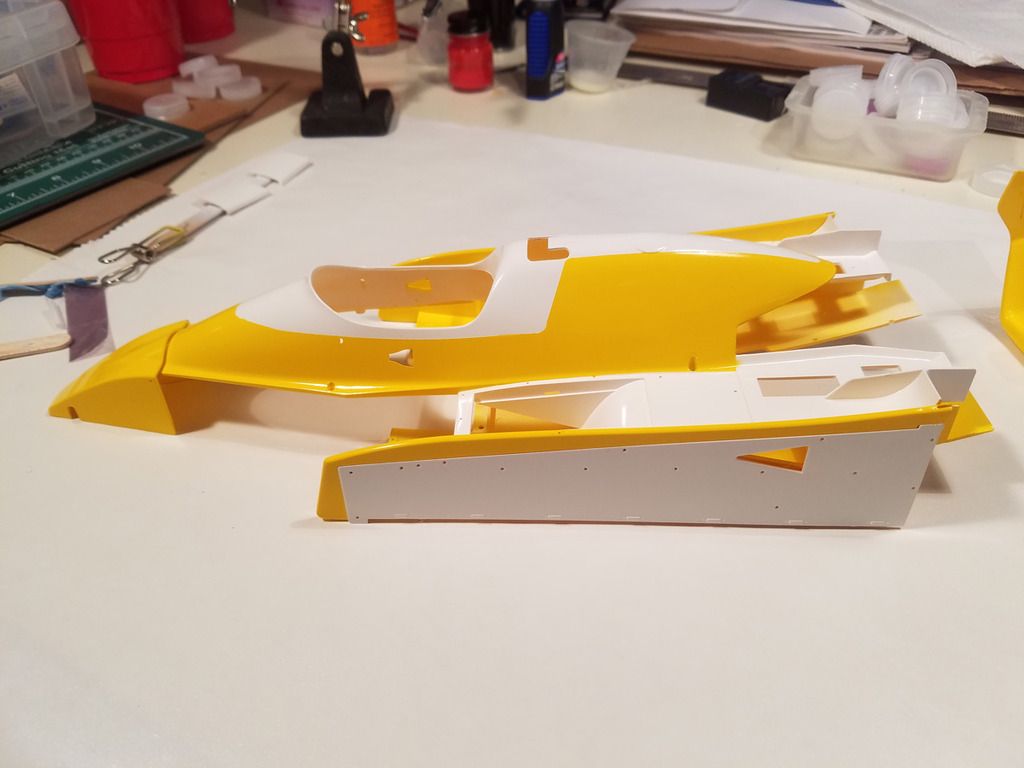
Here is where I started with my body panels painted two tone Tamiya TS-16 and bright white, whatever Tamiya number that is. I decanted from the cans and they spray wonderfully that way.
Image

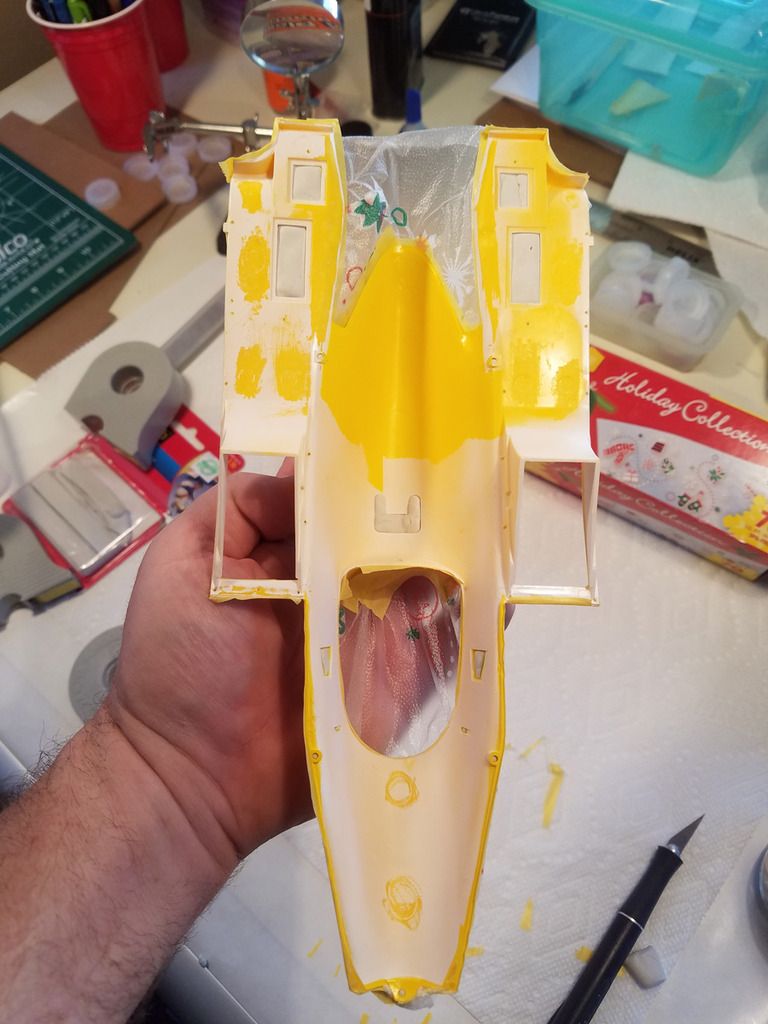
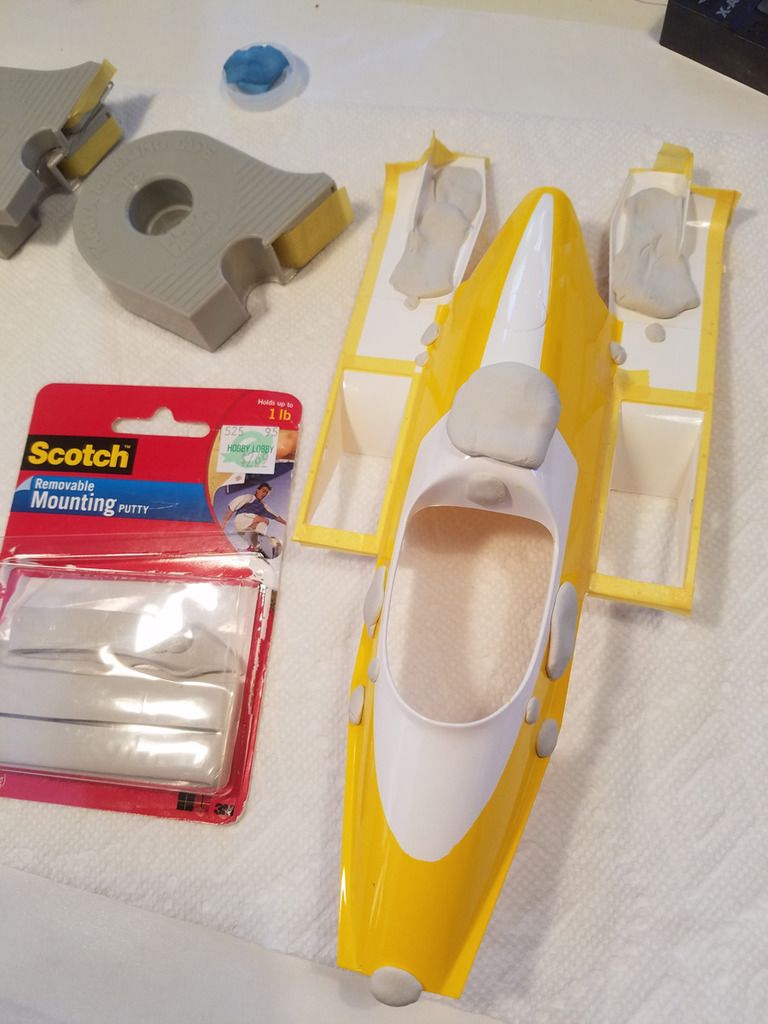
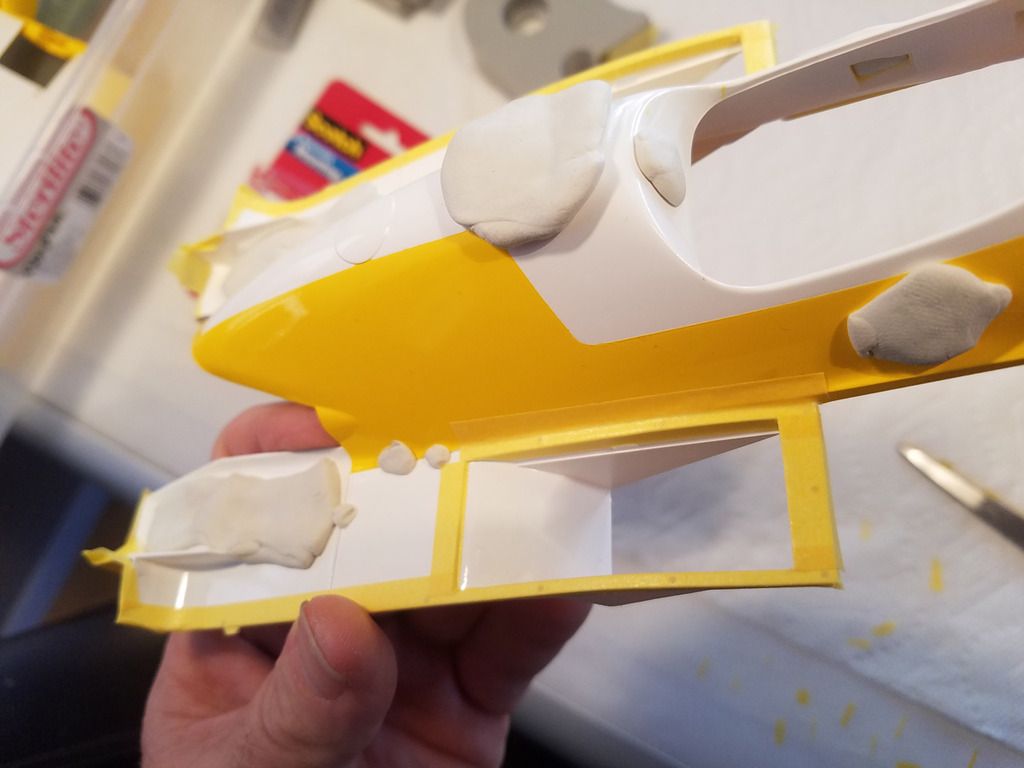
My next dilemma is I want the upper cowl to be black inside and what to use for that, I finally decided to use trusty Krylon flat black as it covers really well, is tough (never scratches) and is pretty cheap and quick. However, I anticipated all the little holes everywhere being a nightmare for bleed though and overspray (even with tape) and I used the fun tack to plug them all before masking. Don't worry, the mounting fun tack does not harm the paint at all and sticks really well. You can re-use it even if you get paint on it, just don't re-use dirty tack putty for masking.
Image

A close up:
Image

I made a mistake I will go back and fix later, but the ENTIRE heat extraction duct is painted black, sides and all, not just the curved piece. You will see the sides in your reference photos being black between the aluminum blades on the grill that goes in later....
Image

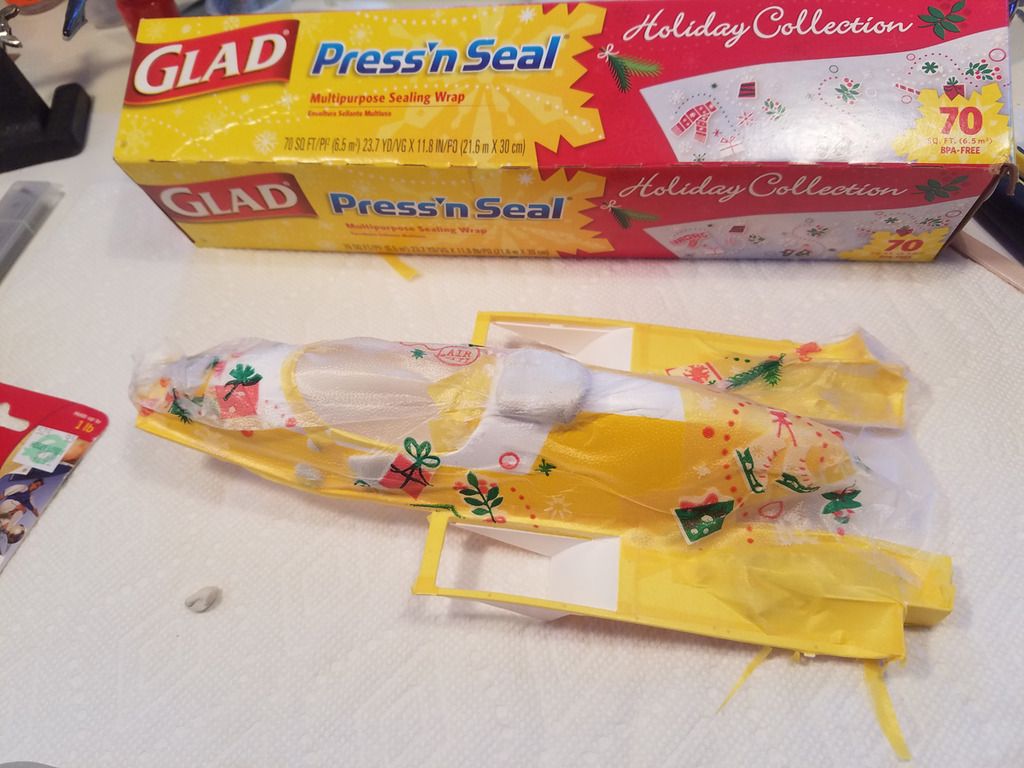
I find this plastic wrap to be very useful, as it saves on lots of tape. The only draw back is it will leave a little sticky residue that will come right up with the fun tack as an eraser and/or a little orange Goo Be Gone (don't use that Goof Off, it will ruin the paint).
Image

All ready to paint!
Image

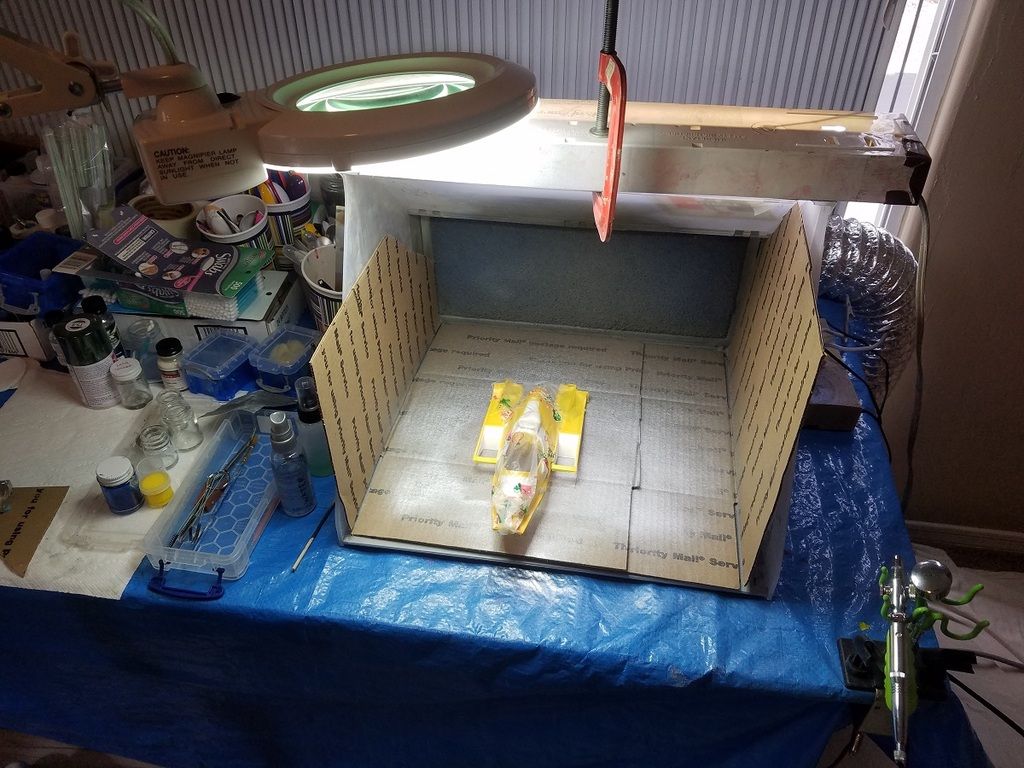
Here is my paint booth set up in a spare bedroom, works pretty well. That's my Grex airbrush to the right, love that thing! I line the booth with spare cardboard or packing paper and spray with water to keep the dust down. I always wear a mask and keep plenty of air moving. The table and floor are covered too.
Image

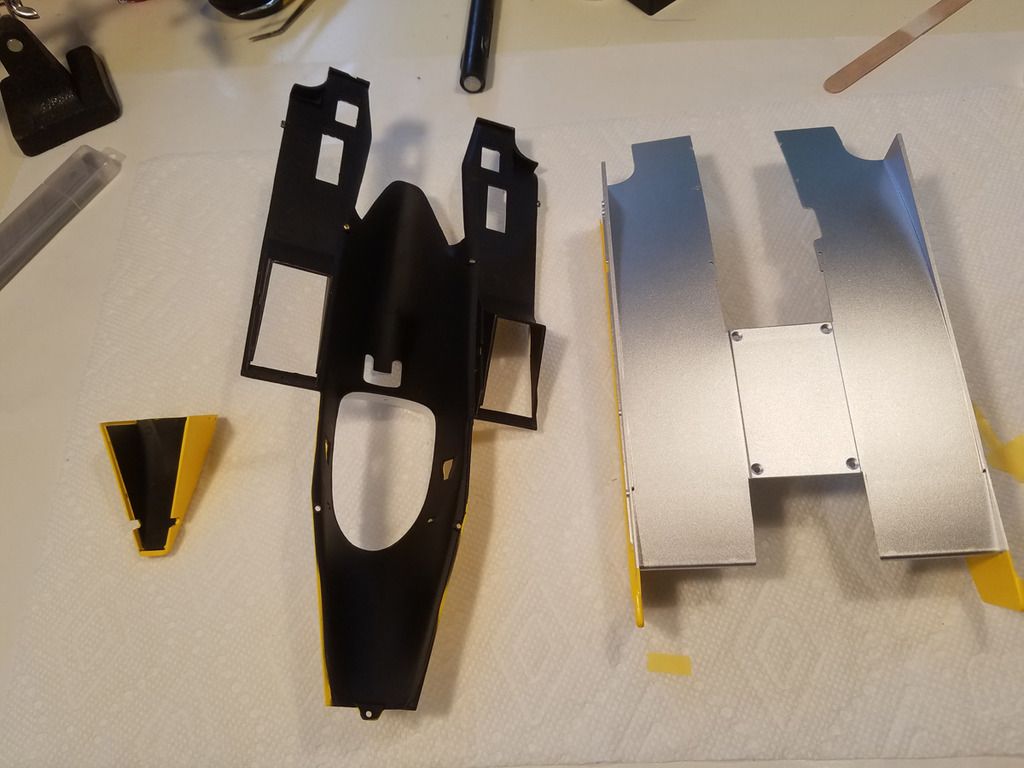
Here are the big body panels after interior painting with Krylon silver for the undertray and flat black for the cowl pieces. I think I could have done a better job with Alclad, but these are such big pieces and lots will be hidden. I also wanted a tough finish underneath.
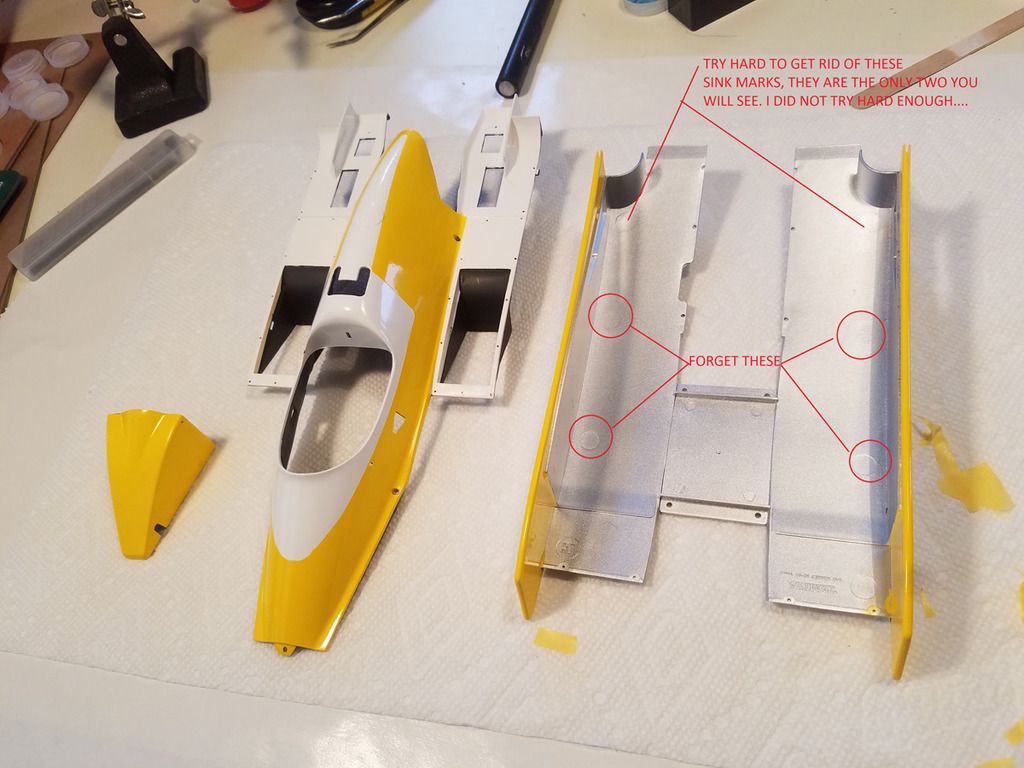
Image

Underside:
Image

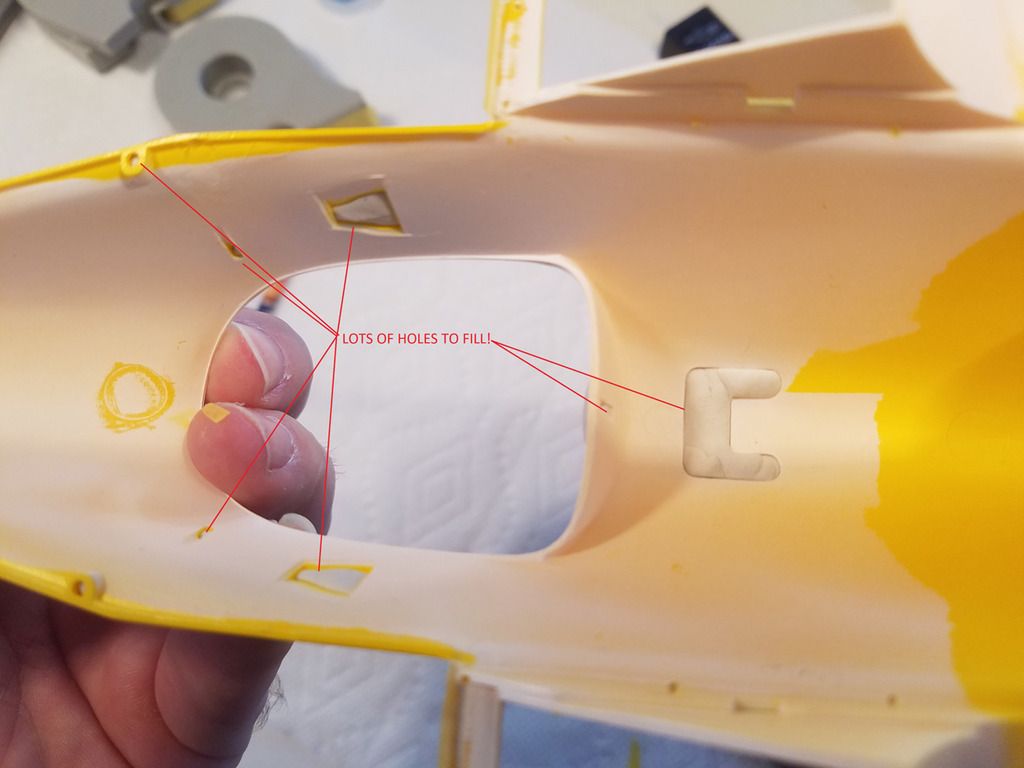
You can see in this photo the dozens of holes that would wreak havoc with black paint. Not one bled through with the fun tack masking! I will touch up the leading edges later.
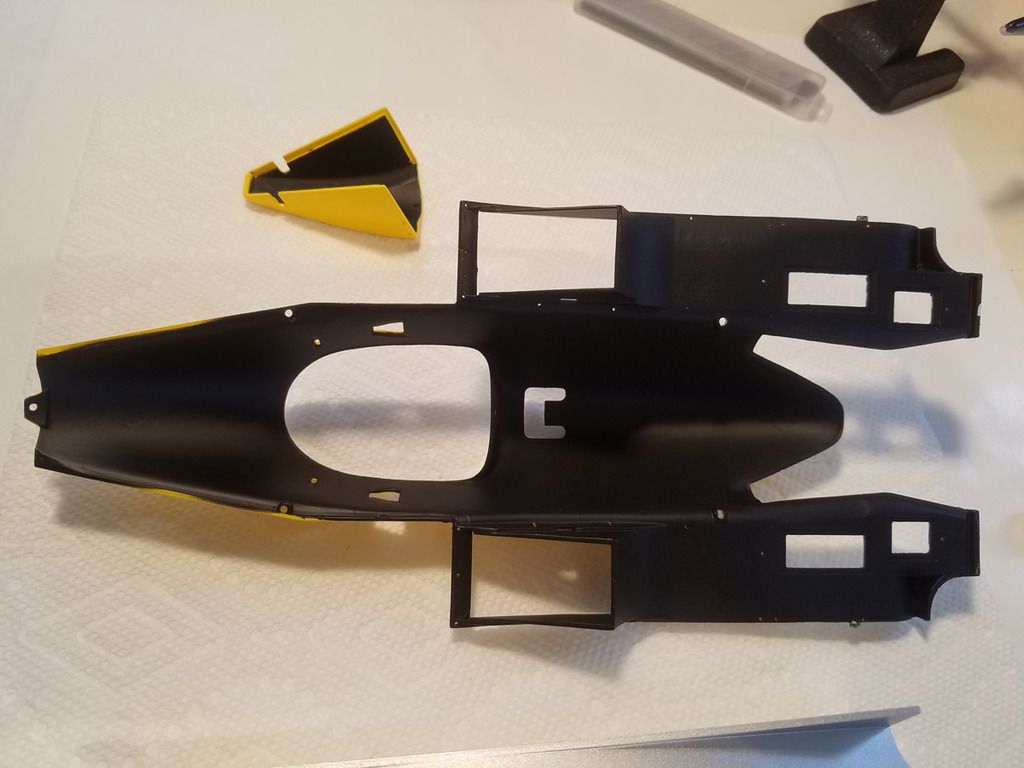
Image

On to decals after polishing everything with the Micro Mesh starting at 3600 so as not to burn through the paint on the edges.....I used photos to get an idea where to place everything before I started. I placed the big decals first at the same time to get the registrations as close to the photos as possible.
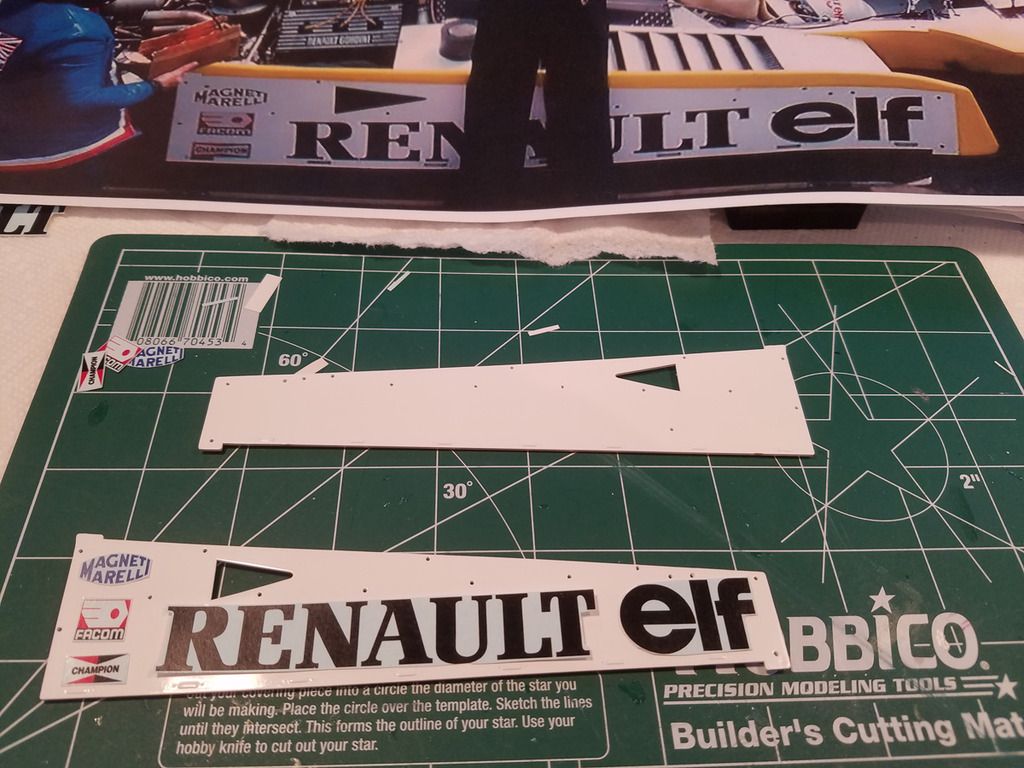
Image

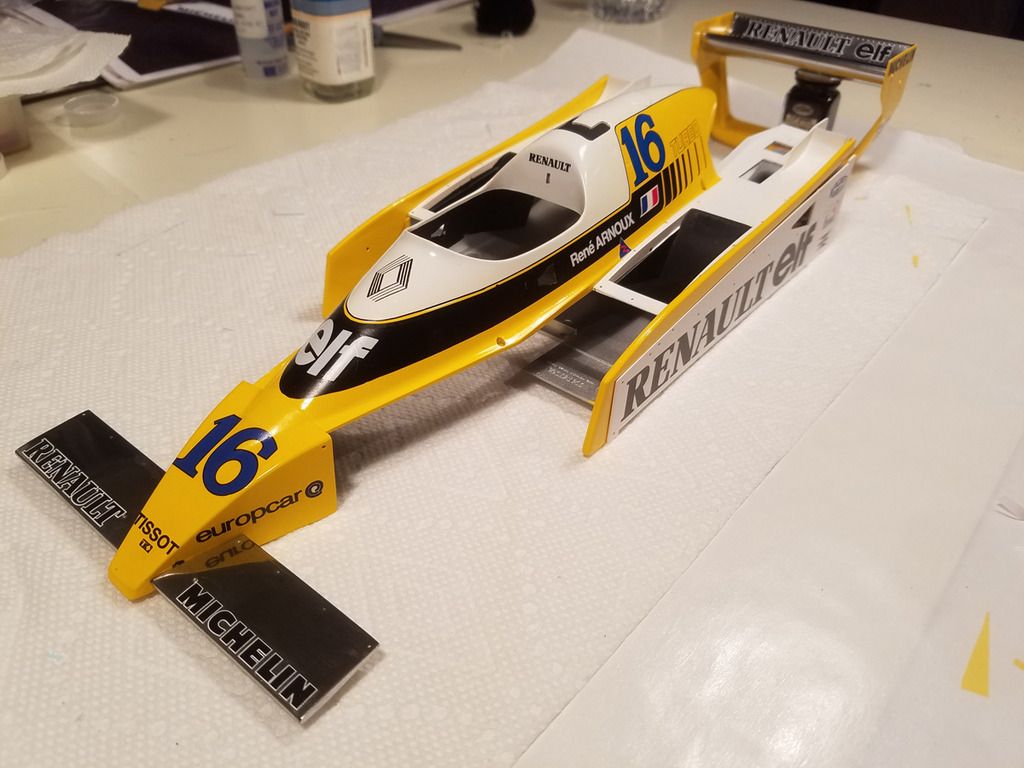
Here is everything loosely set in place all done! I used INDYCALS set for this car and I'm really happy with the artwork and how well they went down. INDYCALS decals are really delicate and can scratch easily, so I had to use some of the kit decals for spares.
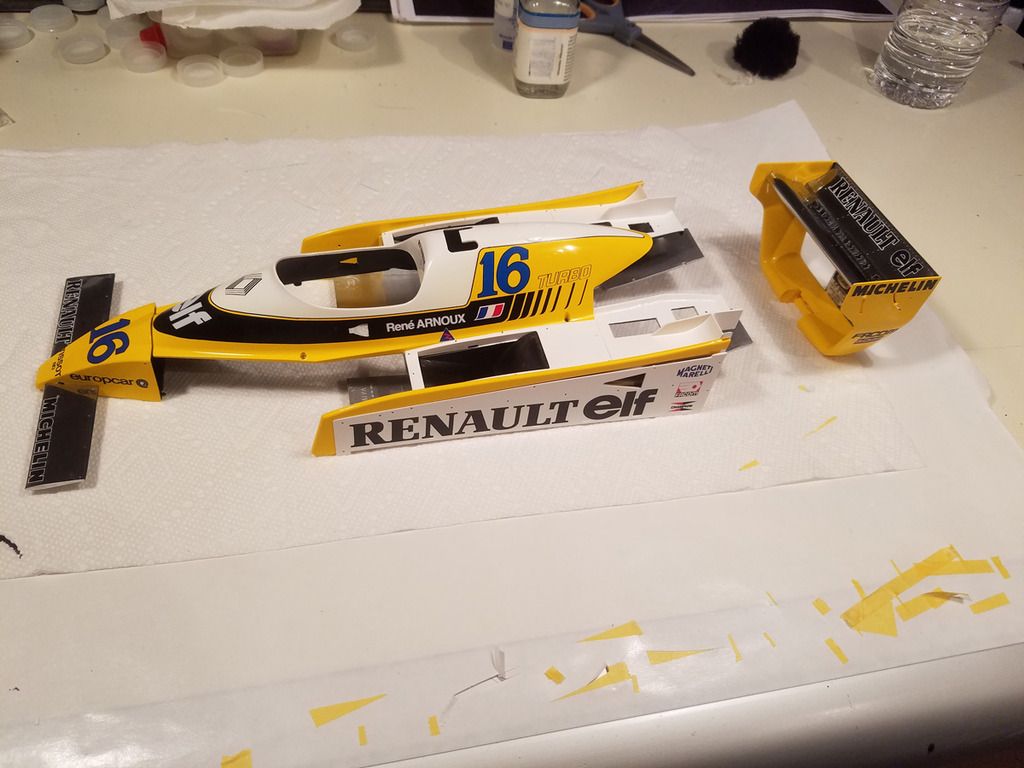
Image

The big black curve on the front cowl gave me the most trouble as you need to not only negotiate the curve, you have to align the pinstripe so the yellow shows through. Only accomplished for me by two slits across the stripe either side of the "ELF". Then, I had to go over that with a piece of kit stripe to cover the cuts. Setting solution works well.
Image

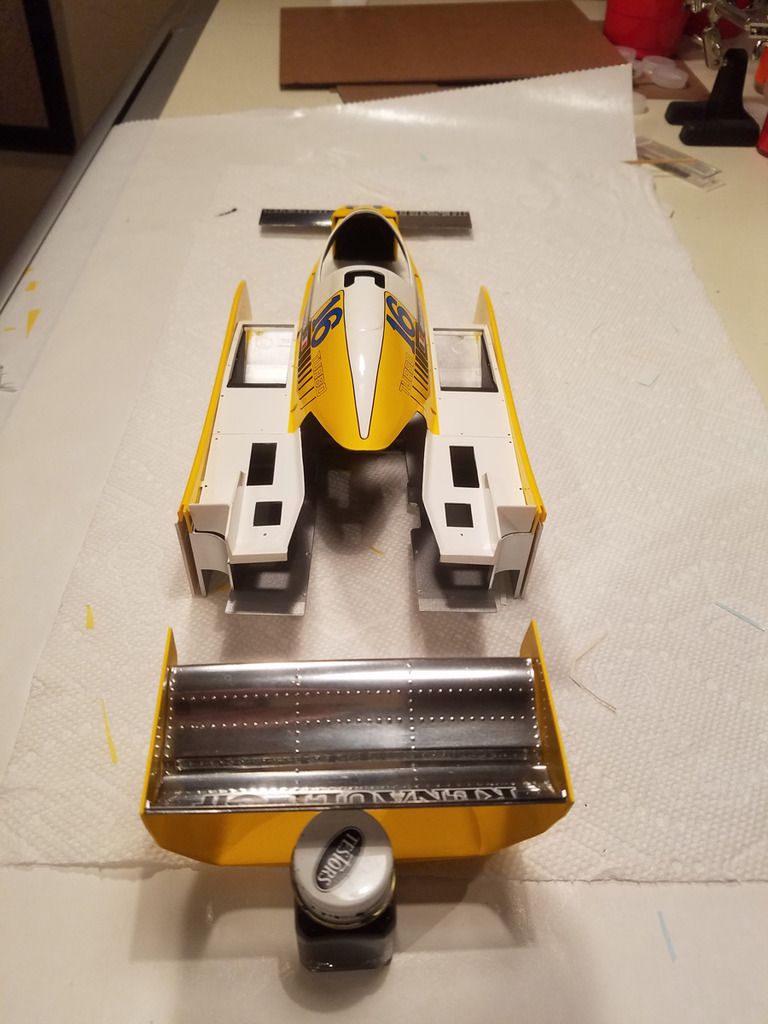
Back view, the stripes on top were "fun" too. (not).
Image

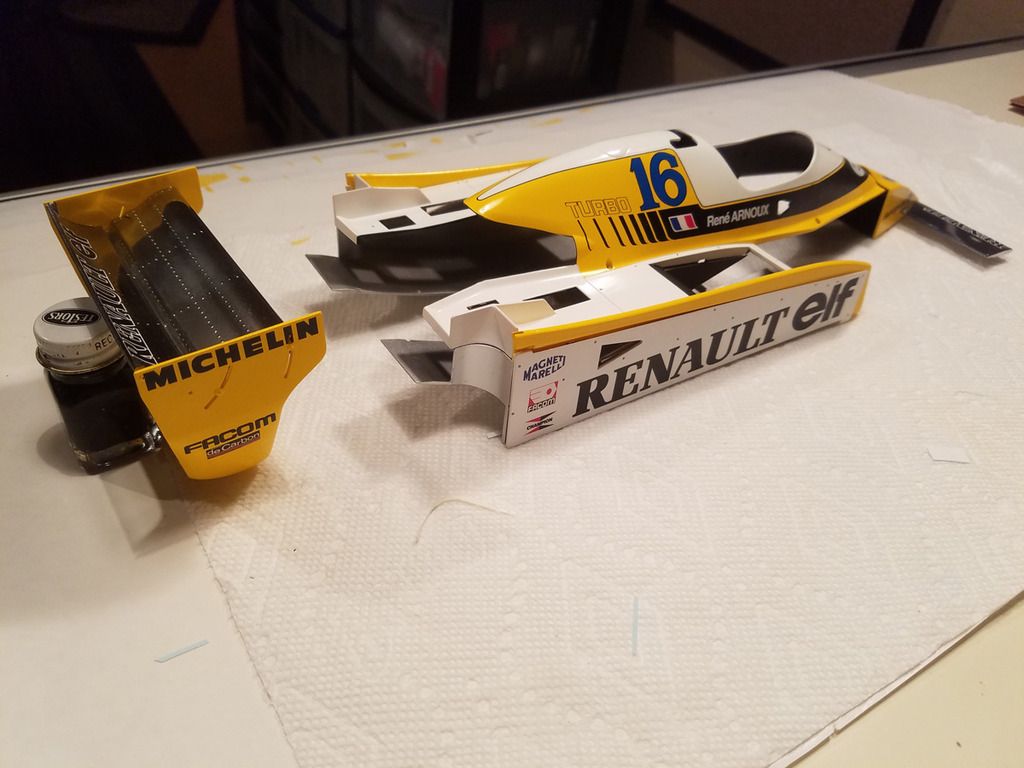
Right side. I'm really on the fence about clear coating all these pieces or just waxing it all. The photos don't suggest the decal work in reality had much sheen and I think this is looking alright?
Image

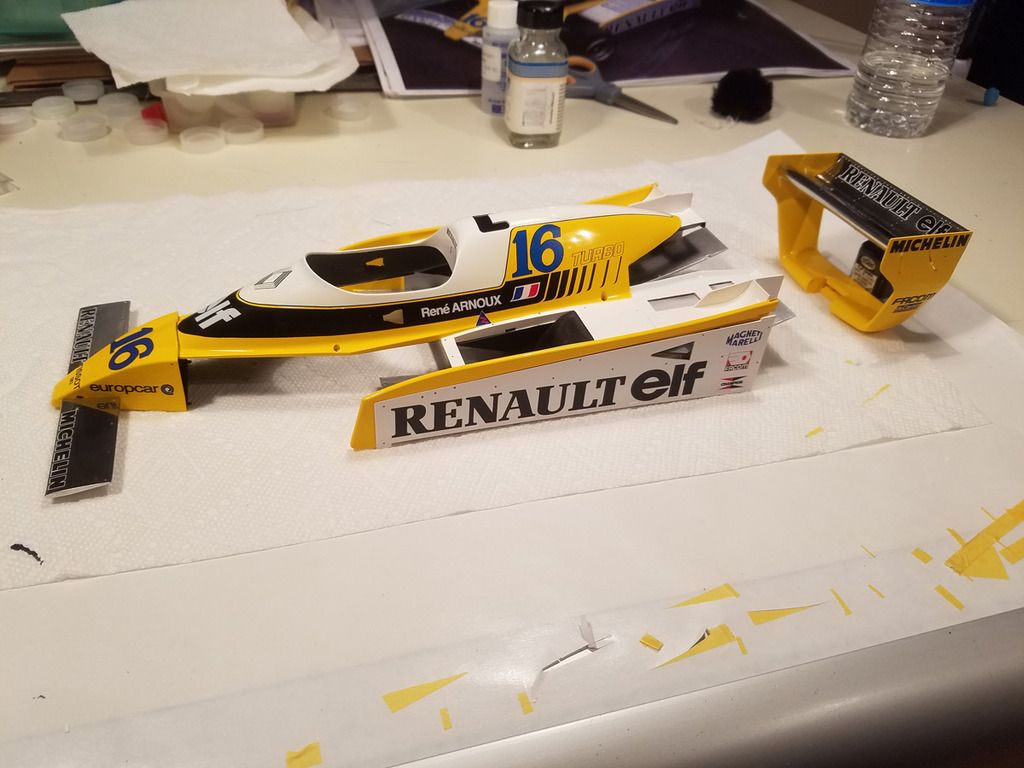
Well, that's it for now. On to finishing up the side pods and ground effect fences and mounting the monocoque to the undertray so I can get this beast closer to the end. While this has been a bear, its been a fun project to come back to. Cheers!
Image
"To finish first you must first finish" -Rick Mears
User avatar

Shunter
FOTA Chairman
FOTA Chairman
Posts: 2886
Joined: Sat Sep 20, 2003 12:38 am
Favorite F1 Team or Driver: Alfa Romeo, McLaren, Williams
Location: Melbourne, Australia
Contact:
Status: Offline
Australia

Re: Renault RE20 1_12 Shelf of Doom WIP

Post by Shunter »

This is looking soooo good.

gavrob
World Champion
World Champion
Posts: 624
Joined: Thu Jan 09, 2003 3:17 am
Your Name: Gavin Roberts
Favorite F1 Team or Driver: Lewis Hamilton
Location: Norfolk, UK
Status: Offline
Great Britain

Re: Renault RE20 1_12 Shelf of Doom WIP

Post by gavrob »

Decal work looks great.
User avatar

vekkuli
FOTA Chairman
FOTA Chairman
Posts: 4438
Joined: Wed Dec 21, 2005 3:20 pm
Favorite F1 Team or Driver: Stake Sauber
Location: Oulu-Uleåborg Finland
Status: Offline
Finland

Re: Renault RE20 1_12 Shelf of Doom WIP

Post by vekkuli »

Very good Decal & Paintjob :) .

Sennafan
Constructors Champion
Posts: 1307
Joined: Sun Mar 07, 2010 12:59 pm
Favorite F1 Team or Driver: Ferrari

Mansell
Location: Houston
Status: Offline
United States of America

Re: Renault RE20 1_12 Shelf of Doom WIP

Post by Sennafan »

Very nice work

Alex Hague
User avatar

vadim
F2 Champion
F2 Champion
Posts: 114
Joined: Fri Feb 22, 2002 9:51 am
Favorite F1 Team or Driver: Jack Brabham
Location: Kharkiv, Ukraine
Status: Offline
Ukraine

Re: Renault RE20 1_12 Shelf of Doom WIP

Post by vadim »

... and so smart solution for painting :) thanks for sharing
User avatar

hquednau
Team Owner
Team Owner
Posts: 856
Joined: Fri Sep 04, 2009 11:34 pm
Location: USA
Status: Offline

Re: Renault RE20 1_12 Shelf of Doom WIP

Post by hquednau »

Fantastic tutorial. This kit was the first F1 car I built. Definitely more than I was capable of then. I have another one and will use this thread as a guide! As to the glossy/not so glossy question, the era was a mixed bag- for sure not as shiny as show cars, but not matte either. Look at this pic- you can see a glassy reflection in the black area behind the cockpit. Personally I would protect the Indycal surface with some clear as they are somewhat fragile.
Attachments
Renault_turbo_1980 (1).jpg
User avatar

Topic author
ModelTime
F2 Champion
F2 Champion
Posts: 193
Joined: Wed Jun 10, 2015 5:12 pm
Status: Offline

Re: Renault RE20 1_12 Shelf of Doom WIP

Post by ModelTime »

Thank you for the positive feedback and encouragement. I will clear the body panels! I think I was just getting lazy or something.... :wink: It will help seal the decals and the photo etch fasteners I plan to fill all the little holes with. Carry on!
"To finish first you must first finish" -Rick Mears
User avatar

daveyman
FOTA Chairman
FOTA Chairman
Posts: 4540
Joined: Sun Jun 24, 2007 11:39 am
Favorite F1 Team or Driver: Riccardo Patrese
Location: Hull, England.
Status: Offline
Great Britain

Re: Renault RE20 1_12 Shelf of Doom WIP

Post by daveyman »

Looks a real beauty with the decals on. Thanks for sharing your WIP.

Chinamalc
Best of the Rest
Best of the Rest
Posts: 514
Joined: Fri Oct 14, 2005 11:06 am
Location: about 1985
Status: Offline

Re: Renault RE20 1_12 Shelf of Doom WIP

Post by Chinamalc »

Dragging this out of the archives, I found I had missed the last update........
Did you ever finish?
You are soooo close!

Malc.
Post Reply