[quote="MarcoSaupe"]Well, it can't get much simpler and cheaper than my setup...
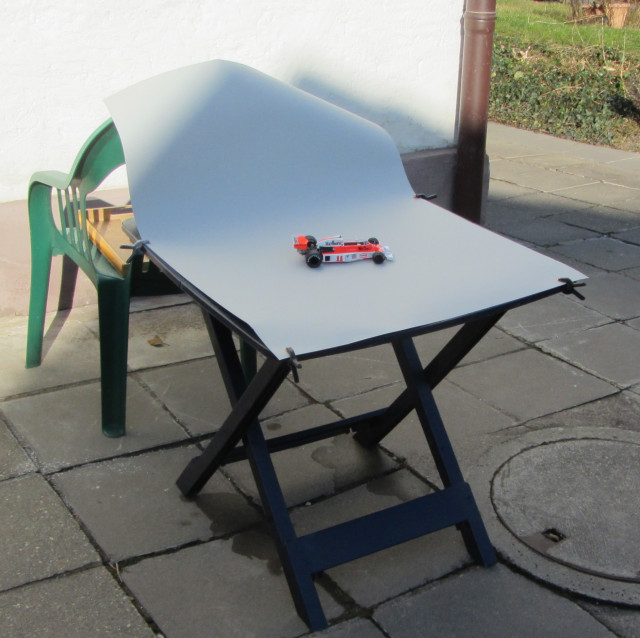
I have a piece of photo cardboard that I put on a garden table and bend the backside up. I put this setup in the shadow on a sunny day or in a normal spot on a cloudy day. I have a small canon compact camera that I bought 8 years ago for 200€ that I set to automatic. I usually shoot from about 1.5-2m away from the model, except for detail shots.
This is a great setup, ...simple set, shadows are minimal, contrast is controlled, no lights necessary ! I love it, and the results are very nice.
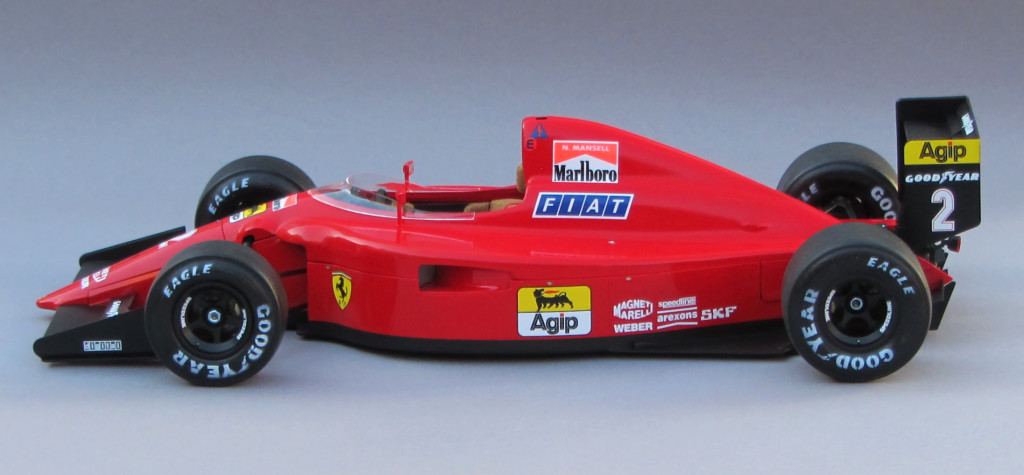
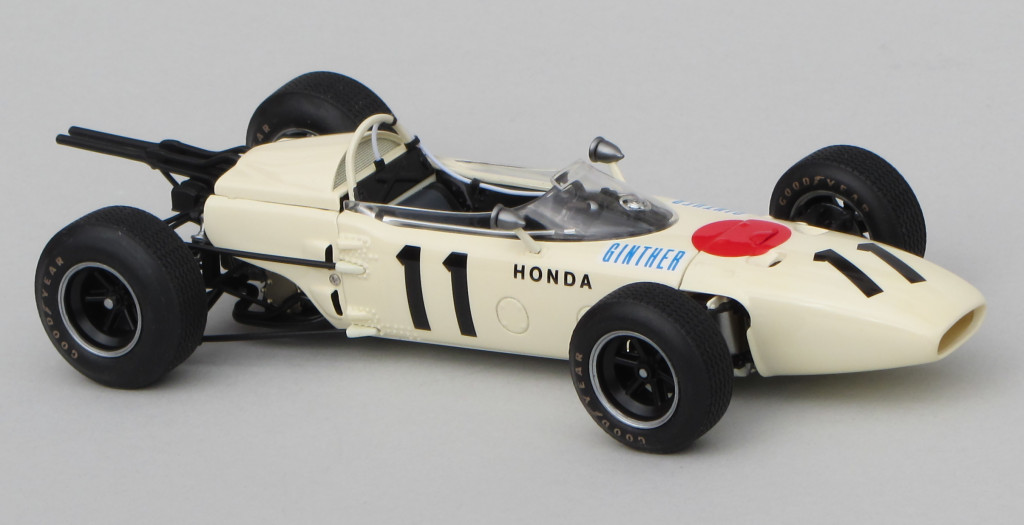
I choose to shoot models in the studio, but only because I have one waiting patiently center stage at all times. if you decide to go my route, use one simple light above and slightly behind the subject, diffused through a translucent piece of cloth or layers of tracing paper to soften the shadows, and reflect light in from different angles to fill shadows with small mirrors. I flag the background into shadow with a solid piece of cardboard from above to get the background to fall off to black. If you have manual controls on your camera, set the f stop to f11 or f16 or even better, f22. This gives you extended focus range (depth of field) and will get more of the model in focus than more wide open f stops like f2.8 or f3.5 or f5.6. Your shutter speeds will be longer with bigger number f stops, but who cares, the subject is setting still. (some of my model shot exposure times run 30-90 seconds). A tripod that holds the camera steady is important in model photography. A tripod isn't absolutely necessary, but it will allow you to use an fstop that creates more depth of focus, and will always be sharper than handheld.
I shoot models from the same angles that I use to shoot real F1 cars on track. I always wanted to take the viewer of my racing images right out to the car with long lenses and the best access. Soooooooo, a lot of my shots of models are created down on the level of the model, not looking down like I was shooting from a second floor balcony. And again, I like to take the viewer down to the car as if they were standing in the room with it. A good background is a piece of posterboard from the art store painted with textured paint, then painted flat black. Orrrrrr, you can use shiny posterboard and get reflections of the car. And if you need curbing, go to a model railroad hobby shop and get some "cork roadbed". It is a replication of the piled gravel that railroad tracks are laid on. Peel the halves apart and you have instant curbing with the texture of concrete. Use "N" scale roadbed for 20th scale, and "HO' scale roadbed for 12th scale. They are cork, so they bend, and can be painted white with red or blue sections and you have a simple "curbing" for on your background made from posterboard.
I do indeed use photoshop for my job hours everyday, so I bring that in for model shots too, adding motion.
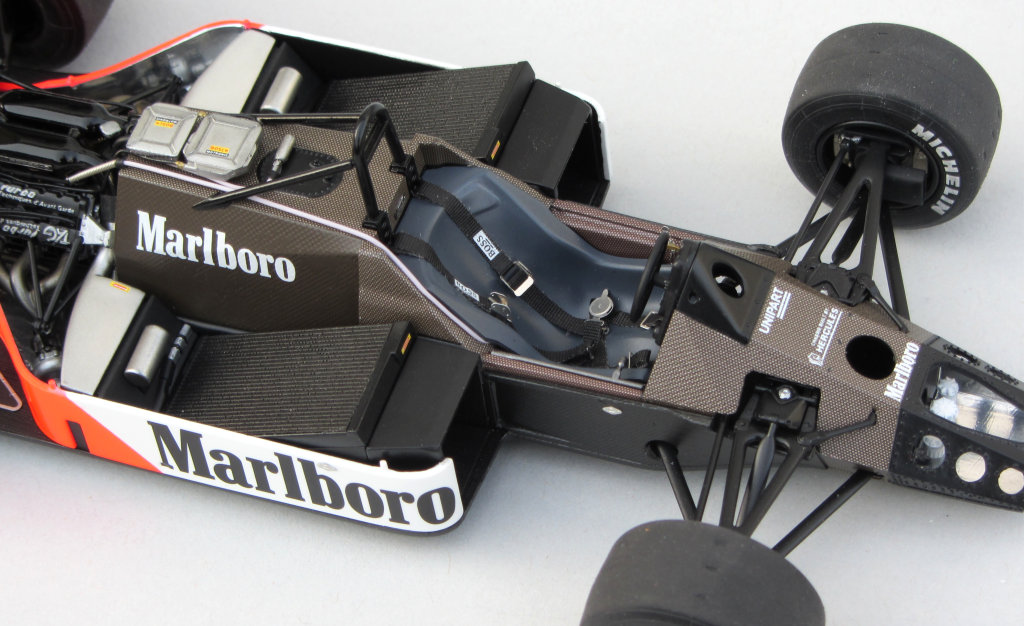
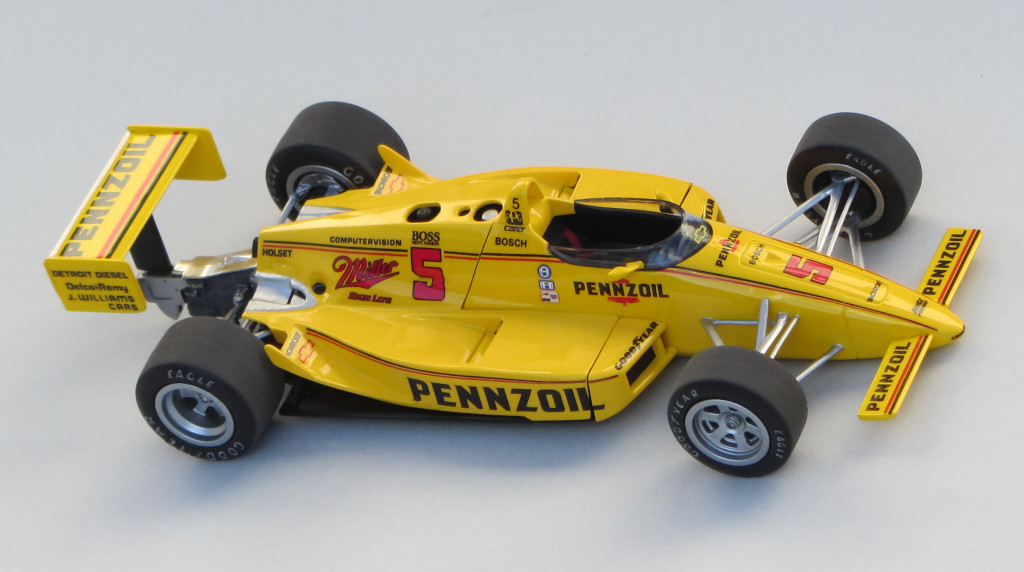
Below are some examples of my studio lighting from different angles.
If there are any questions I might help with, I have no secrets, ...I love to help.
Cheers,
Steve
STEVE MOHLENKAMP PHOTOGRAPHY
http://www.SteveMohlenkamp.com
This Benetton B188 was built by Jeff Wallen.
Double exposures and blending layers in photoshop.
when I was young, all the boys made model cars, ...some of us just never stopped !