I'm still at that early point where I've poured hours and hours into this thing without it really seeming like much is going on... and it was feeling like I should really have a progress report up given it's a
speed build, so here we go:
Beginning a kit (the
pre-frustration/losing the plot/using it for a boomerang phase) is always enjoyable.
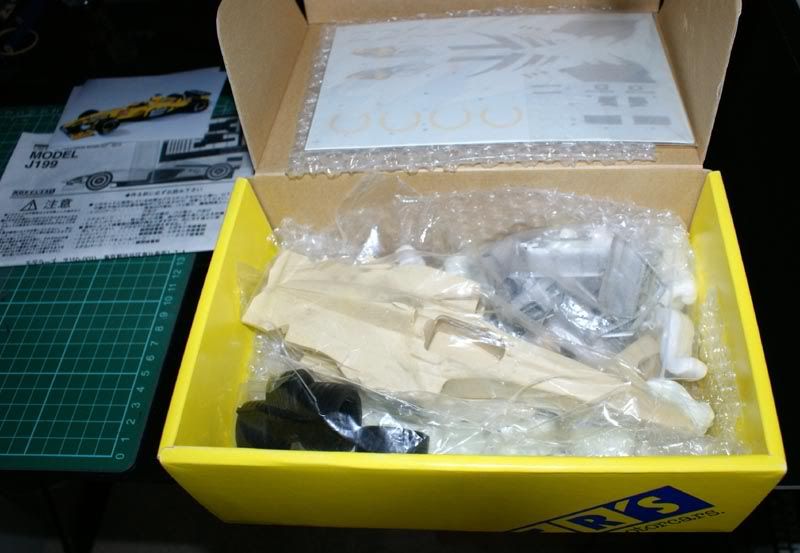
There were a few quite hefty pieces of resin still attached to the main parts which needed careful removal (and now that I think of it the rubber wheels also have large extra moulding flash type bits on them which could prove challenging). And no, I didn't have the camera mounted to my head, but yes, it was a challenge getting the
action shot...
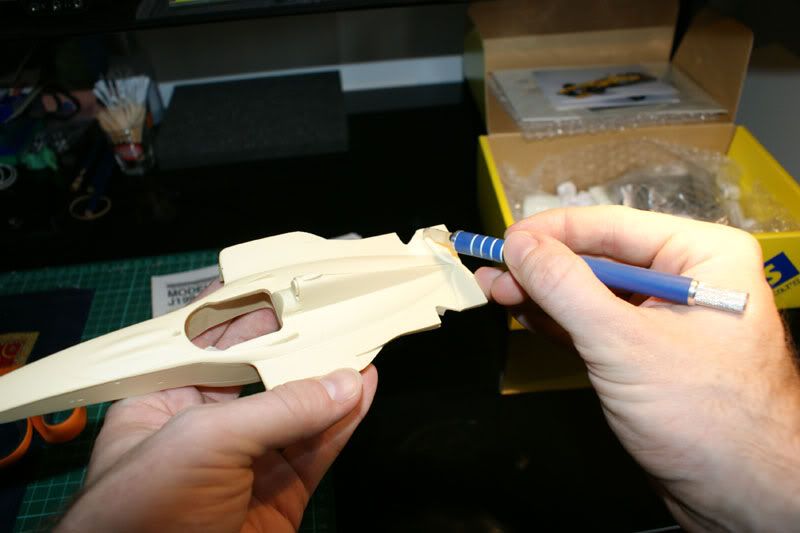
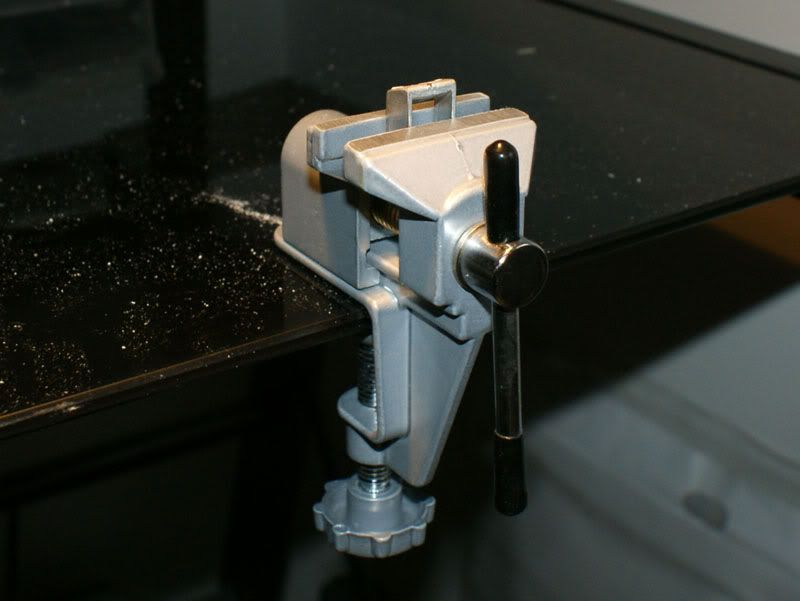
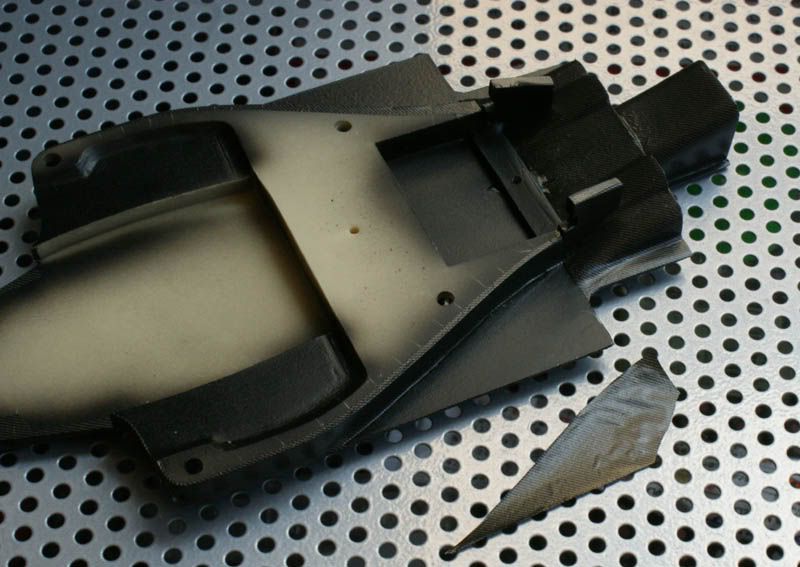
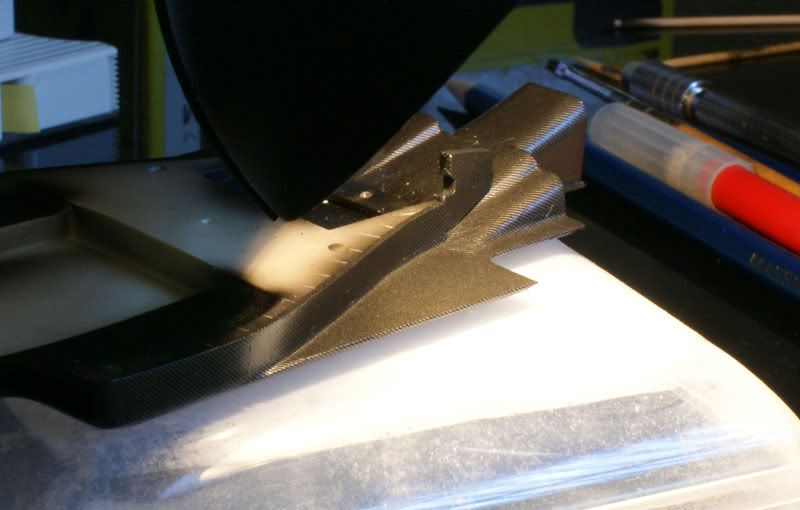
I paid close attention to Willchan's recent build of this kit, and agree with what he mentioned about needing to cut in half the part that joins the front wing to the nose - it's too wide. So out comes the new quick-mount vise my folks gave me for Xmas (great timing!), a quick bit of sawing, and it's problem solved.
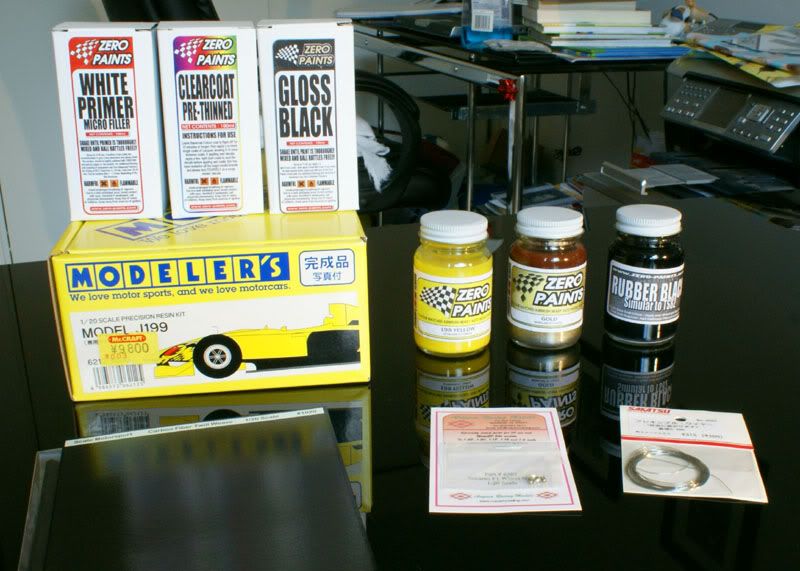
The seat has been primed and painted using
SMS Faux-Fabrix, and it's come up quite nicely with no additional painting needed. SMS modern F1 harness is also in the mail for this kit - haven't used it before, but I imagine it'll work well enough. The floorpan it's on is ready for CF decals too.
Various bits primed and covered with Tamiya TS-14 (black). My normal process for carbon fiber parts is to fill blemishes, sand, prime, sand (fill/sand/prime further if required), top coat of black, CF decal, and smoke topcoat. I don't have time for this on this build, so it's basically prime, spray black,
ignore blemishes, CF decal, then smoke topcoat - no filling or sanding unless there's horrible indents or holes... which there aren't thankfully.
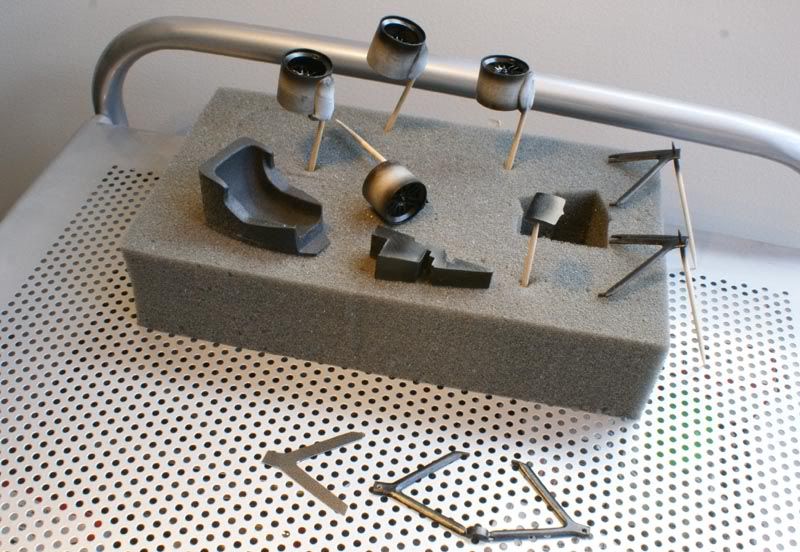
This cuts a massive amount of time out, and the end result is 99% of the result with all those extra hours of effort. And in the end noone will really notice unless they've got a magnifying glass (I'll likely enter this build in the state comp later in the year... so I'll let the judges make the final call!).
And so the CF decaling started on the floorpan. It was a little rushed but for the most part came out quite nicely (SMS 1/20 Twill Weave decal was used). I let it all set properly for a few days, and then starting shooting mist coats of Smoke (Tamiya TS-?...
can't recall) over it. I've never had any issues with this before when using the exact same methods and items, although this time it bubbled up on me - damnit!
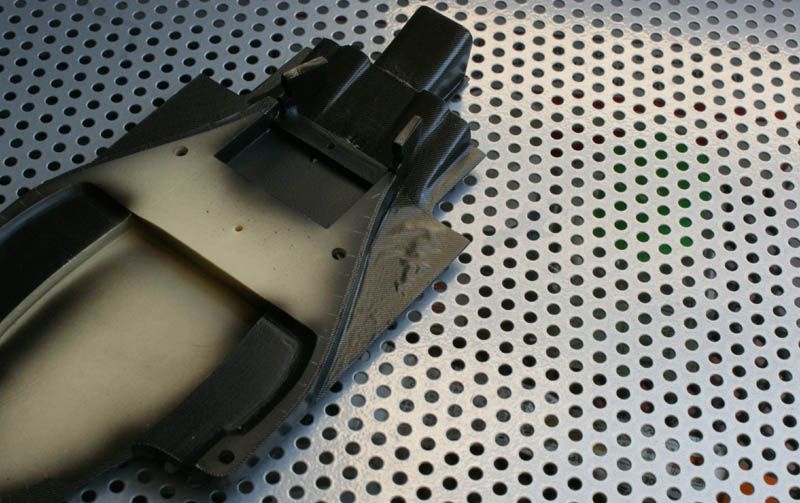
I found that as I was using mist coats I could wait half a minute for it to dry off, then use a cotton tip (not sure the exact name for them...) to pad it all back down nicely. Eventually it all came good and I could do slightly heavier coats, but one side just wouldn't play the game (in the pic above).
I noticed a few interesting things during this challenge...
1. I could use Microsol again reasonably safely a few minutes after I'd shot the mist coat and let it dry. I did this in a further attempt to iron out any kinks that were left over, and hopefully
melt the decal onto the paint. I experienced no problems doing this;
2. It got to a point on the problem area shown above where I'd not have touched it for hours and it was totally dry, and it essentially stay bubbled up. However if I put it under my lamp (provides gentle heat) it would flatten out perfectly! Take the heat lamp away, up come the bubbles... what the...!
In the end I just cut the darn thing off with a brand new scaple blade.
I've put the new piece of CF decal on now, put it under the heat lamp to make sure it all hugged around the edges nice and tight, and so far it's all going well - tomorrow morning will be the test when the smoke gets sprayed on again. Fingers crossed!
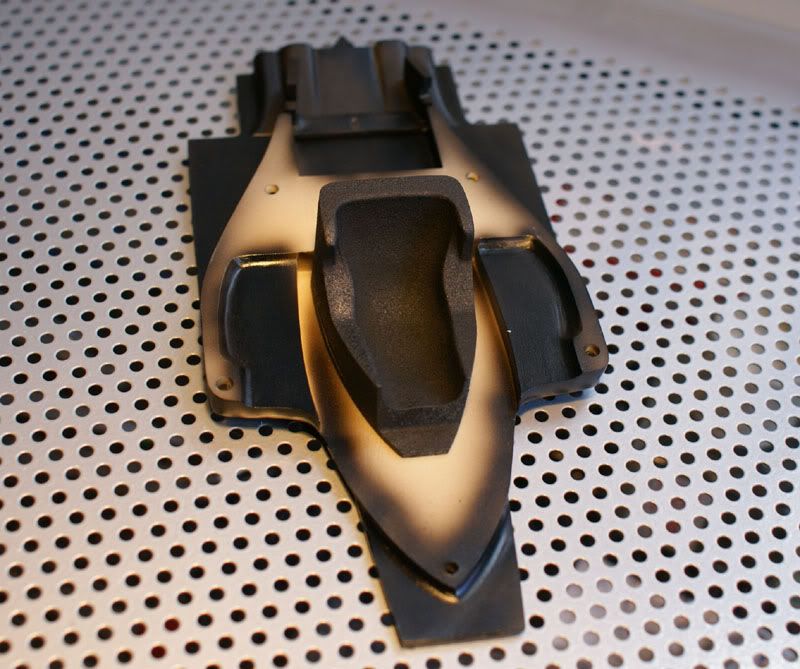
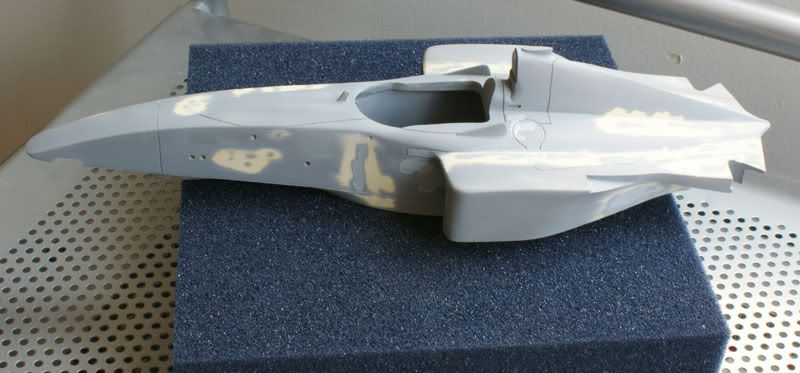
The body has been getting a lot of work too. There's a number of blemishes that need fixing, and I chose to try using Tamiya Liquid Surface Primer and brushing it onto the parts that needed filling. I didn't realise I dried so hard, and I'm having some issues getting it sanded down without ruining surrounding areas, especially in the hard to reach spots (like around the head rest). Live and learn I guess - my advice to those yet to try it is to use it sparingly and don't go too nuts slopping it on all over the place if you really don't need to.
So that's about where I'm up to. Lots of work, not so much to show yet. I'm still pretty motivated though, given there's a pretty strict time limitation on this build. A quick bit of mental arithmatic, and I think we've got at least 11 weeks to go (plus the randomised extension), and I think I can still get it completed.
Ok, enough from me, time to get building!
Cheers all,
M