Ensign N176/177 - 3D Printer
Posted: Wed May 12, 2021 6:24 pm
Yes, I will try an adventure and I am spending some hours to develop this project.
I think it is a way to develop my skills with project software and also have some fun.
So I am starting from zero.
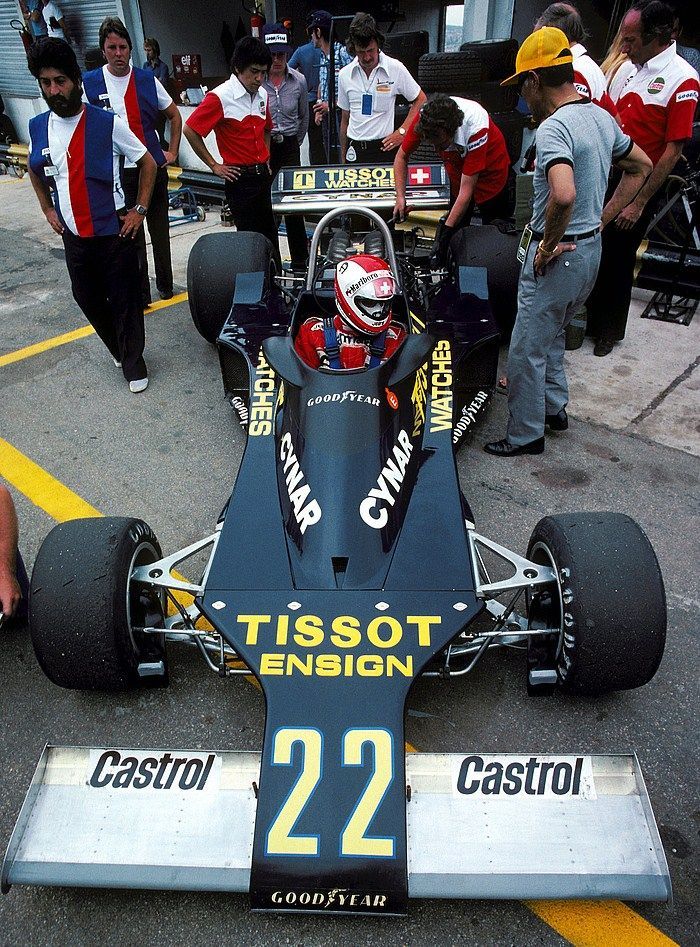
I just took some pictures in the internet, made some calculations and lets go.
I think I started this idea about 9 months ago, I don't have too much free time, so everything is made step by step.
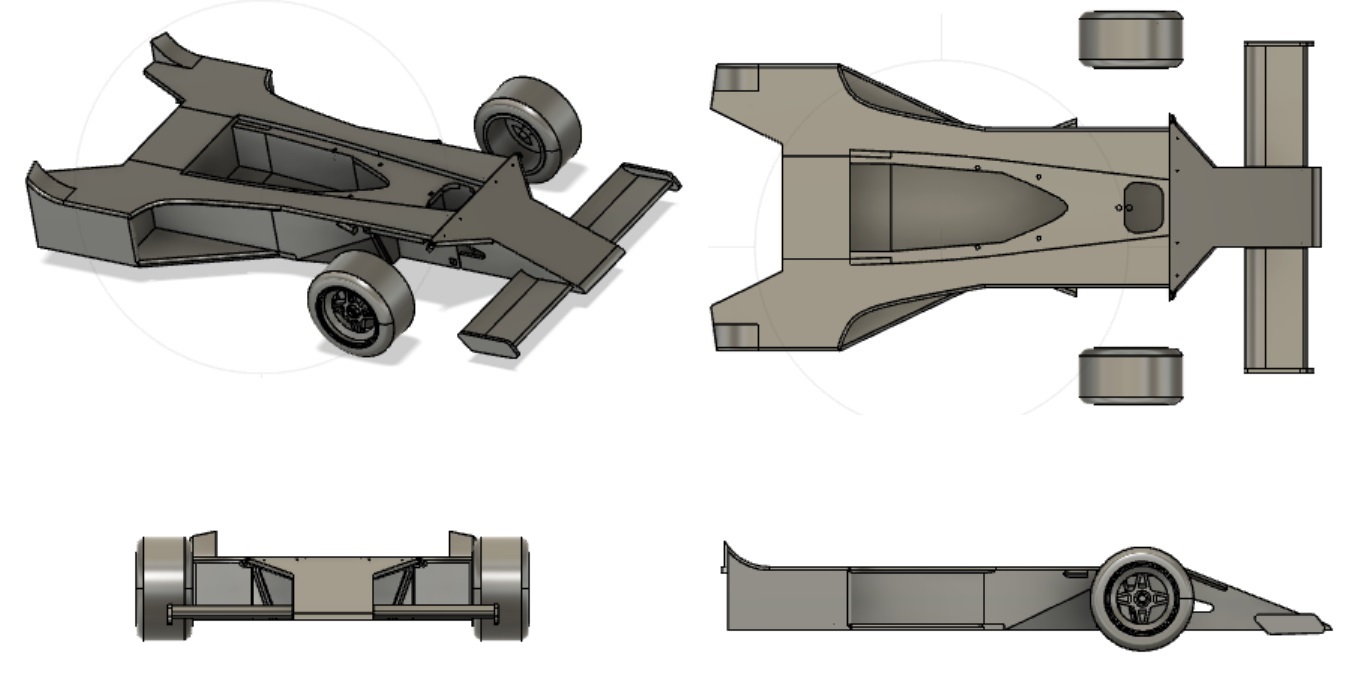
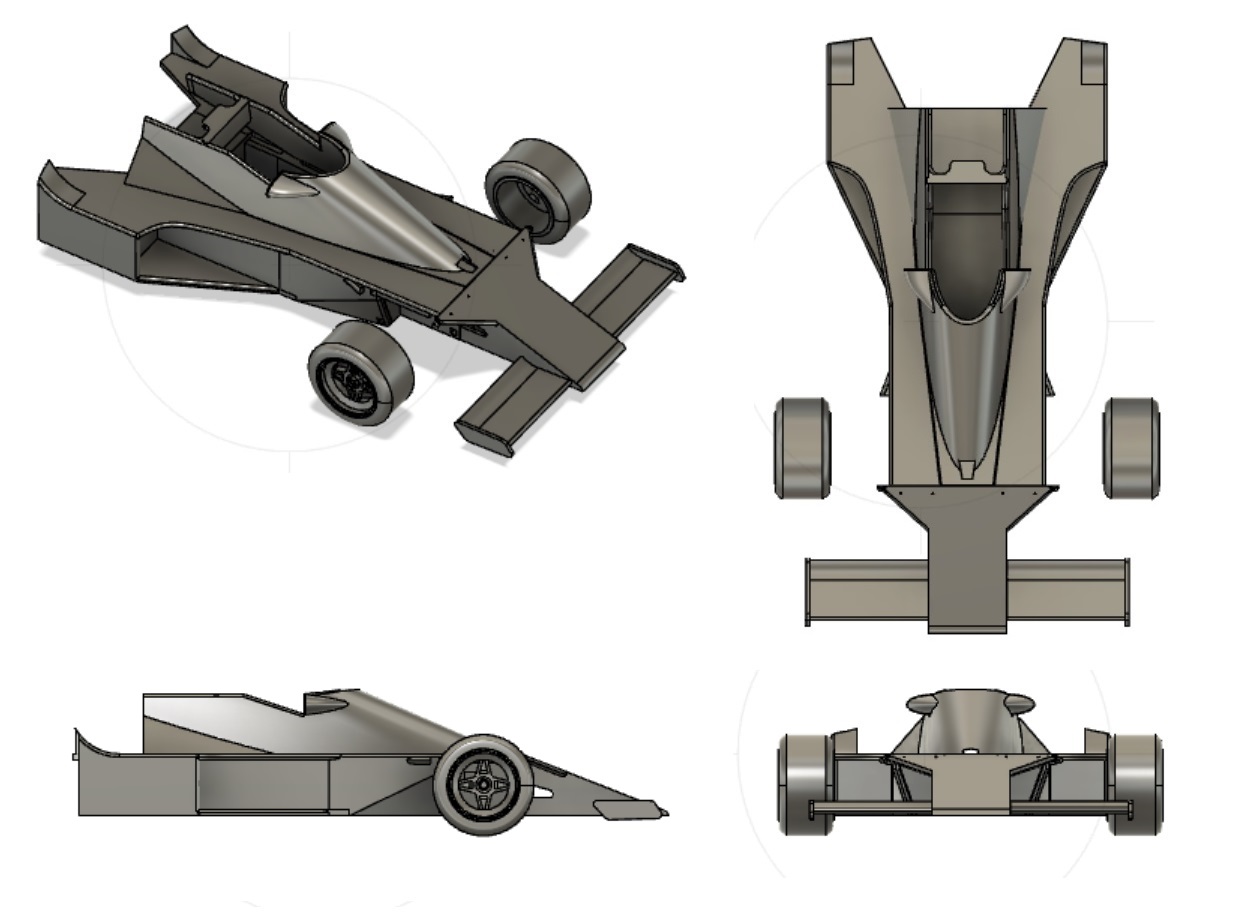
this is the car and some different versions can be done with some minor changes.

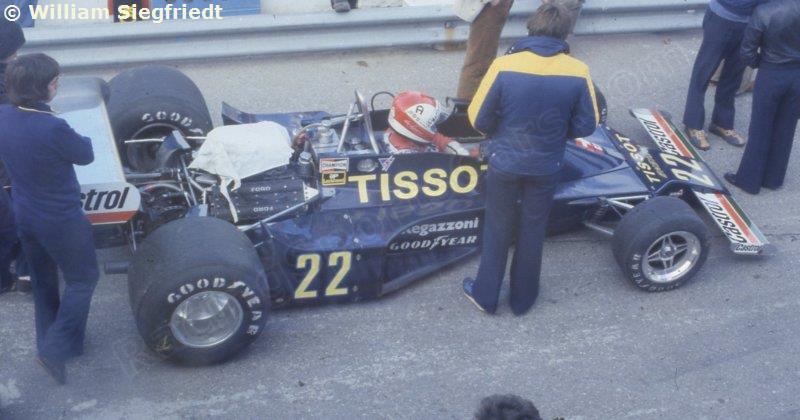
I used some drawings I found in the internet, just to have an idea. I also compared some dimensions to other Tamiya F1 cars to make the project more realistic.
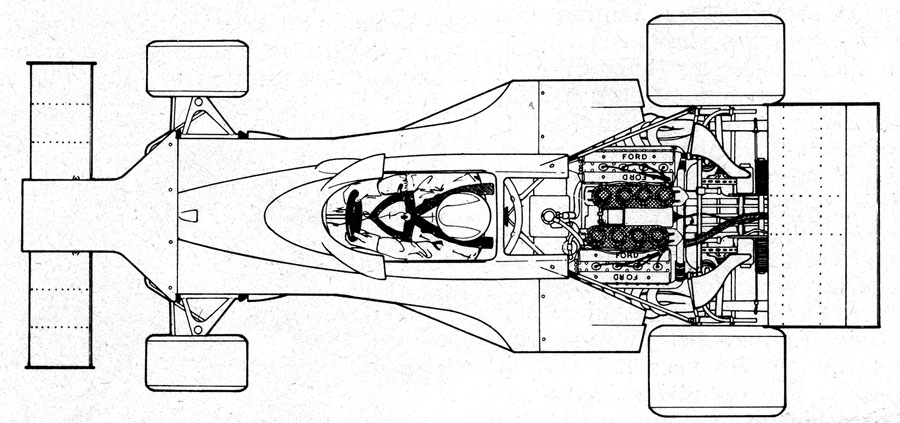
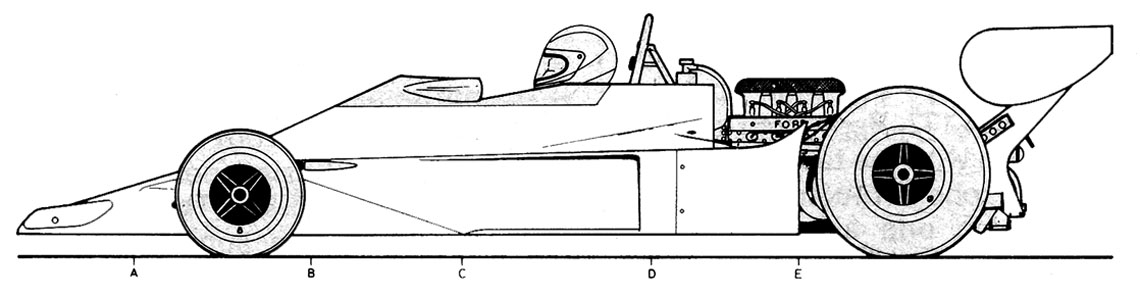
But Drawings are not in scale.
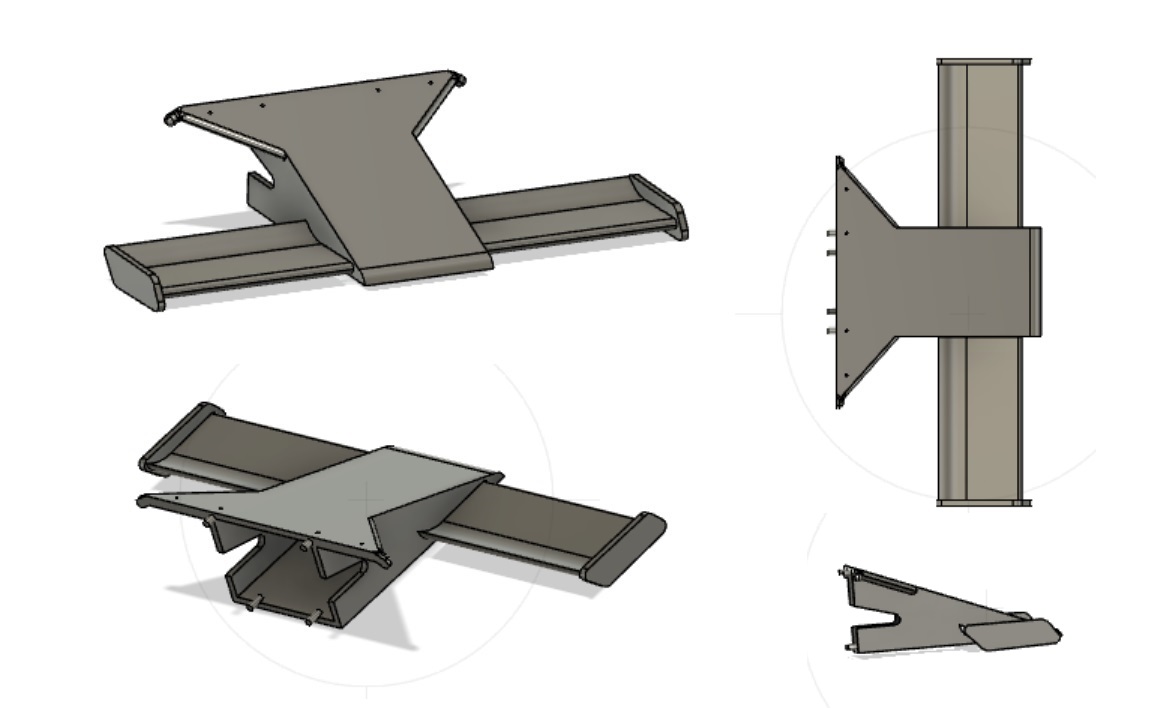
So I started working with body. It took several weeks to adjust dimensions and curves, but it is ok now. Another challenge is to learn how to print the pieces with 3D printer.
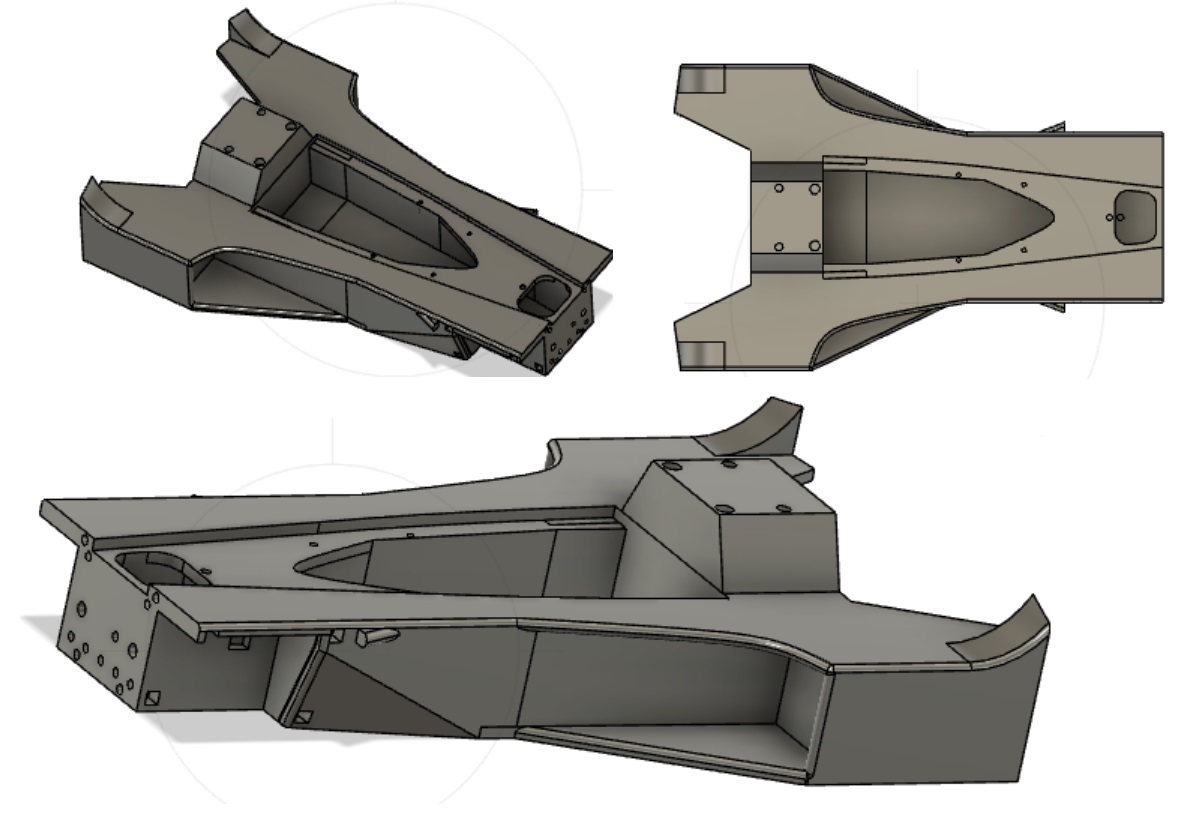
After the Body I just decided to do the nose of the car, and it was not difficult to do it.

To finish the nose of the car I did the front wings, based on the pictures, it seems pretty similar to Wolf F1, so I adjusted size and here is the result. I will do removable nose, at least I will try to detail part of the car.
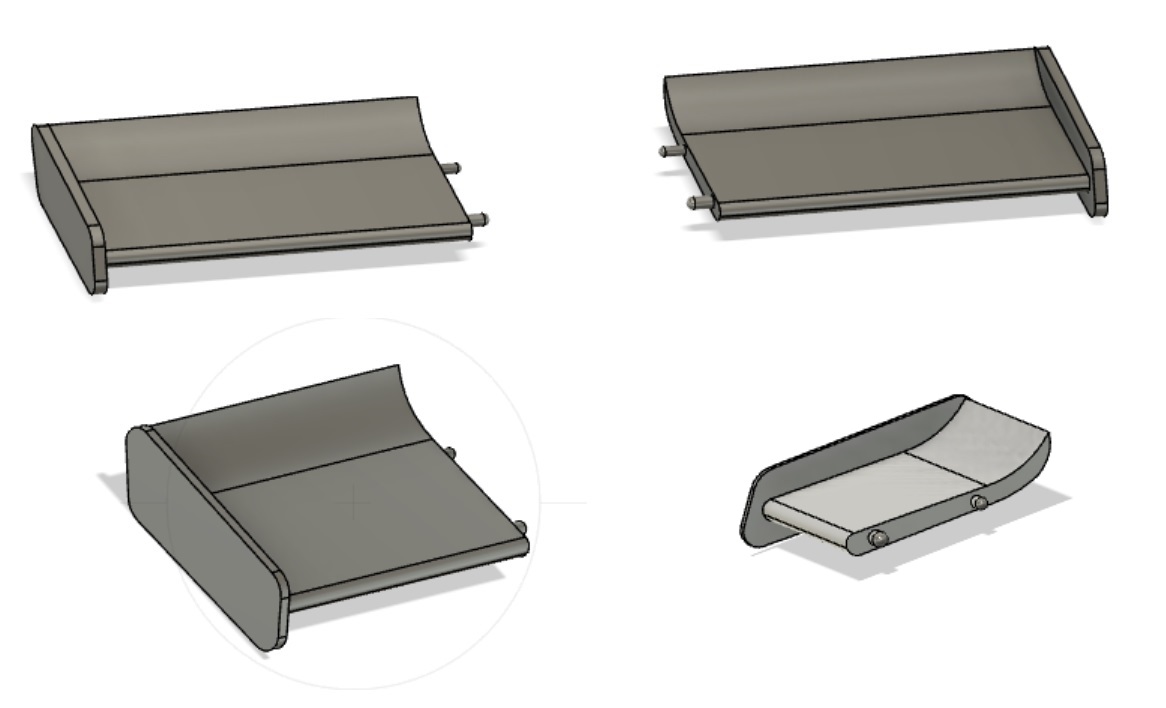
and this is the result of the completed nose.
Once the body and nose are ok, I had a massive work to start to design the front suspension. So I started from the wheels to have a clear idea of size and position of the pieces. I desgined one type of wheels that the car used, there is one or two more different types that I may develop for other versions If I decide it later. Tires were developed and unfortunately they will be made by resin insted rubber. I know, there are other possbilities, maybe I decide for a different solution later.

This is what I expect after I have all the pieces printed. It is nice to simulate all parts togheter, I am able to check how everything is going to be.
Now it is time to put hands on and cross fringers to see what I have made.
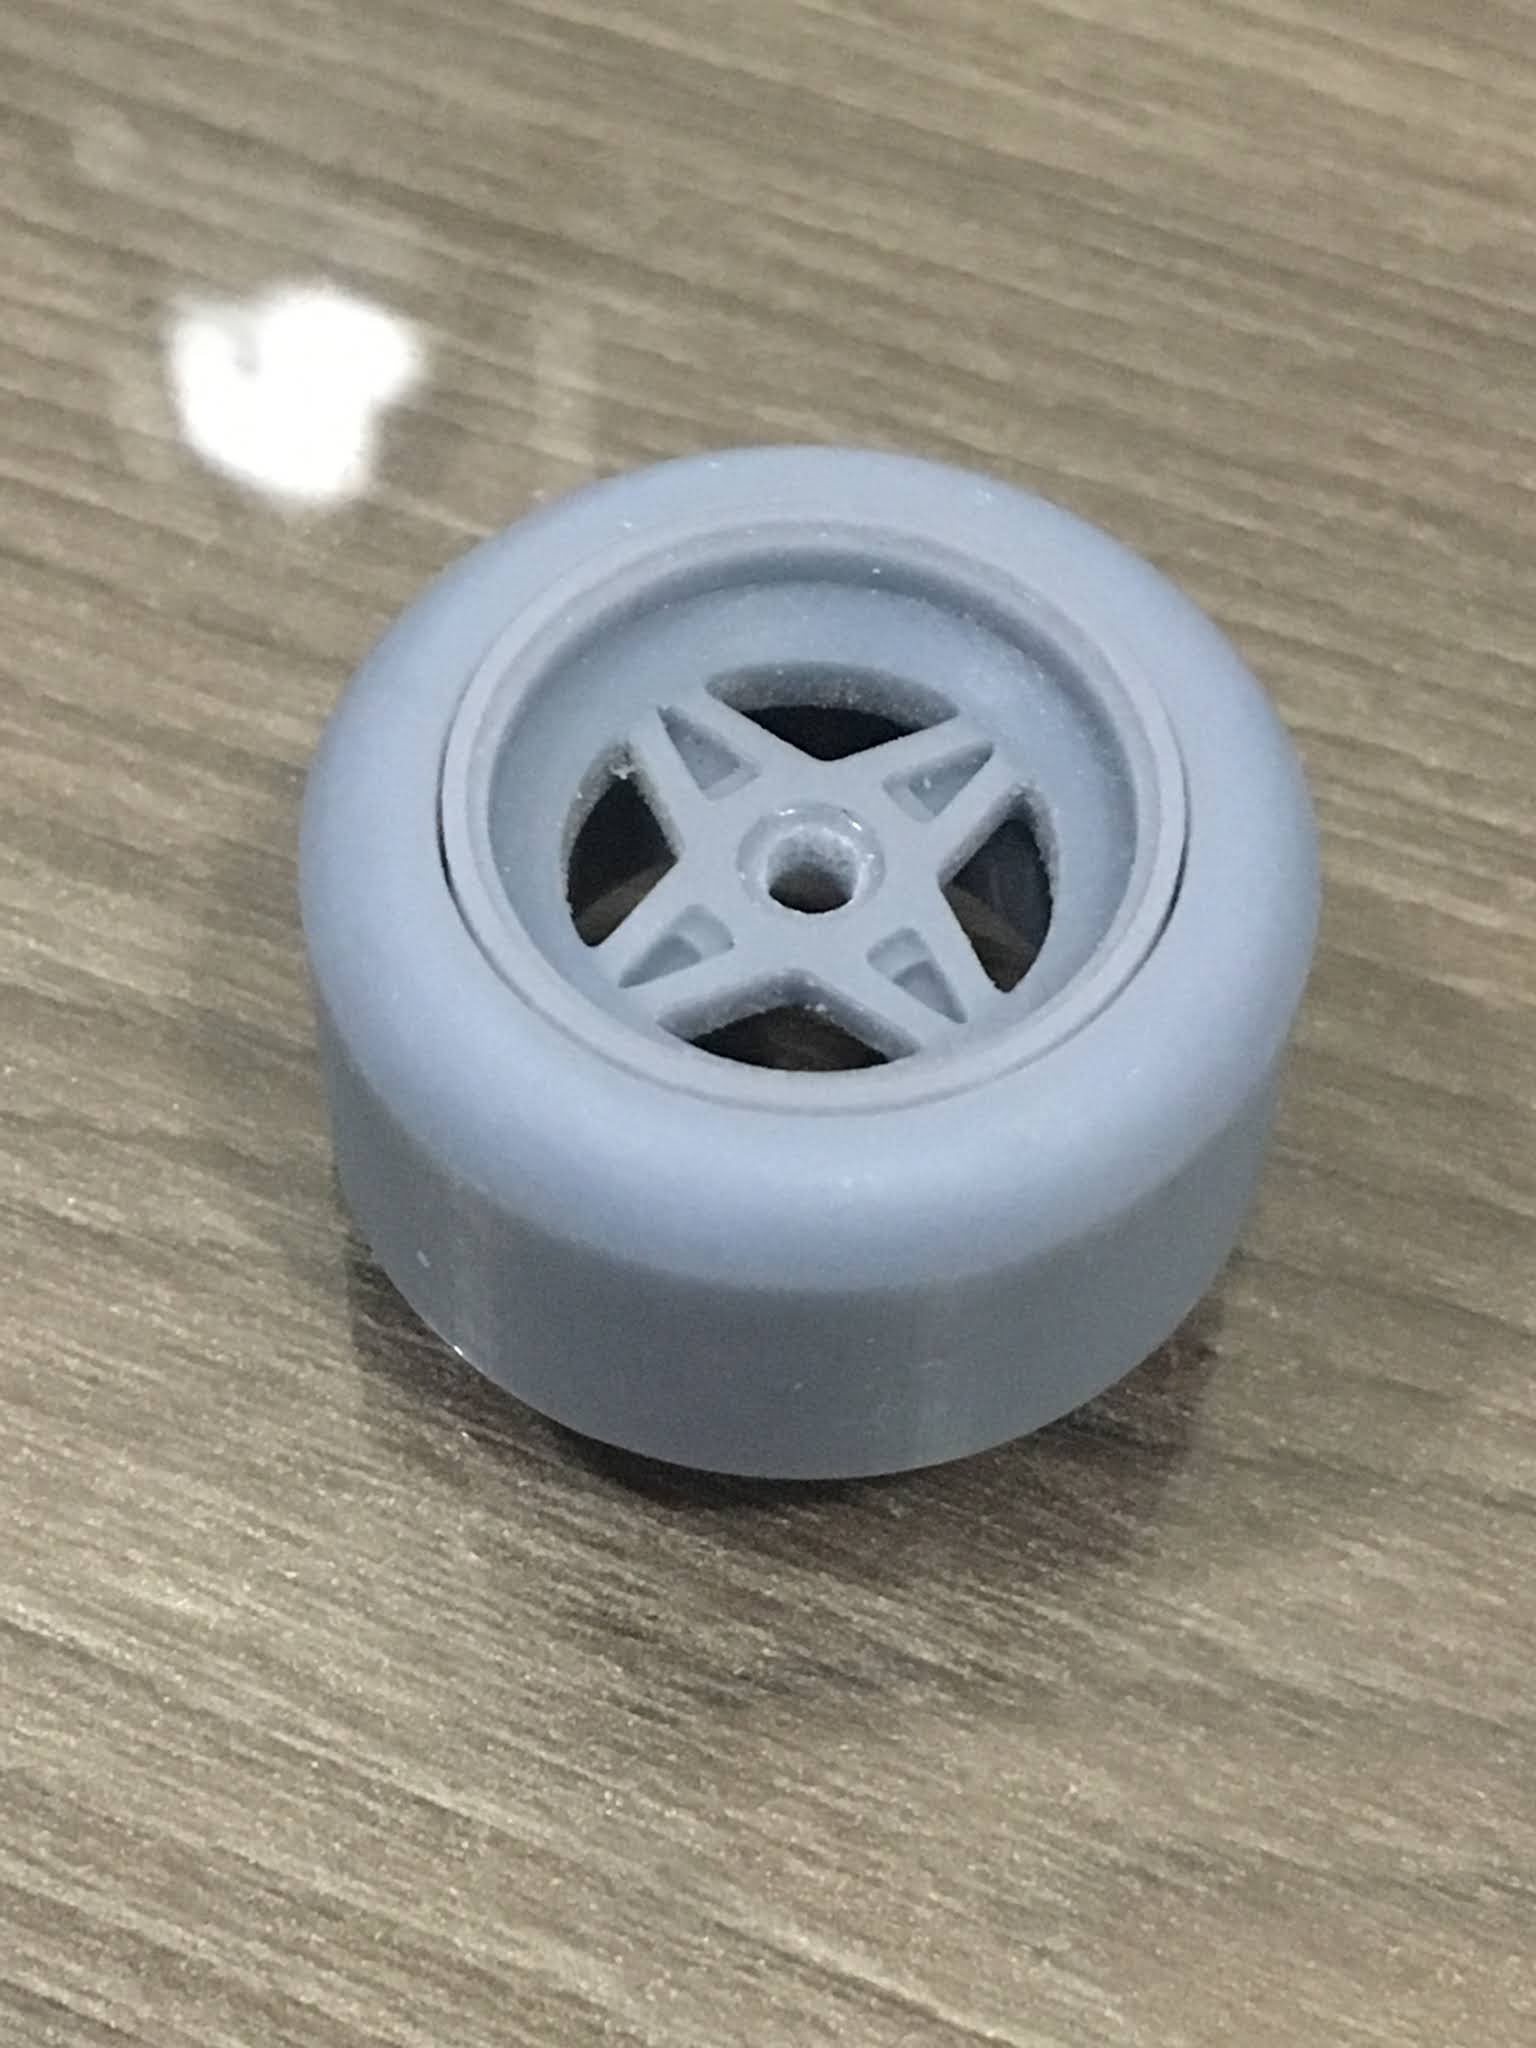
and it worked!!! the wheels fitted perfectly!
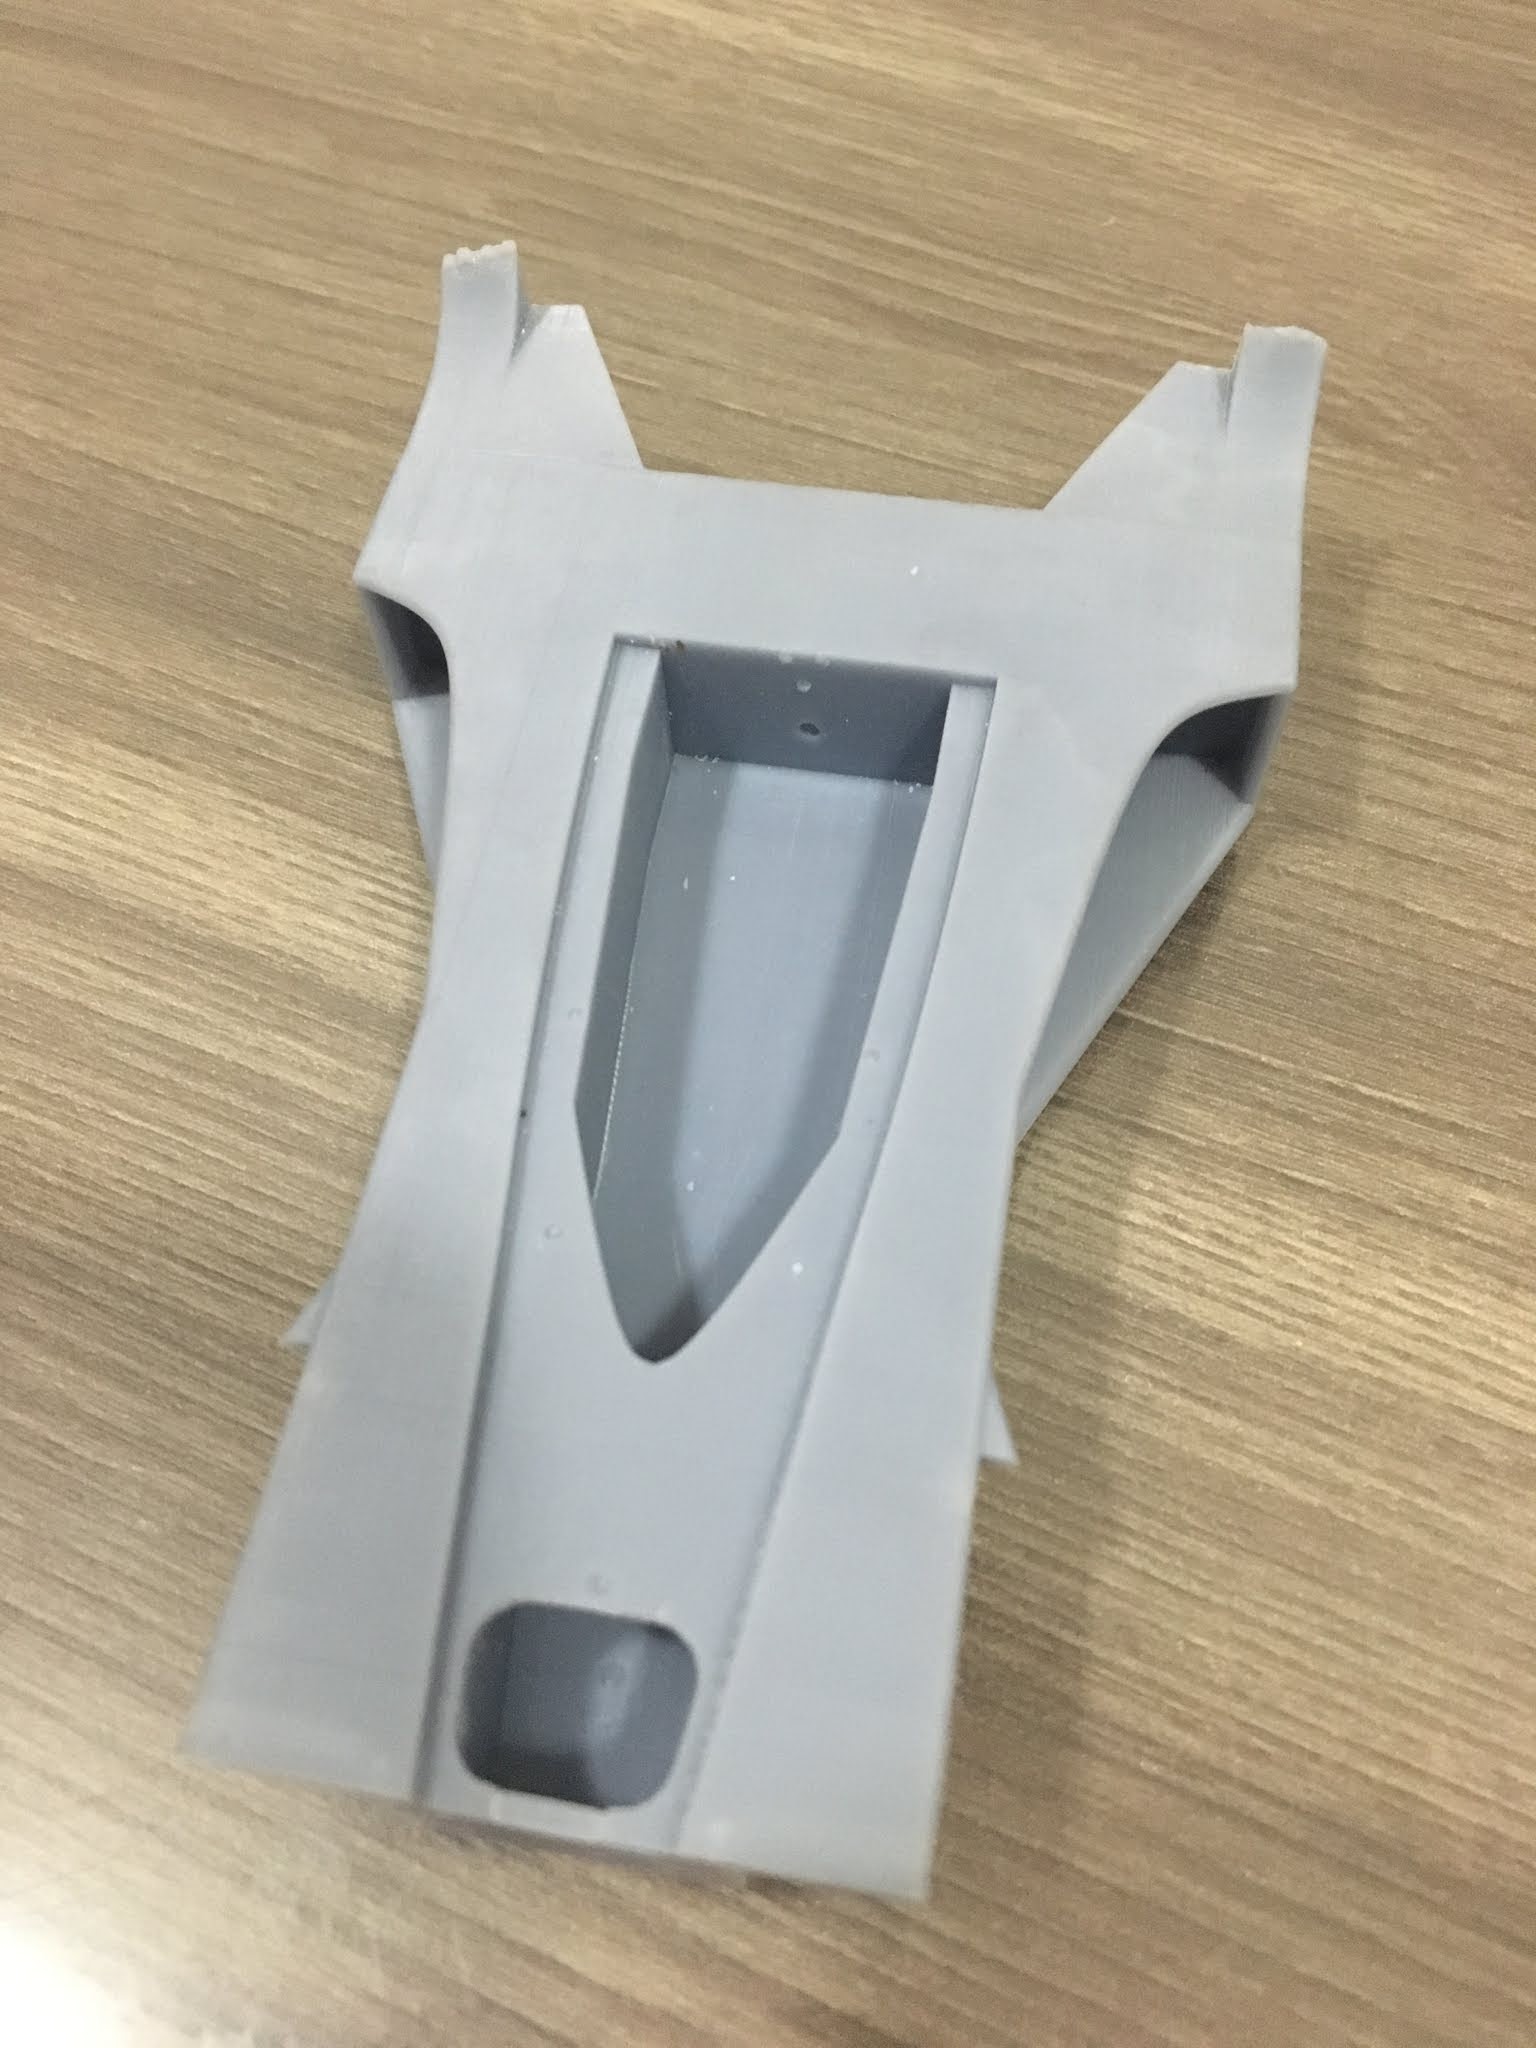
I had to split part of the body, like the fuel tank and front part of body, but it also fitted very well, nothing that some sanding and prepartion cannot fix.
other body pictures
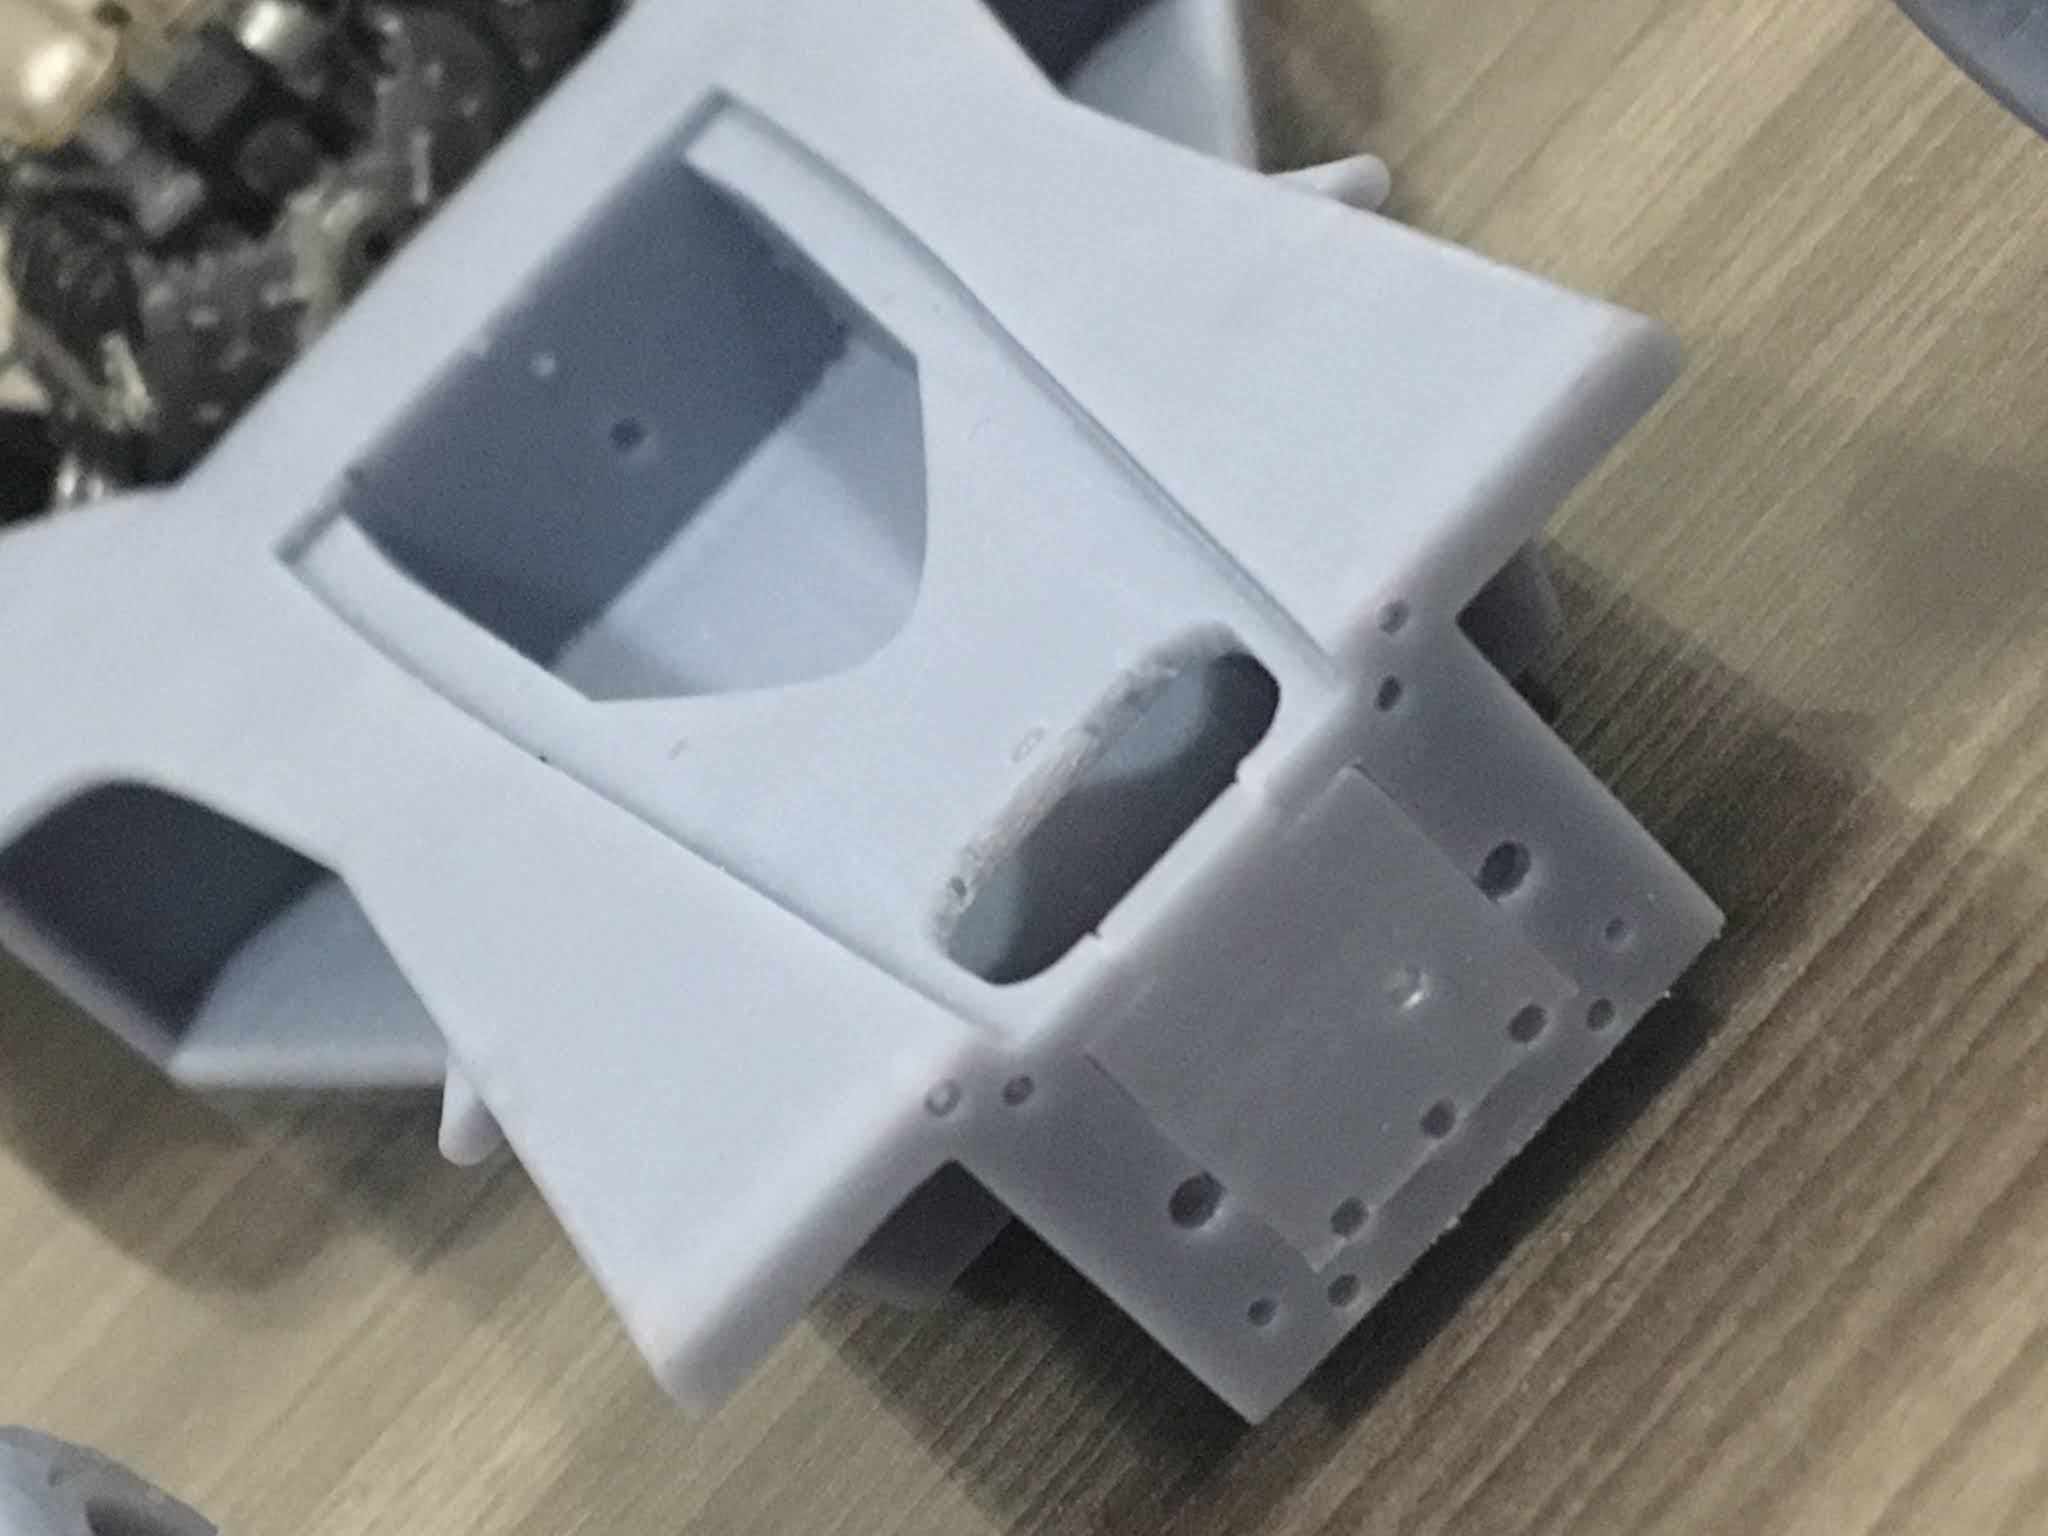
Detailing the area where suspesion will be assembled.

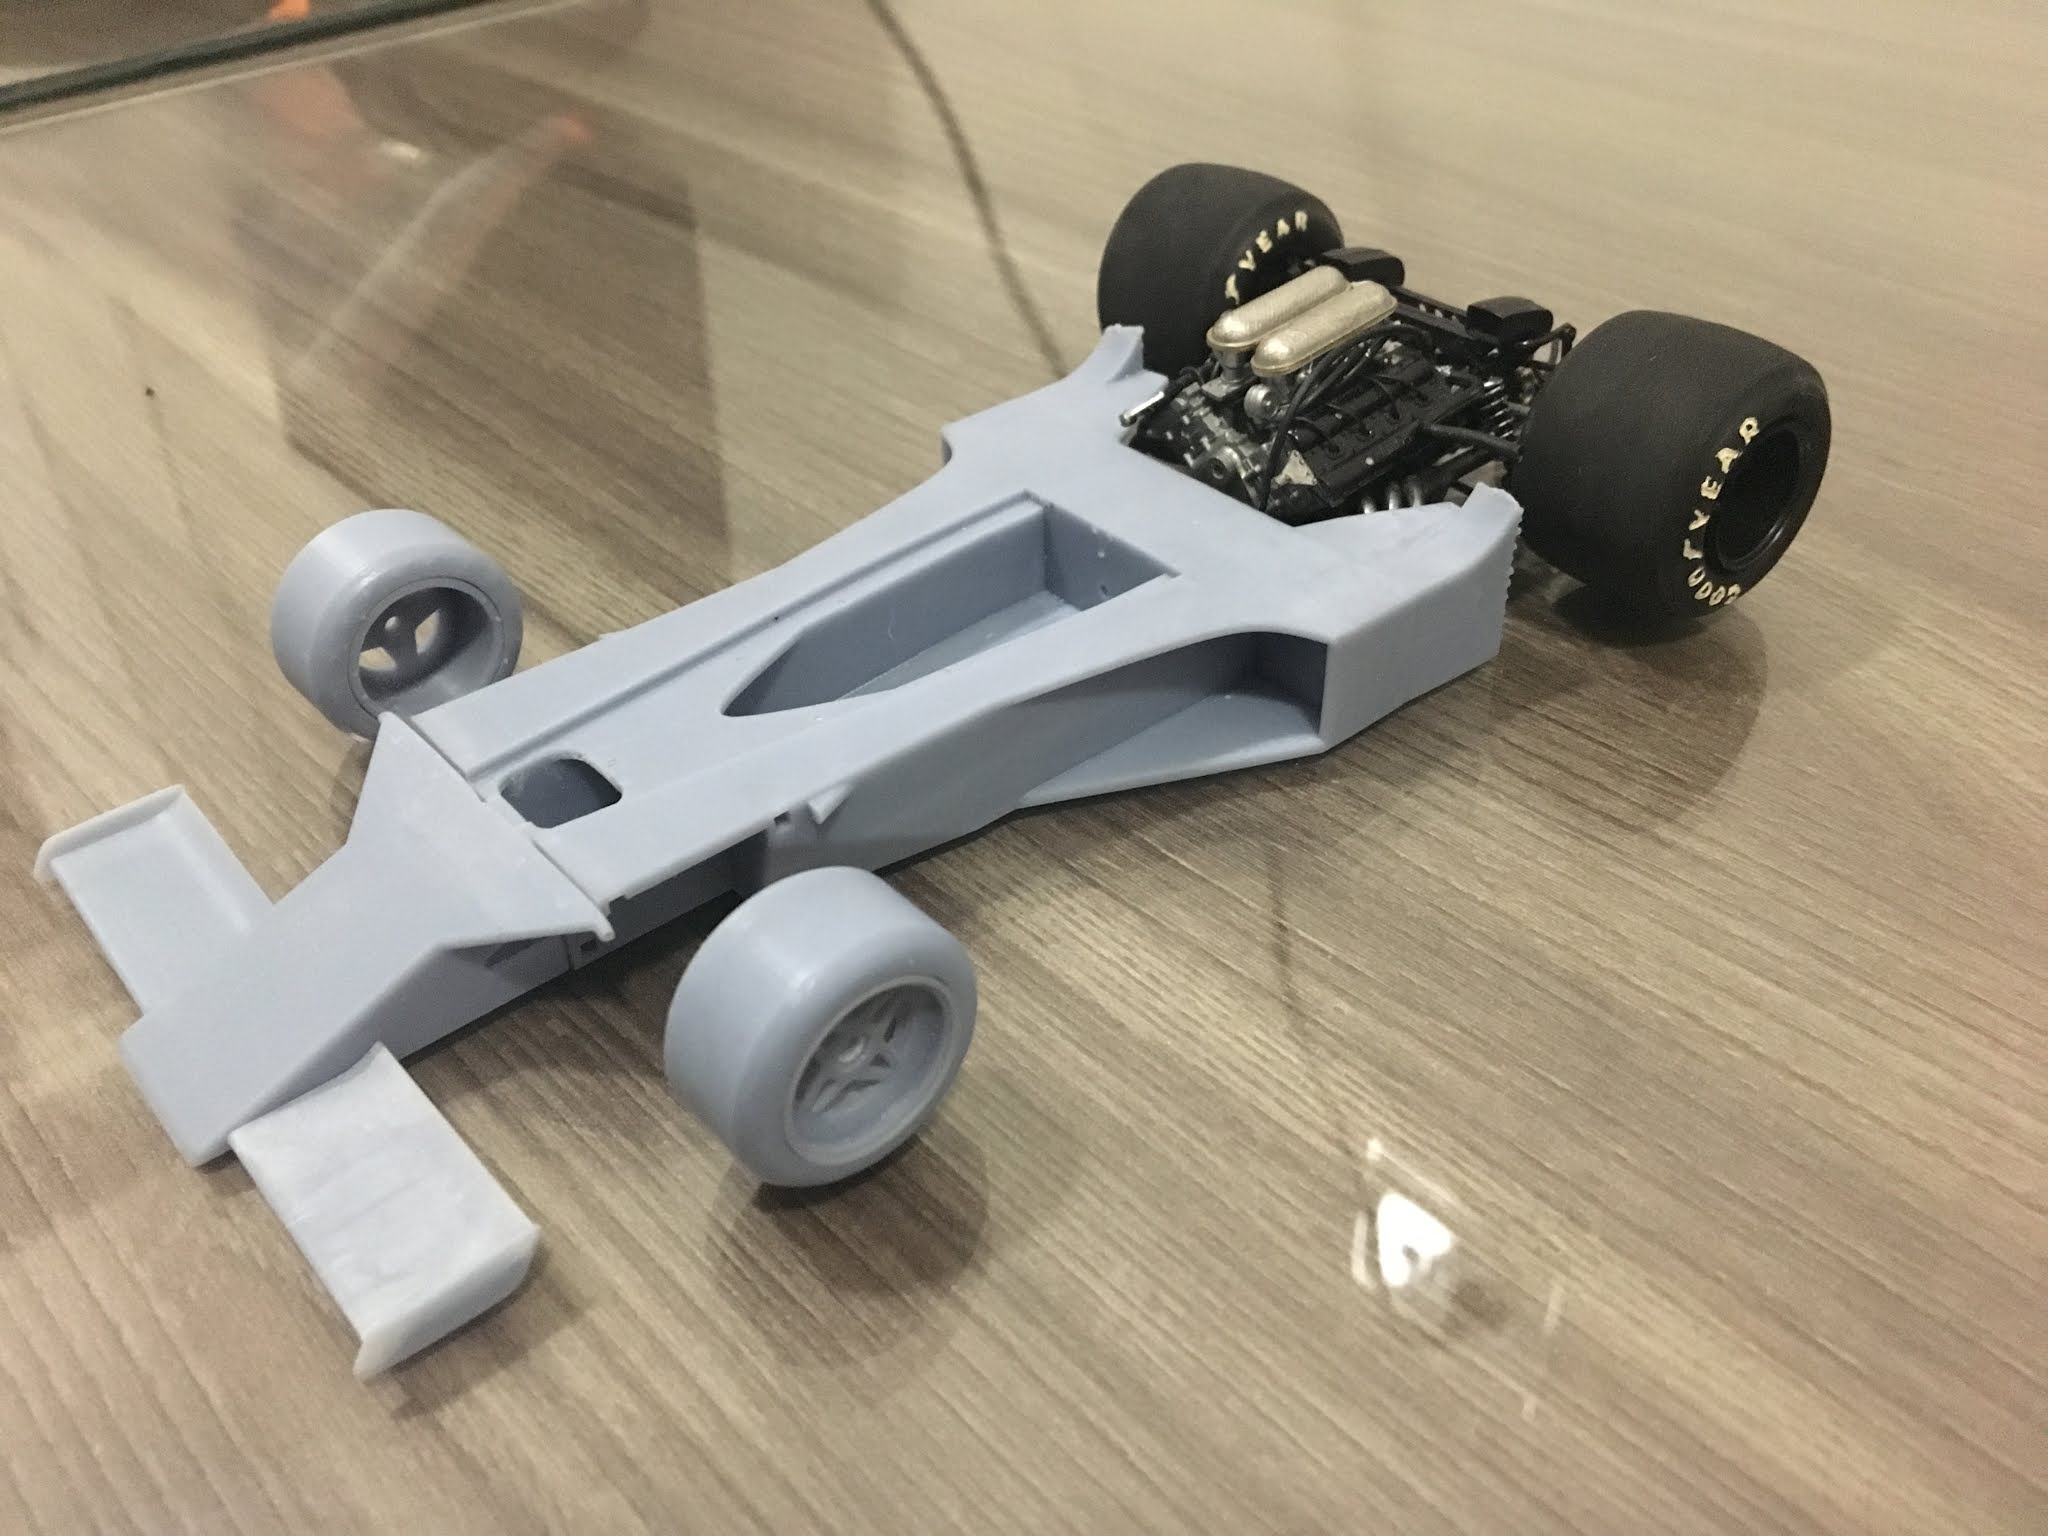
I just combined a Tamiya engine to check if everything is in the right place and size.
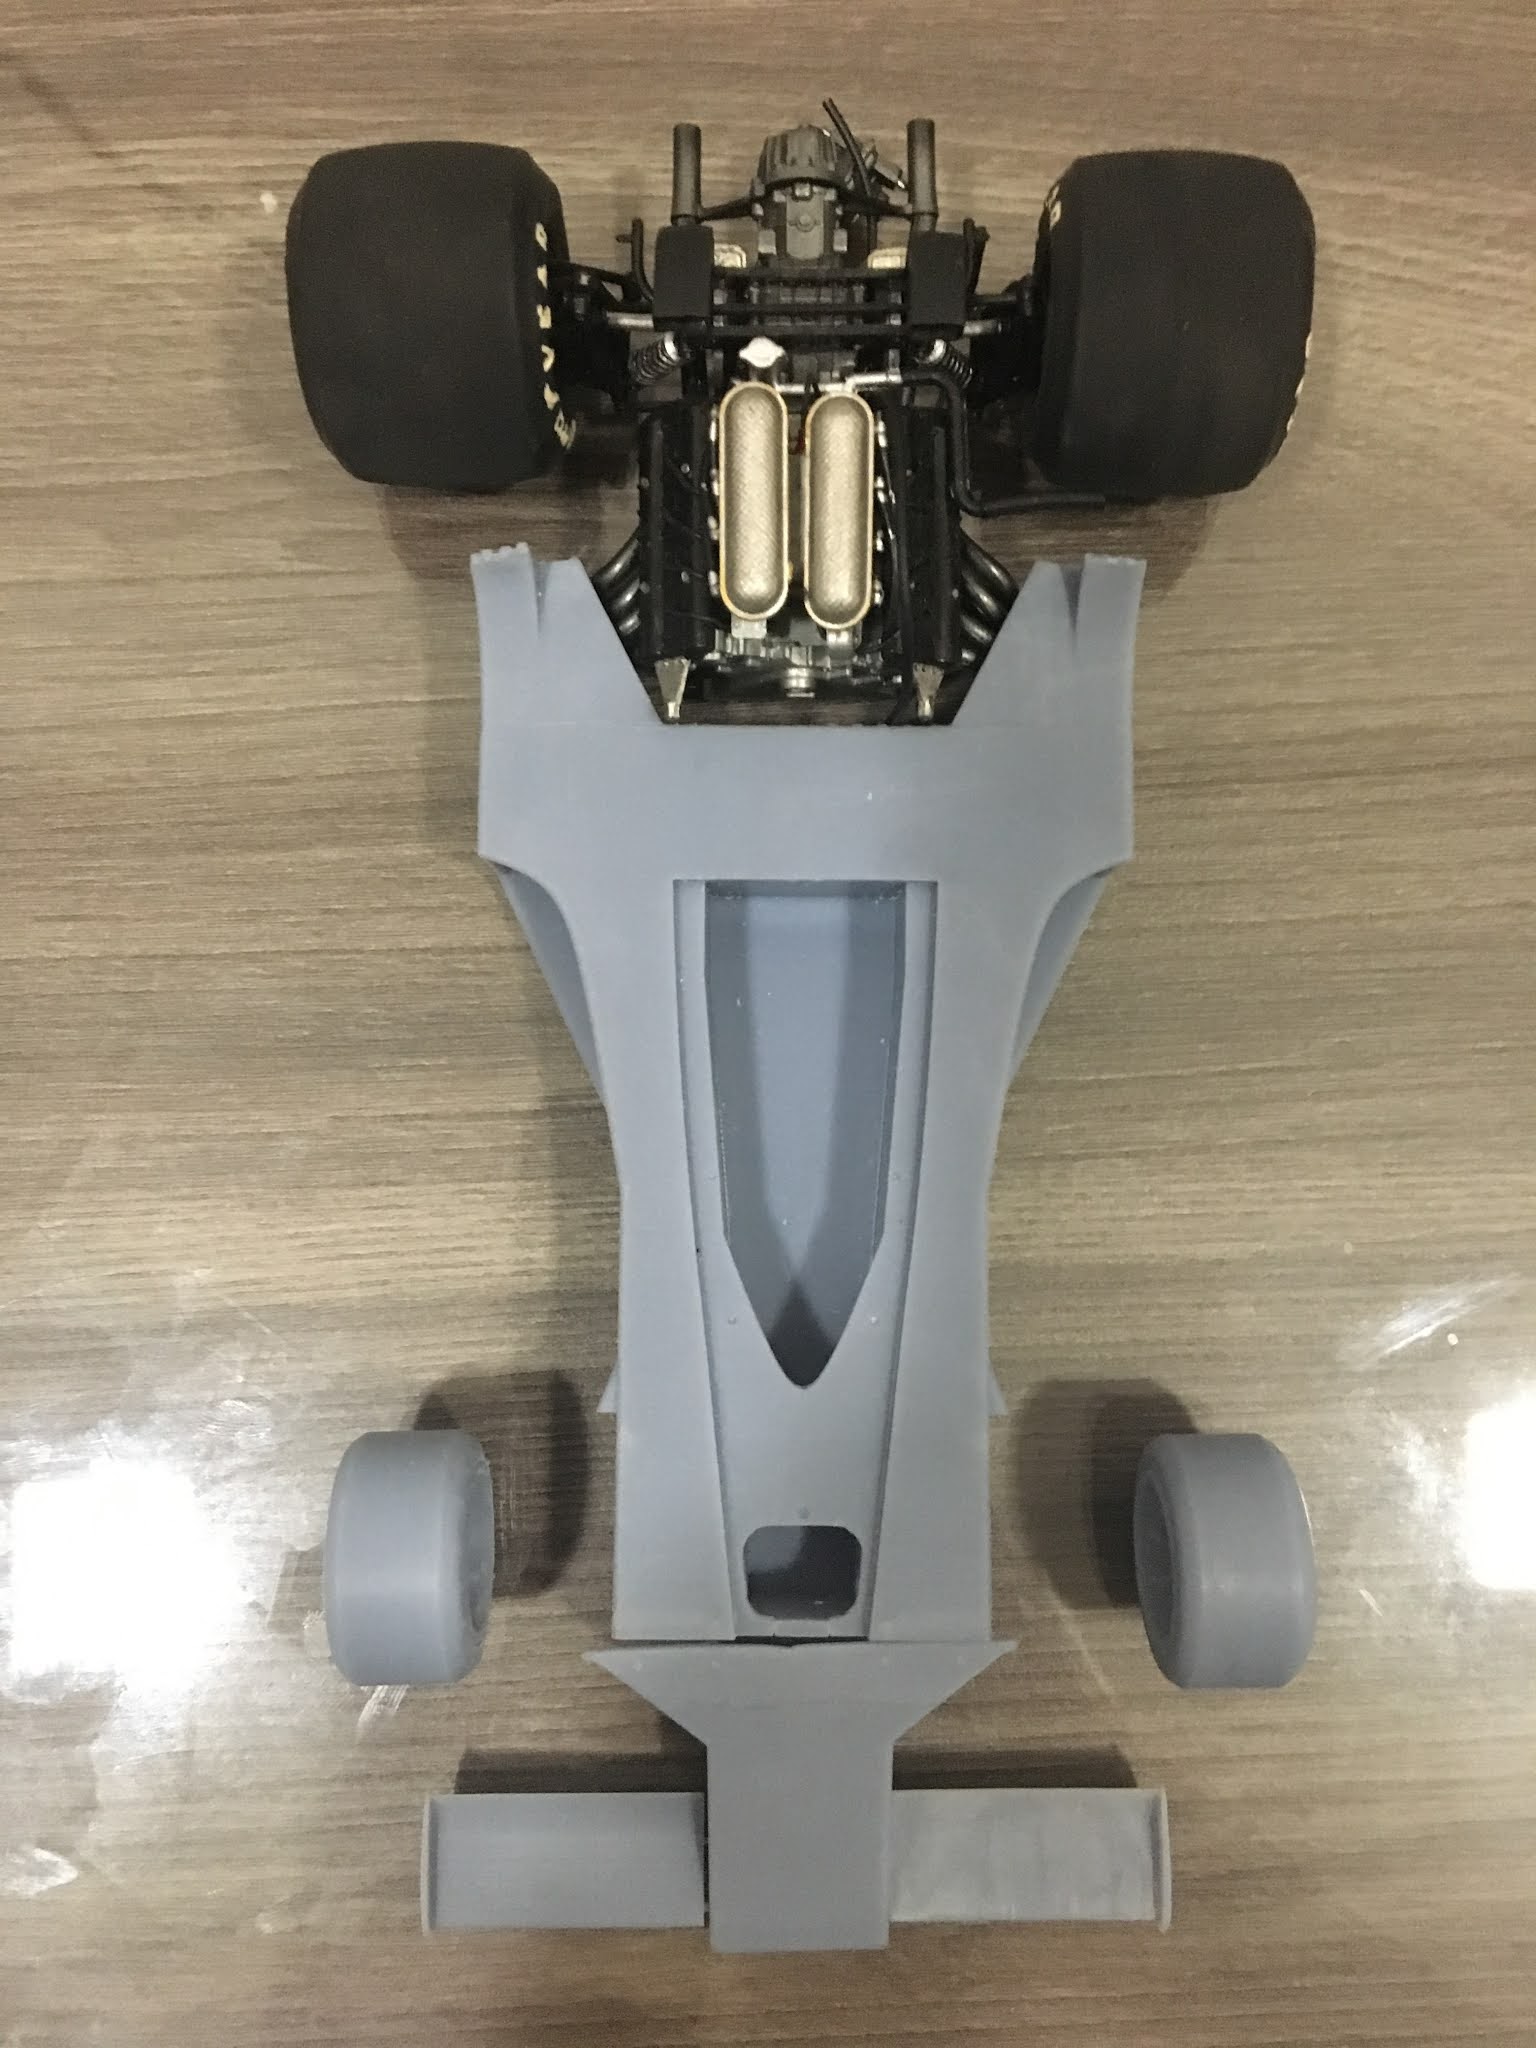
To continue and develop other pieces I needed to at least design the "castle" or cockpit to accomodate other internal pieces, so it is not finished, but will work as reference.

This is the combination of pieces togheter.
I think it is a way to develop my skills with project software and also have some fun.
So I am starting from zero.
I just took some pictures in the internet, made some calculations and lets go.
I think I started this idea about 9 months ago, I don't have too much free time, so everything is made step by step.
this is the car and some different versions can be done with some minor changes.
I used some drawings I found in the internet, just to have an idea. I also compared some dimensions to other Tamiya F1 cars to make the project more realistic.
But Drawings are not in scale.
So I started working with body. It took several weeks to adjust dimensions and curves, but it is ok now. Another challenge is to learn how to print the pieces with 3D printer.
After the Body I just decided to do the nose of the car, and it was not difficult to do it.
To finish the nose of the car I did the front wings, based on the pictures, it seems pretty similar to Wolf F1, so I adjusted size and here is the result. I will do removable nose, at least I will try to detail part of the car.
and this is the result of the completed nose.
Once the body and nose are ok, I had a massive work to start to design the front suspension. So I started from the wheels to have a clear idea of size and position of the pieces. I desgined one type of wheels that the car used, there is one or two more different types that I may develop for other versions If I decide it later. Tires were developed and unfortunately they will be made by resin insted rubber. I know, there are other possbilities, maybe I decide for a different solution later.
This is what I expect after I have all the pieces printed. It is nice to simulate all parts togheter, I am able to check how everything is going to be.
Now it is time to put hands on and cross fringers to see what I have made.
and it worked!!! the wheels fitted perfectly!
I had to split part of the body, like the fuel tank and front part of body, but it also fitted very well, nothing that some sanding and prepartion cannot fix.
other body pictures
Detailing the area where suspesion will be assembled.
I just combined a Tamiya engine to check if everything is in the right place and size.
To continue and develop other pieces I needed to at least design the "castle" or cockpit to accomodate other internal pieces, so it is not finished, but will work as reference.
This is the combination of pieces togheter.