WILLIAMS FW09 Dallas winner KAWAI+some more...


Re: WILLIAMS FW09 Dallas winner KAWAI+some more...
The only one I used it on is an ATS D4, but somehow I forgot to include the silver on it. It´s nothing too hard to figure out: the line drawing in black and the silver color. Similar to what you can see on some diecasts. 
Re: WILLIAMS FW09 Dallas winner KAWAI+some more...
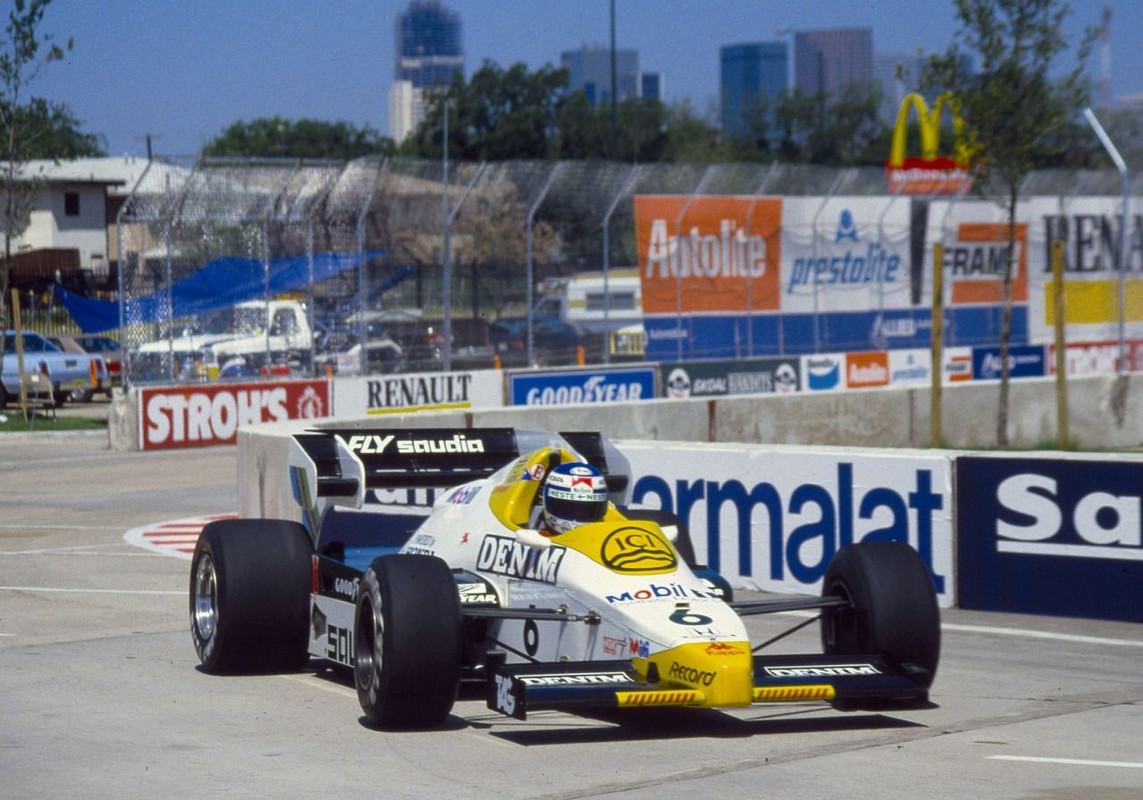
another nice pic from Dallas
-
 steinietrabi
- Constructors Champion

- Posts: 1382
- Joined: Mon Mar 30, 2020 1:56 pm
- Your Name: Thomas
- Favorite F1 Team or Driver: Williams, Ferrari, McLaren... Michael Schumacher
- Location: Crottendorf / Germany
- Status: Offline

Re: WILLIAMS FW09 Dallas winner KAWAI+some more...
Today I had a nice little discussion with James and Rado about the decals of the rear wing.
I don't know whether we have really come to an agreement, but I still want to write a few words about it here.
It was about whether the decals from James are correct or have to be adapted / cut.
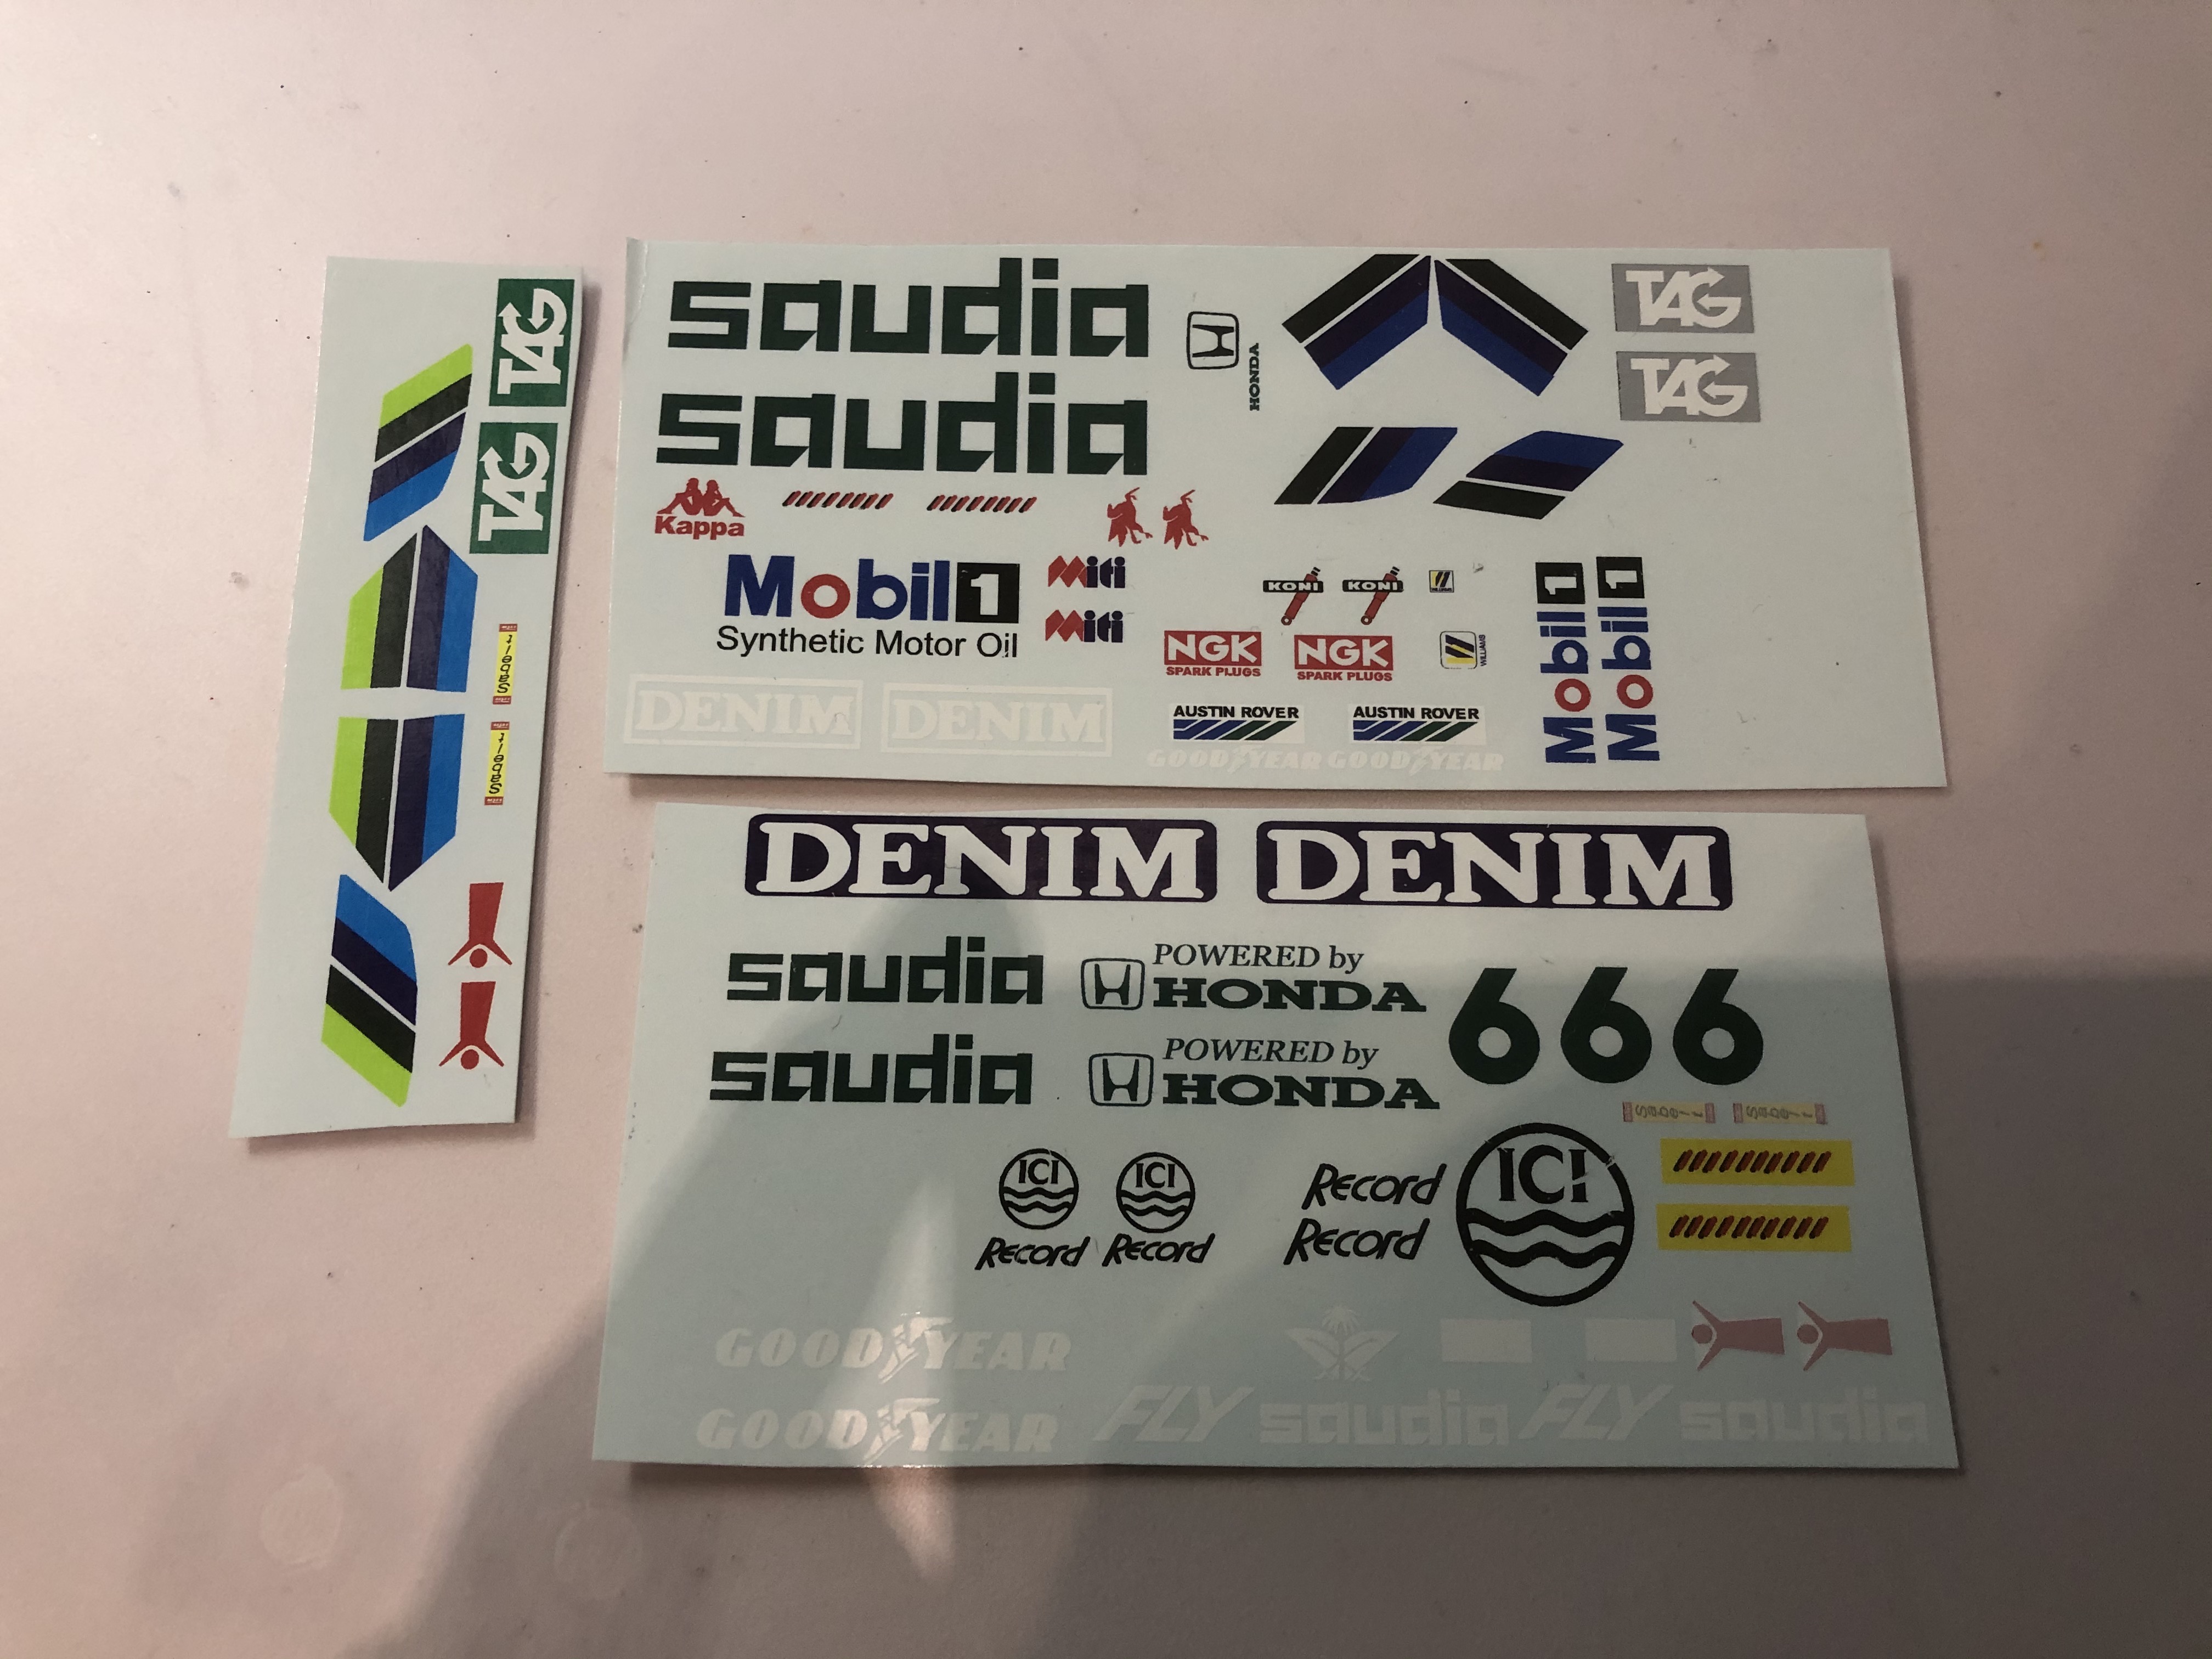
Since I also used the templates from Rado, I also had these here as a comparison.
So first of all I was looking for good pictures of the race again, which is sometimes not that easy to have the right angle. Sometimes we also used video material from the race (unfortunately the quality is even worse here).
Then I copied and cut out the decals.
With James it looked like this:
It doesn't fit because it's too high.
Then I cut off a piece from above:
Now it fits very well, I would say.
At Rado it looks like this:
Here a piece is missing - for Laffite it would fit - for Rosberg I have now extended the decals 1mm upwards
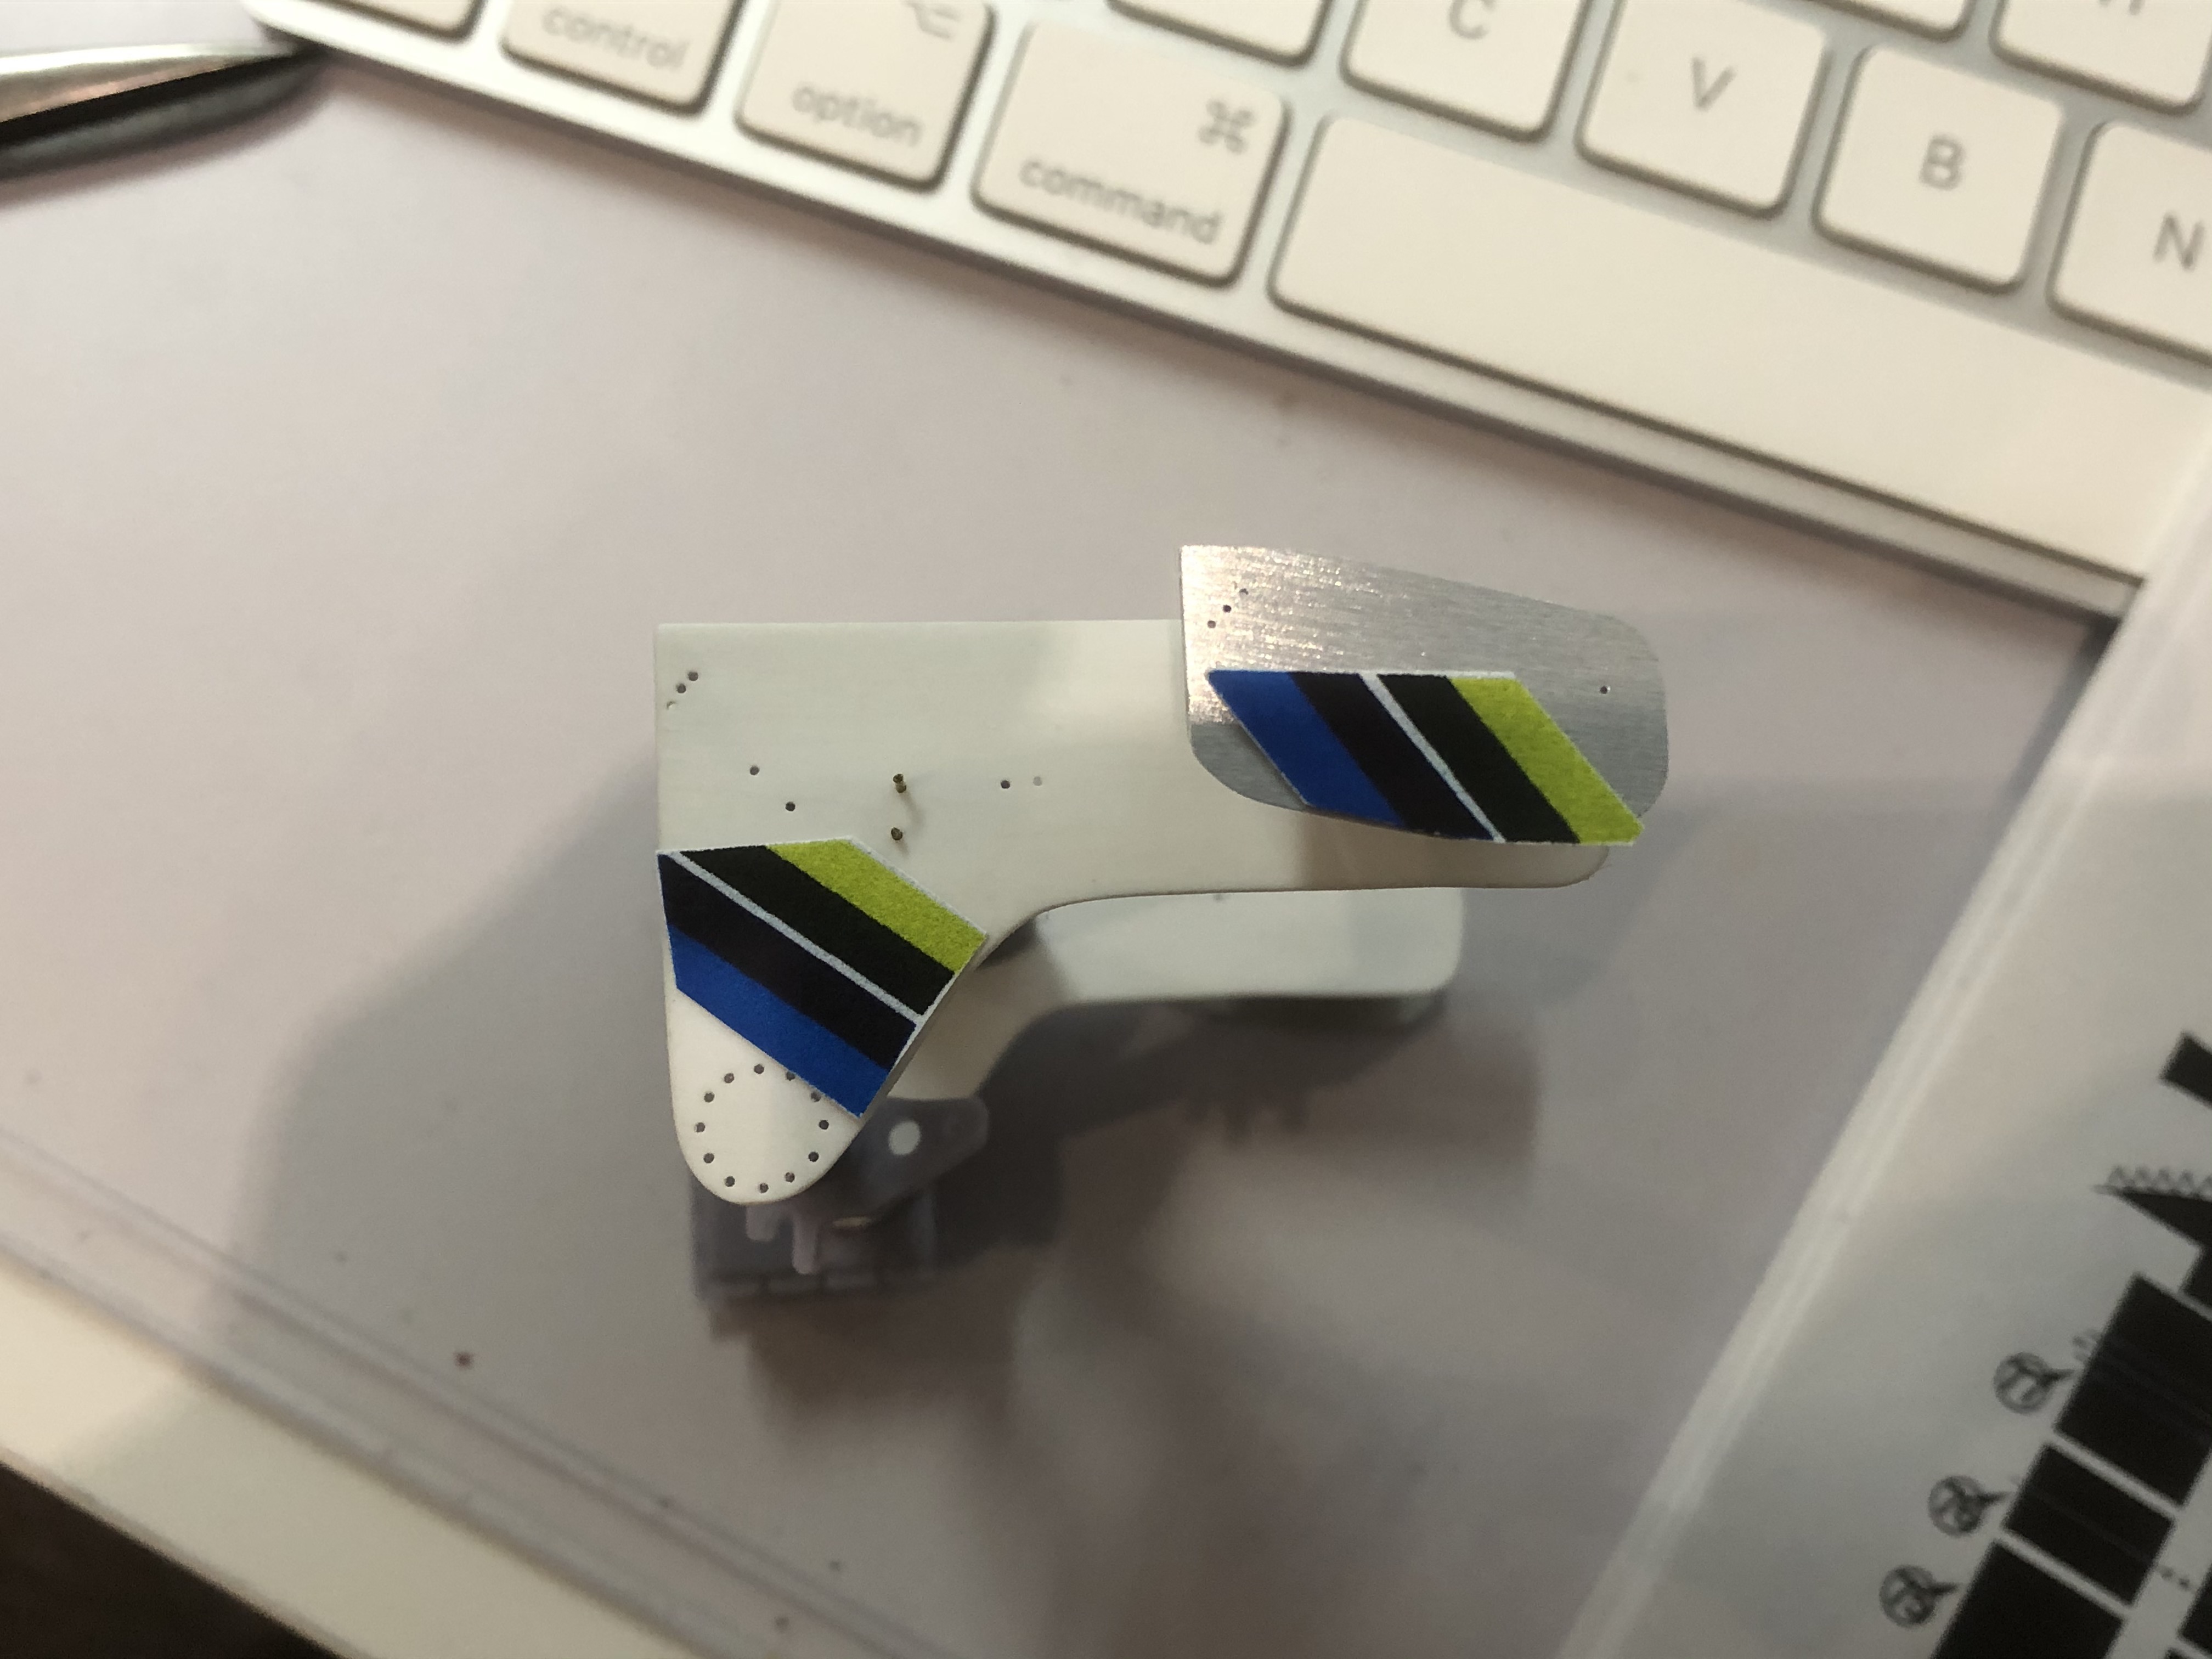
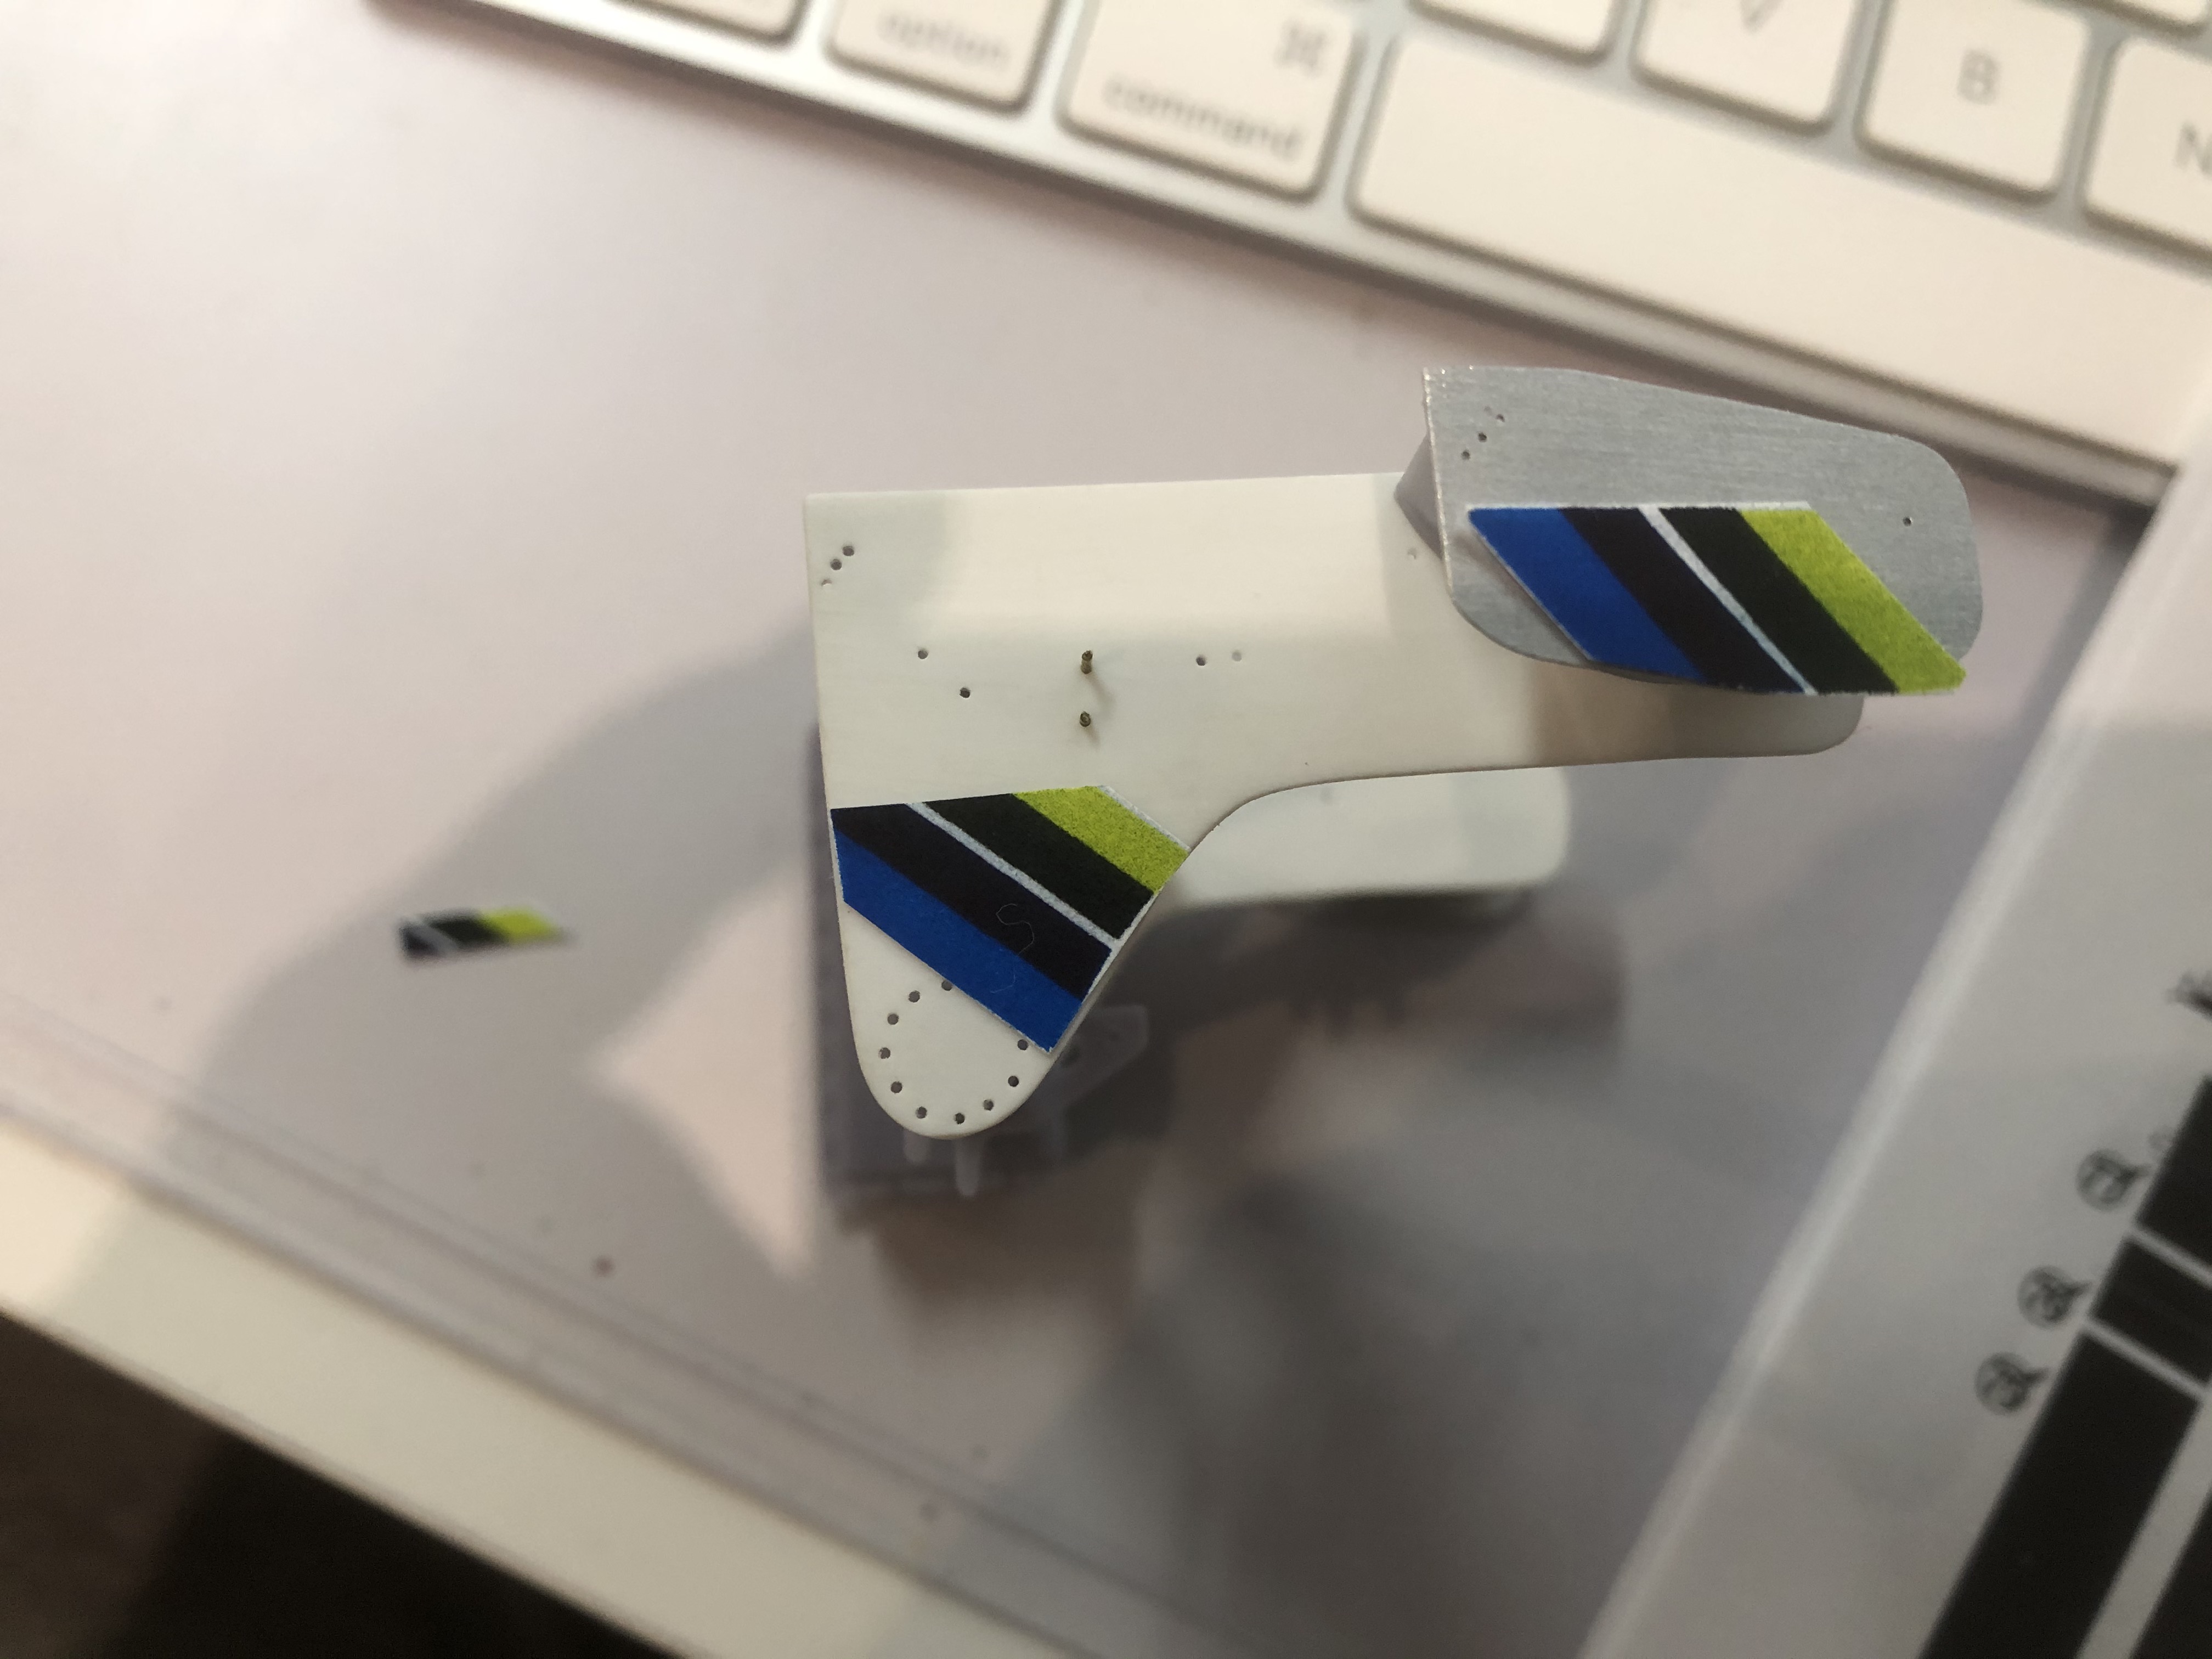
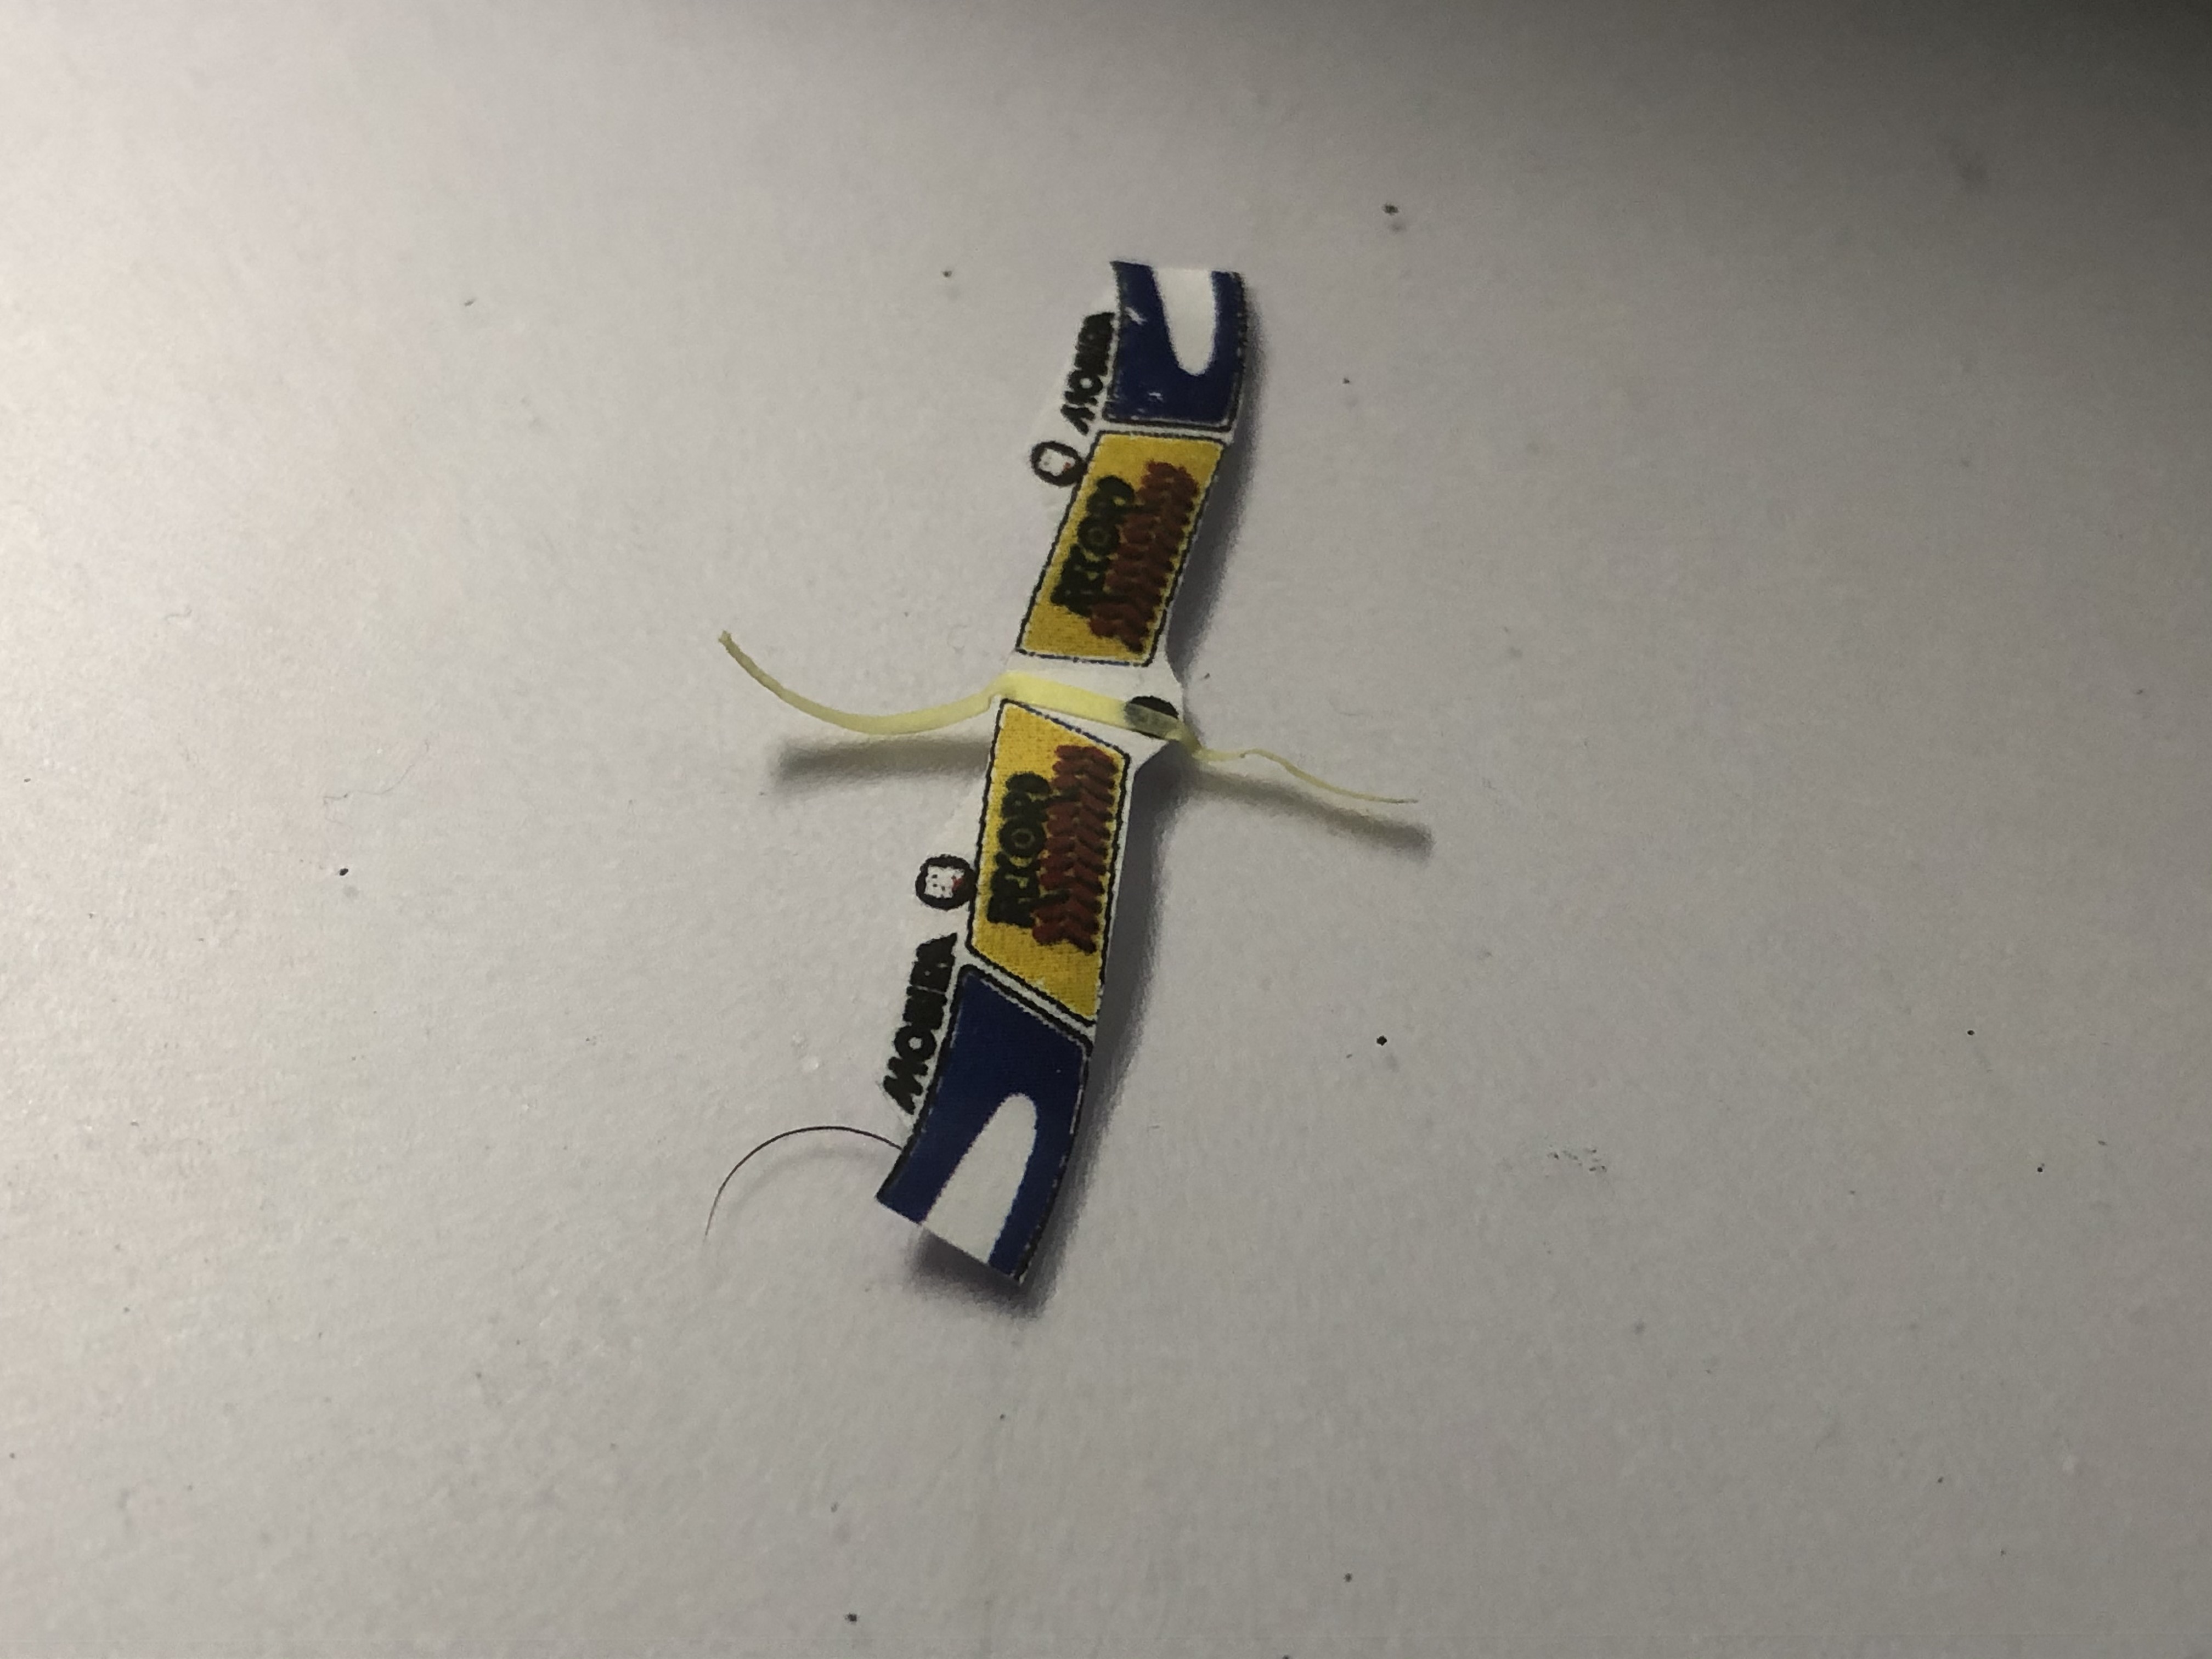
I then compared the two cars again intensively and just have to say they are not the same. The stickers are different!
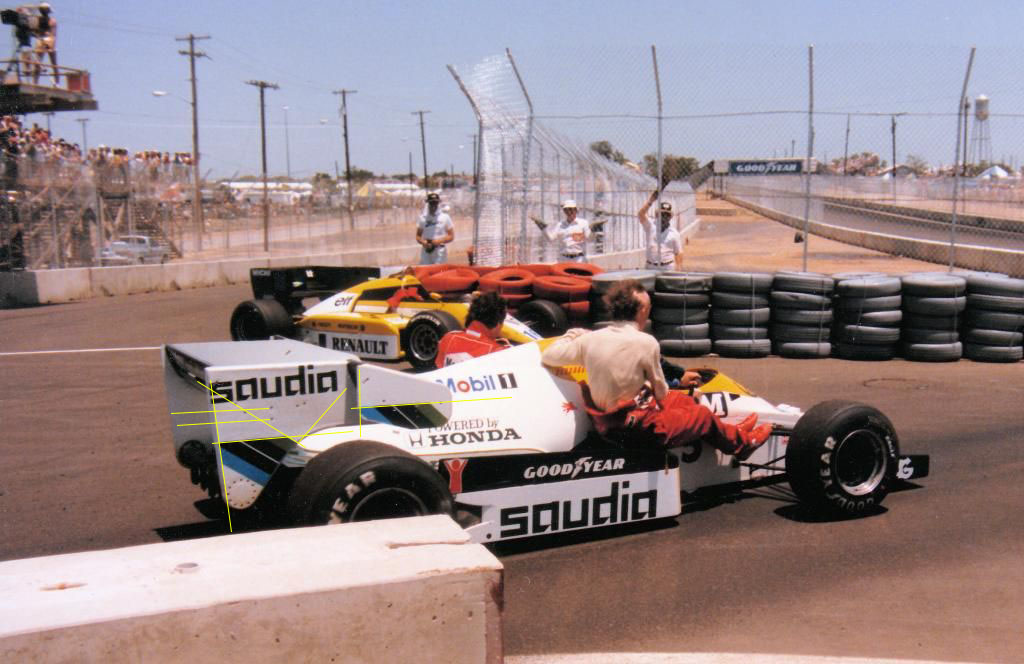
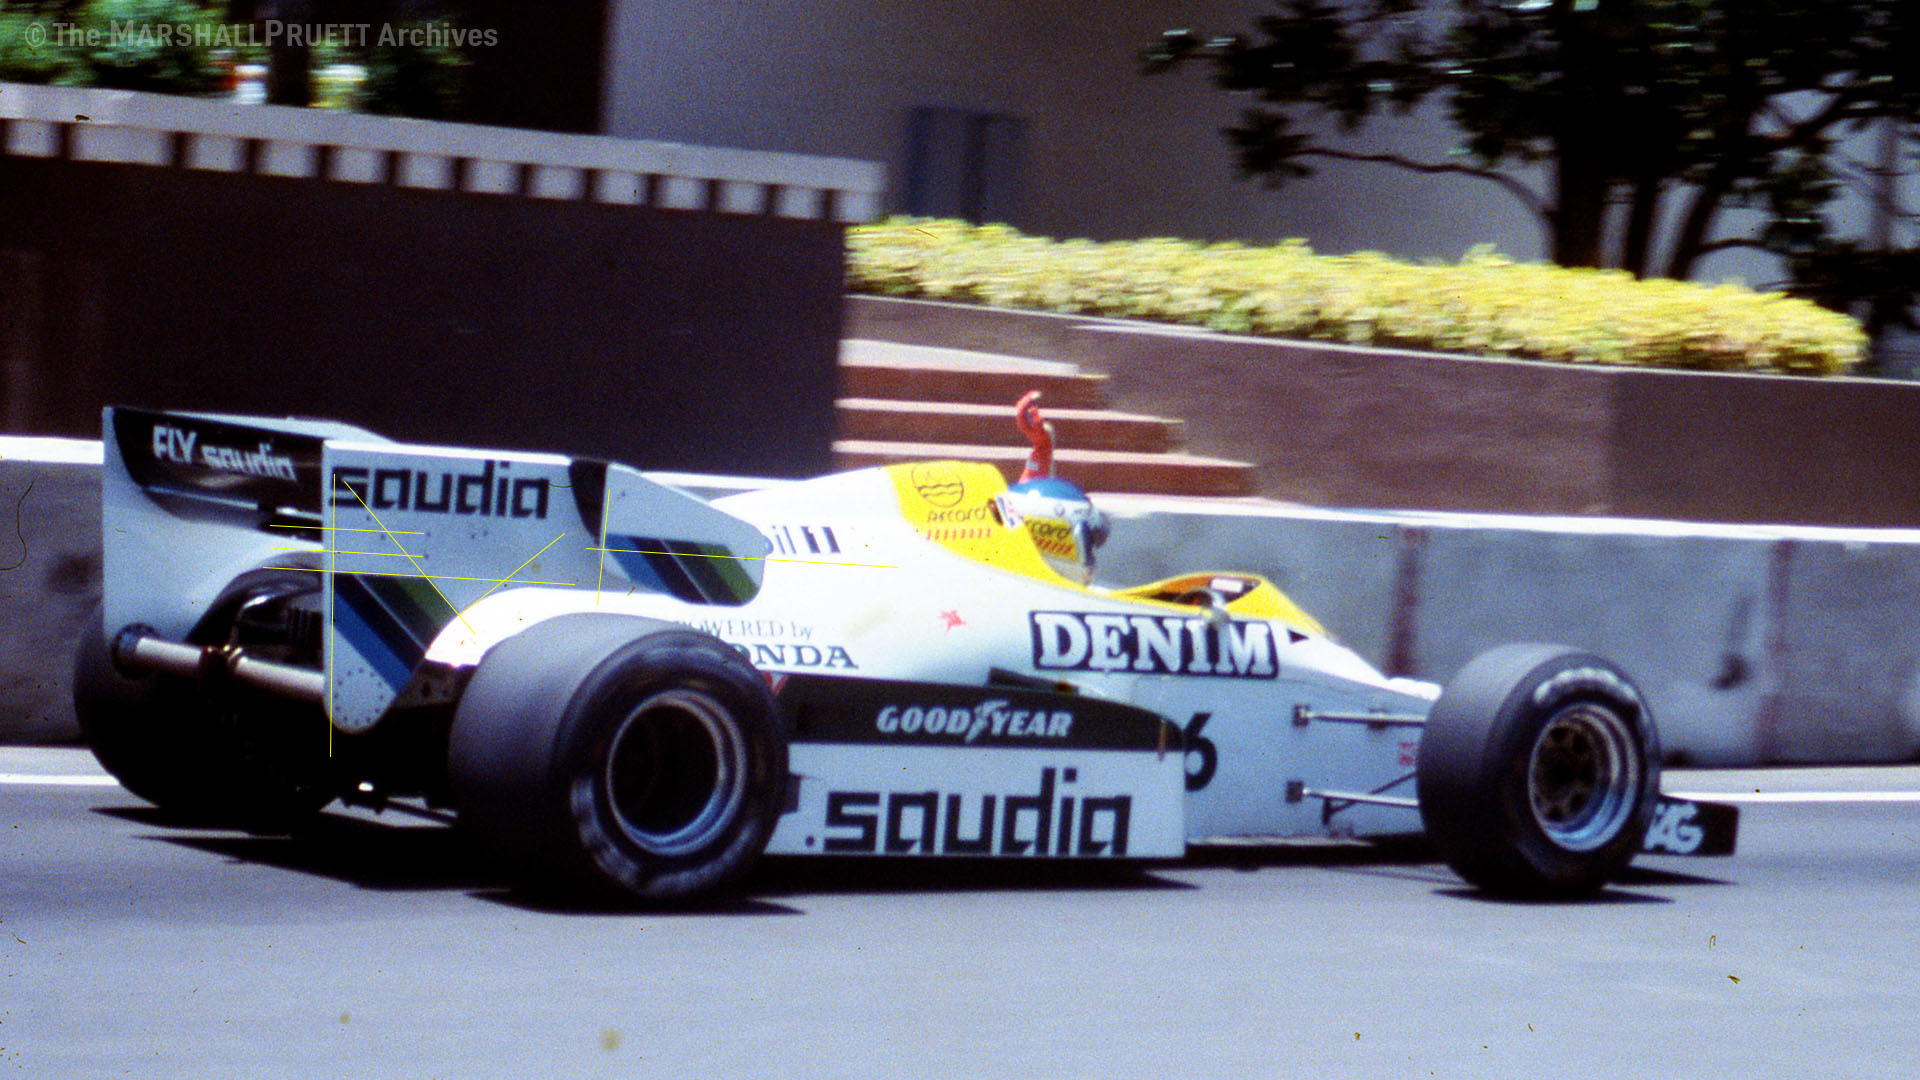
There is definitely a difference between Rosberg and Laffite.
The taxi is Laffitte at the end of the race. Rosberg raises his arm after the race to victory.
And there you can see the difference very good!
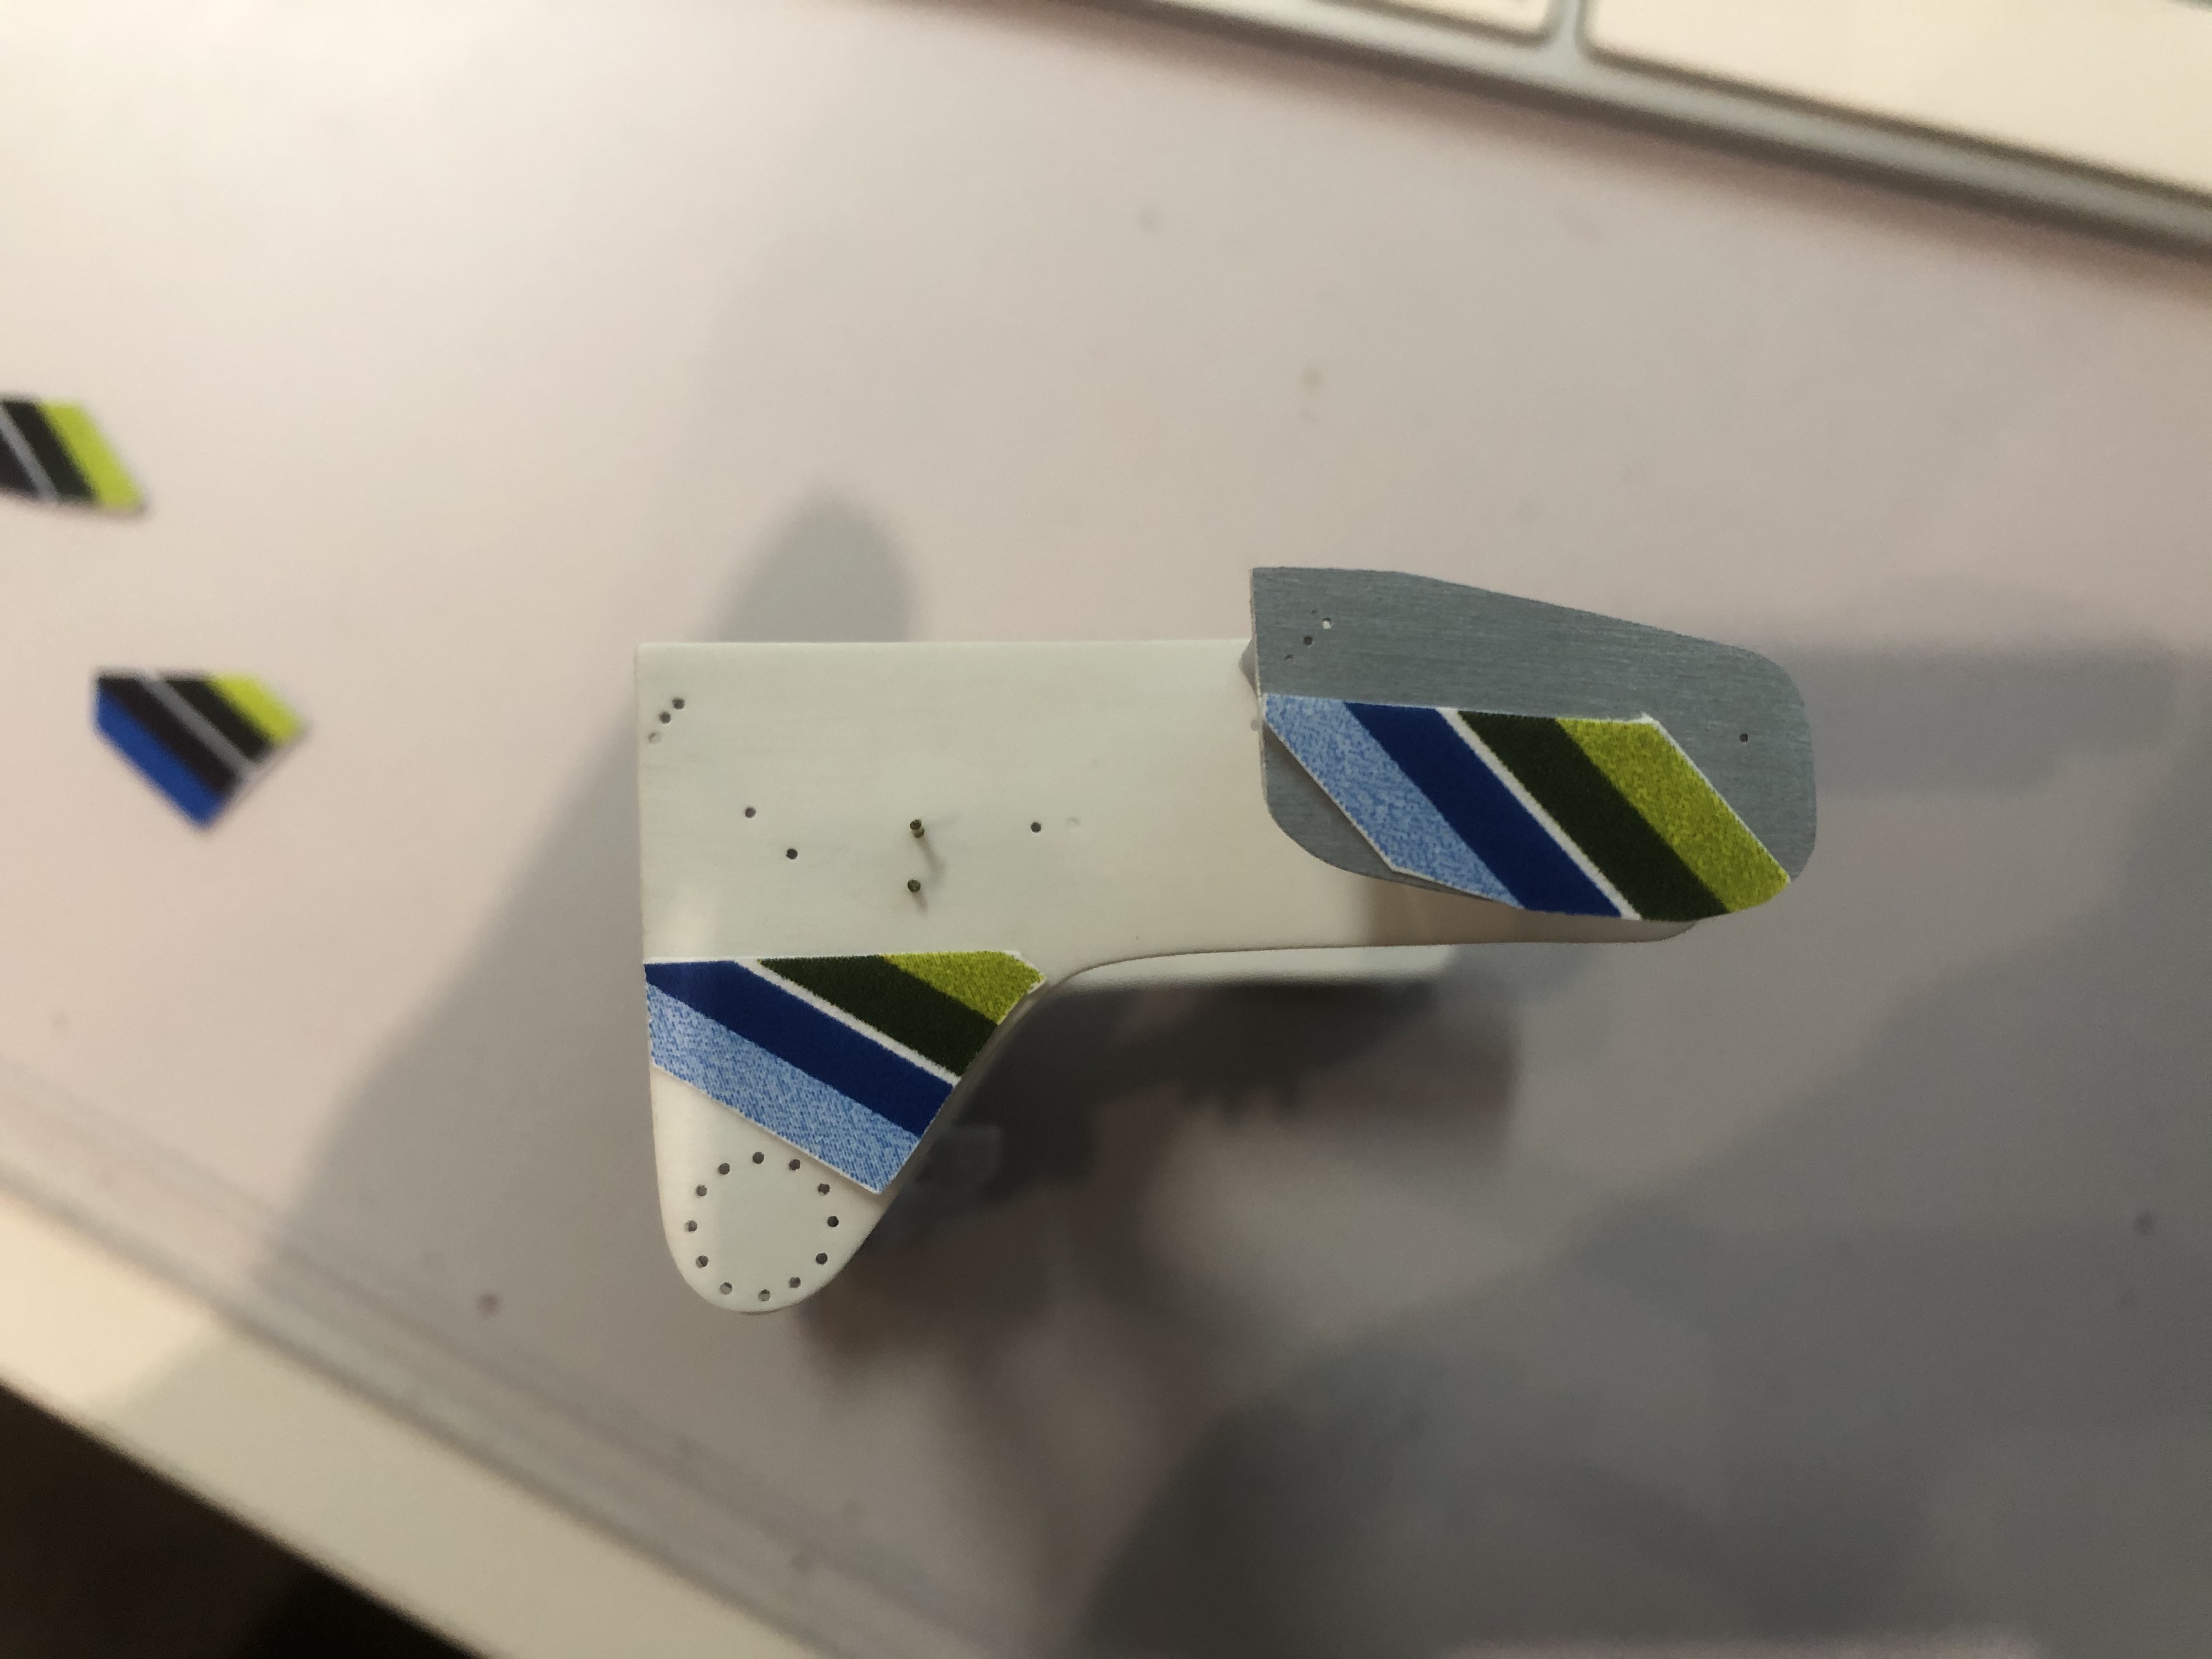
With Rosberg the stripes on the rear wing area are higher than with Laffite. At Rosberg, the dark blue stripe forms a peak. With Laffite, the dark blue stripe is rather flat on top. The line to the straight area is also higher at Rosberg. This also makes the triangle a little bigger before the stripes.
The two screws above the 1st green strip are also a good guide.
Also on the front smaller wing the difference is that Rosberg's stripes are higher. Here, too, you can easily orientate yourself on the screw connection.
I now have 2 options. I can use James' decals. Then, in my opinion, I have to cut off a piece, then it should fit that far.
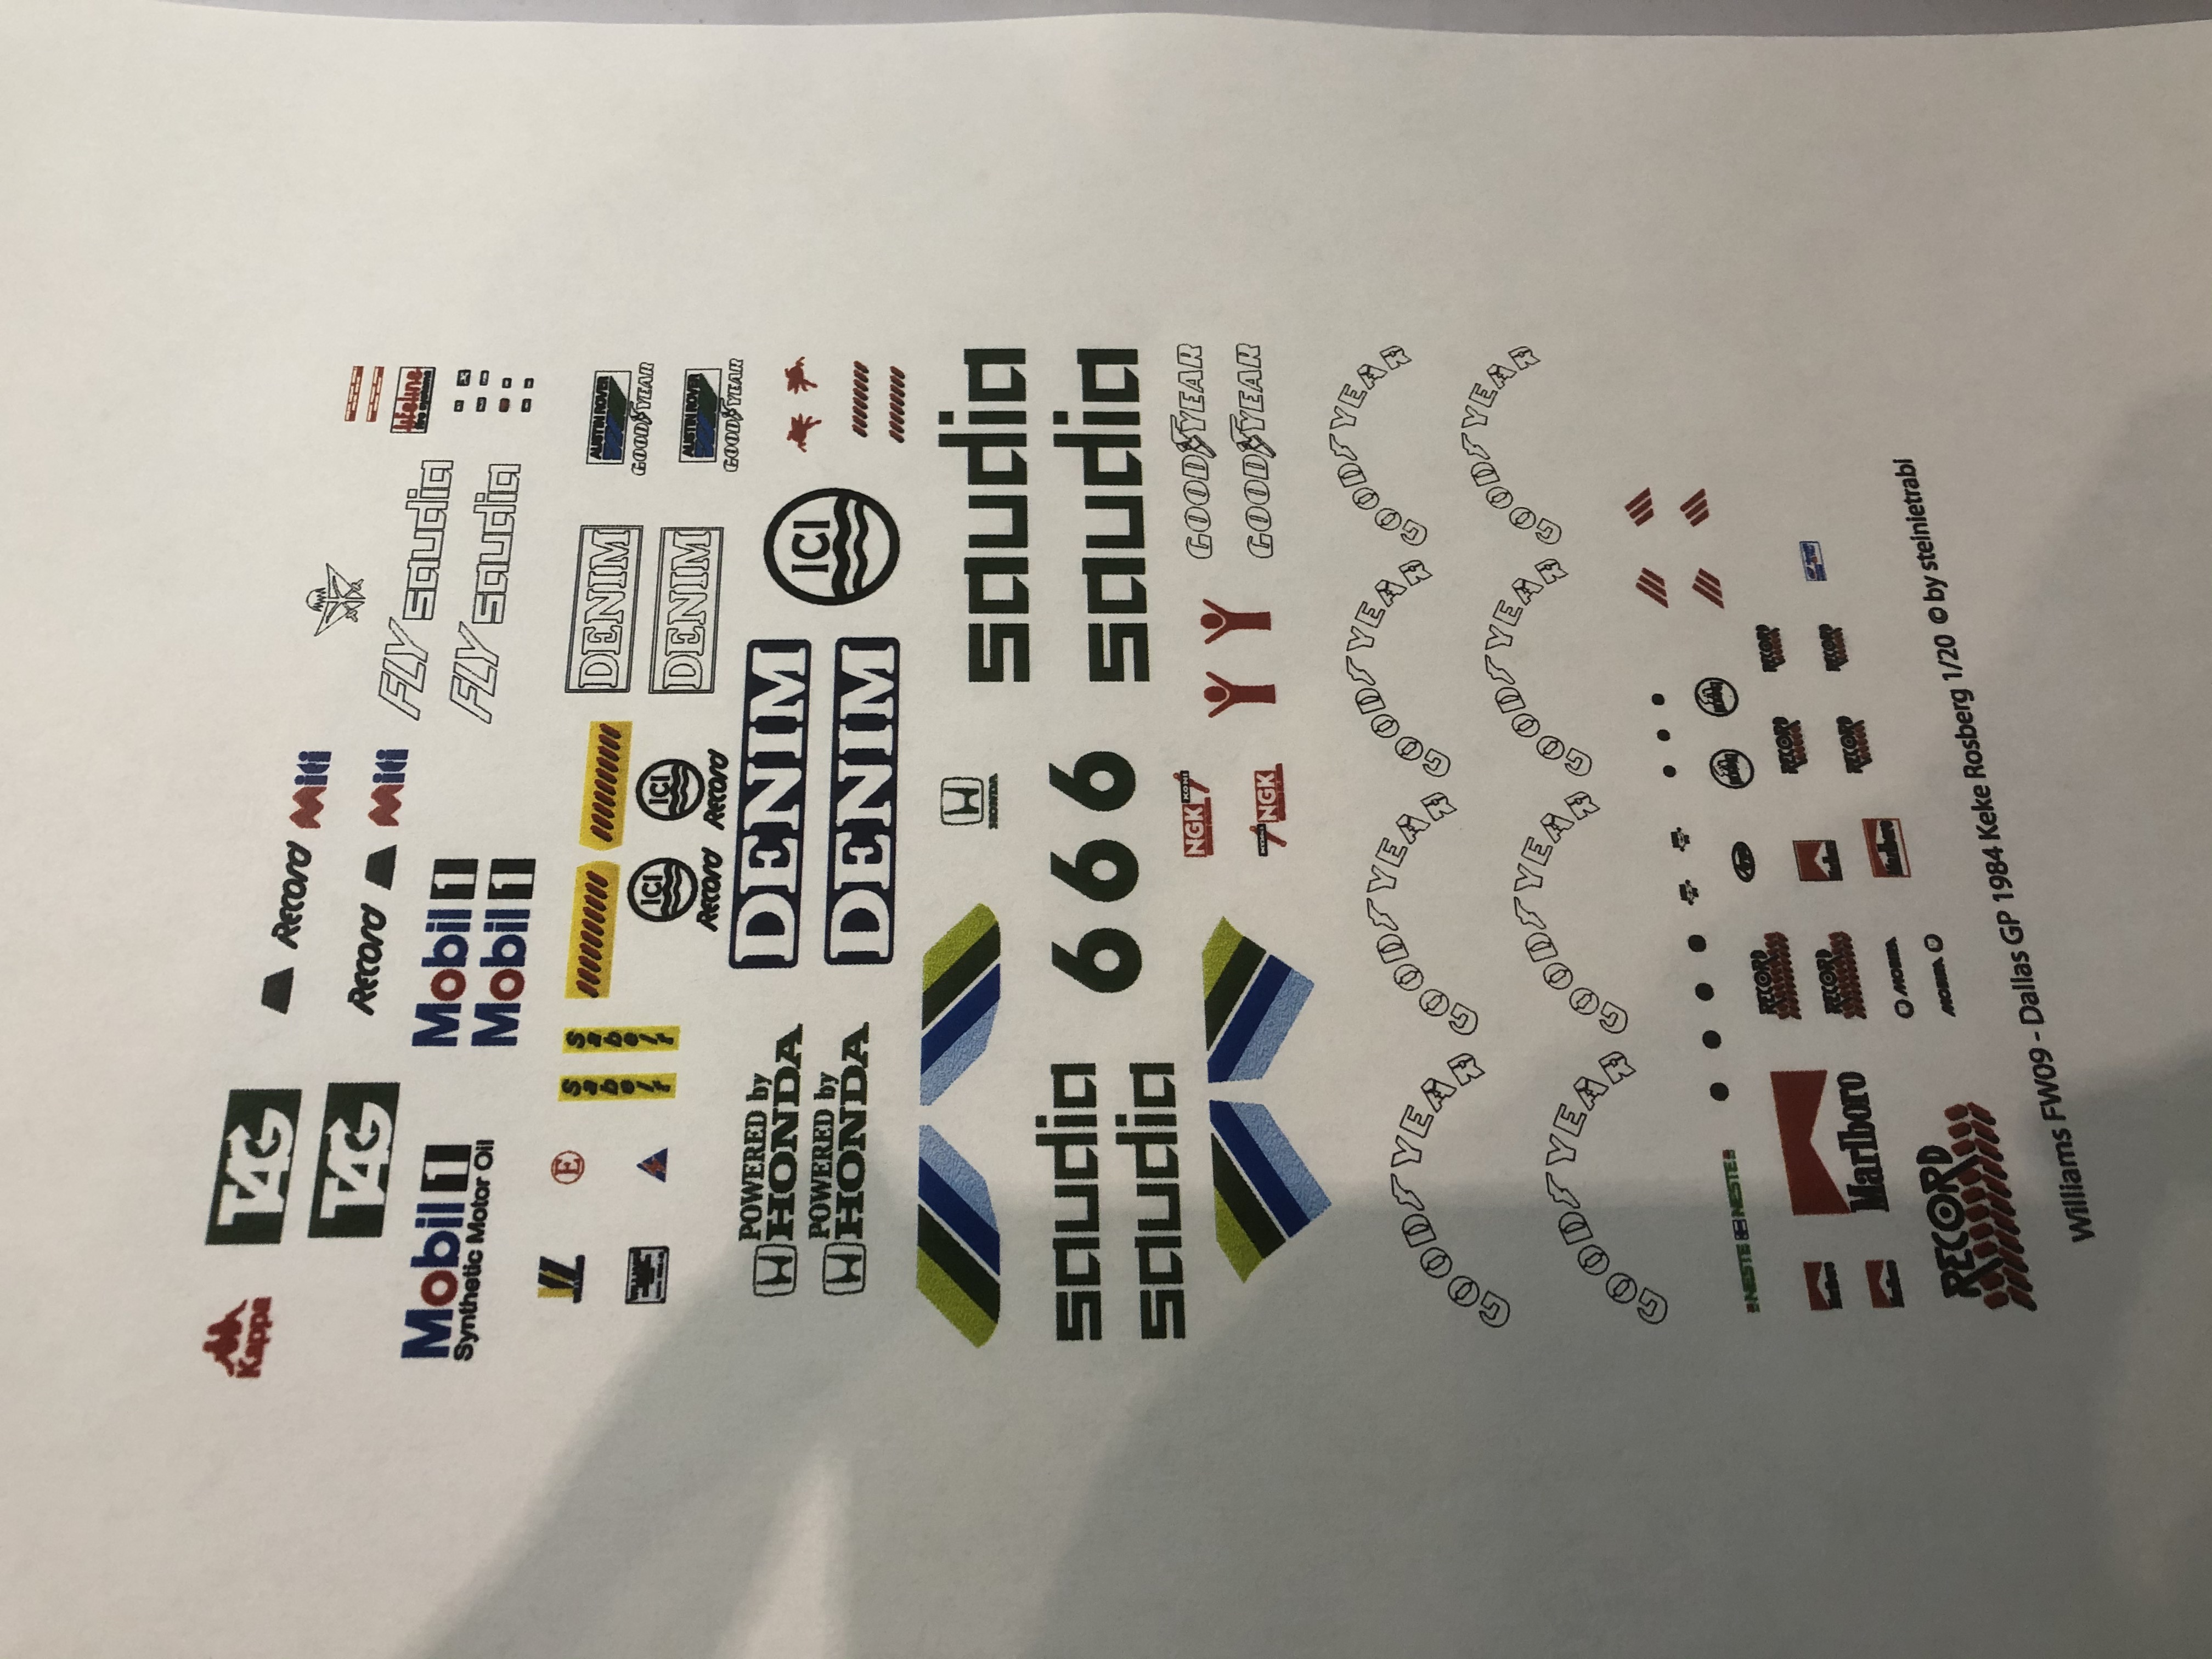
Then I could use the decals from Rado, I still have to do a few things here, as these should also contain the overalls and helmet as well as the details of the cockpit and a few small things on the car...
Here is a picture of the printout
So it goes on and on, even if not necessarily directly on the car itself.
Special thanks to James and Rado for help and great discussions today!
I don't know whether we have really come to an agreement, but I still want to write a few words about it here.
It was about whether the decals from James are correct or have to be adapted / cut.
Since I also used the templates from Rado, I also had these here as a comparison.
So first of all I was looking for good pictures of the race again, which is sometimes not that easy to have the right angle. Sometimes we also used video material from the race (unfortunately the quality is even worse here).
Then I copied and cut out the decals.
With James it looked like this:
It doesn't fit because it's too high.
Then I cut off a piece from above:
Now it fits very well, I would say.
At Rado it looks like this:
Here a piece is missing - for Laffite it would fit - for Rosberg I have now extended the decals 1mm upwards
I then compared the two cars again intensively and just have to say they are not the same. The stickers are different!
There is definitely a difference between Rosberg and Laffite.
The taxi is Laffitte at the end of the race. Rosberg raises his arm after the race to victory.
And there you can see the difference very good!
With Rosberg the stripes on the rear wing area are higher than with Laffite. At Rosberg, the dark blue stripe forms a peak. With Laffite, the dark blue stripe is rather flat on top. The line to the straight area is also higher at Rosberg. This also makes the triangle a little bigger before the stripes.
The two screws above the 1st green strip are also a good guide.
Also on the front smaller wing the difference is that Rosberg's stripes are higher. Here, too, you can easily orientate yourself on the screw connection.
I now have 2 options. I can use James' decals. Then, in my opinion, I have to cut off a piece, then it should fit that far.
Then I could use the decals from Rado, I still have to do a few things here, as these should also contain the overalls and helmet as well as the details of the cockpit and a few small things on the car...
Here is a picture of the printout
So it goes on and on, even if not necessarily directly on the car itself.
Special thanks to James and Rado for help and great discussions today!
Last edited by steinietrabi on Wed Jan 06, 2021 5:54 am, edited 1 time in total.
Greetings Thomas
Re: WILLIAMS FW09 Dallas winner KAWAI+some more...
Besides all that, our endplates differ;-)
-
 RR
RR
- F2 Champion

- Posts: 105
- Joined: Wed Feb 02, 2005 7:17 pm
- Favorite F1 Team or Driver: Niki Lauda
- Location: Prague
- Contact:
- Status: Offline

Re: WILLIAMS FW09 Dallas winner KAWAI+some more...
Thomas I'm glad the project will be slightly improved again, that's the point of modeling.
Rado
Rado
Modely F1 Papercraft Publishing - Formula 1 and Sport Cars
-
steinietrabi
- Constructors Champion
- Posts: 1382
- Joined: Mon Mar 30, 2020 1:56 pm
- Your Name: Thomas
- Favorite F1 Team or Driver: Williams, Ferrari, McLaren... Michael Schumacher
- Location: Crottendorf / Germany
- Status: Offline
Re: WILLIAMS FW09 Dallas winner KAWAI+some more...
What can be overlooked...JamesB wrote:Besides all that, our endplates differ;-)
But I will take up the topic again a little bit later!!
What I've done in the last few days is not that much at first. Since I got stuck with the decals and I am also considering bringing Keke into play, I also looked for decals here - designed, adapted and tested (in paper form) them.
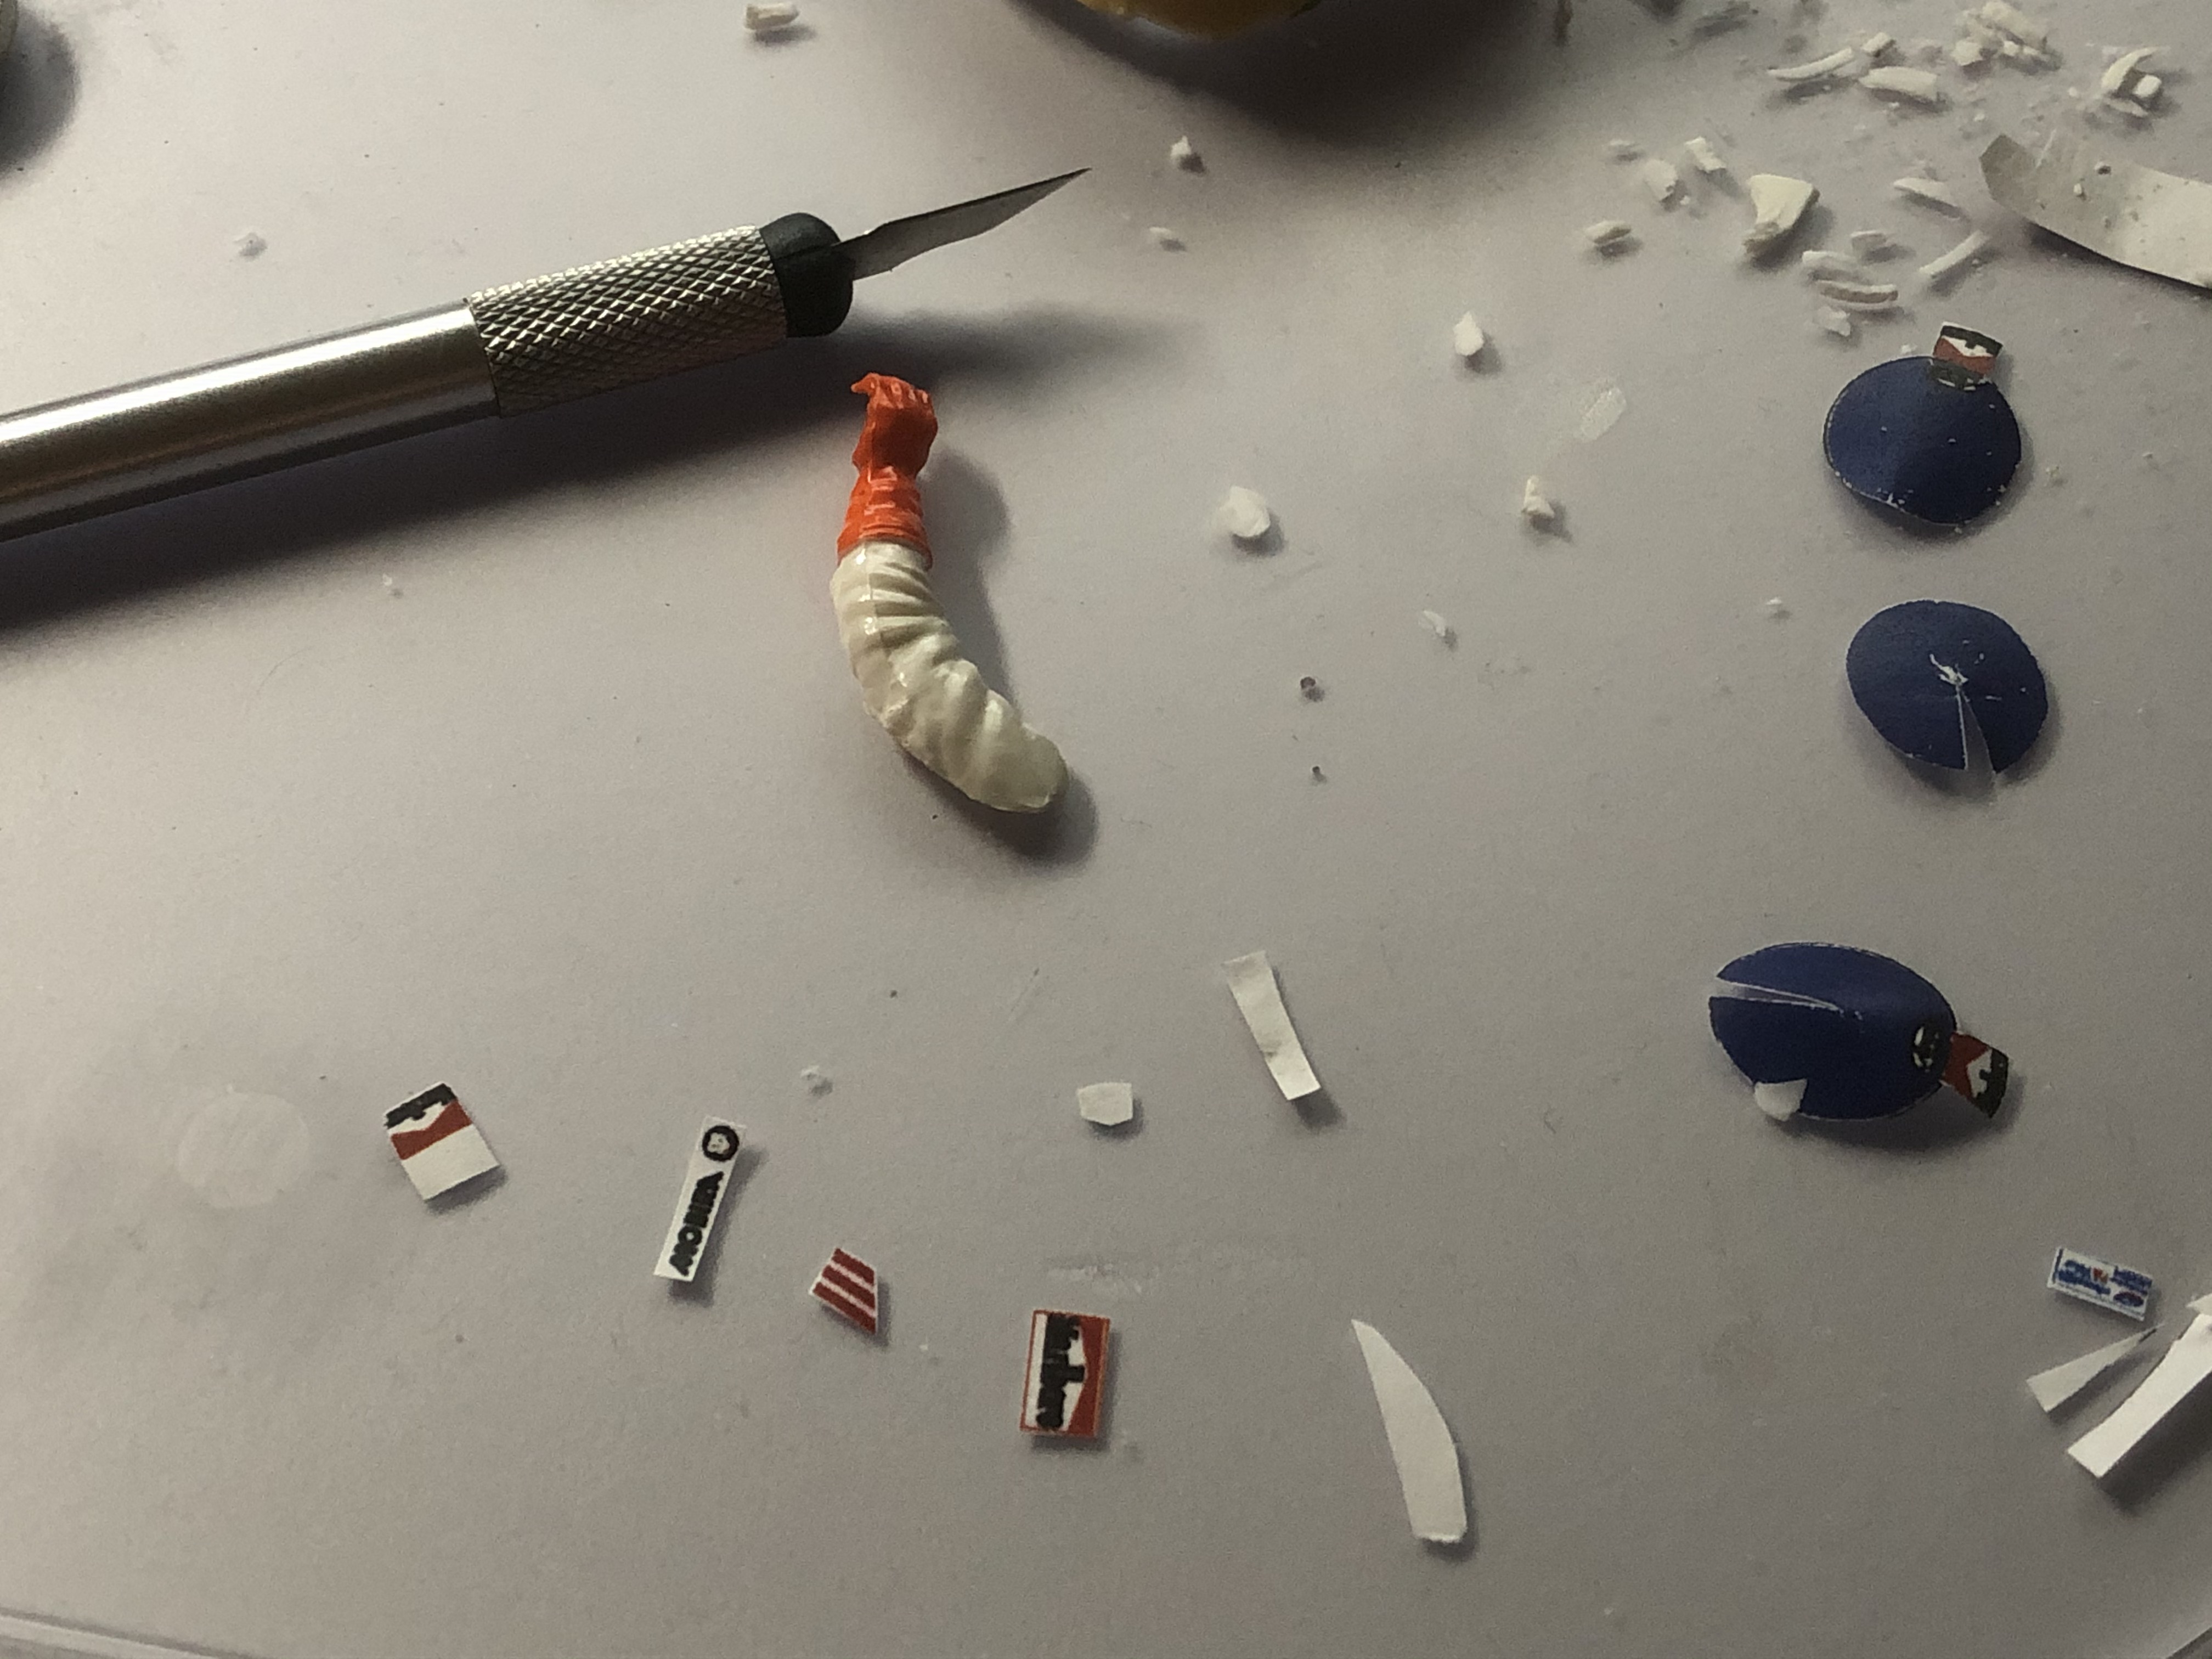
As a figure I will probably use one from Franck and the helmet is from OSO.
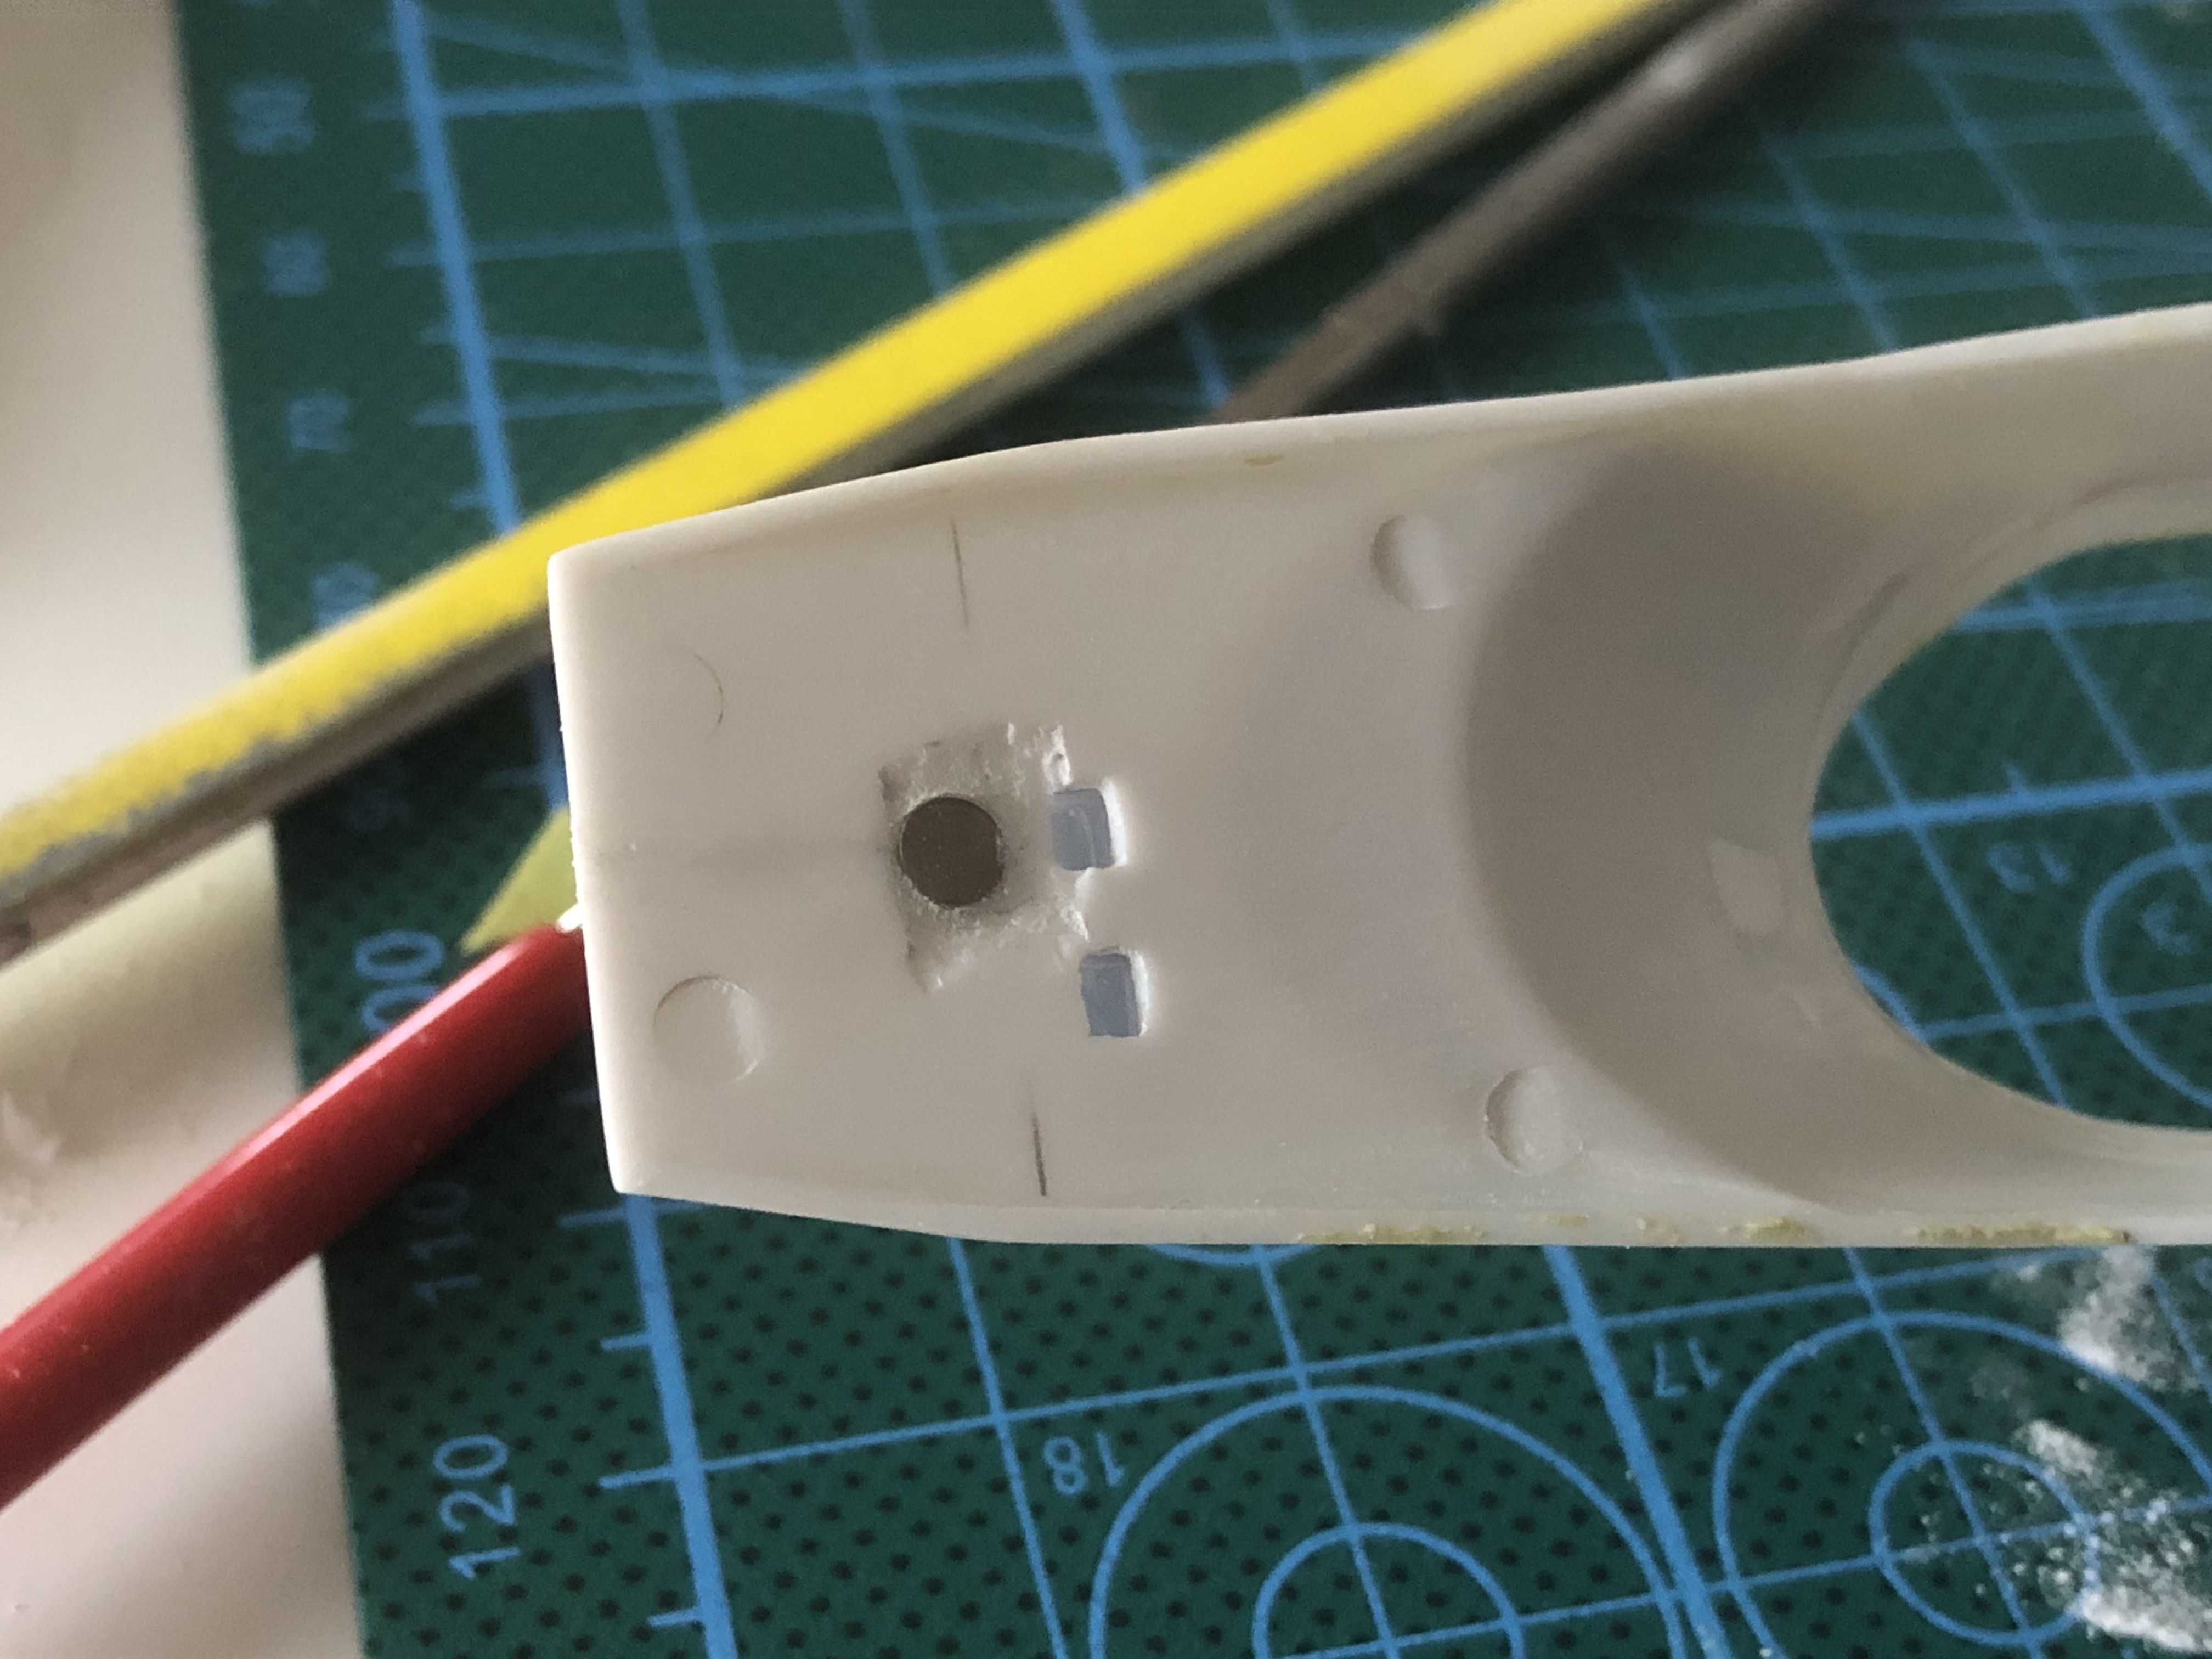
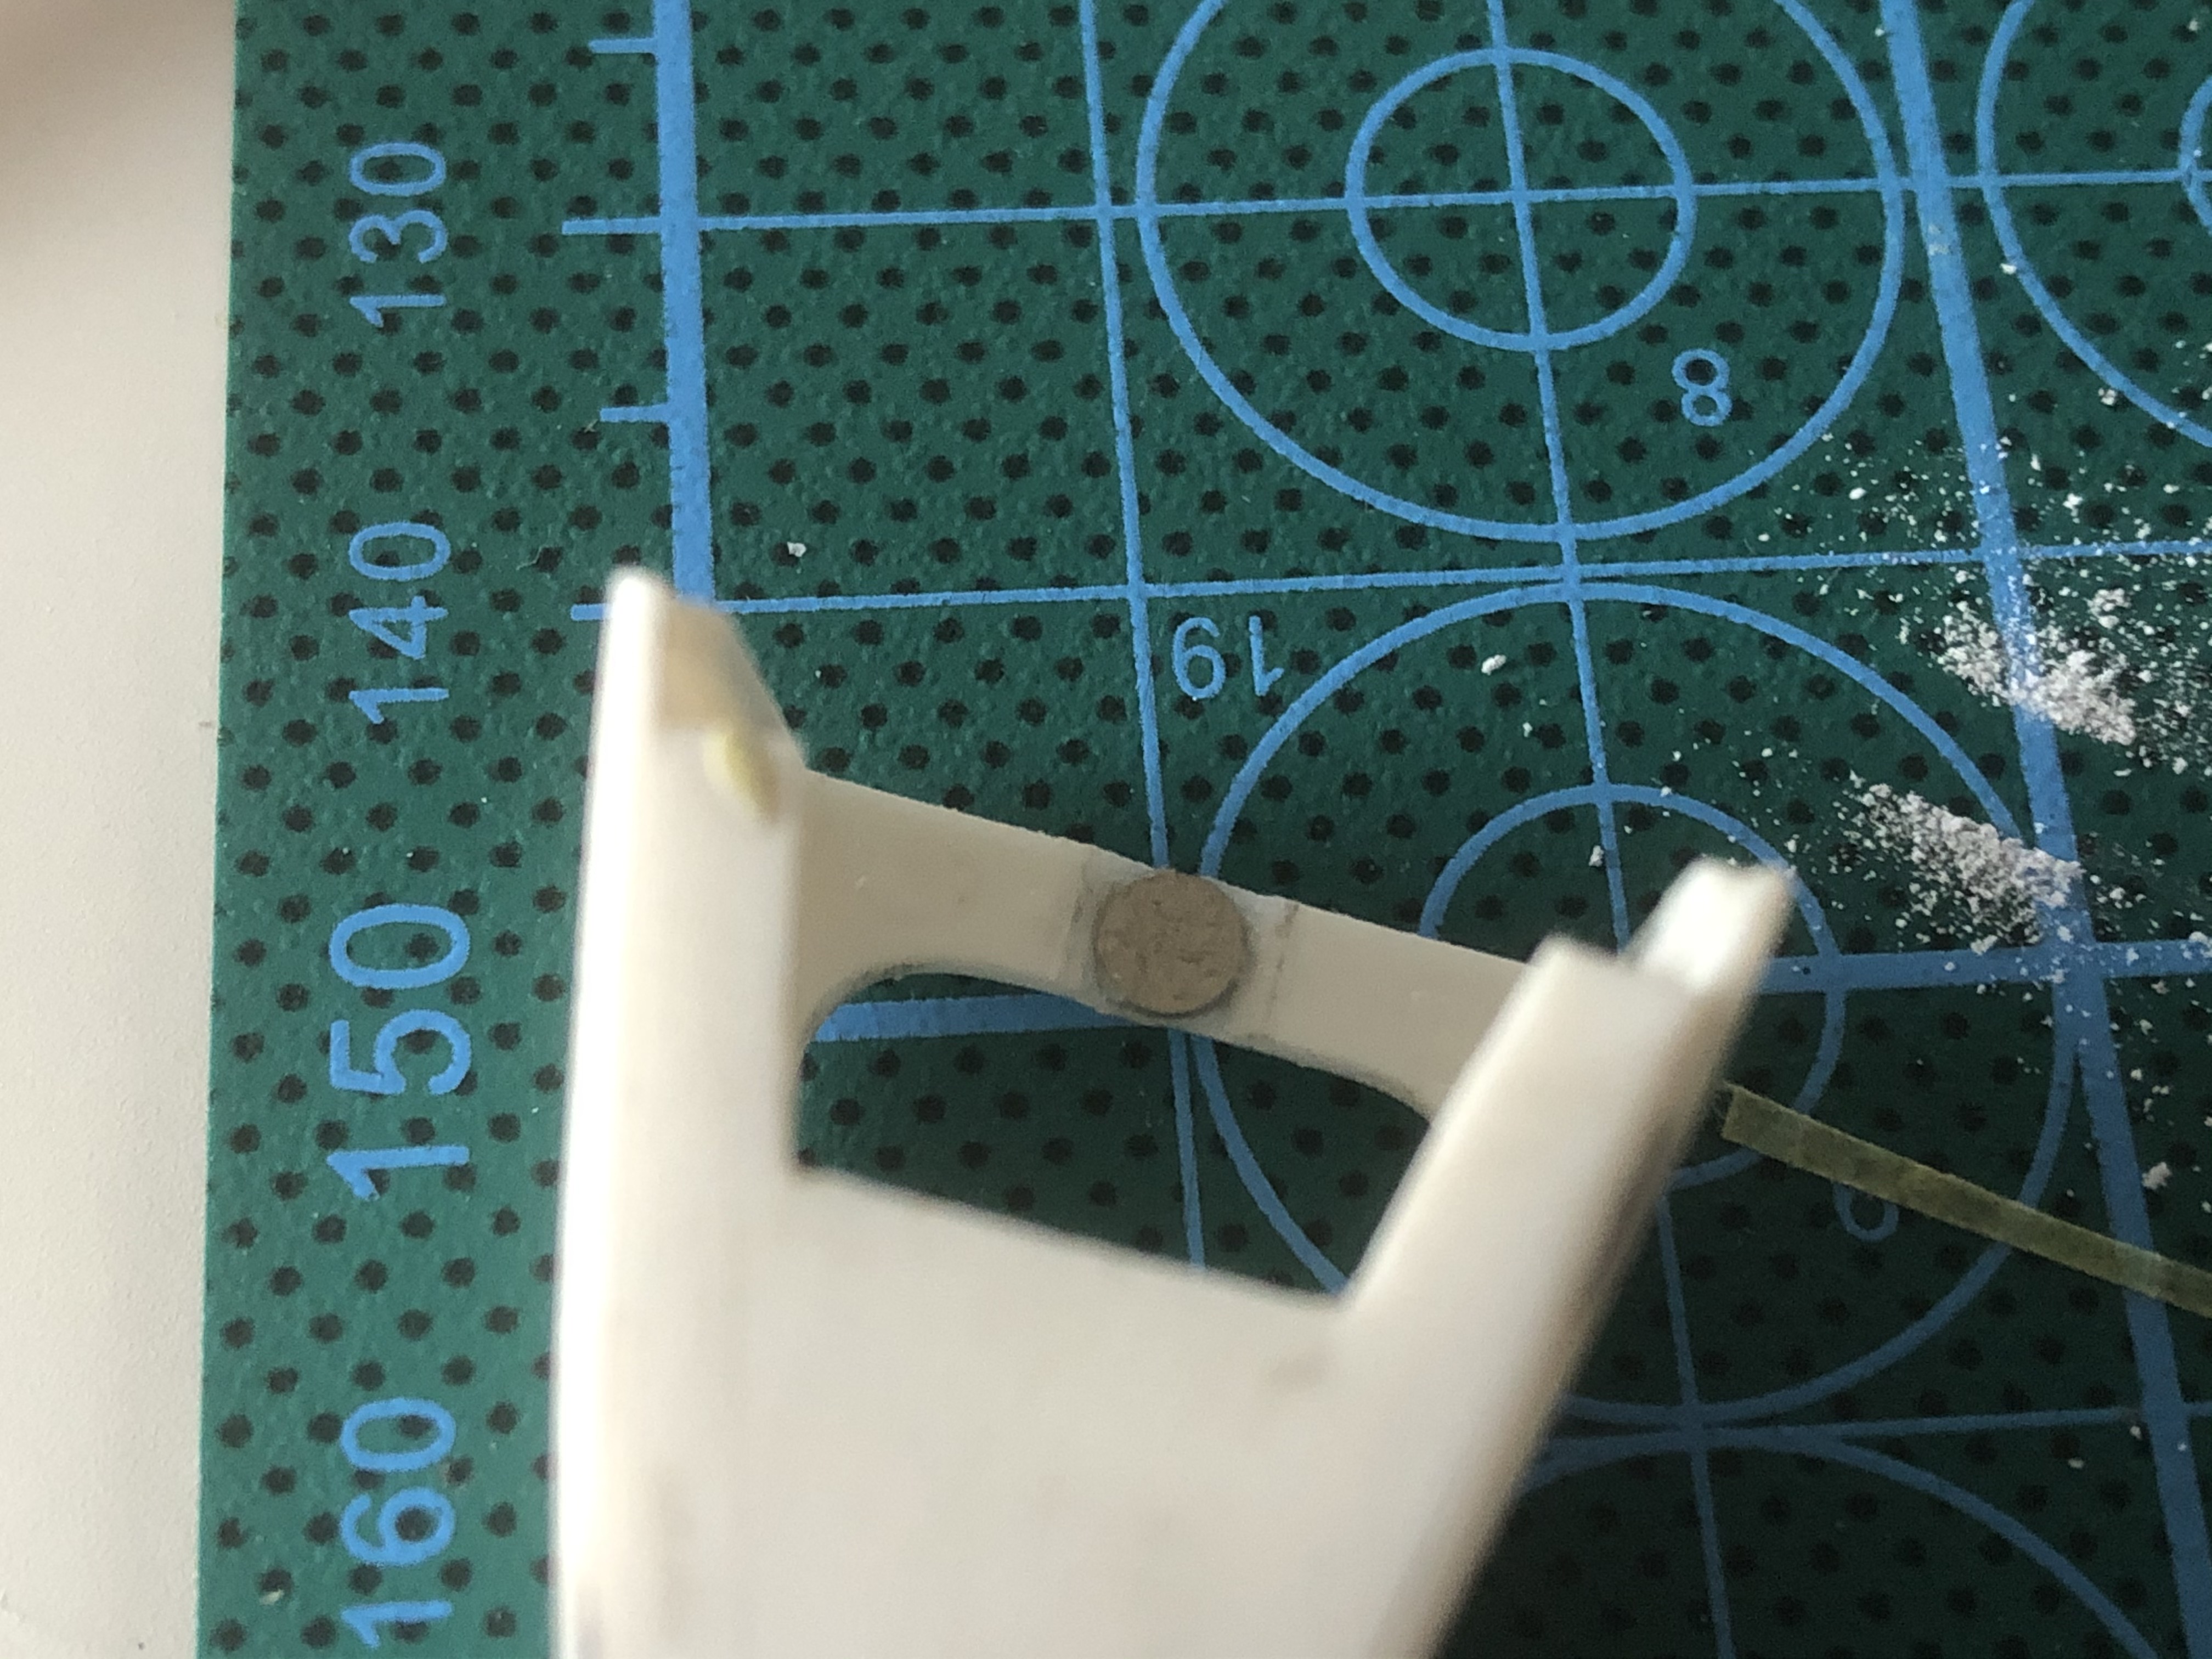
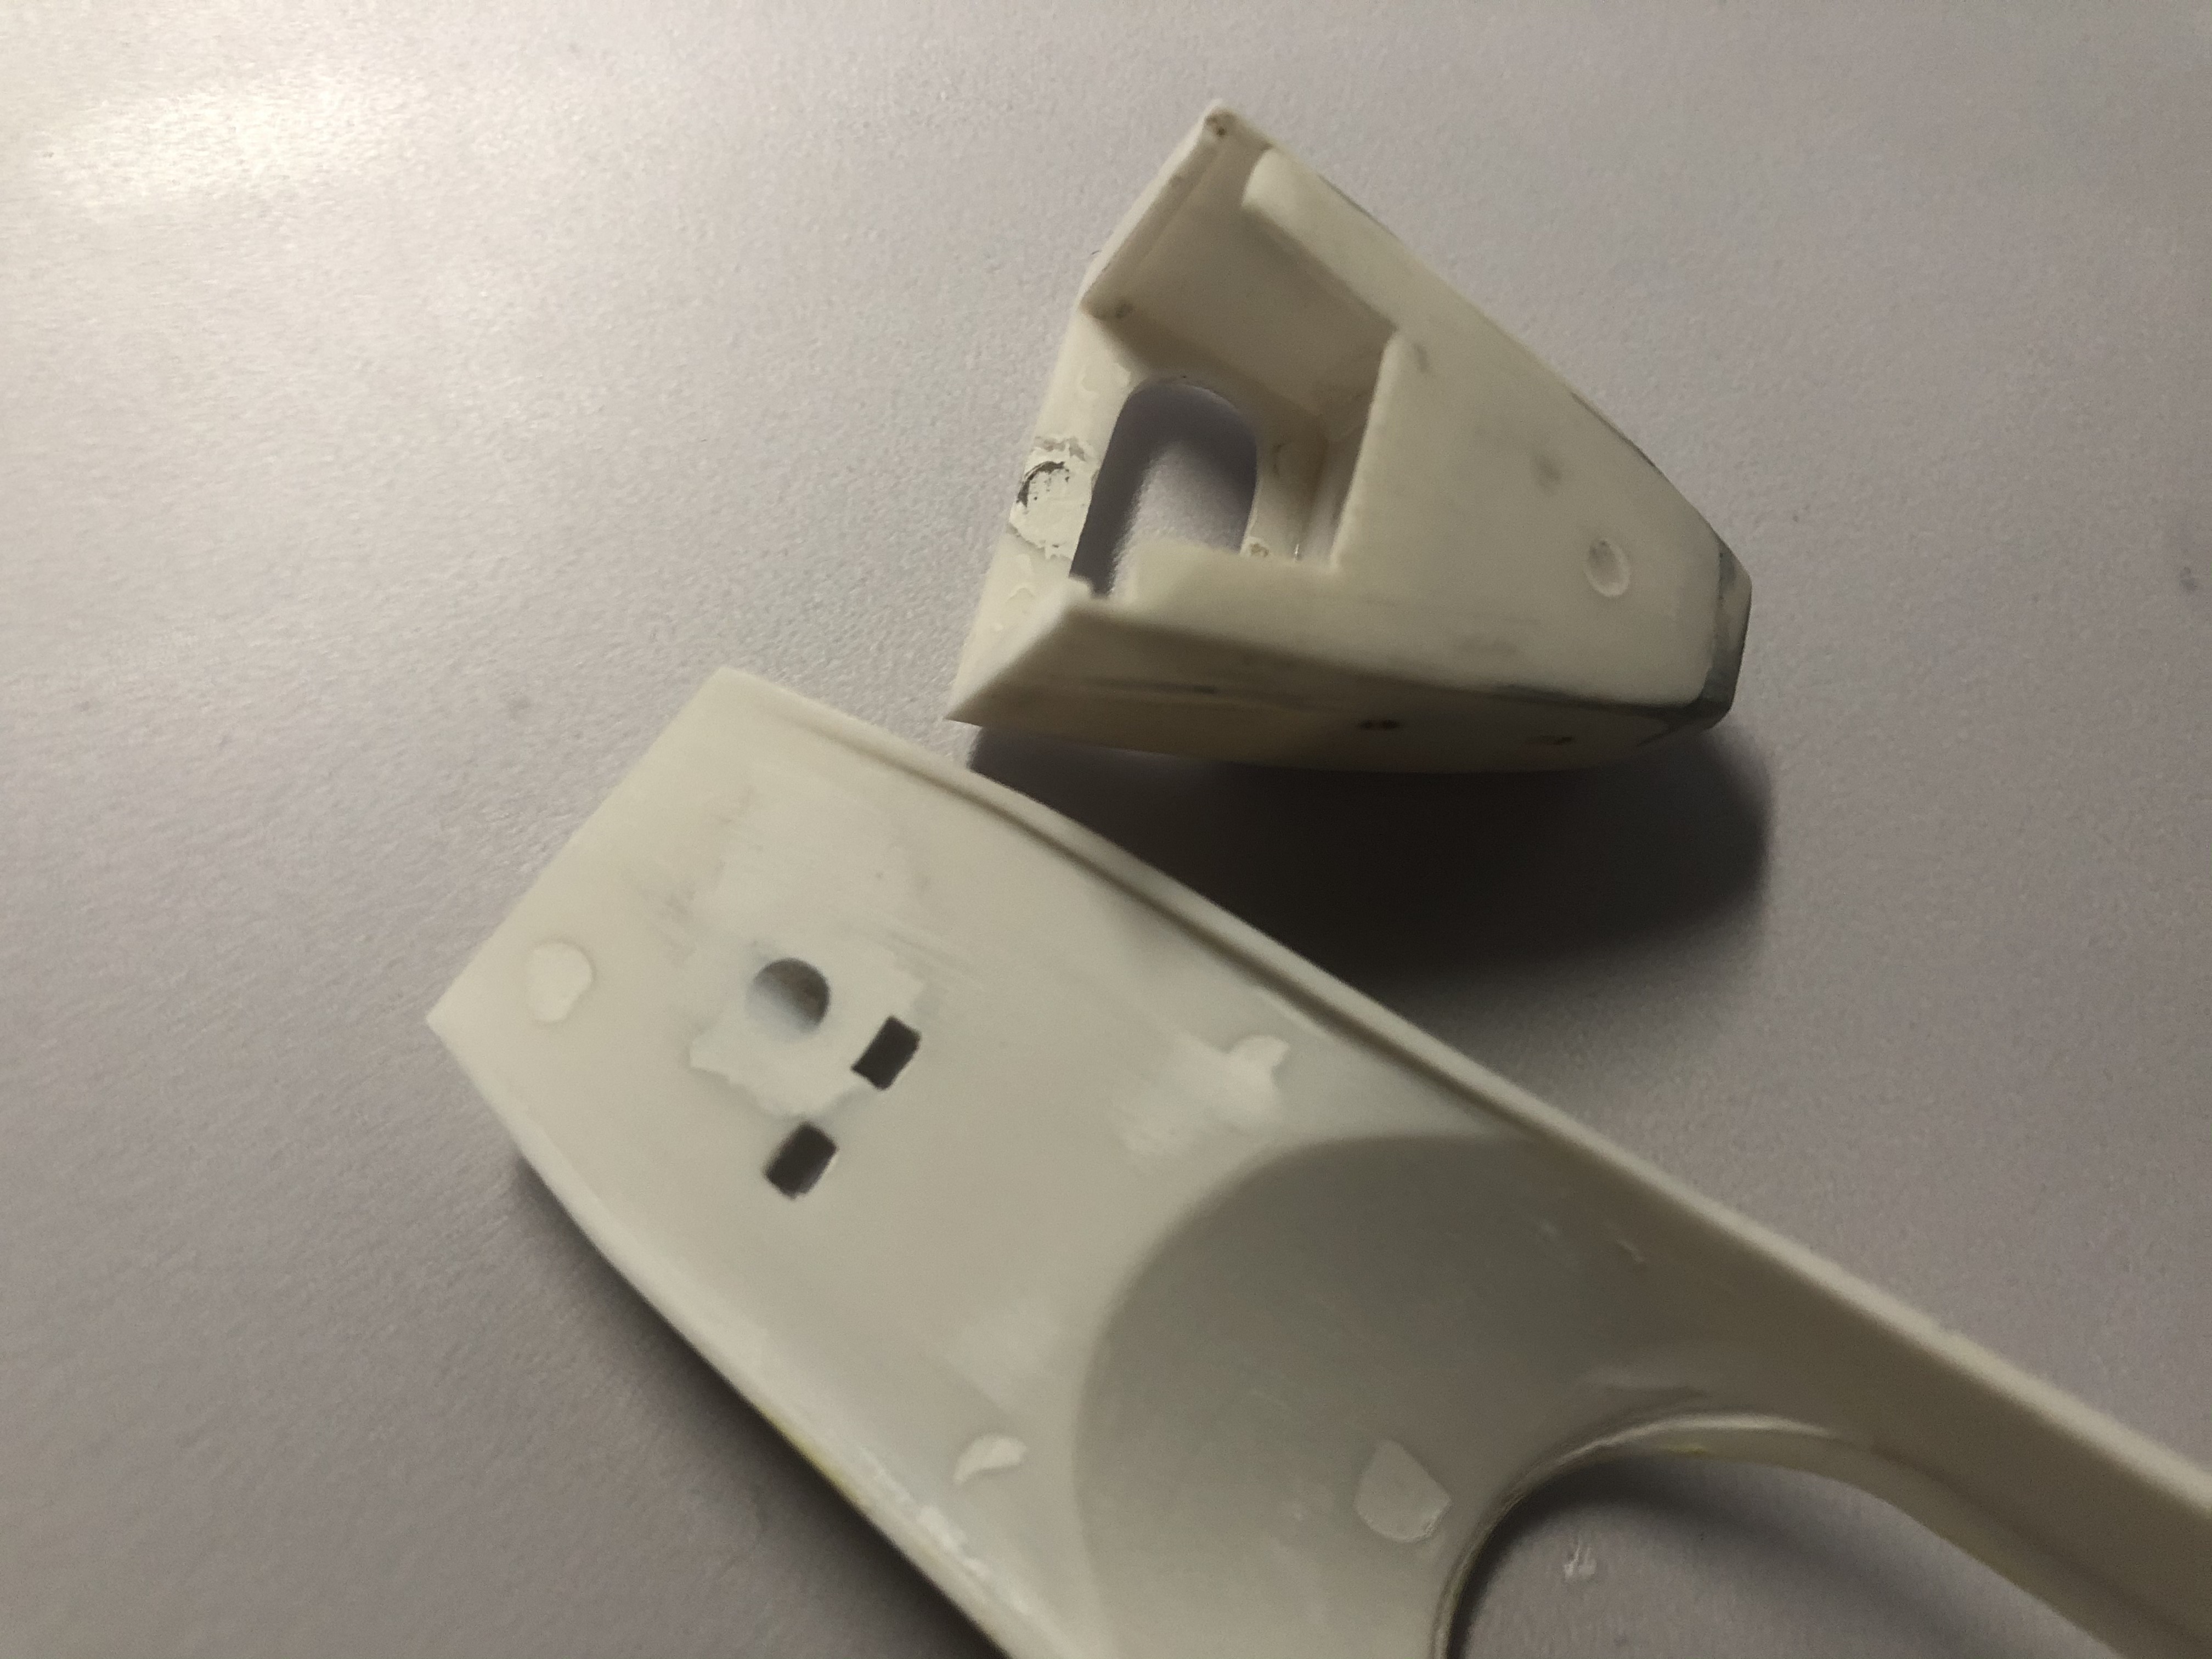
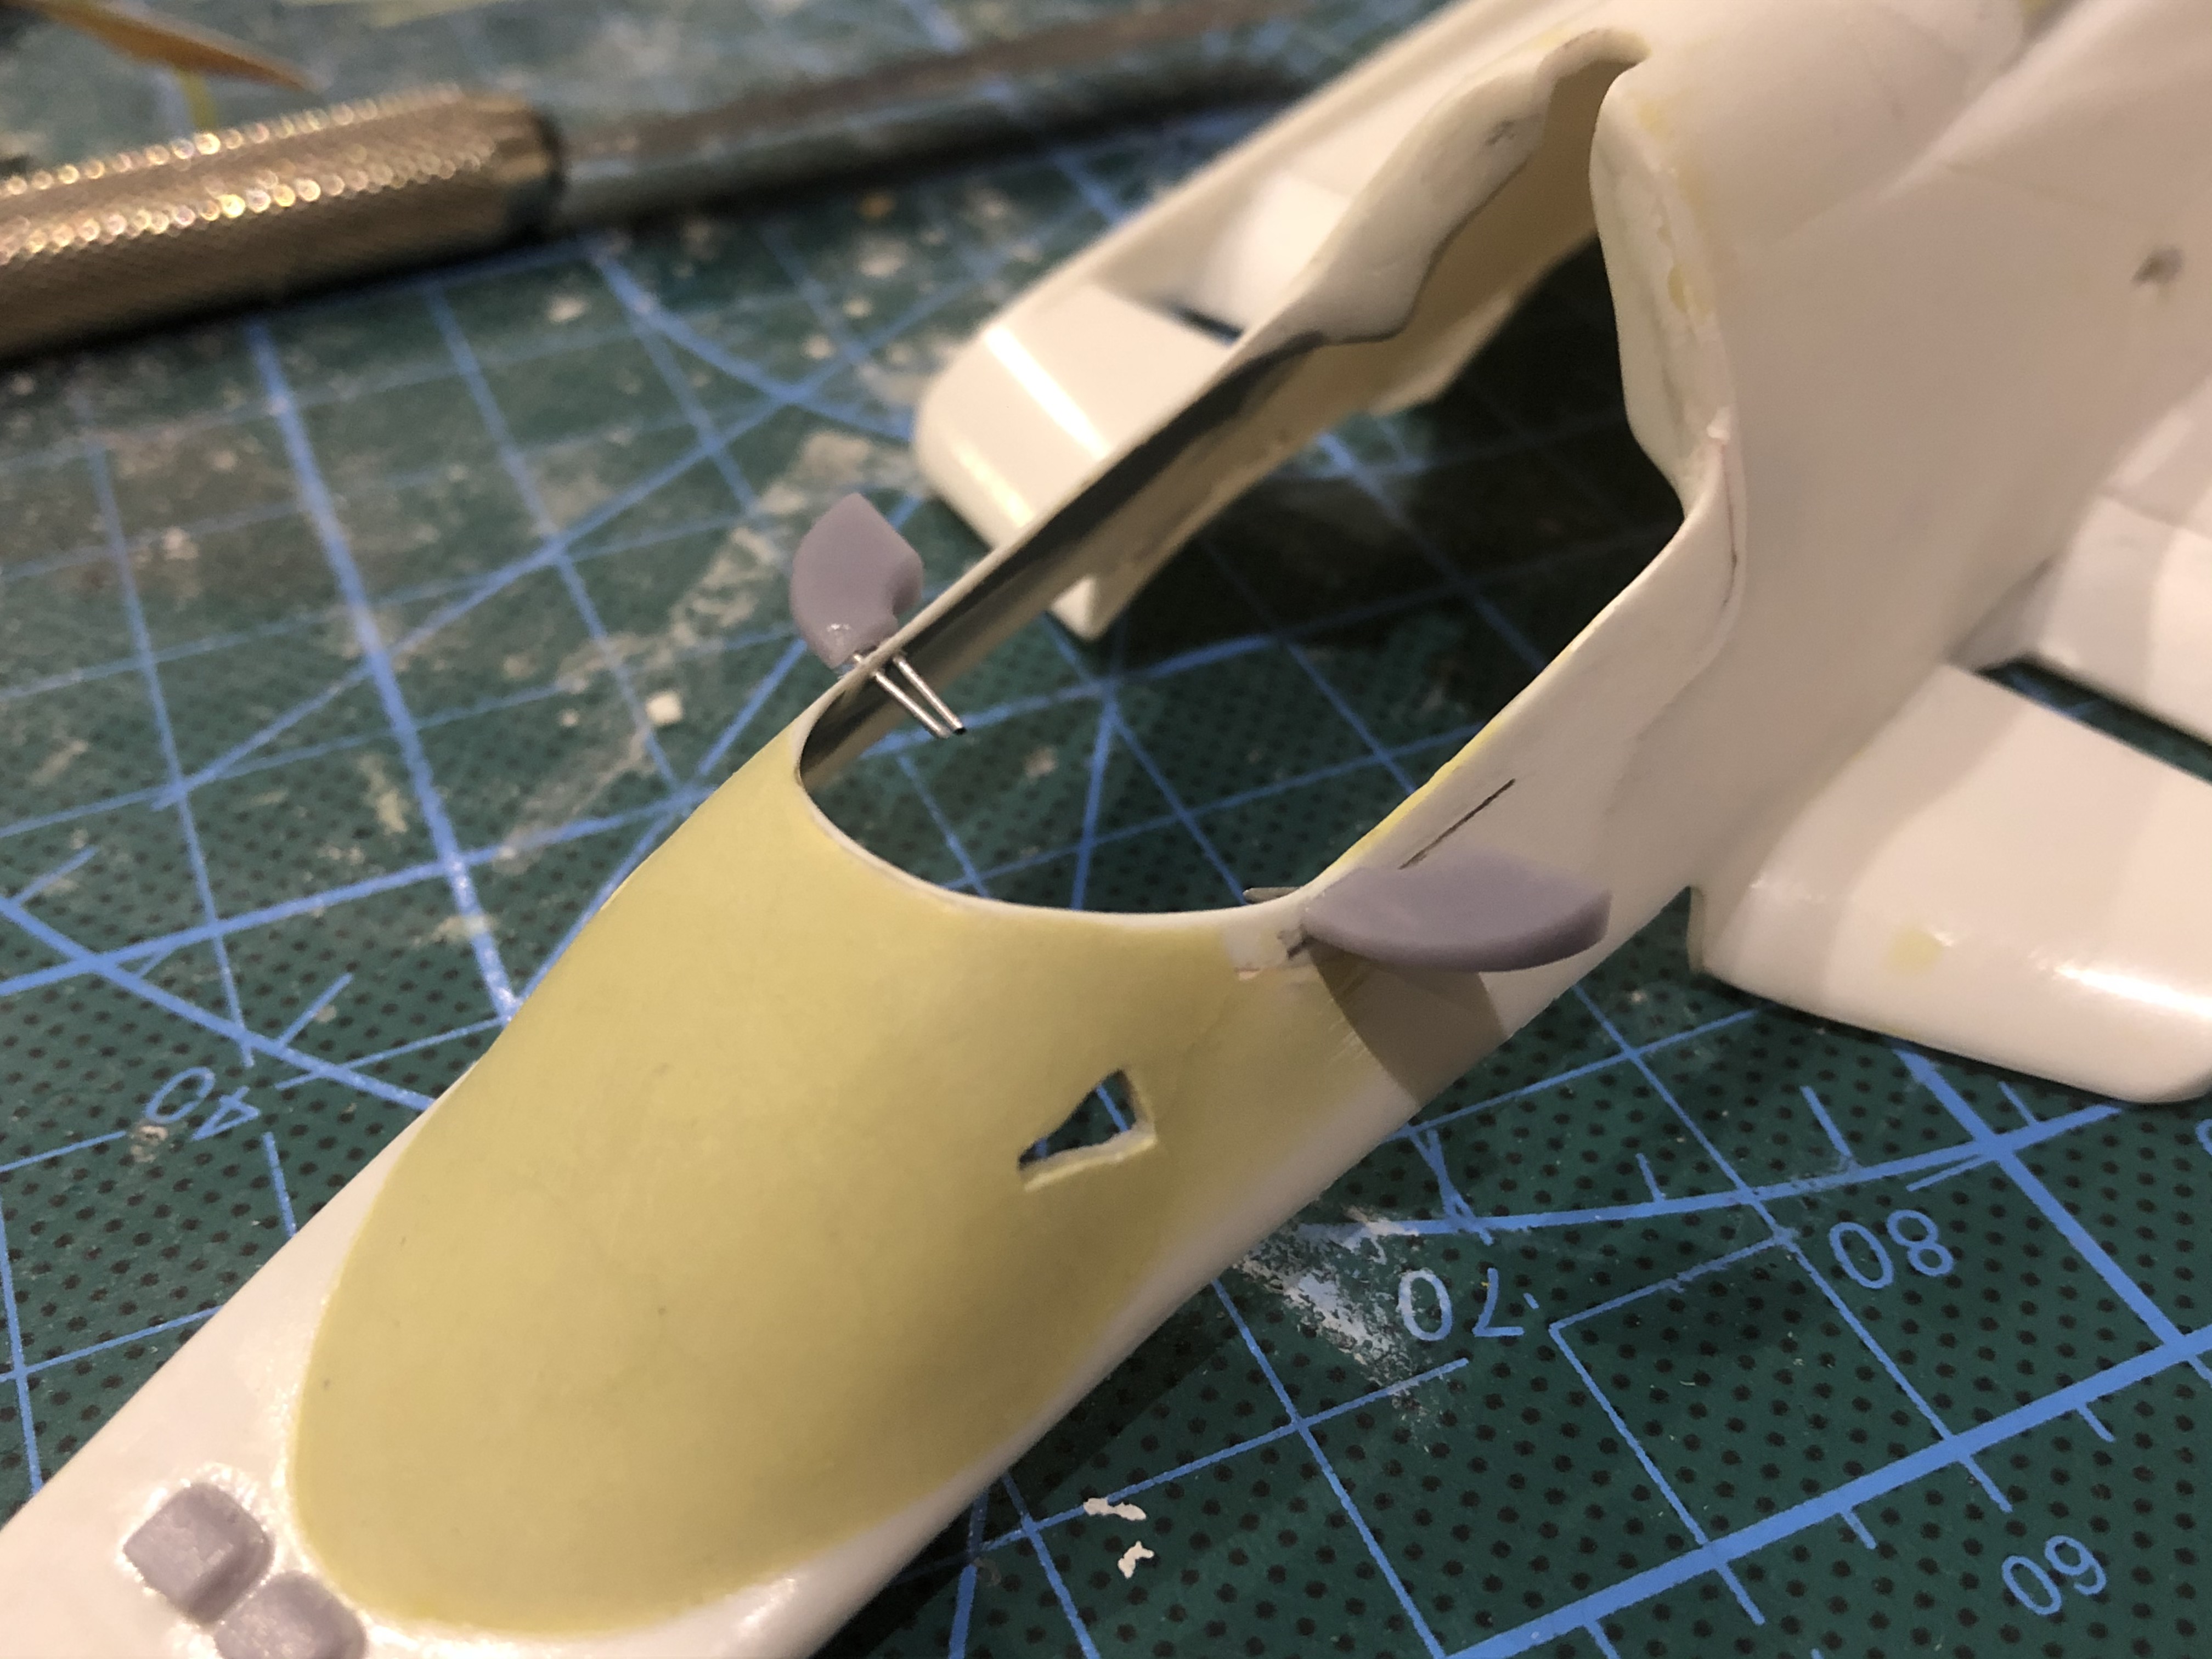
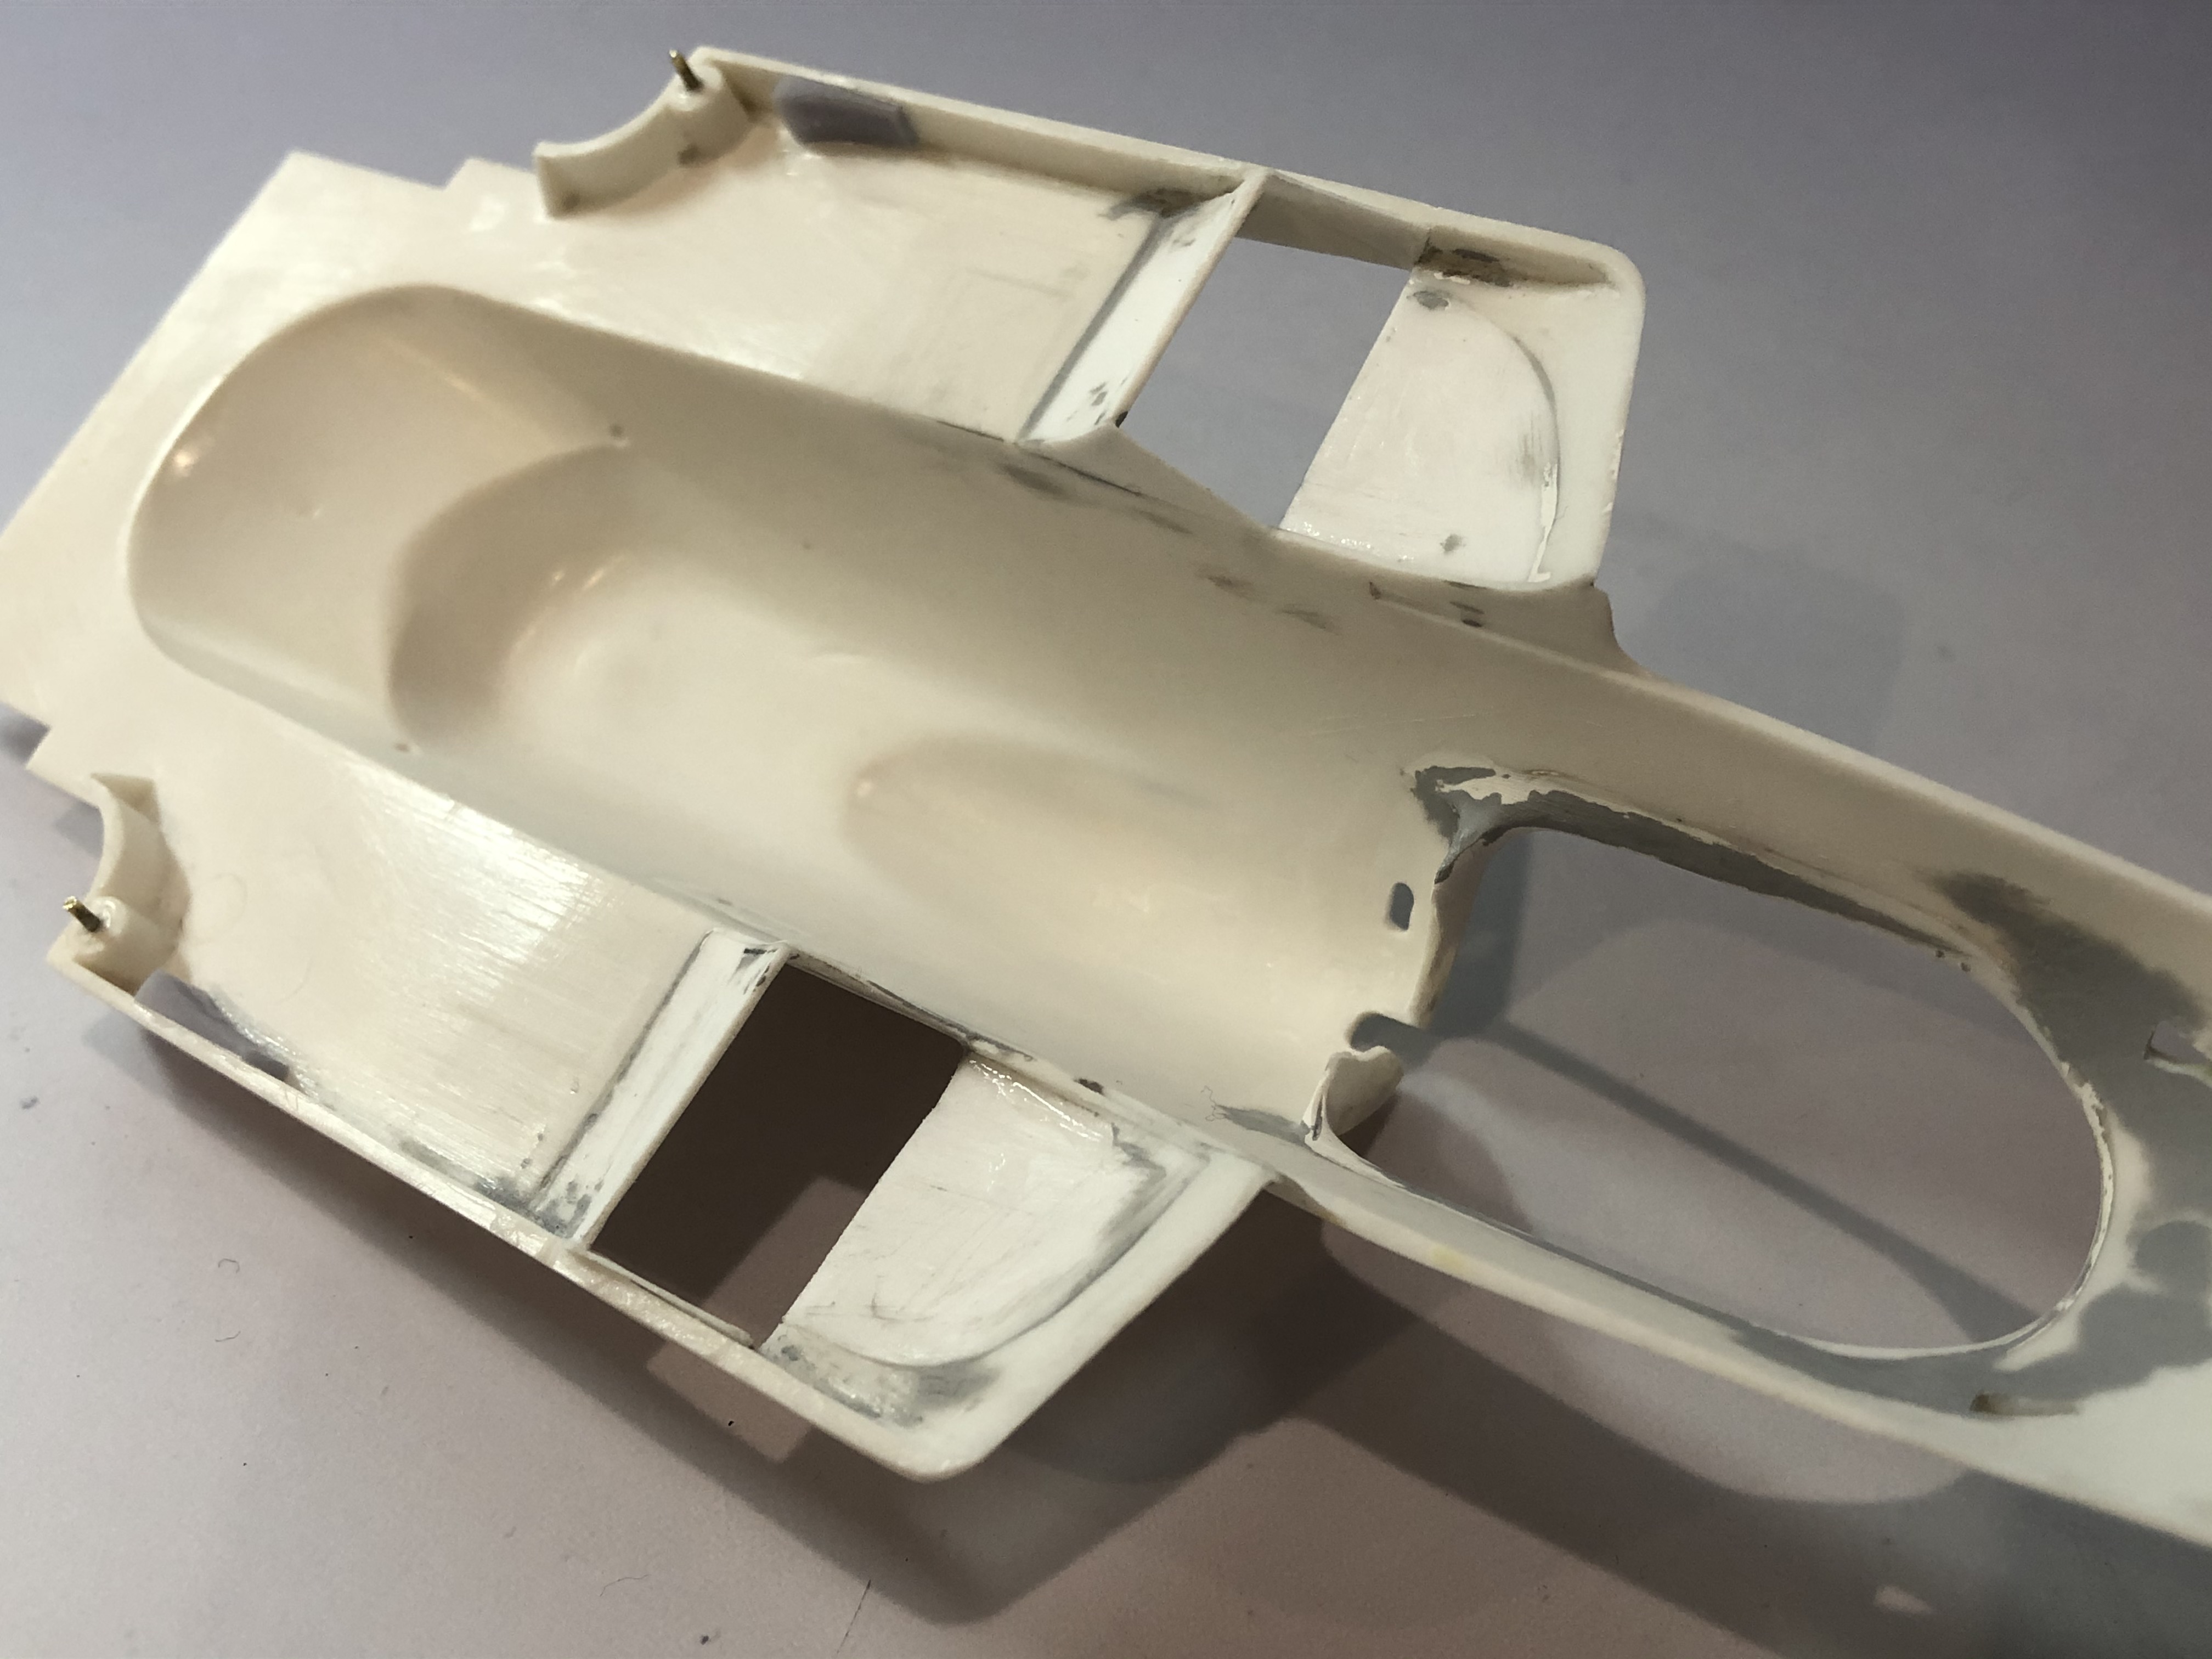
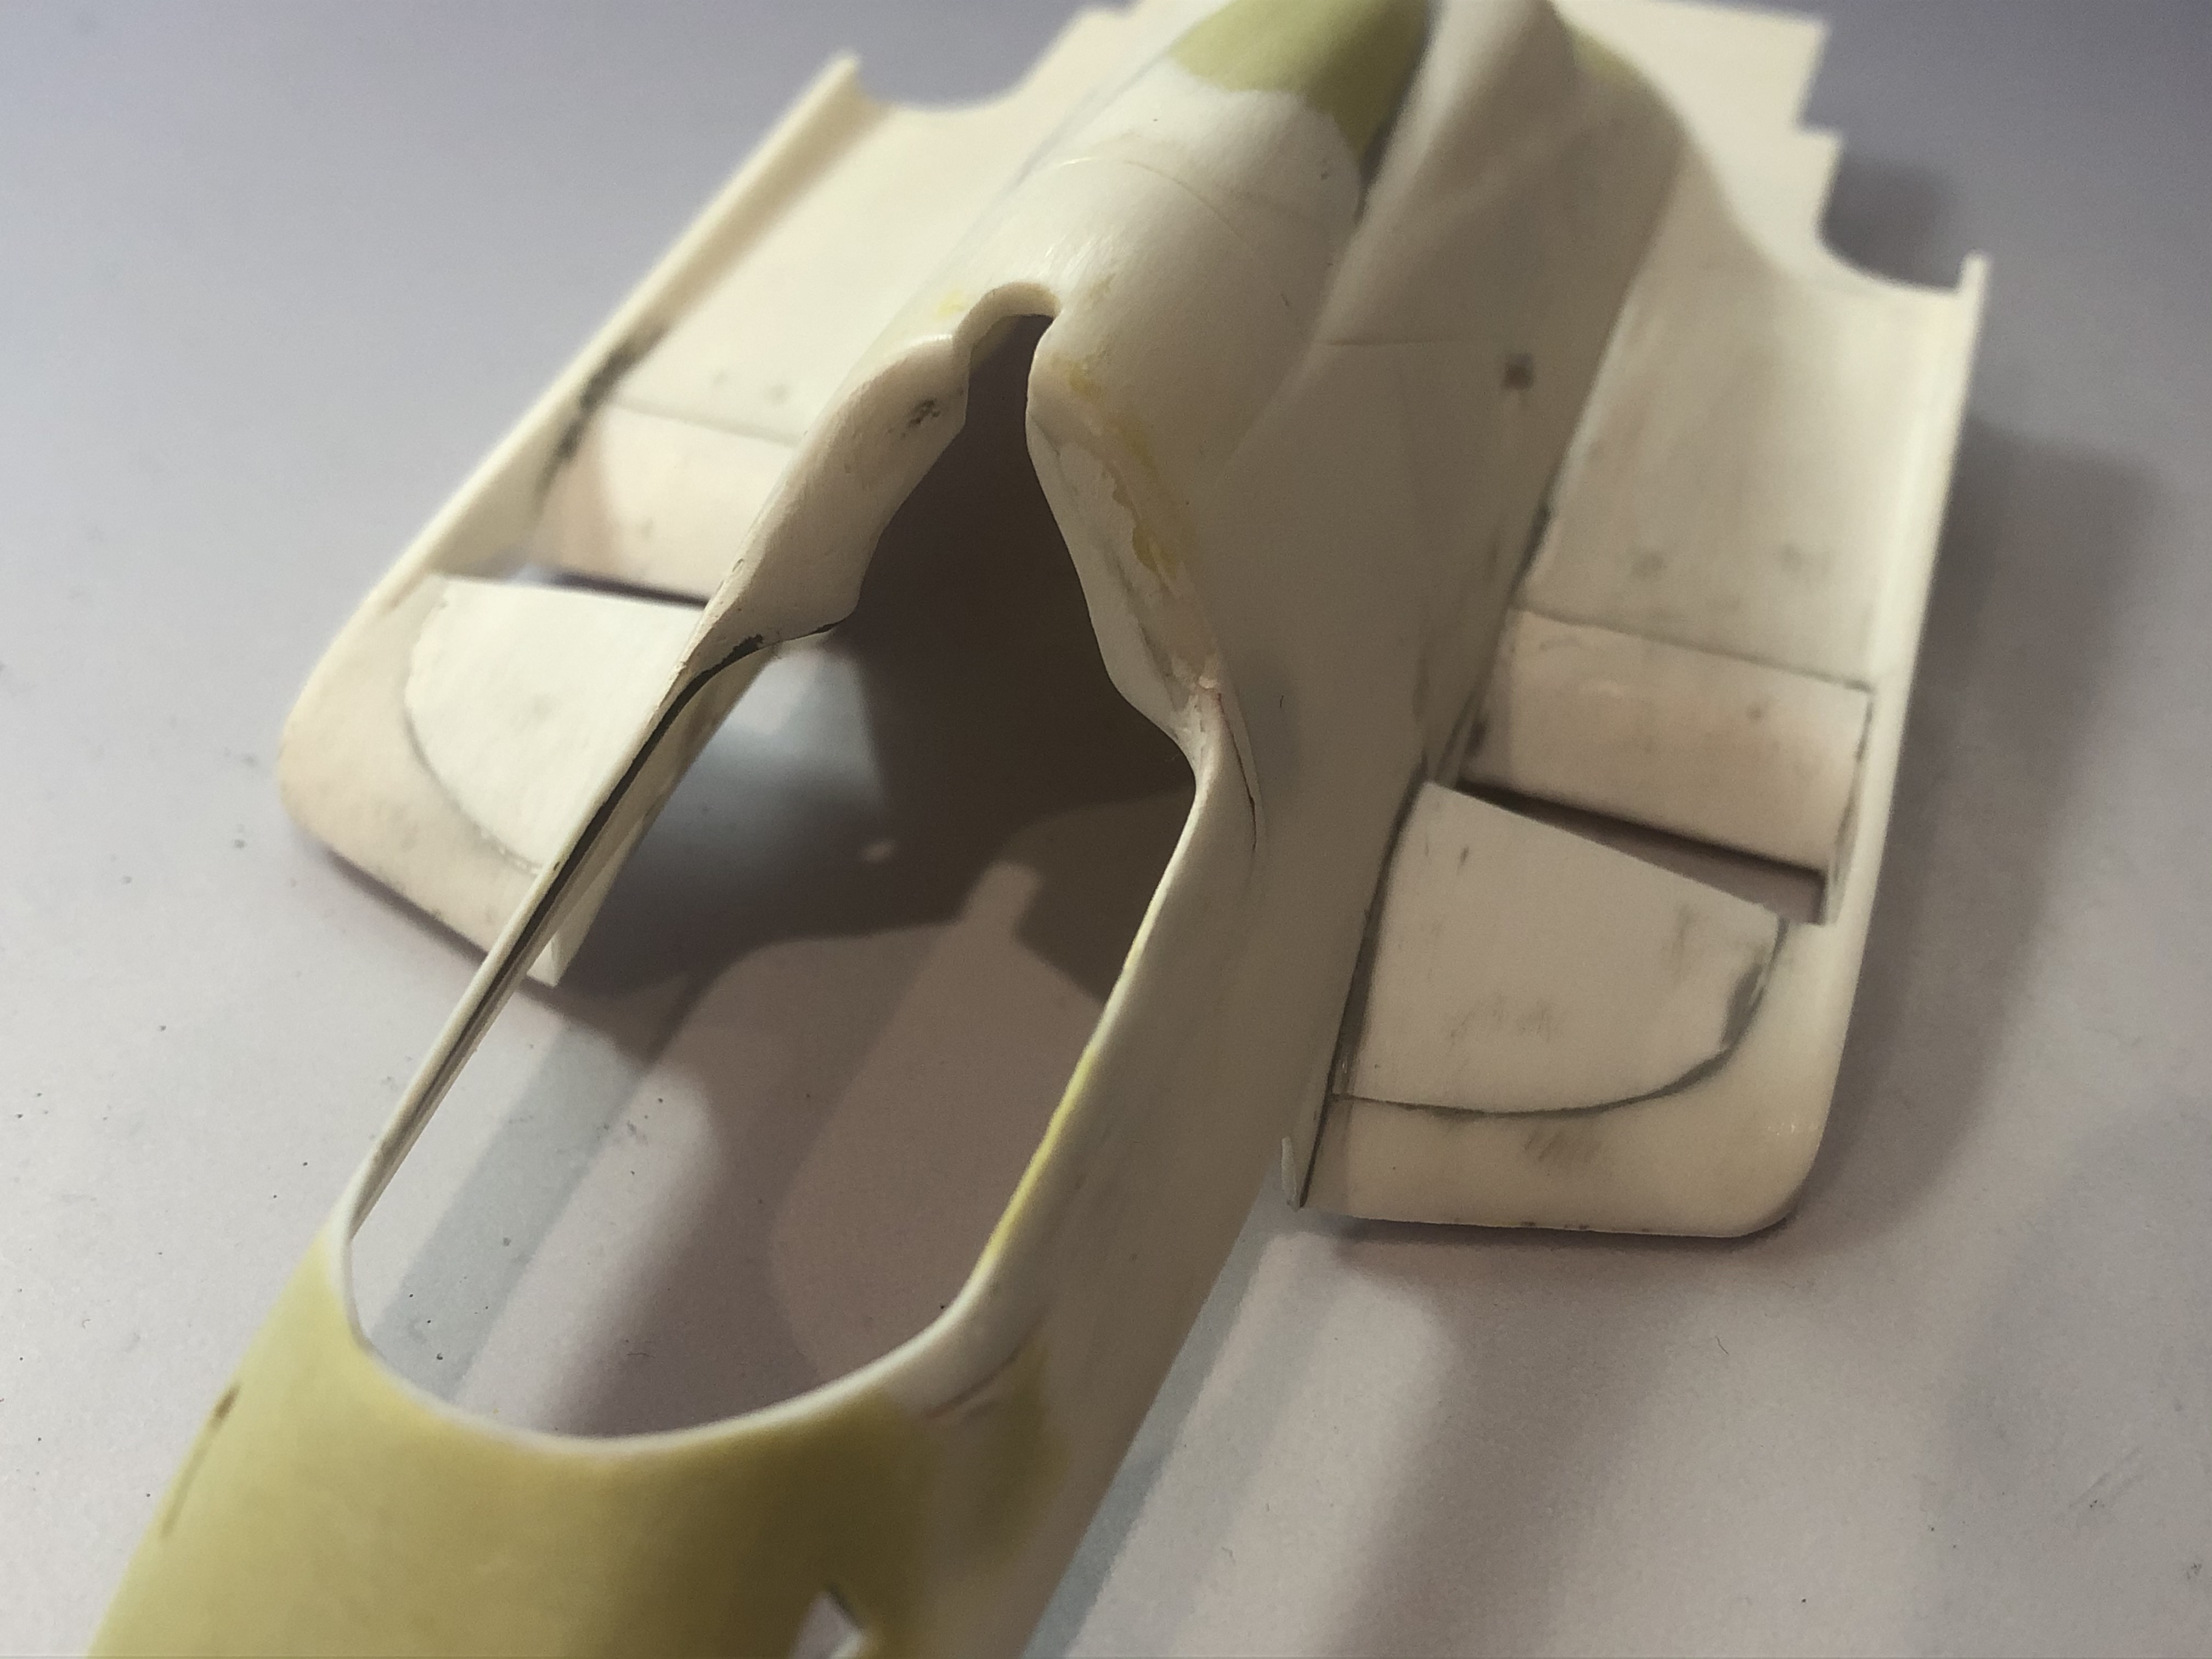
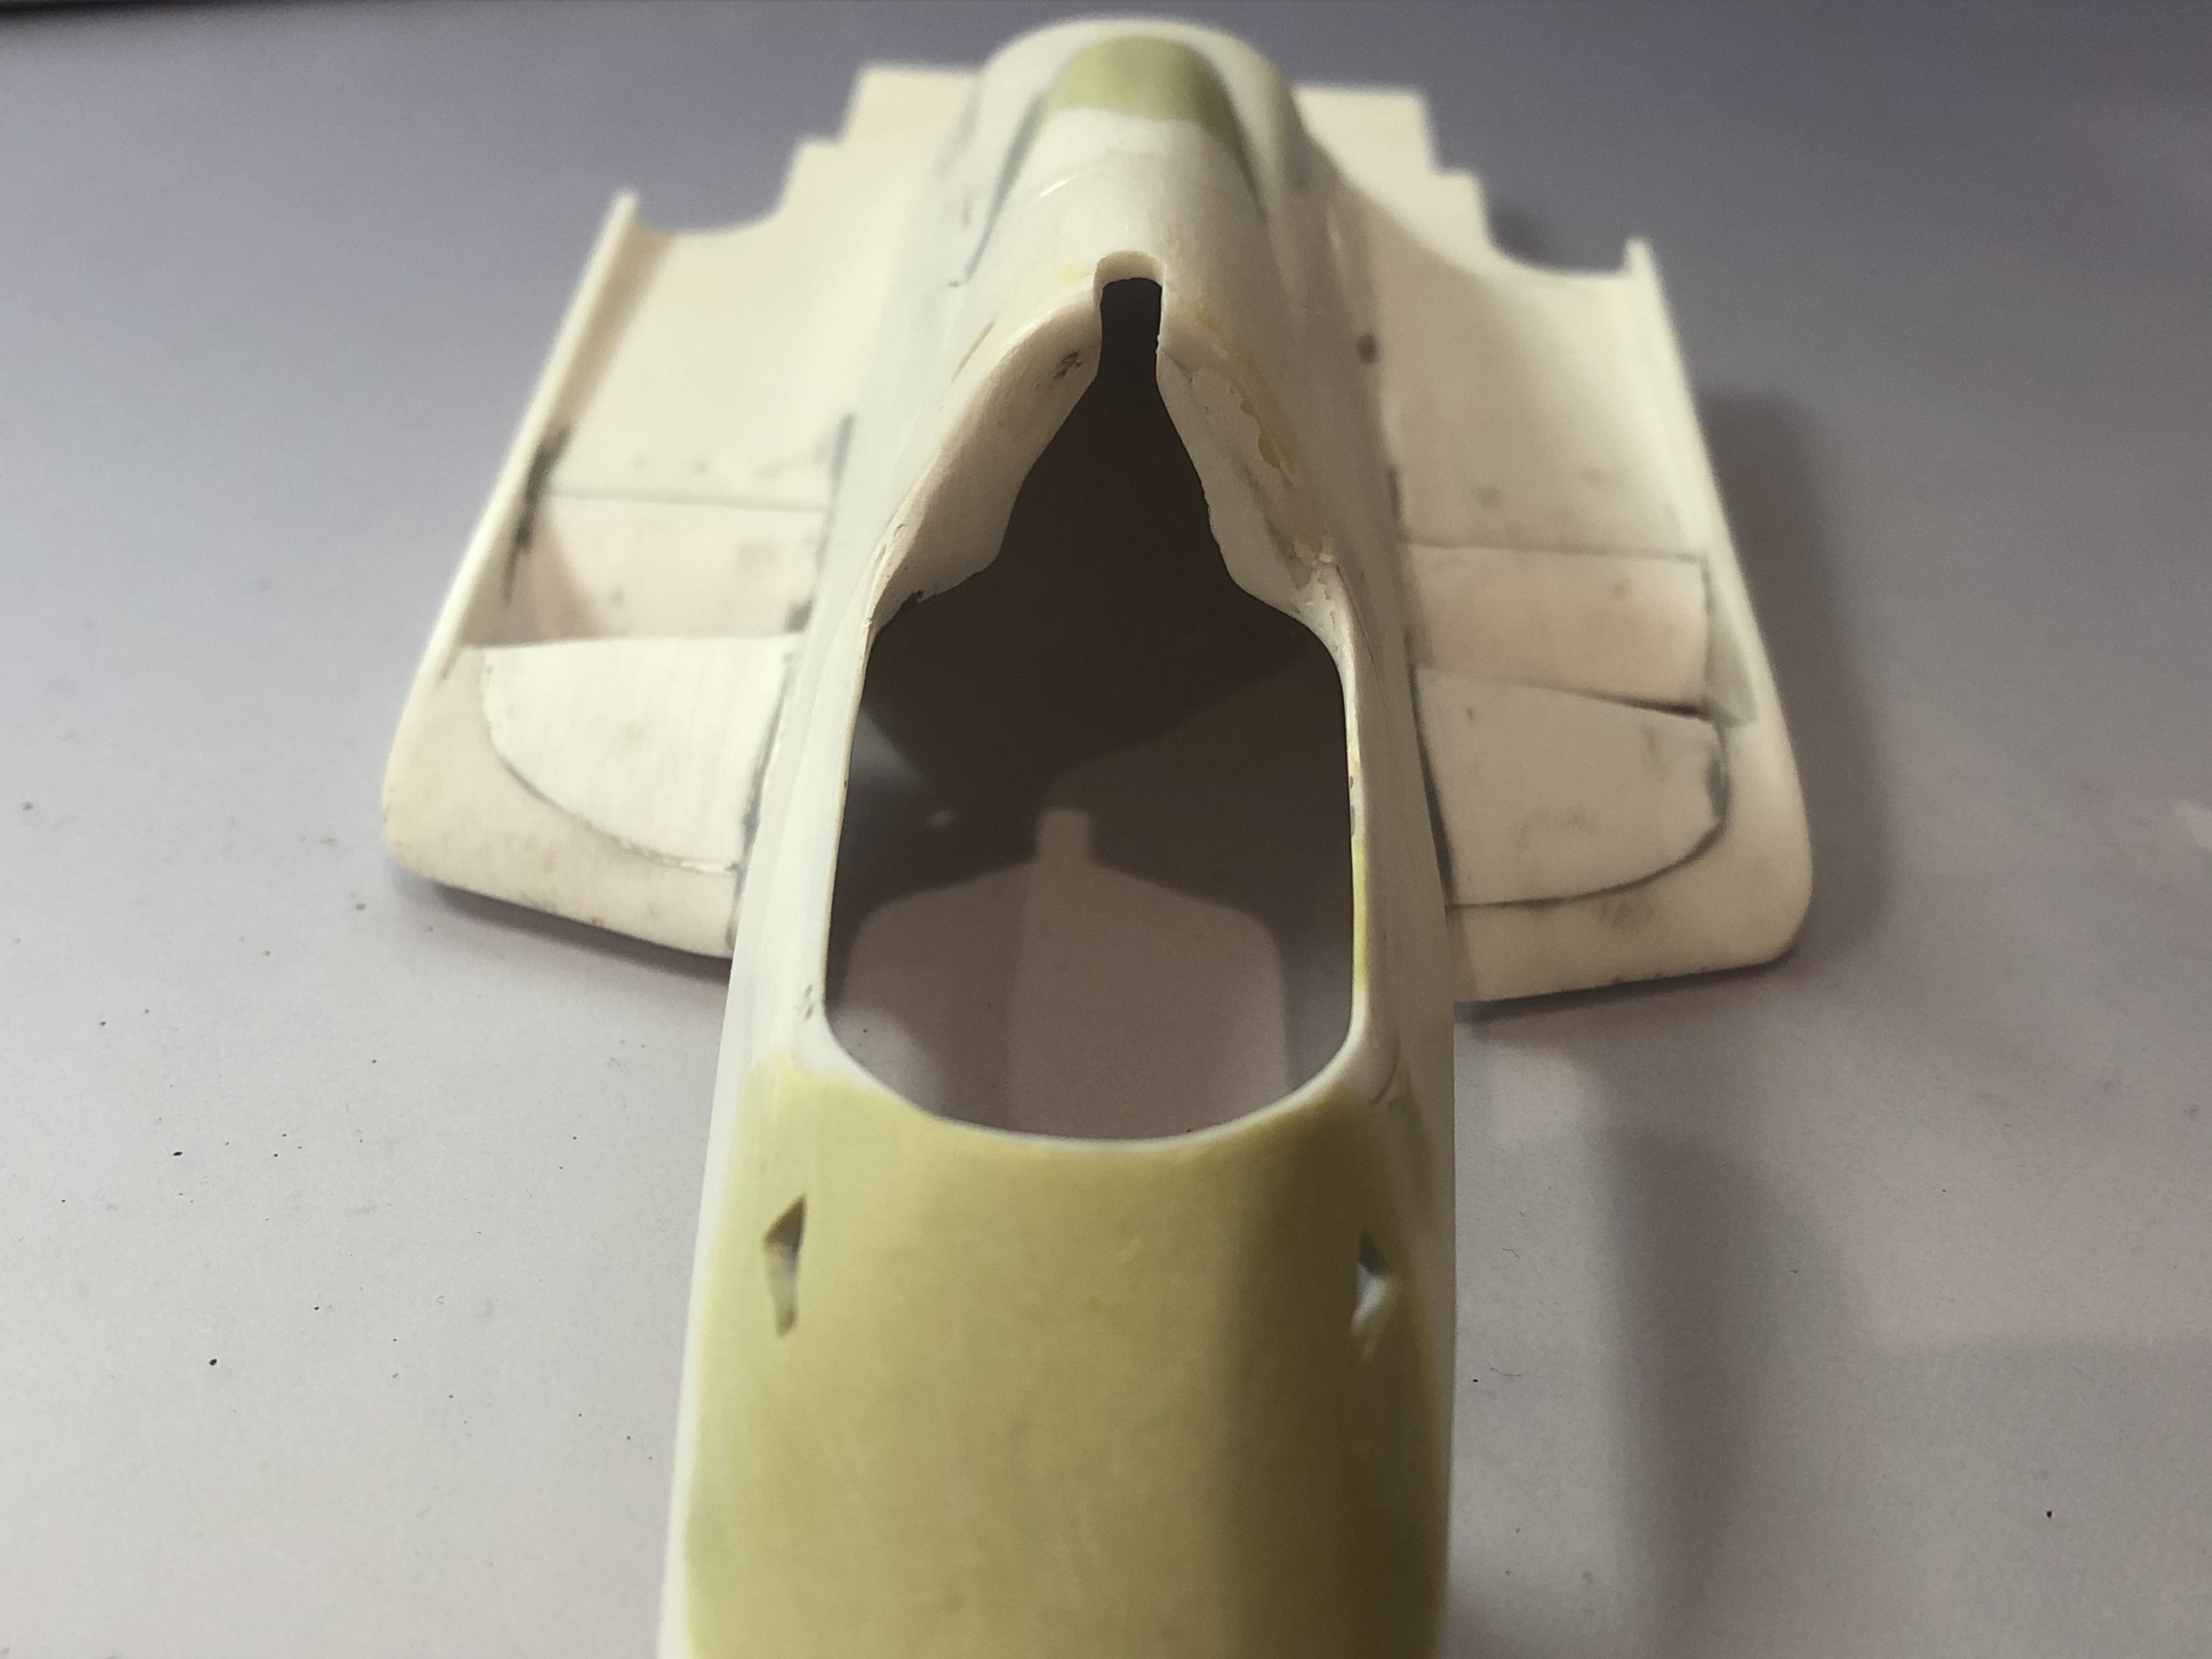
And then I dealt with the topic of fastening the cover, since e.g. the little pin on the underside directly on the nose doesn't look really nice and needs an ugly hole on the nose itself. So I closed this and work with little magnets instead - and it works and is no longer visible after putty and painting.
Last edited by steinietrabi on Wed Jan 06, 2021 5:54 am, edited 1 time in total.
Greetings Thomas
-
 CK
CK
- Constructors Champion
- Posts: 1312
- Joined: Mon Mar 06, 2006 9:38 am
- Your Name: C K
- Favorite F1 Team or Driver: Mercedes, McLaren, Williams
- Location: Canada
- Status: Offline

Re: WILLIAMS FW09 Dallas winner KAWAI+some more...
Hi Thomas,
It is a brilliant idea to use magnets to hold parts together! These super magnets are so strong and they are very tiny in size.
They are a health hazard if kids or pets swallow more than one of them. The magnets can cause intestine blockage that needs operation. Keep them in a safe place.
It is a brilliant idea to use magnets to hold parts together! These super magnets are so strong and they are very tiny in size.
They are a health hazard if kids or pets swallow more than one of them. The magnets can cause intestine blockage that needs operation. Keep them in a safe place.
C K
Canada
Canada
-
steinietrabi
- Constructors Champion
- Posts: 1382
- Joined: Mon Mar 30, 2020 1:56 pm
- Your Name: Thomas
- Favorite F1 Team or Driver: Williams, Ferrari, McLaren... Michael Schumacher
- Location: Crottendorf / Germany
- Status: Offline
Re: WILLIAMS FW09 Dallas winner KAWAI+some more...
Yes, that's right, the magnets are really great and easy to hide.
And yes, I have them in a special little case where I also store all my small parts (fittings, screws, nuts, etc.). I'll take a picture and post it next time.
P.S. I don't have any pets, but yes the kids
And yes, I have them in a special little case where I also store all my small parts (fittings, screws, nuts, etc.). I'll take a picture and post it next time.
P.S. I don't have any pets, but yes the kids
Greetings Thomas
-
steinietrabi
- Constructors Champion
- Posts: 1382
- Joined: Mon Mar 30, 2020 1:56 pm
- Your Name: Thomas
- Favorite F1 Team or Driver: Williams, Ferrari, McLaren... Michael Schumacher
- Location: Crottendorf / Germany
- Status: Offline
Re: WILLIAMS FW09 Dallas winner KAWAI+some more...
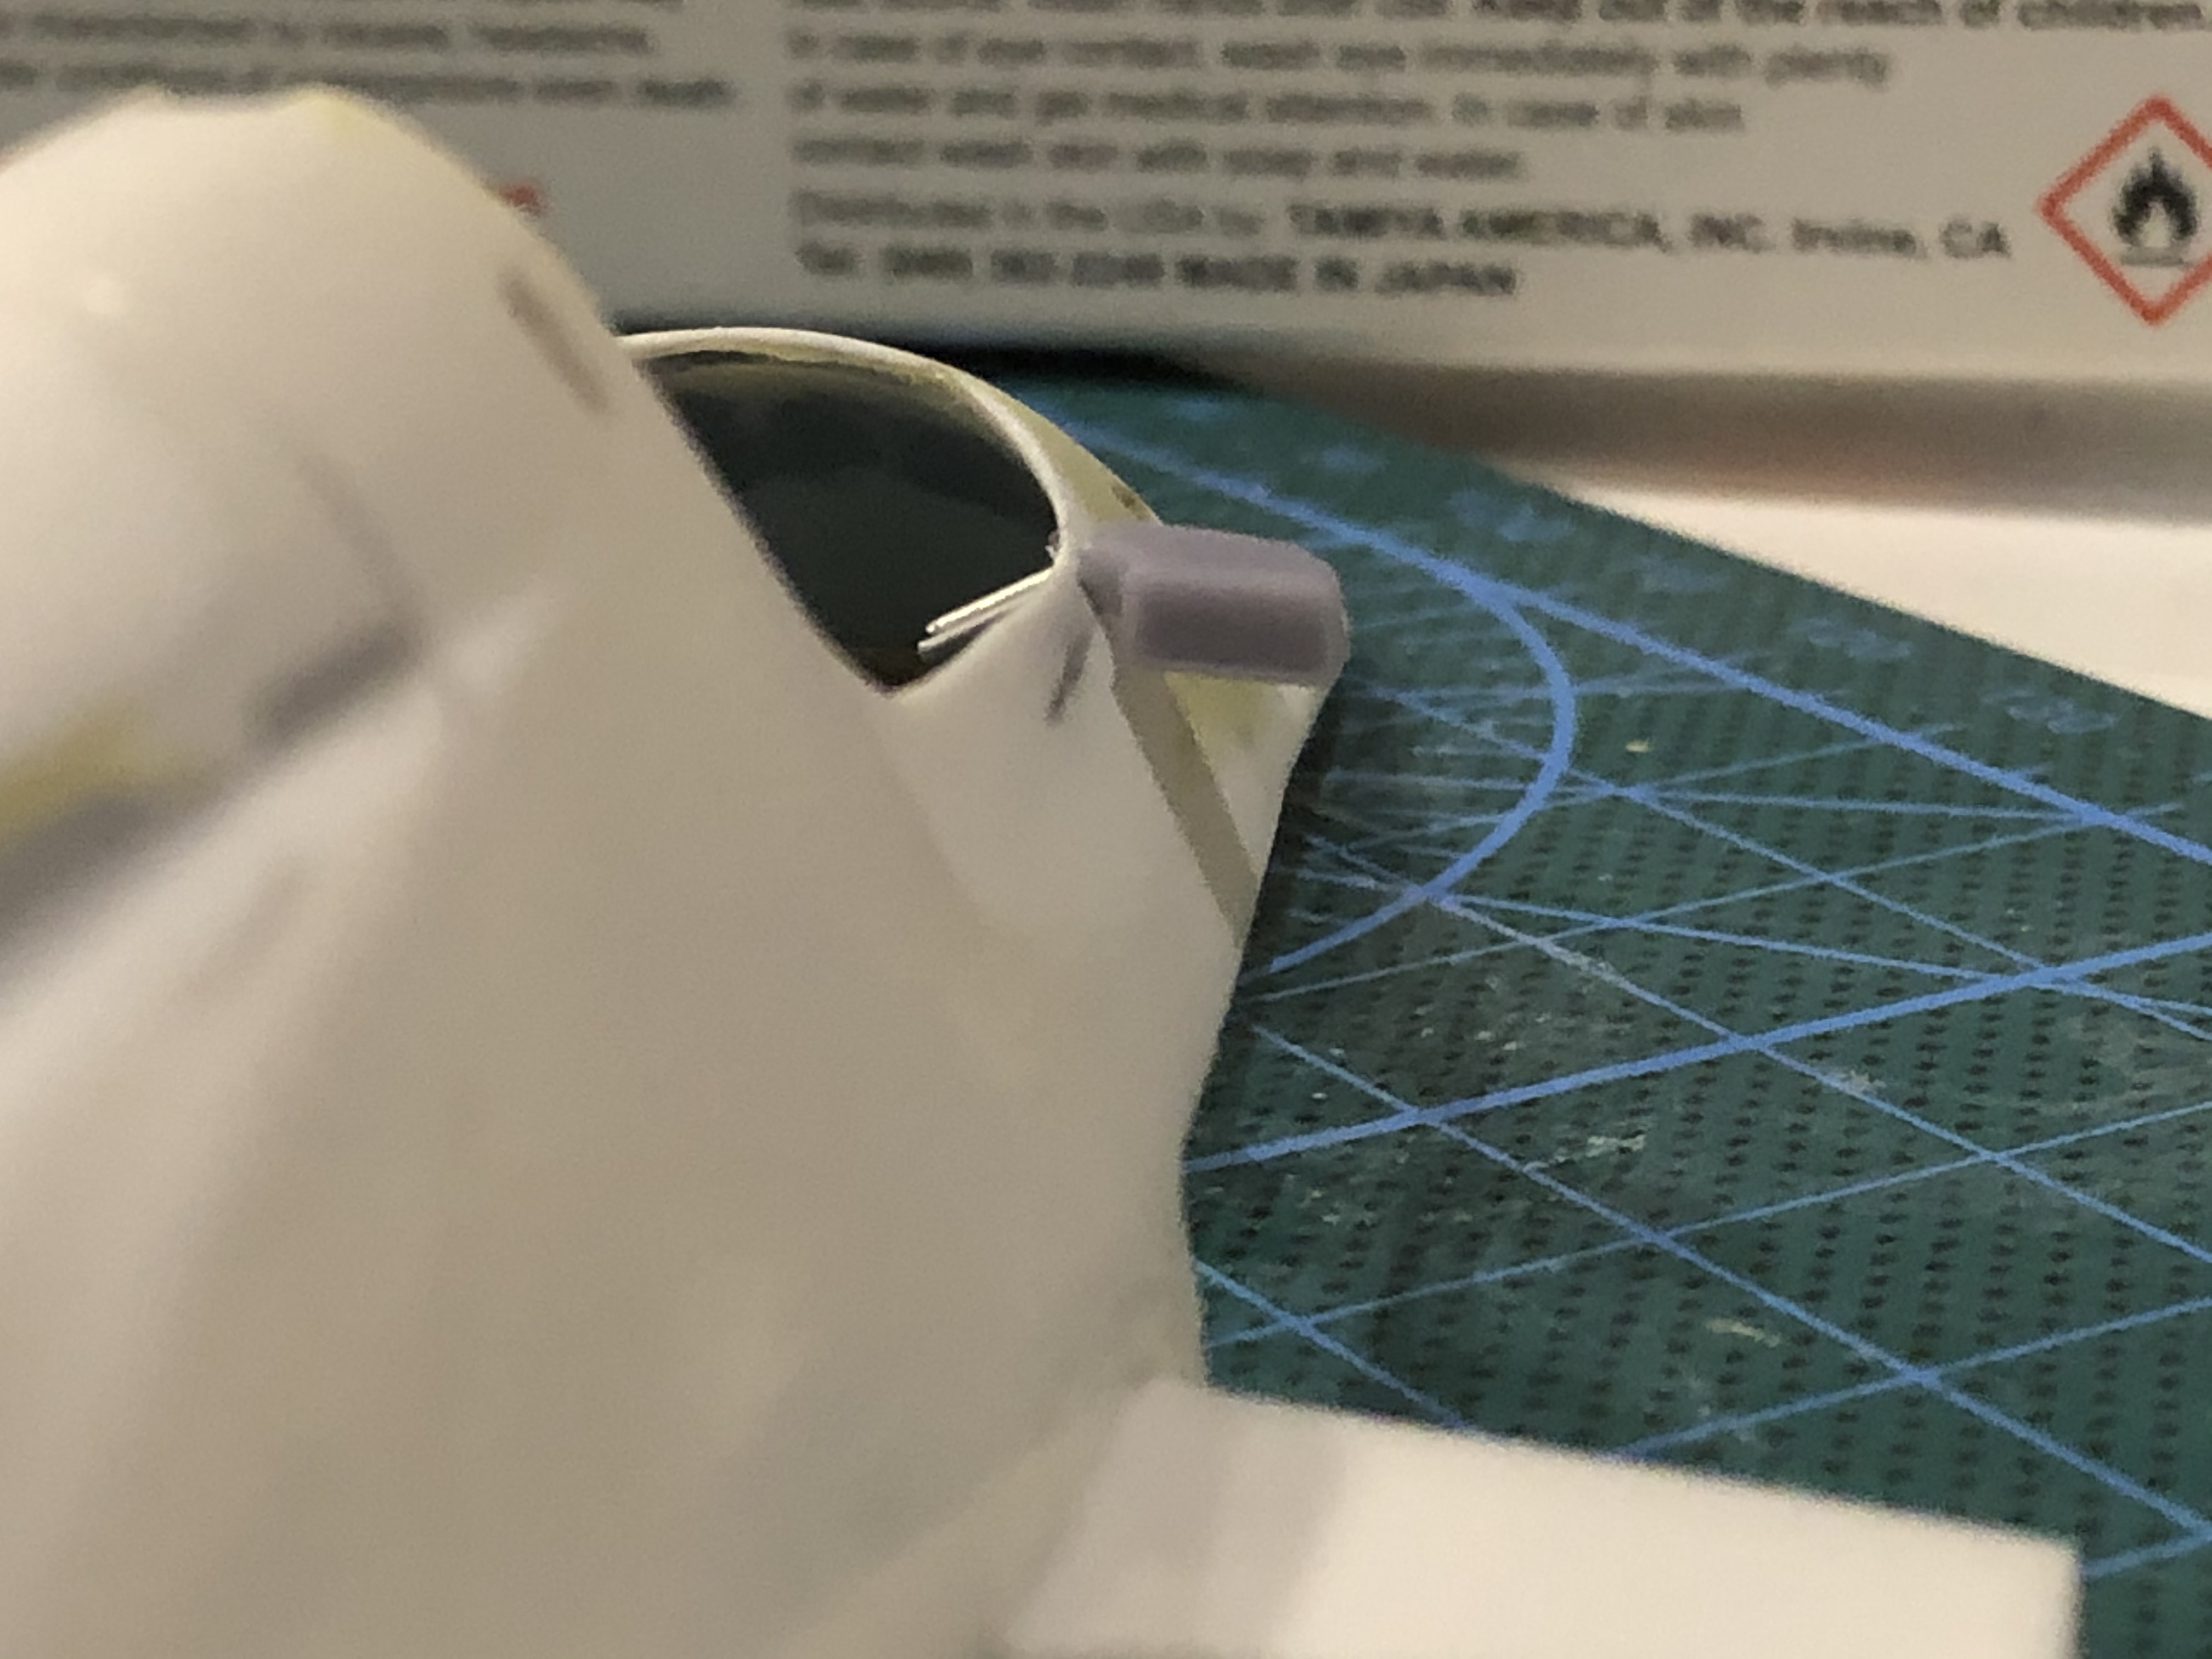
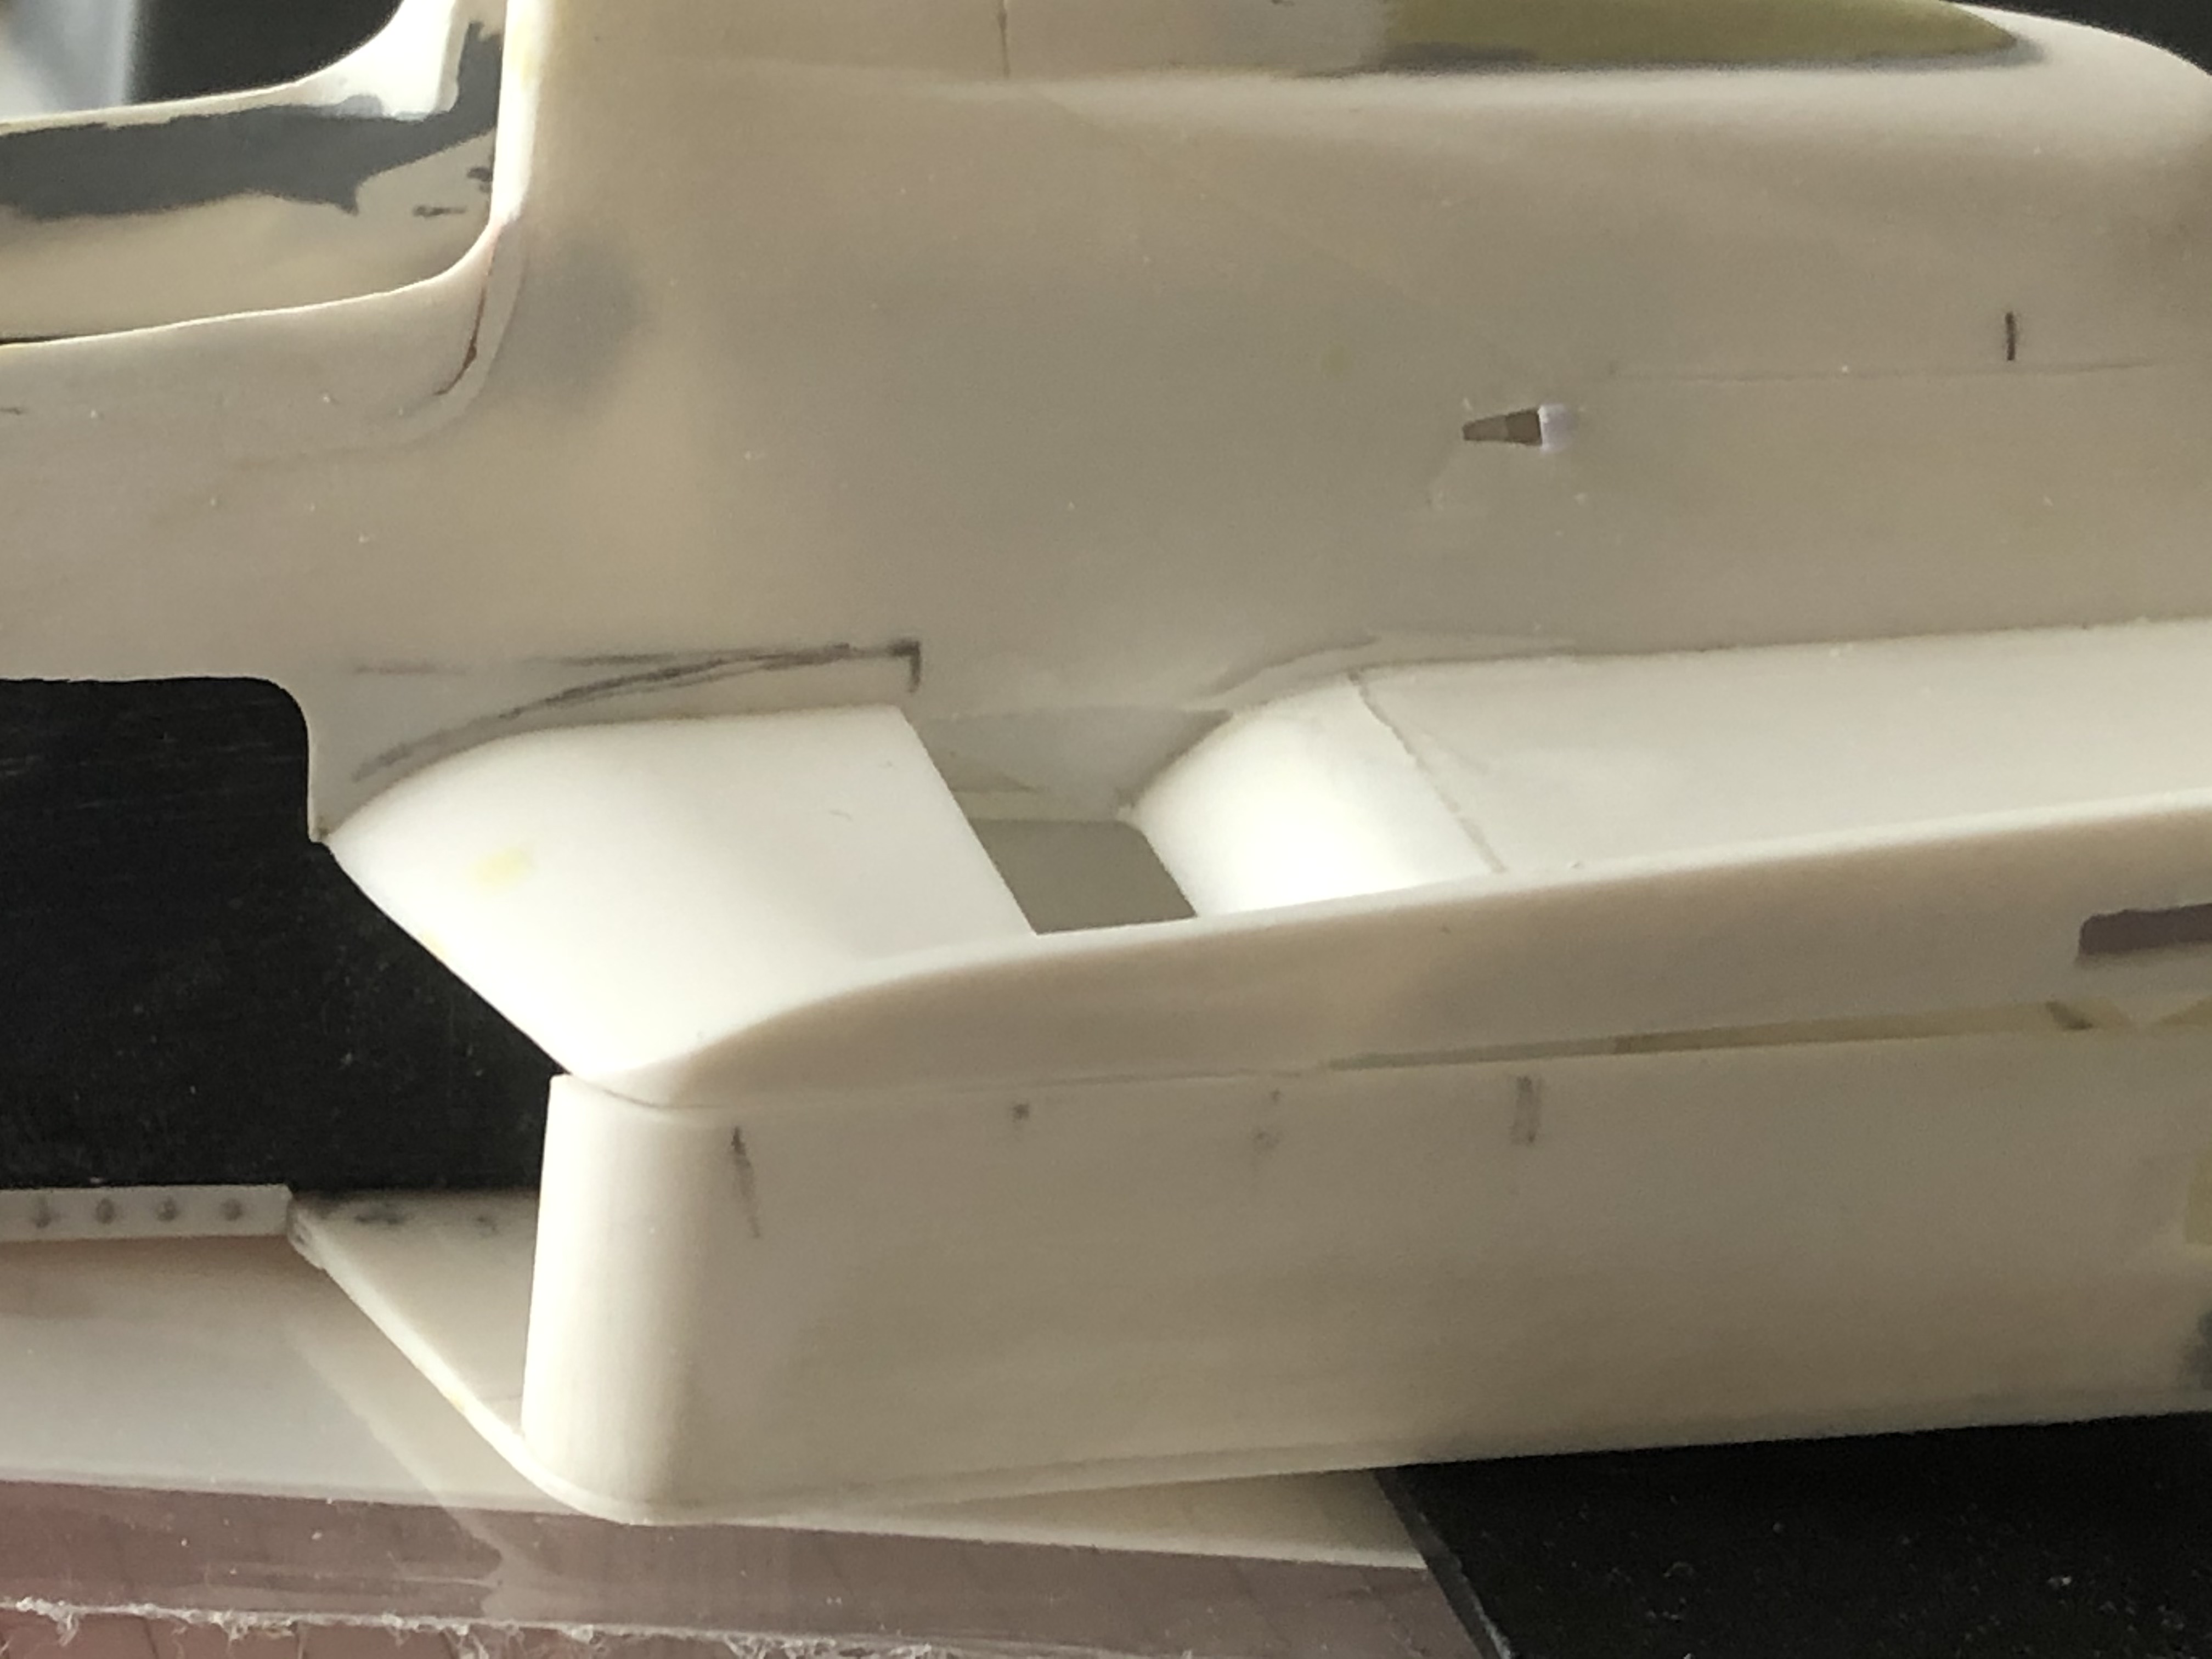
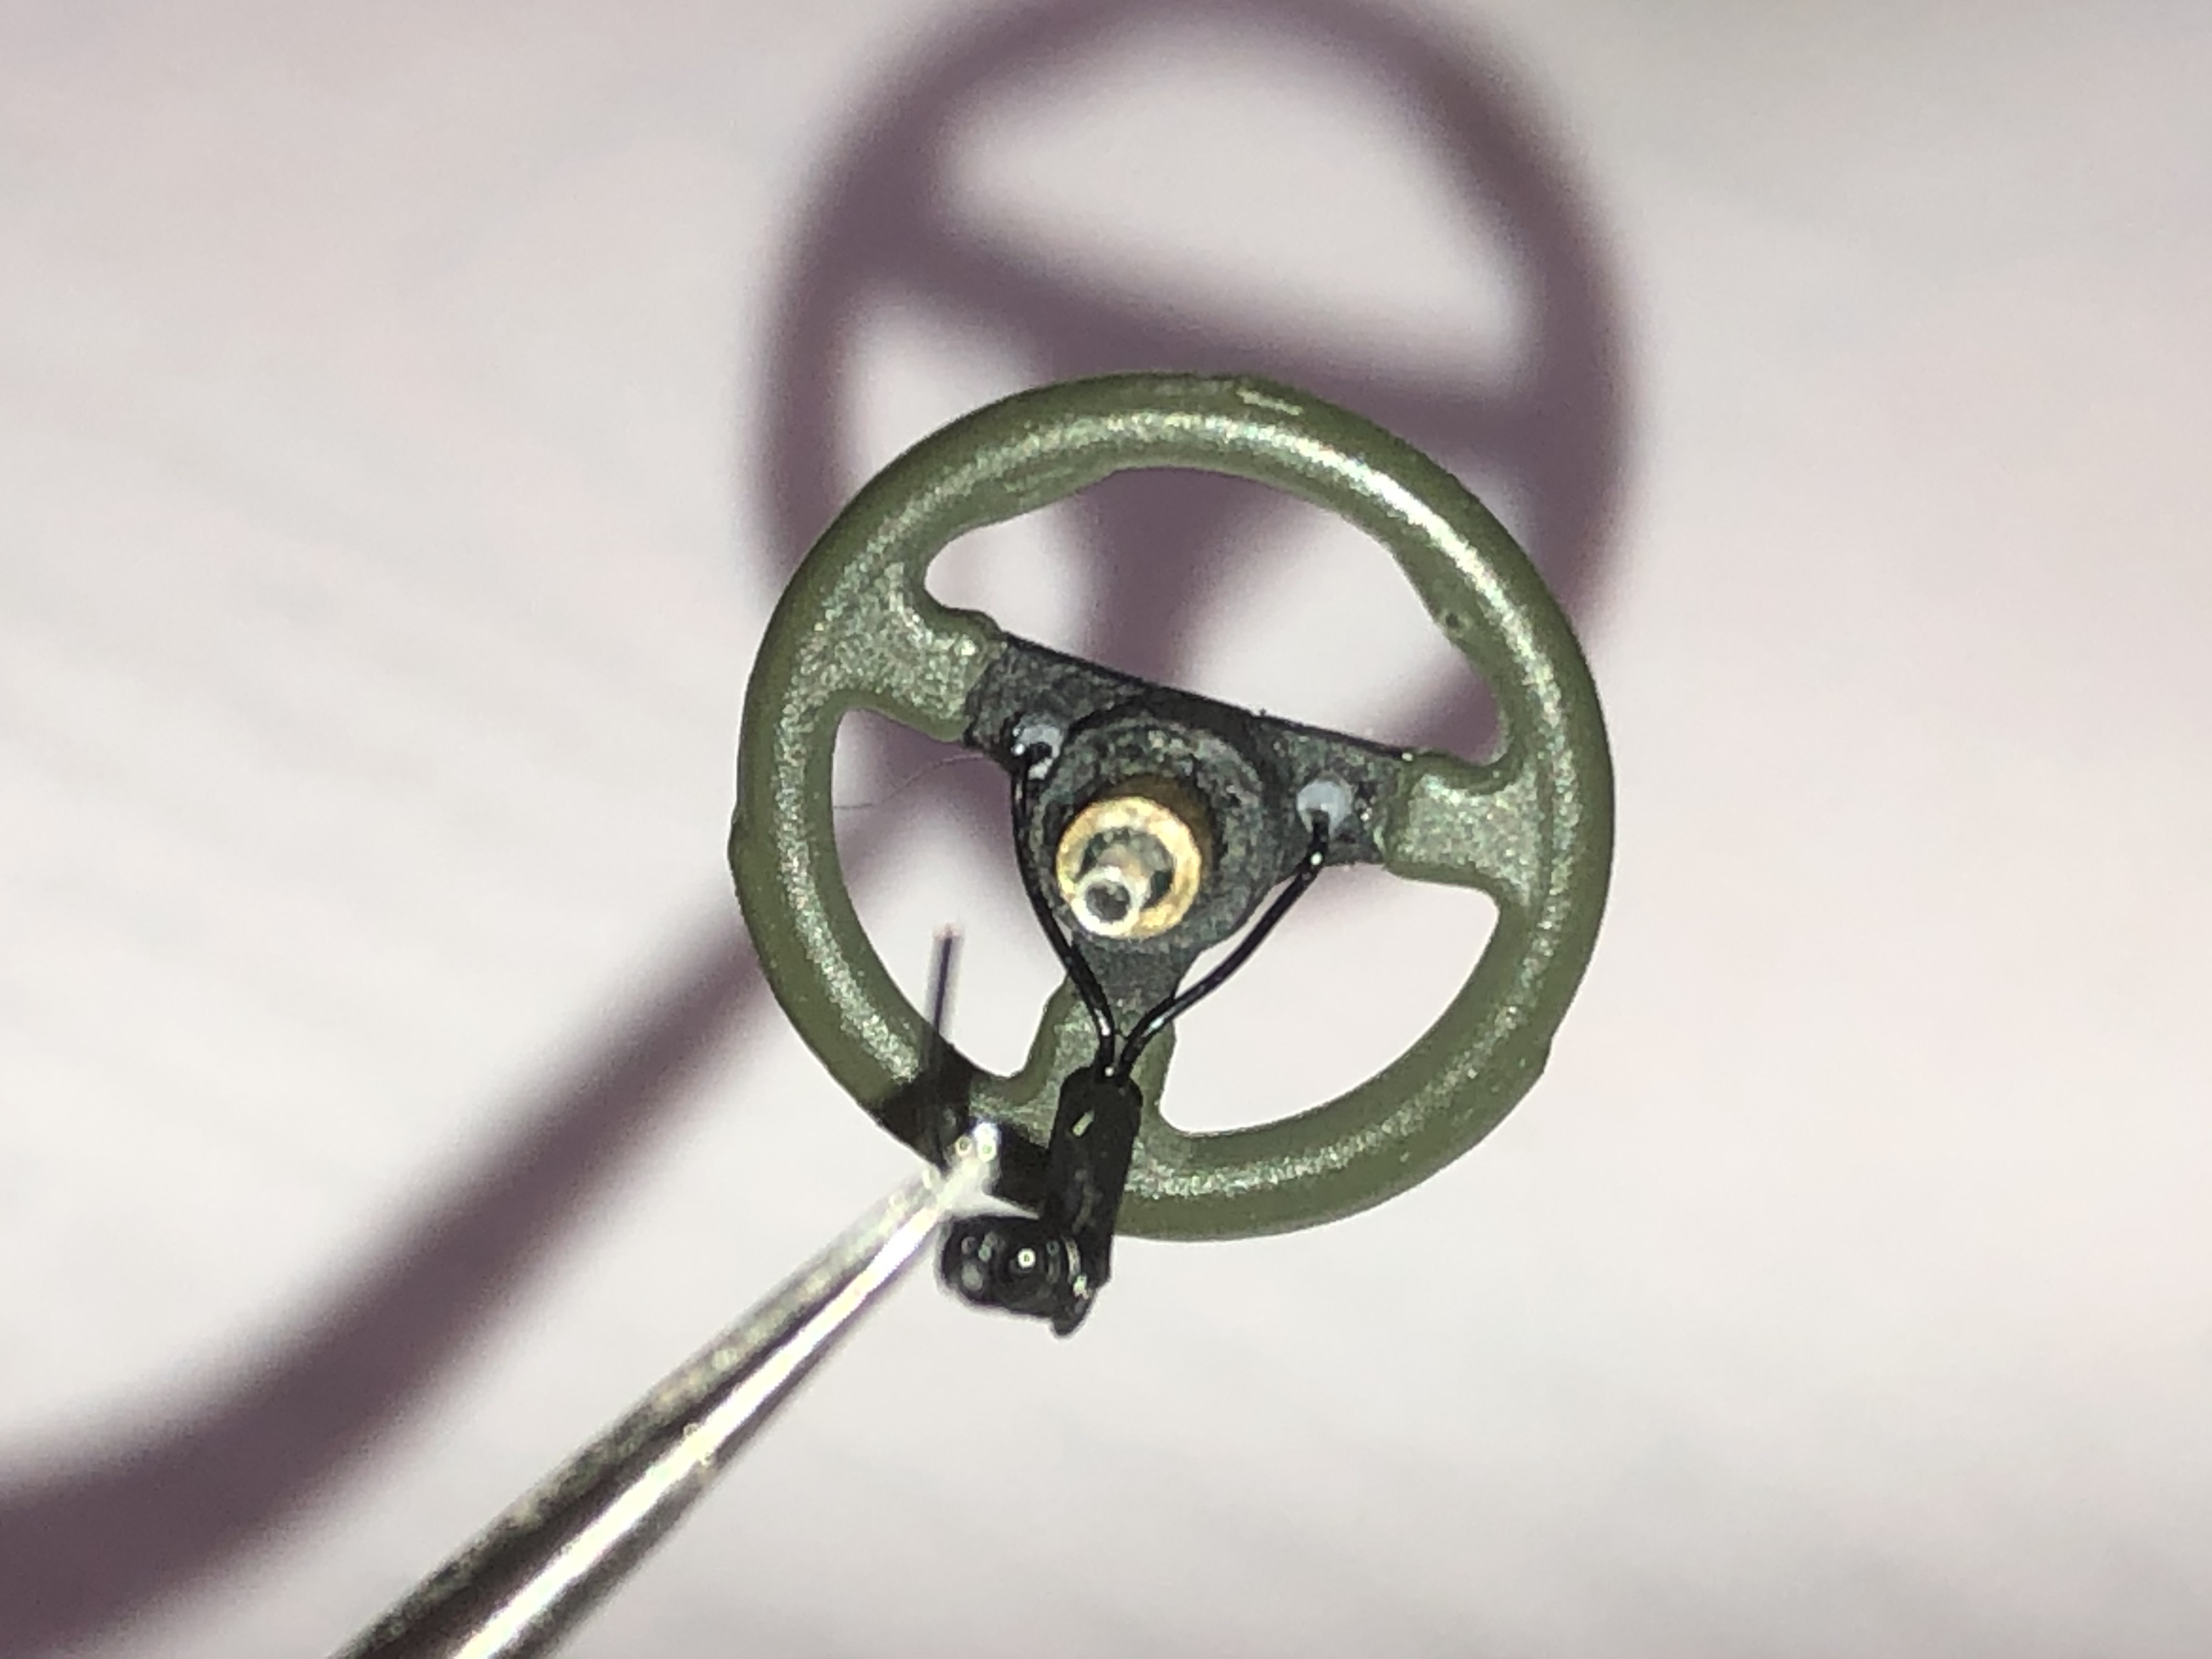
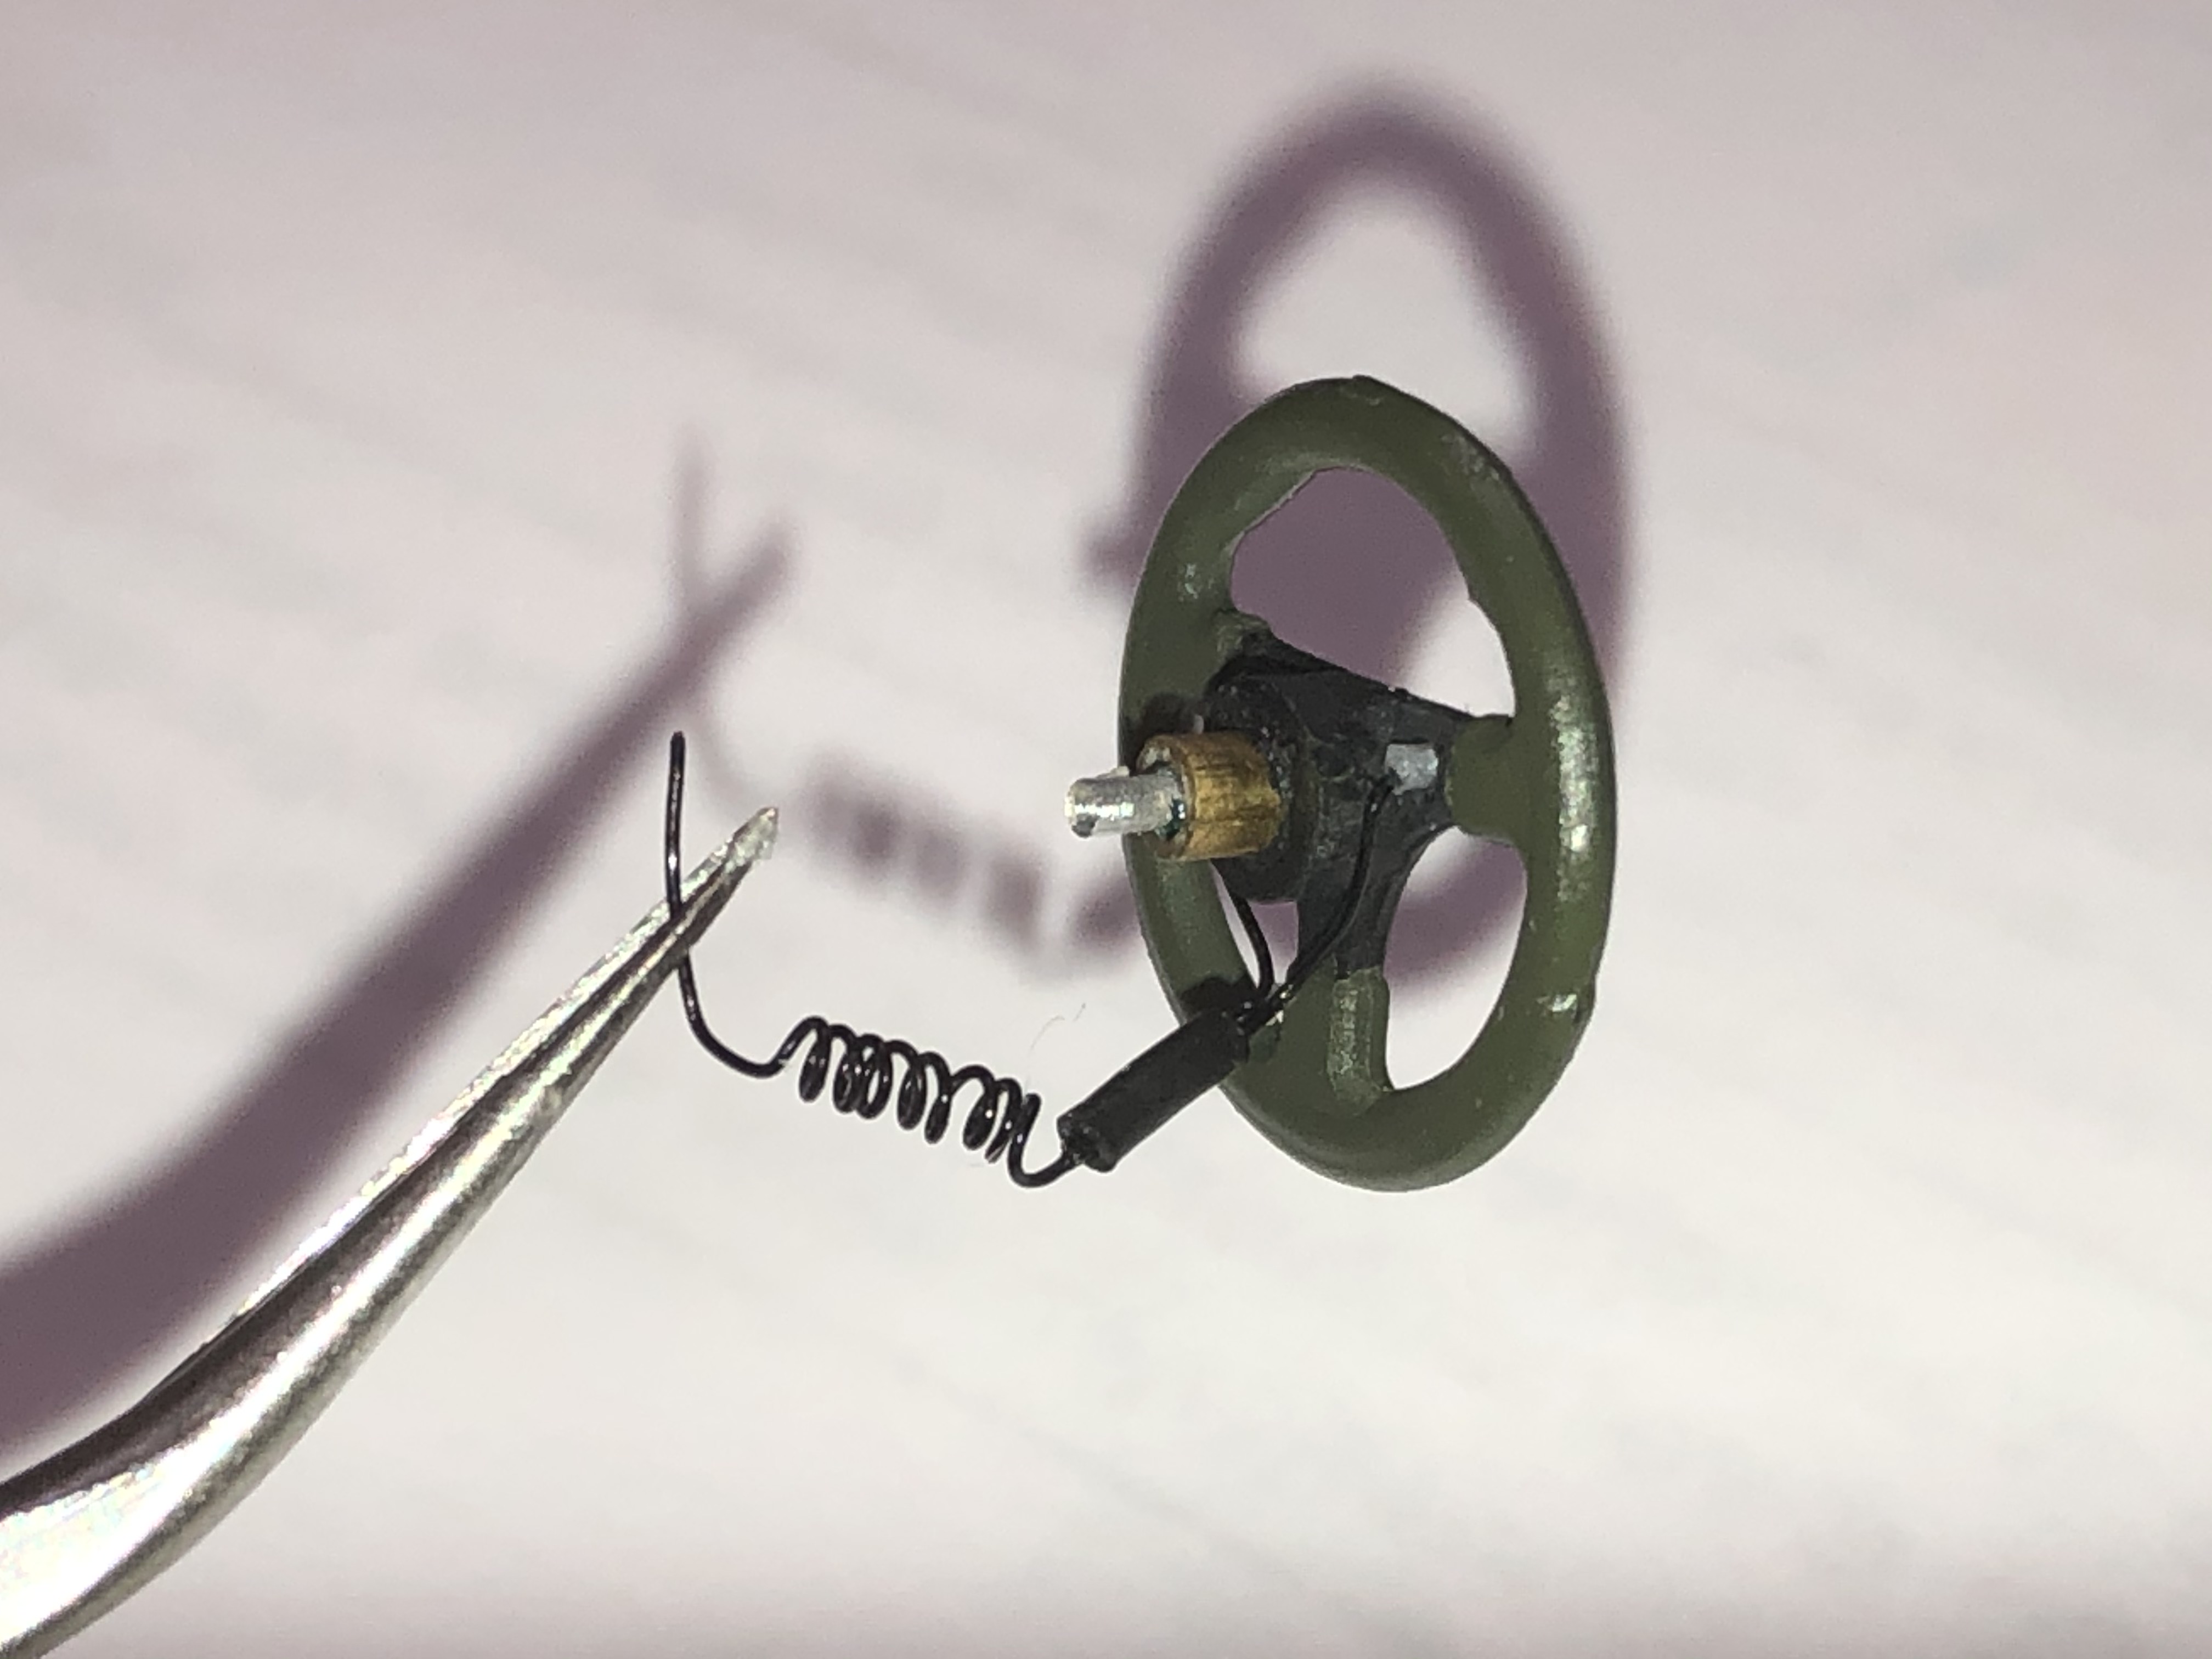
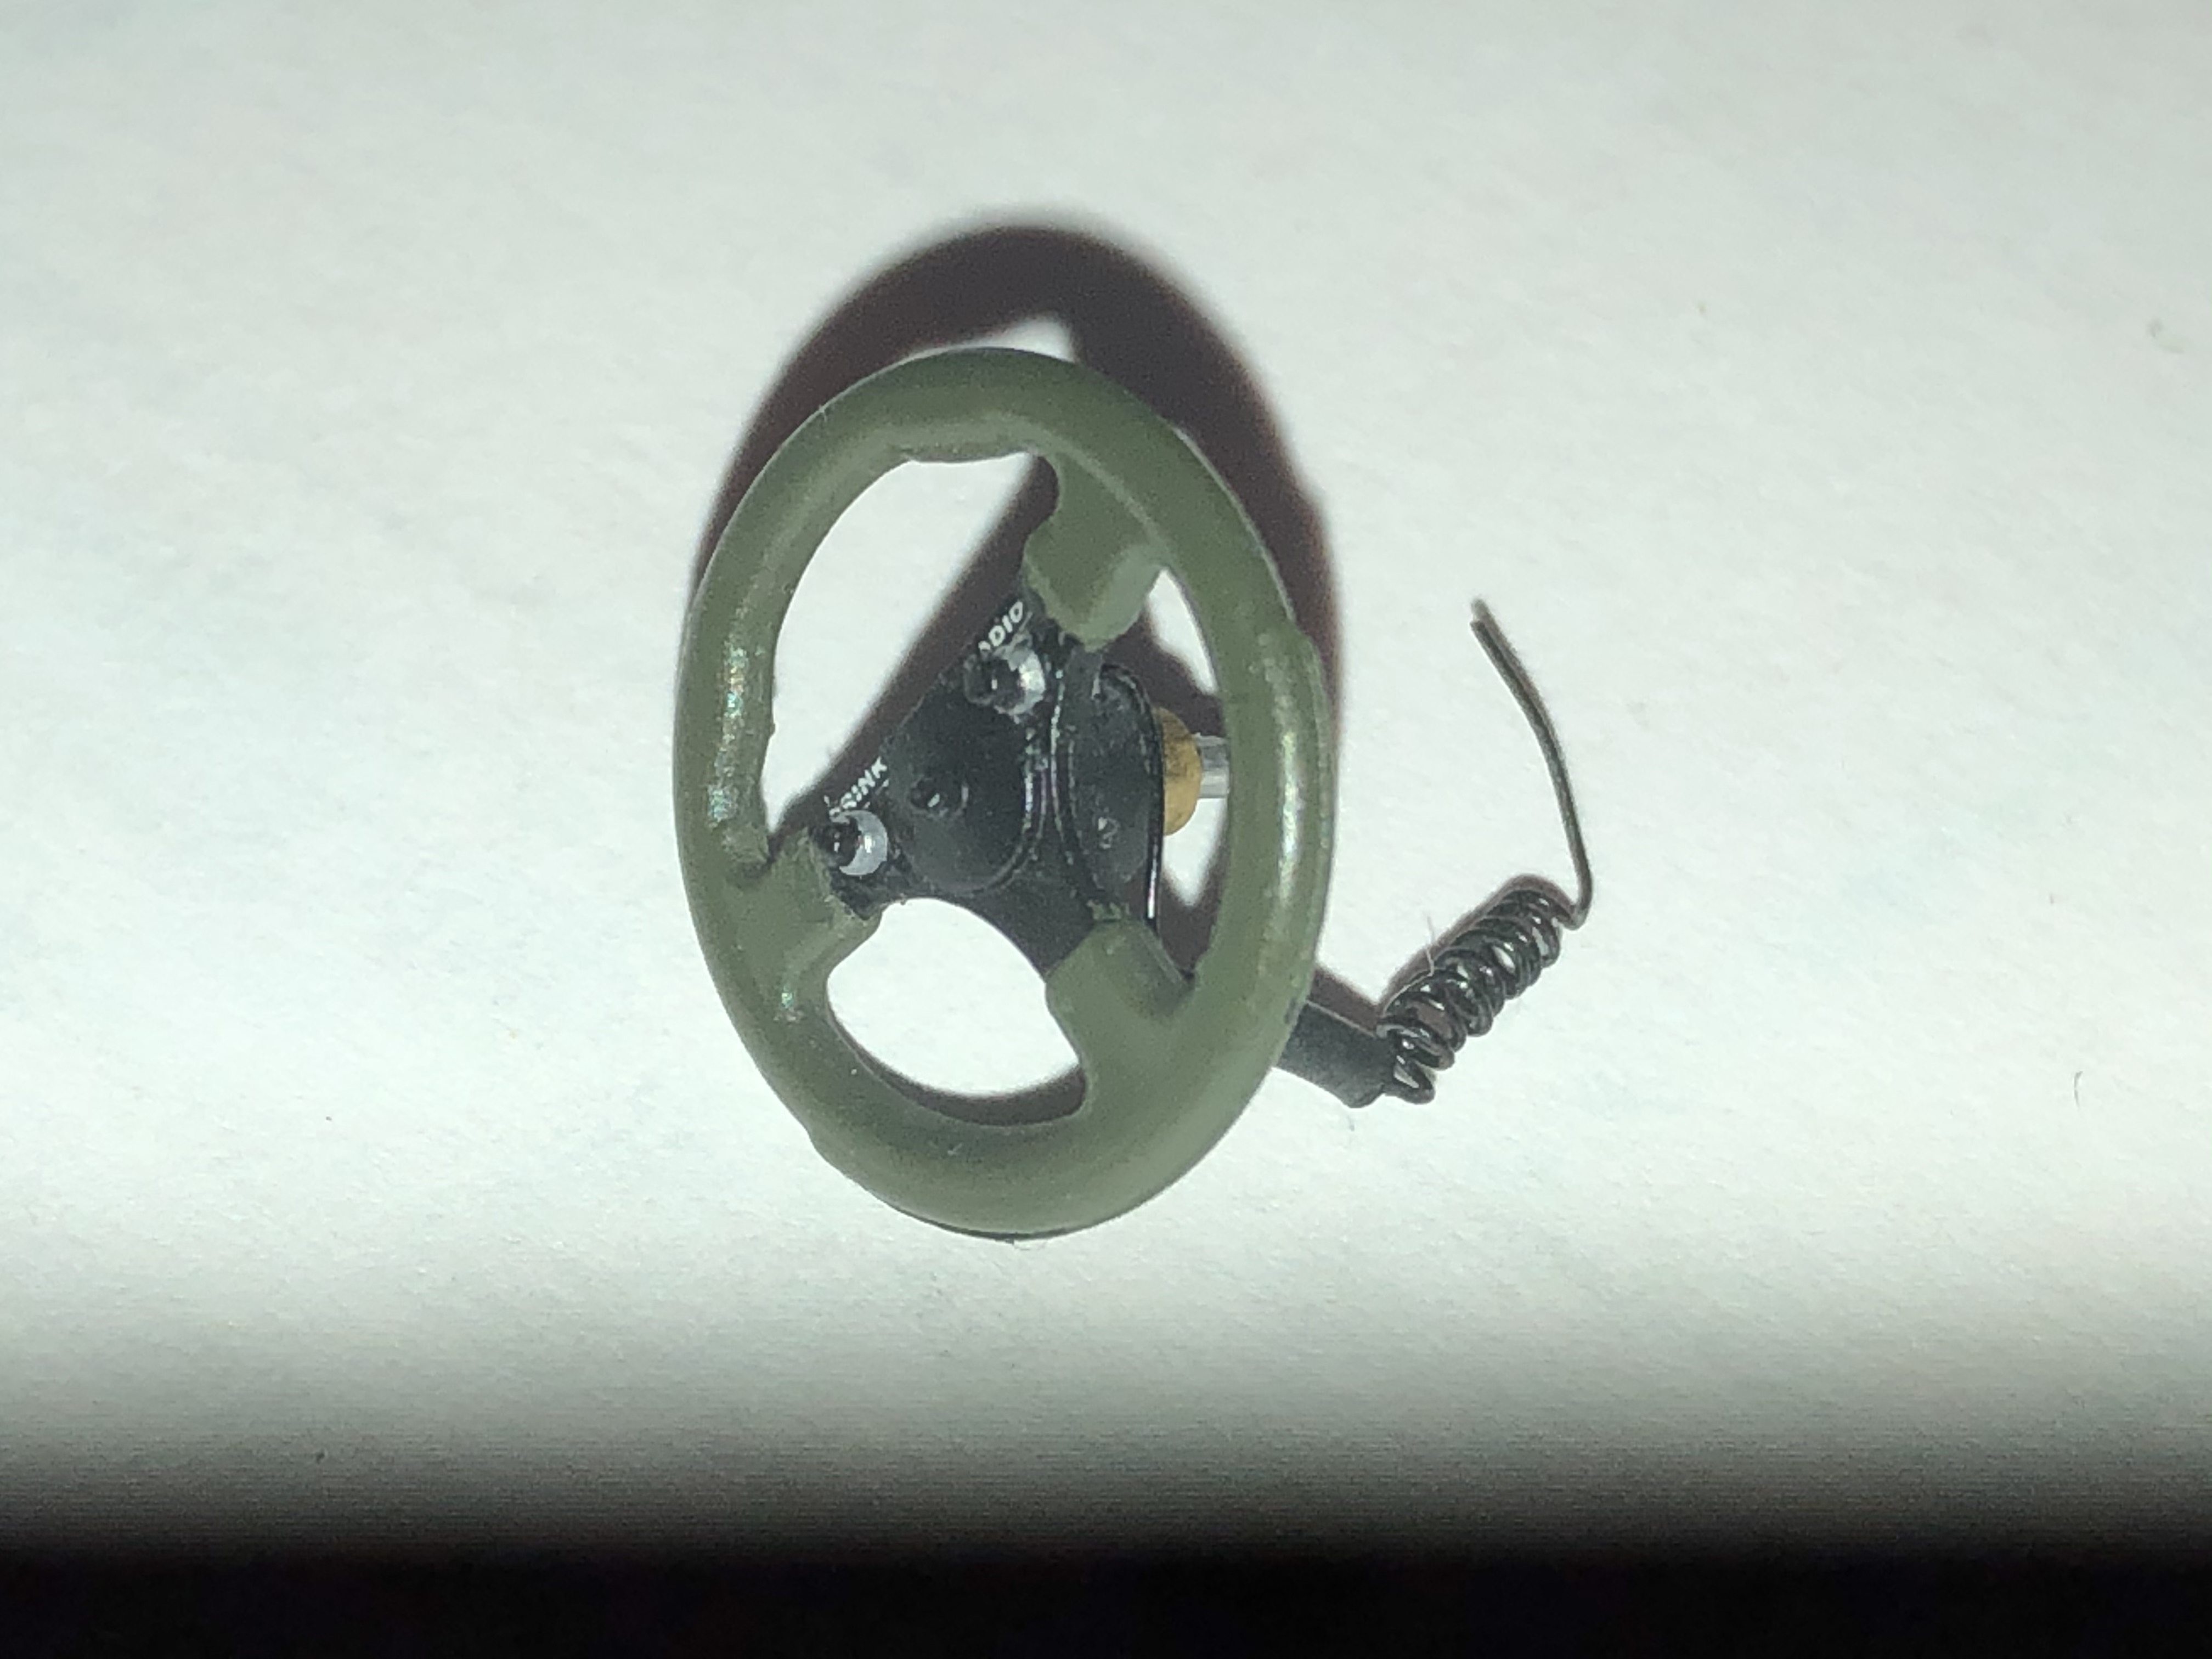
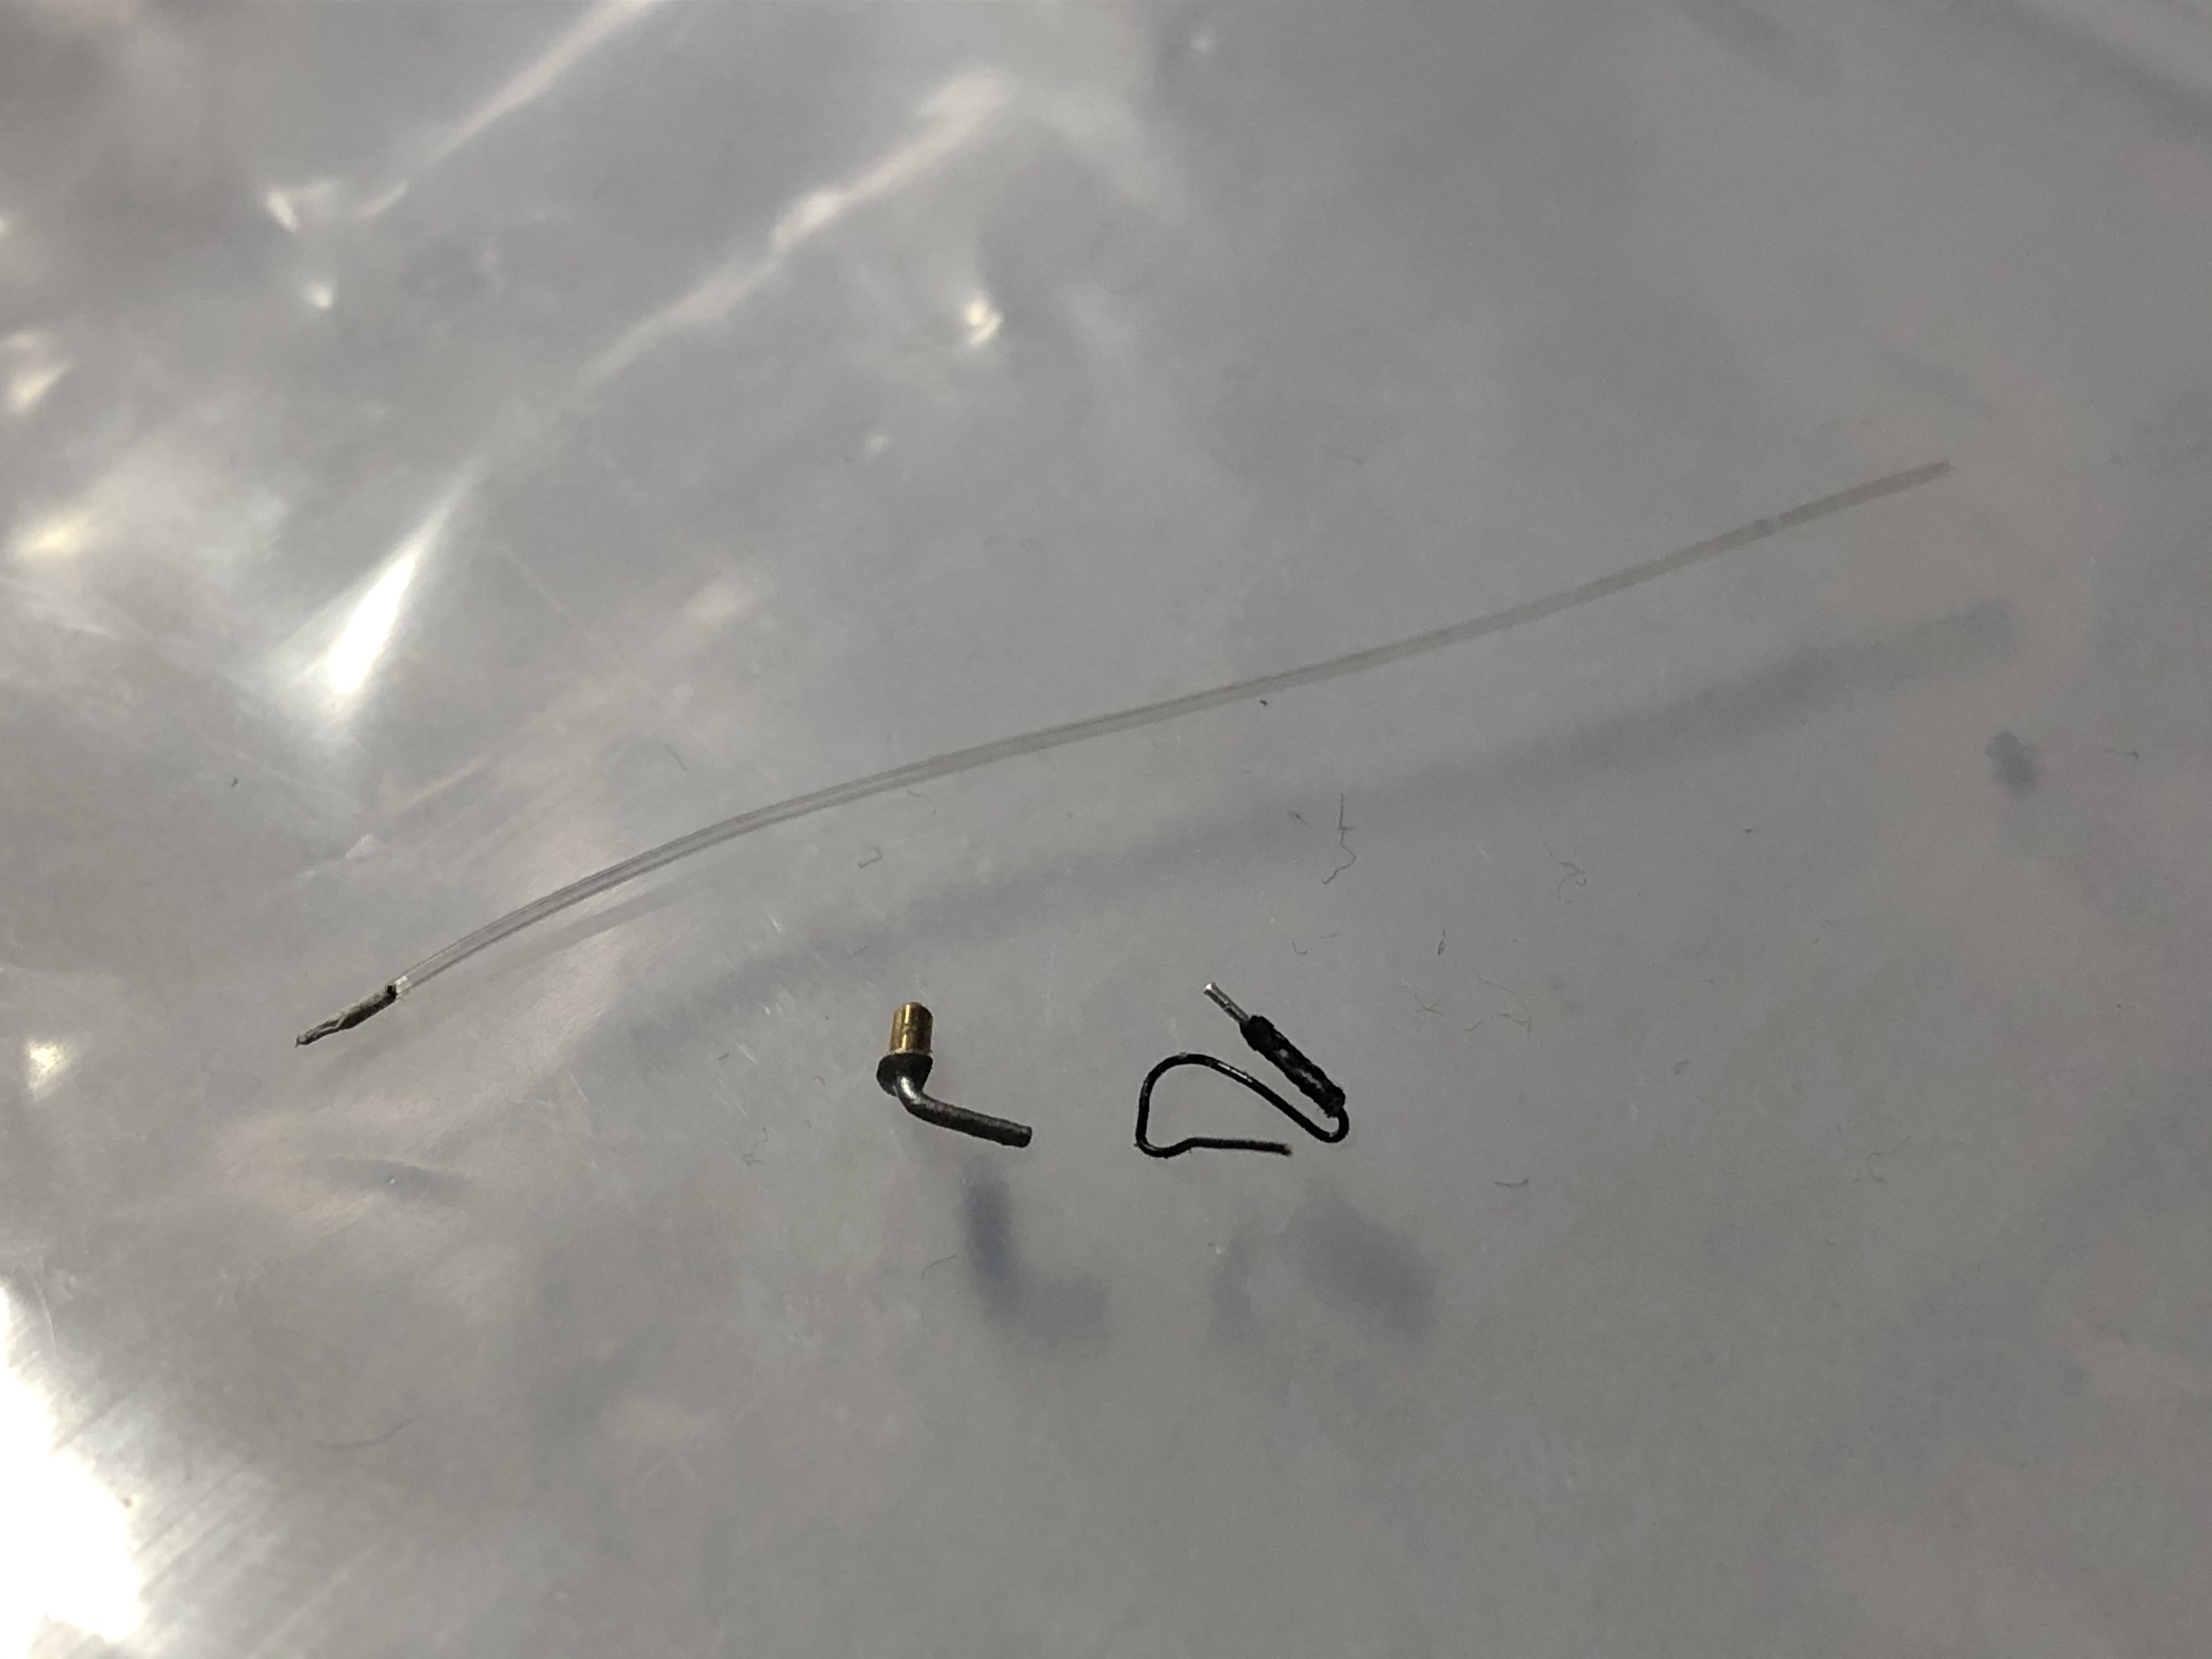
So the work on the chassis doesn't really stop, but we're getting closer to the end
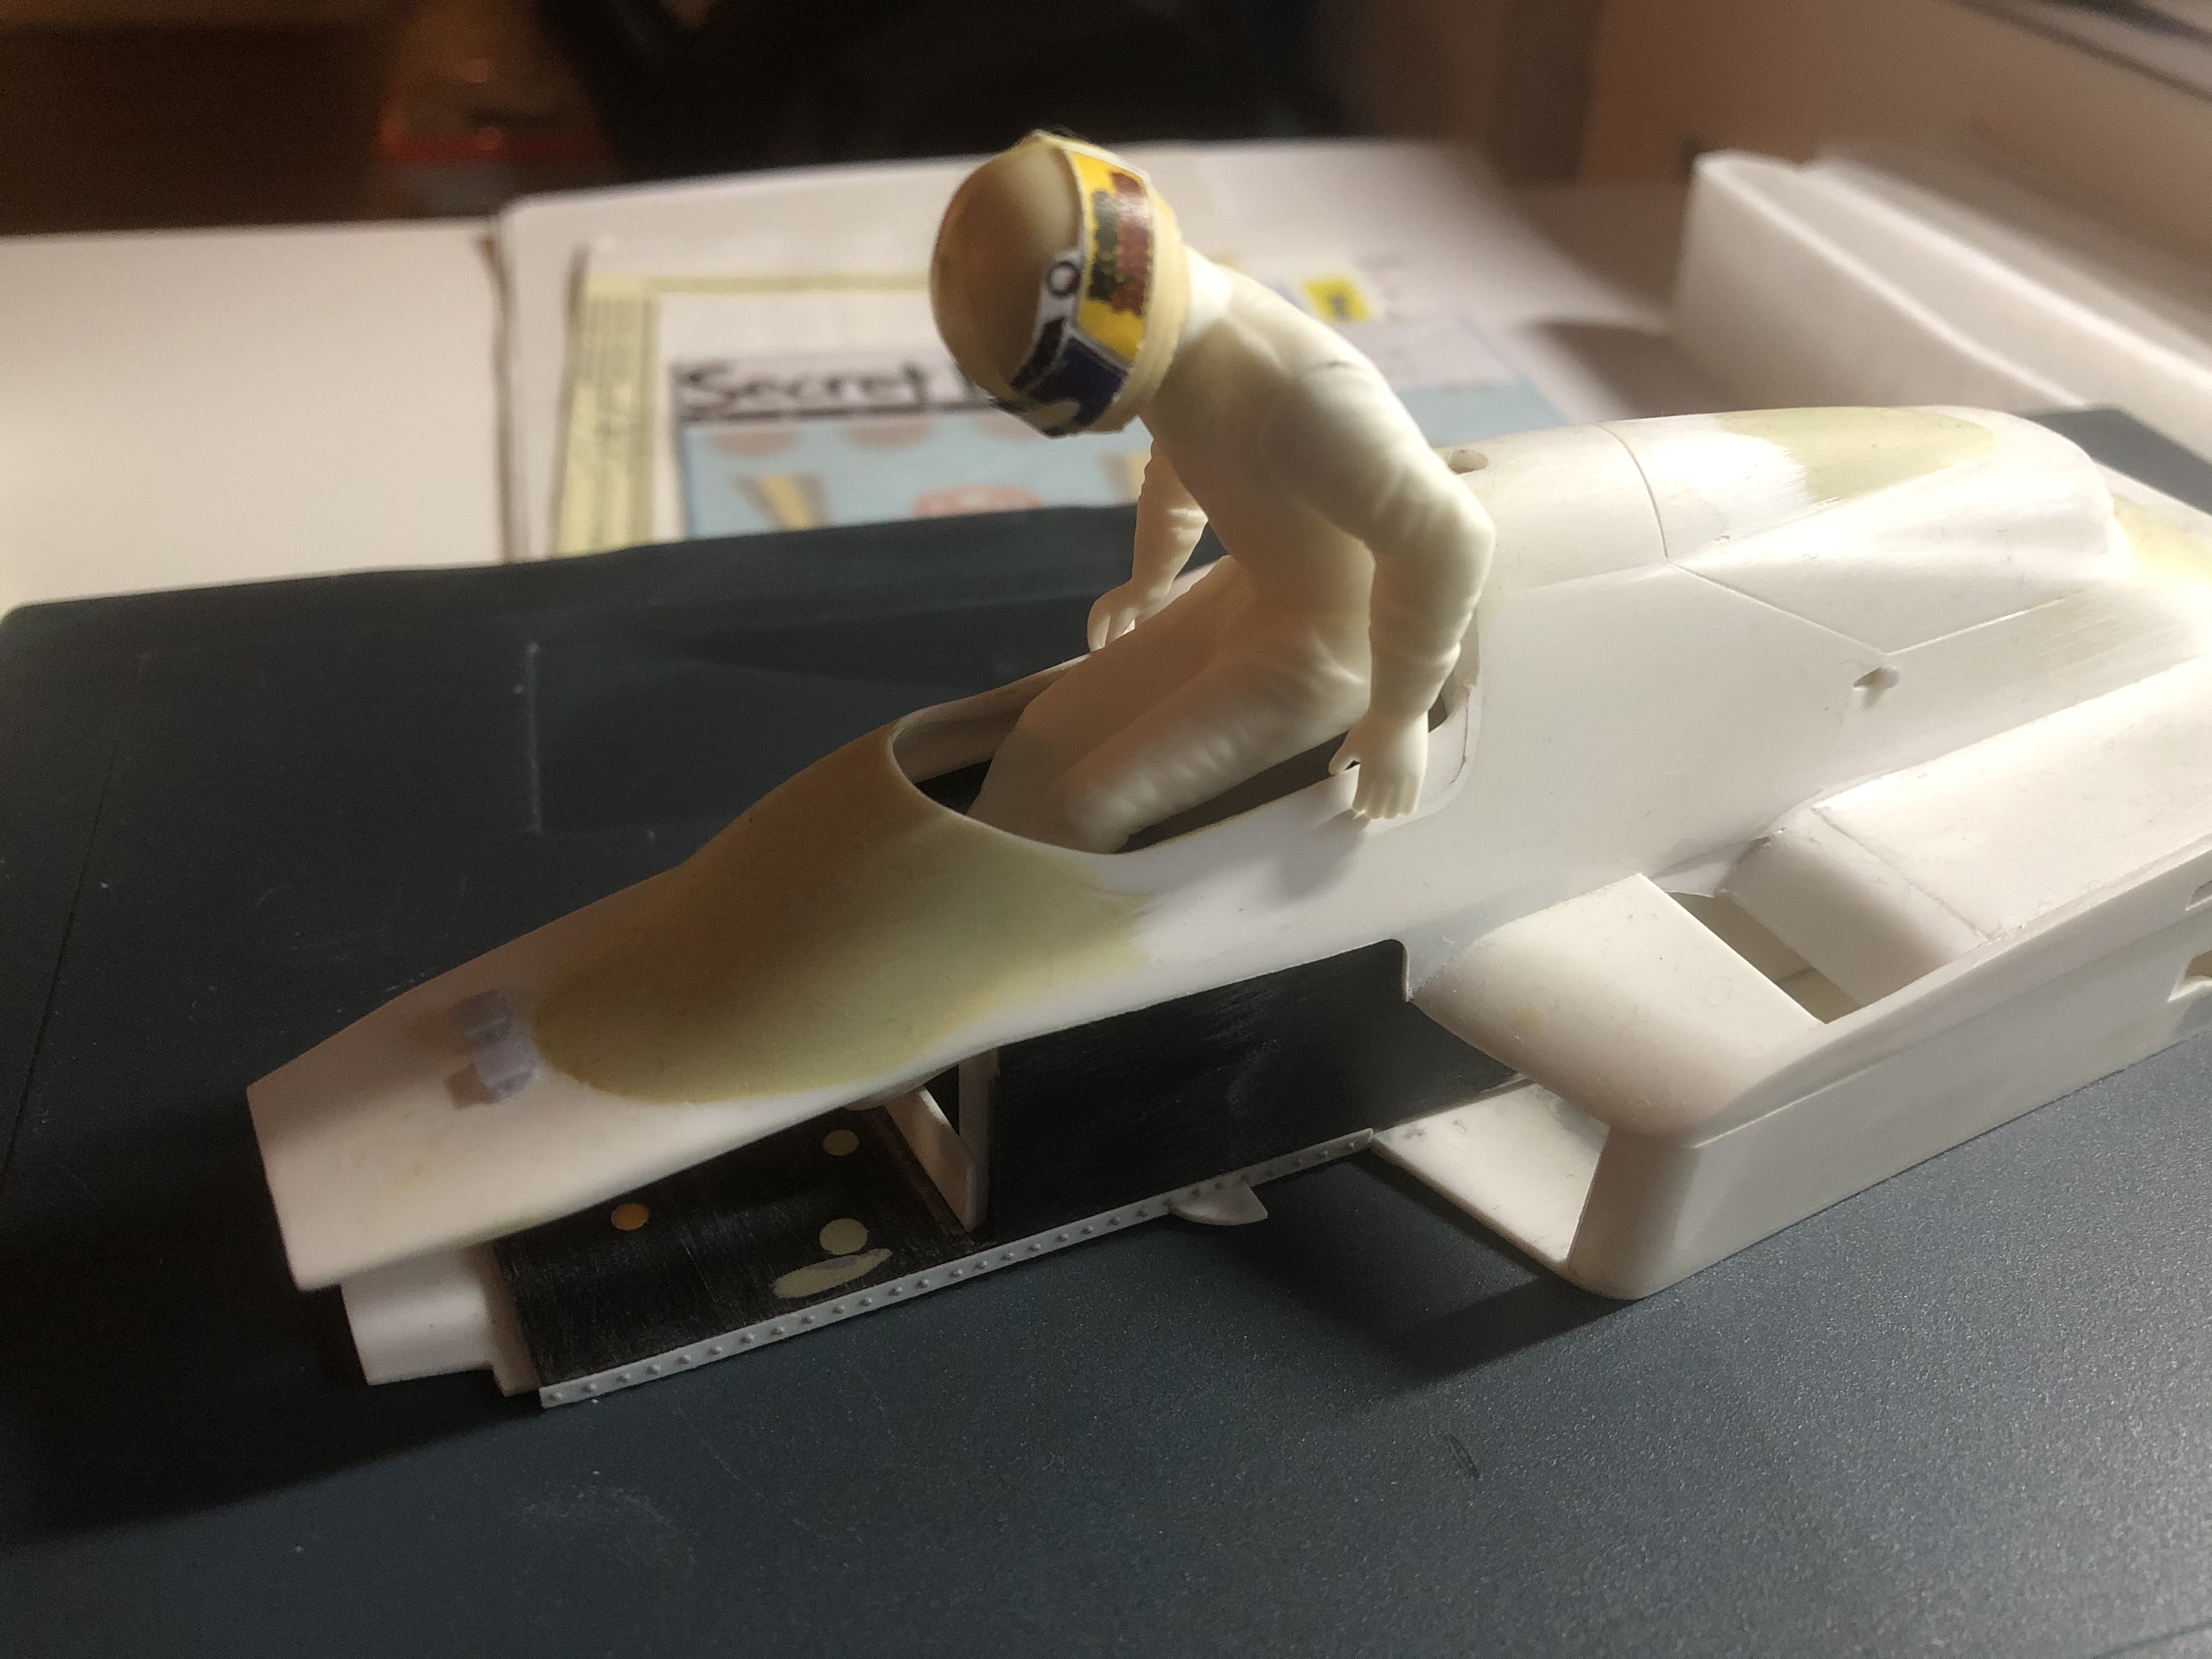
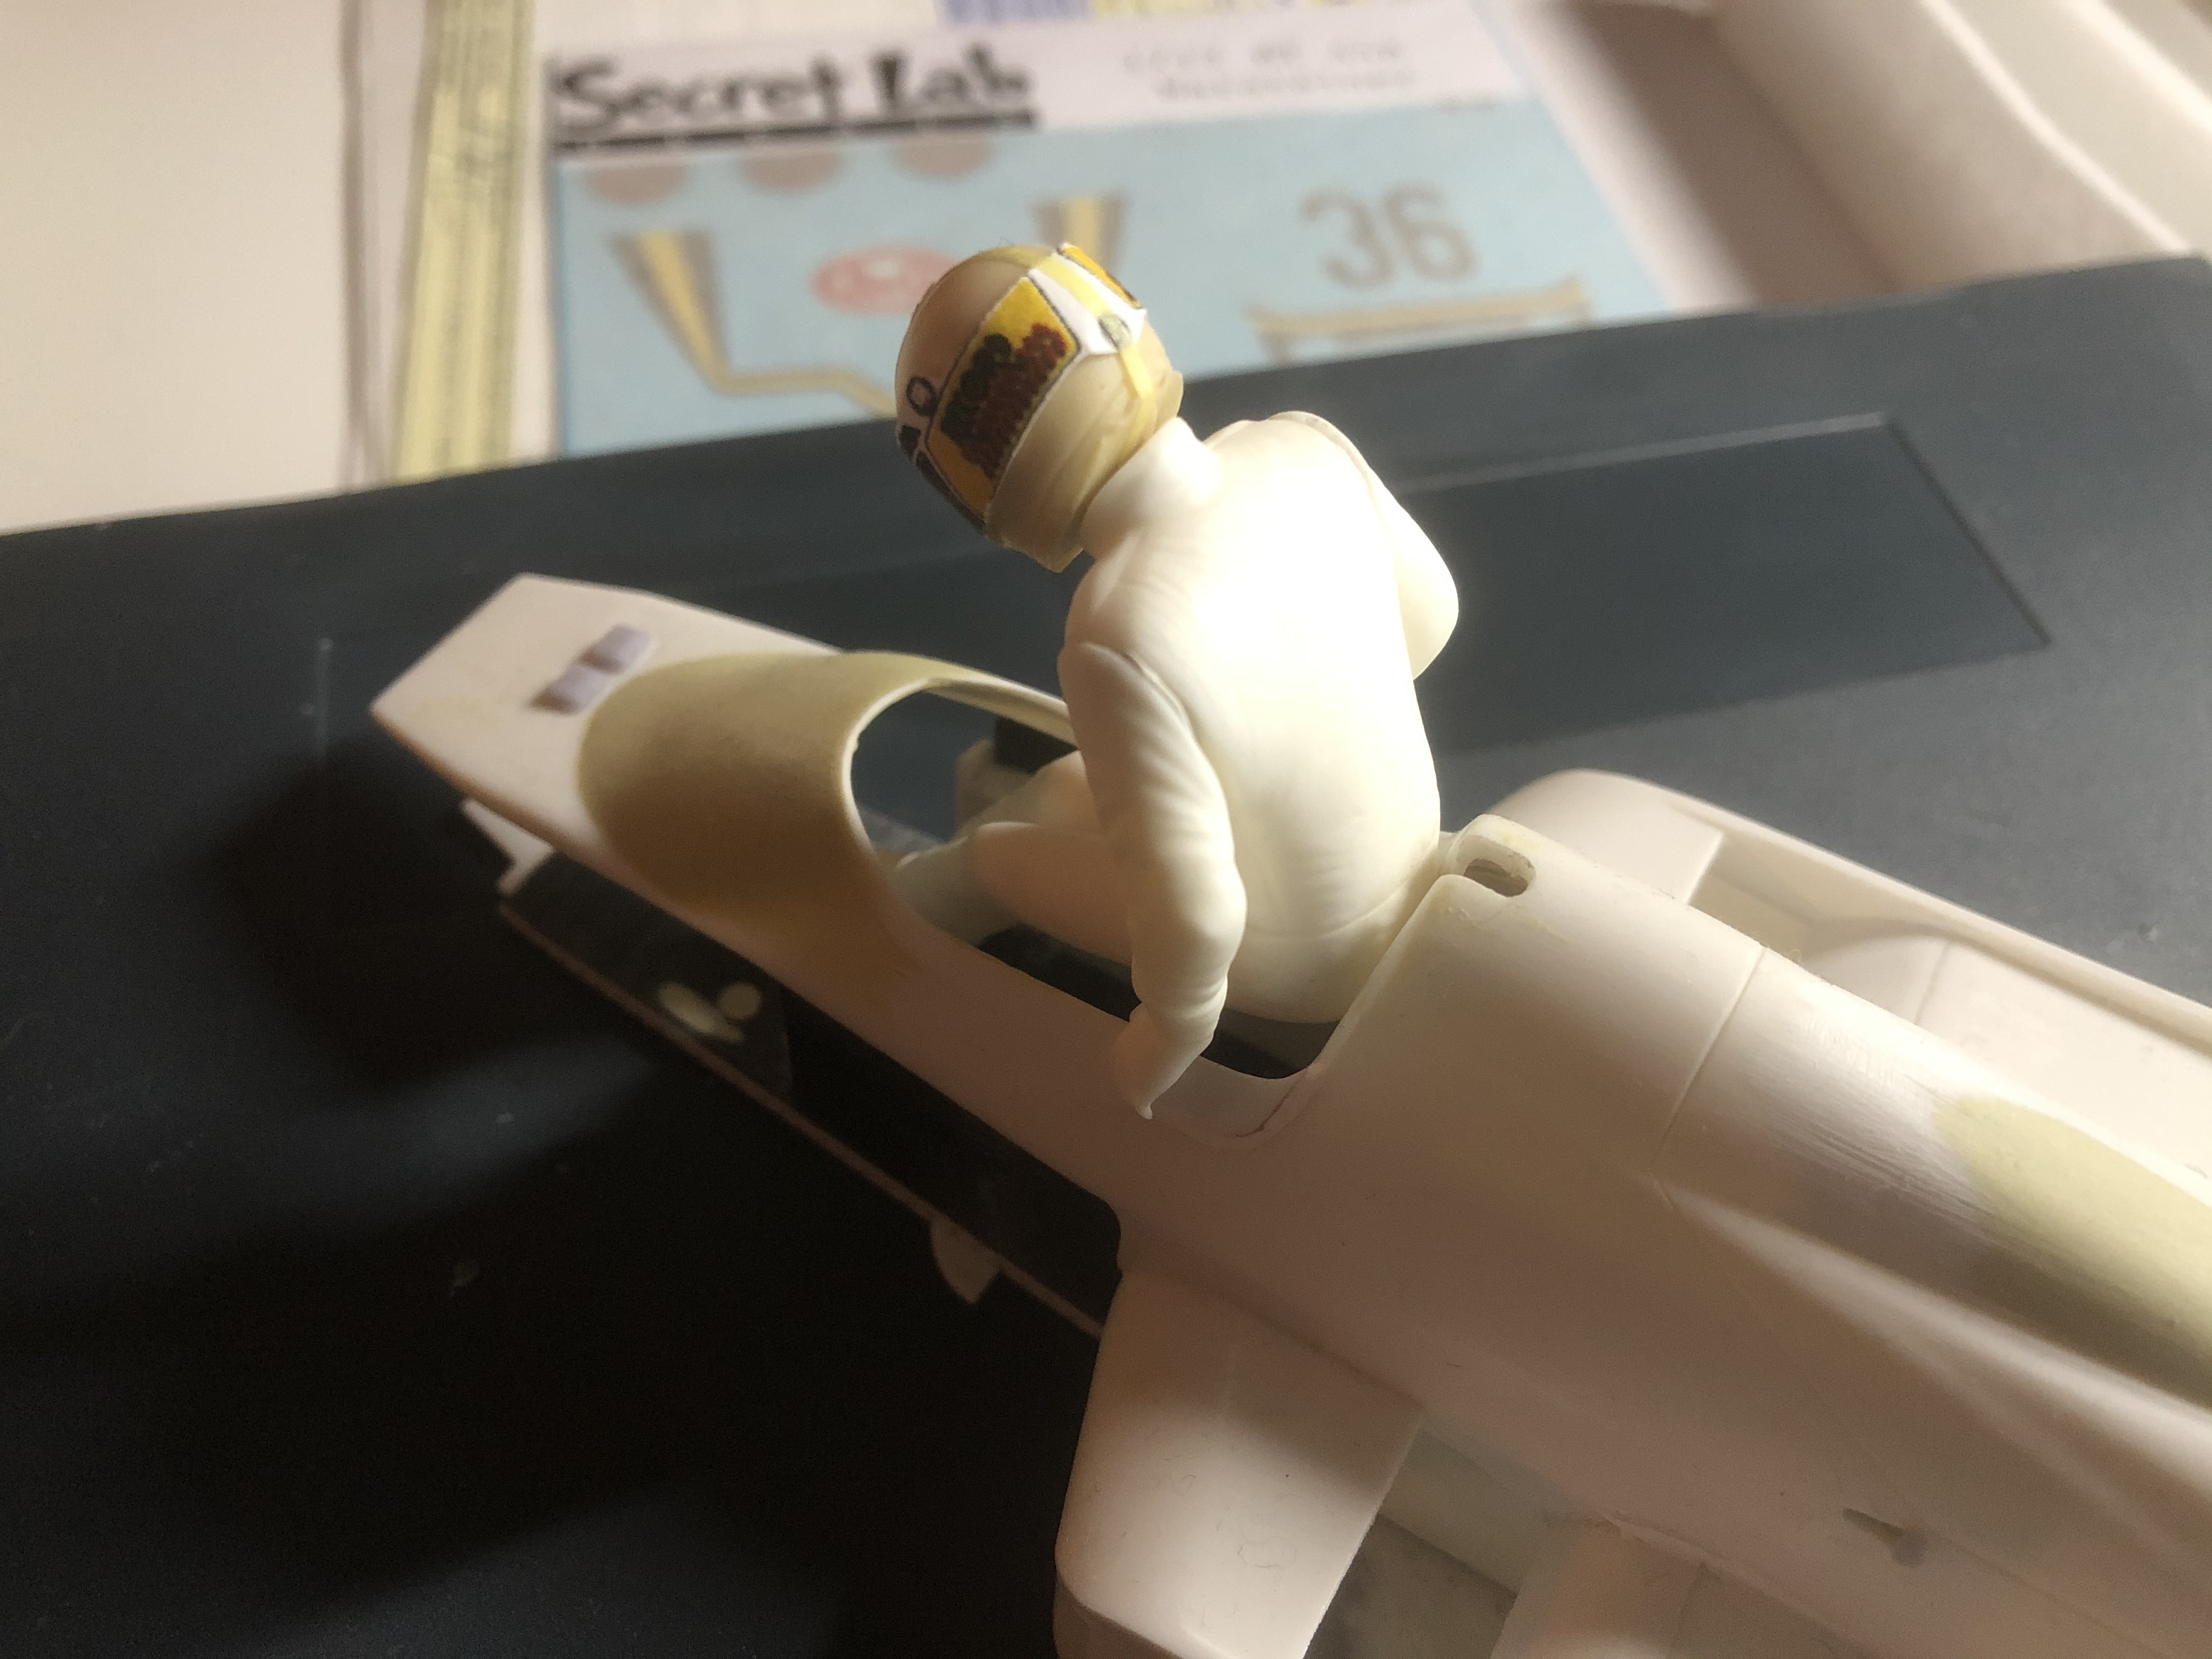
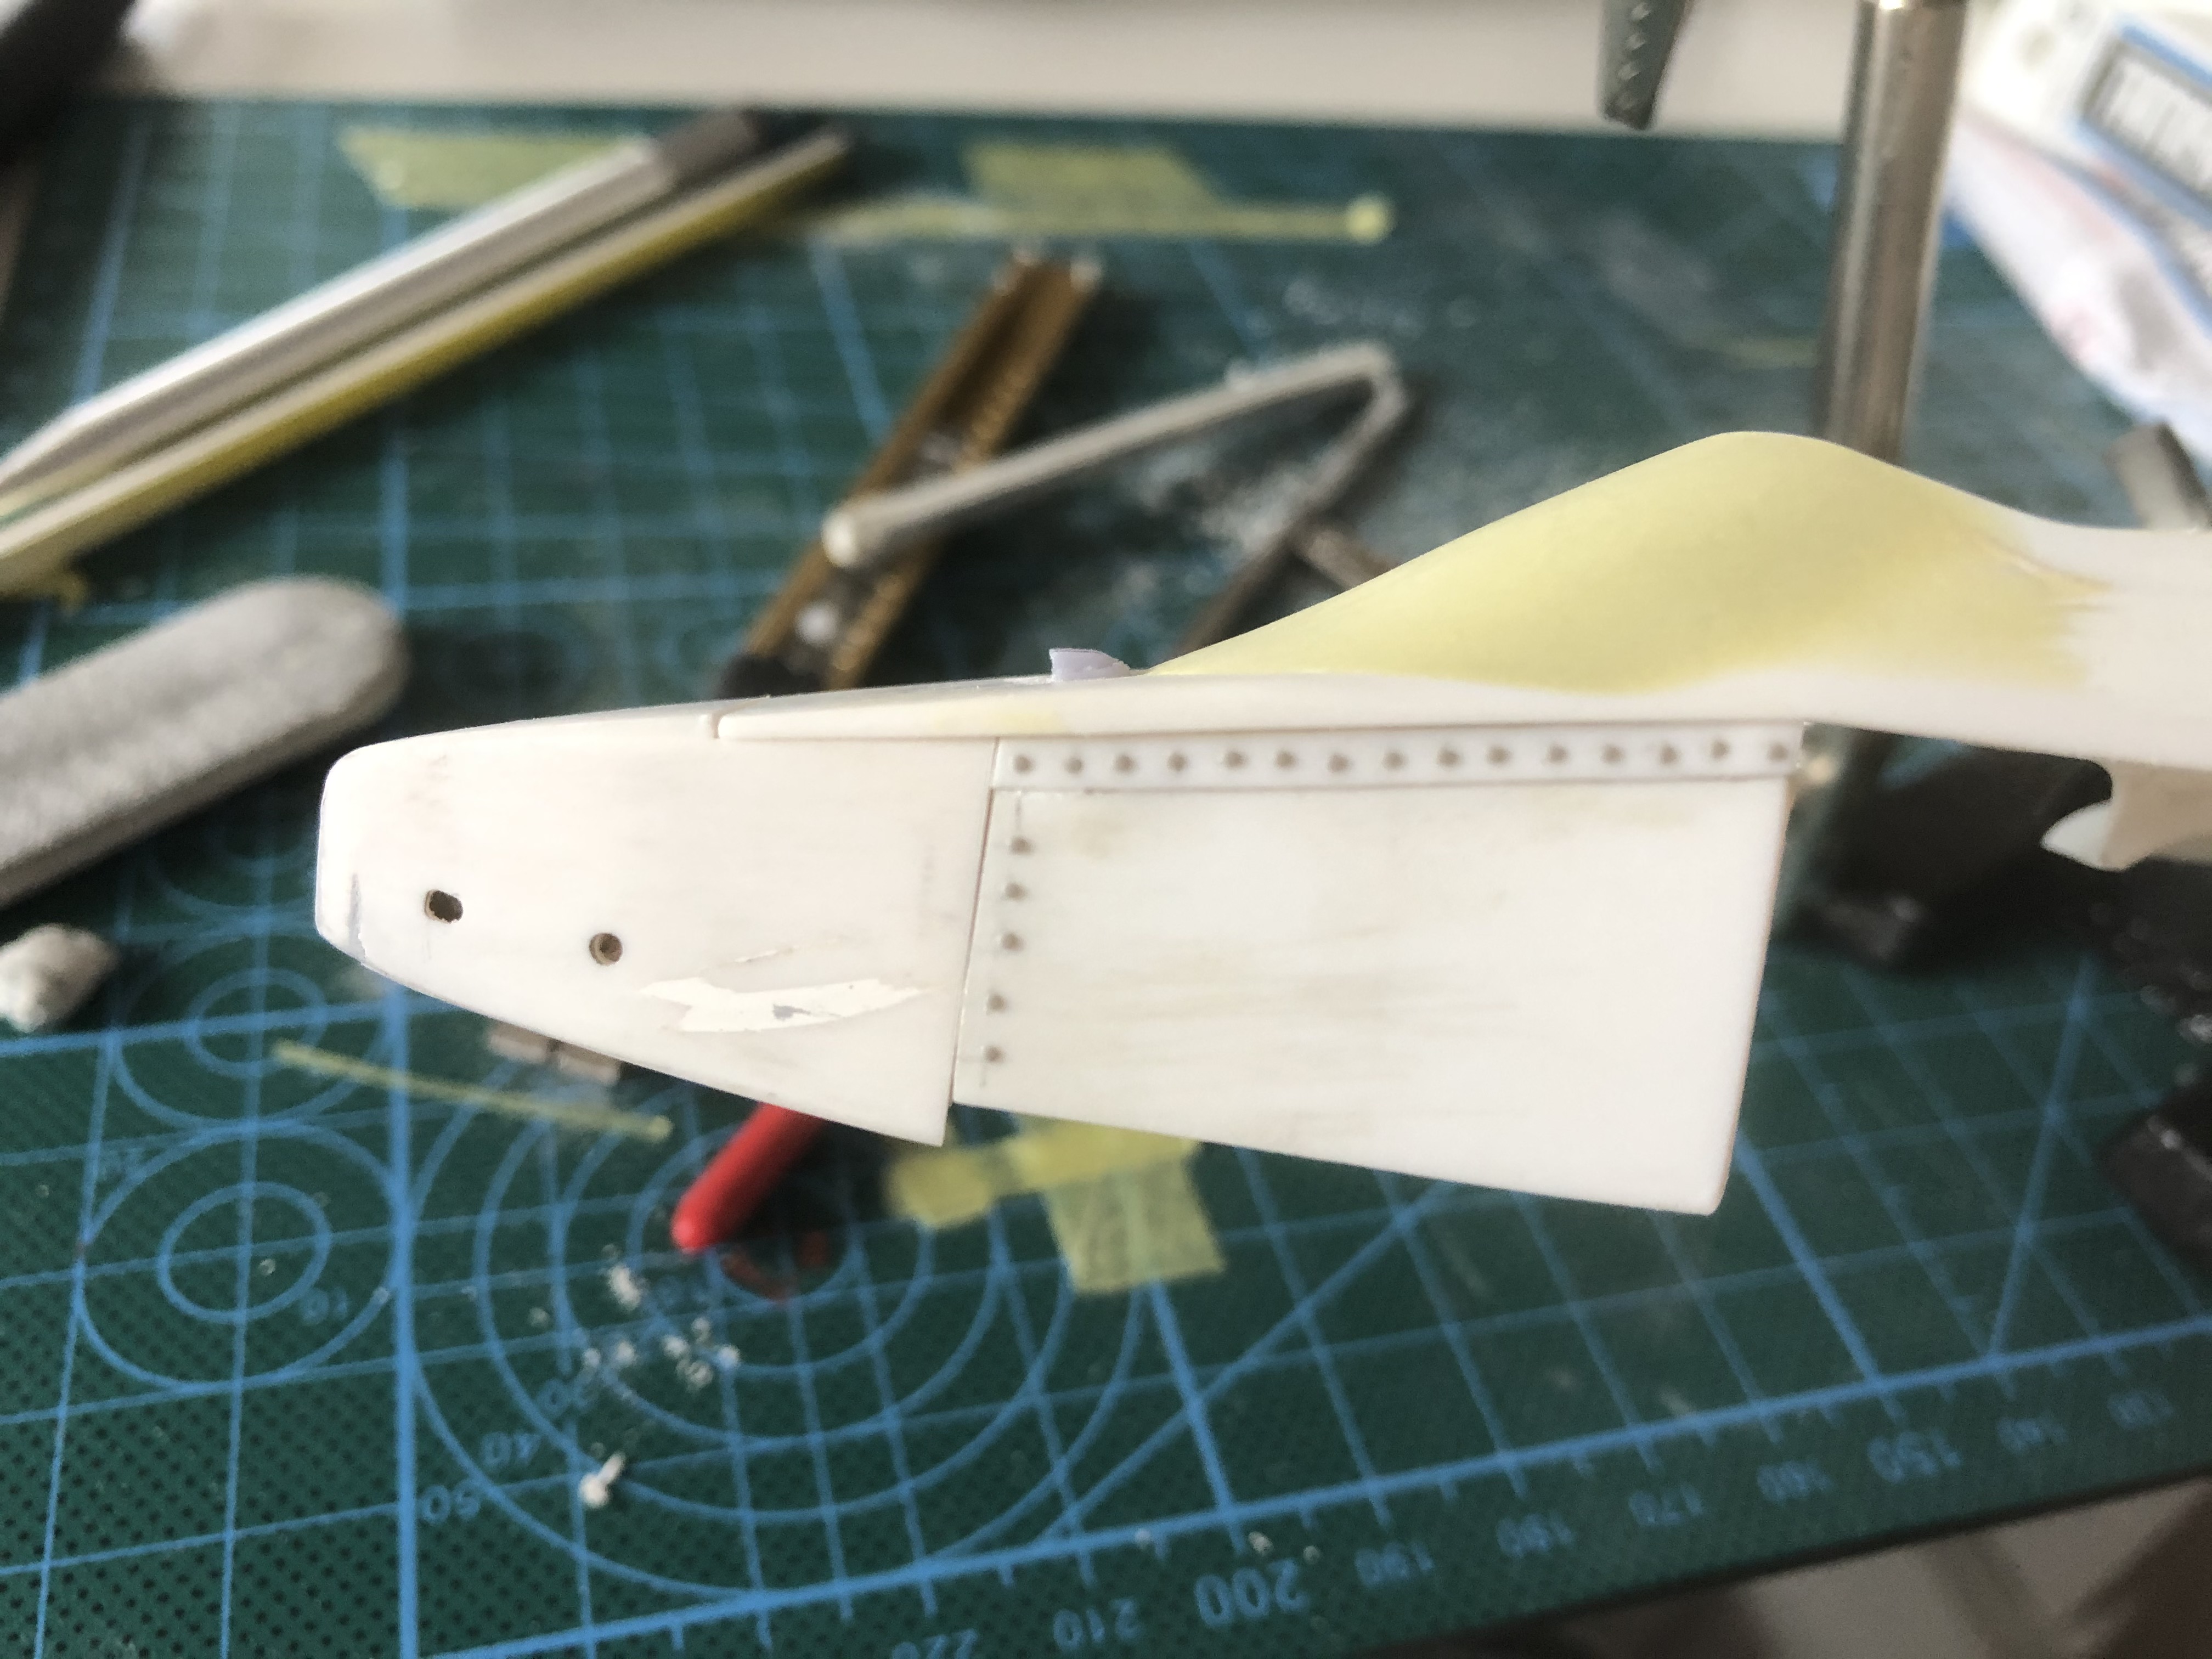
The air inlets / naca ducts on the nose still had to be attached. By the way, I was surprised how well the templates from Rado fit - I hadn't used them there until now.
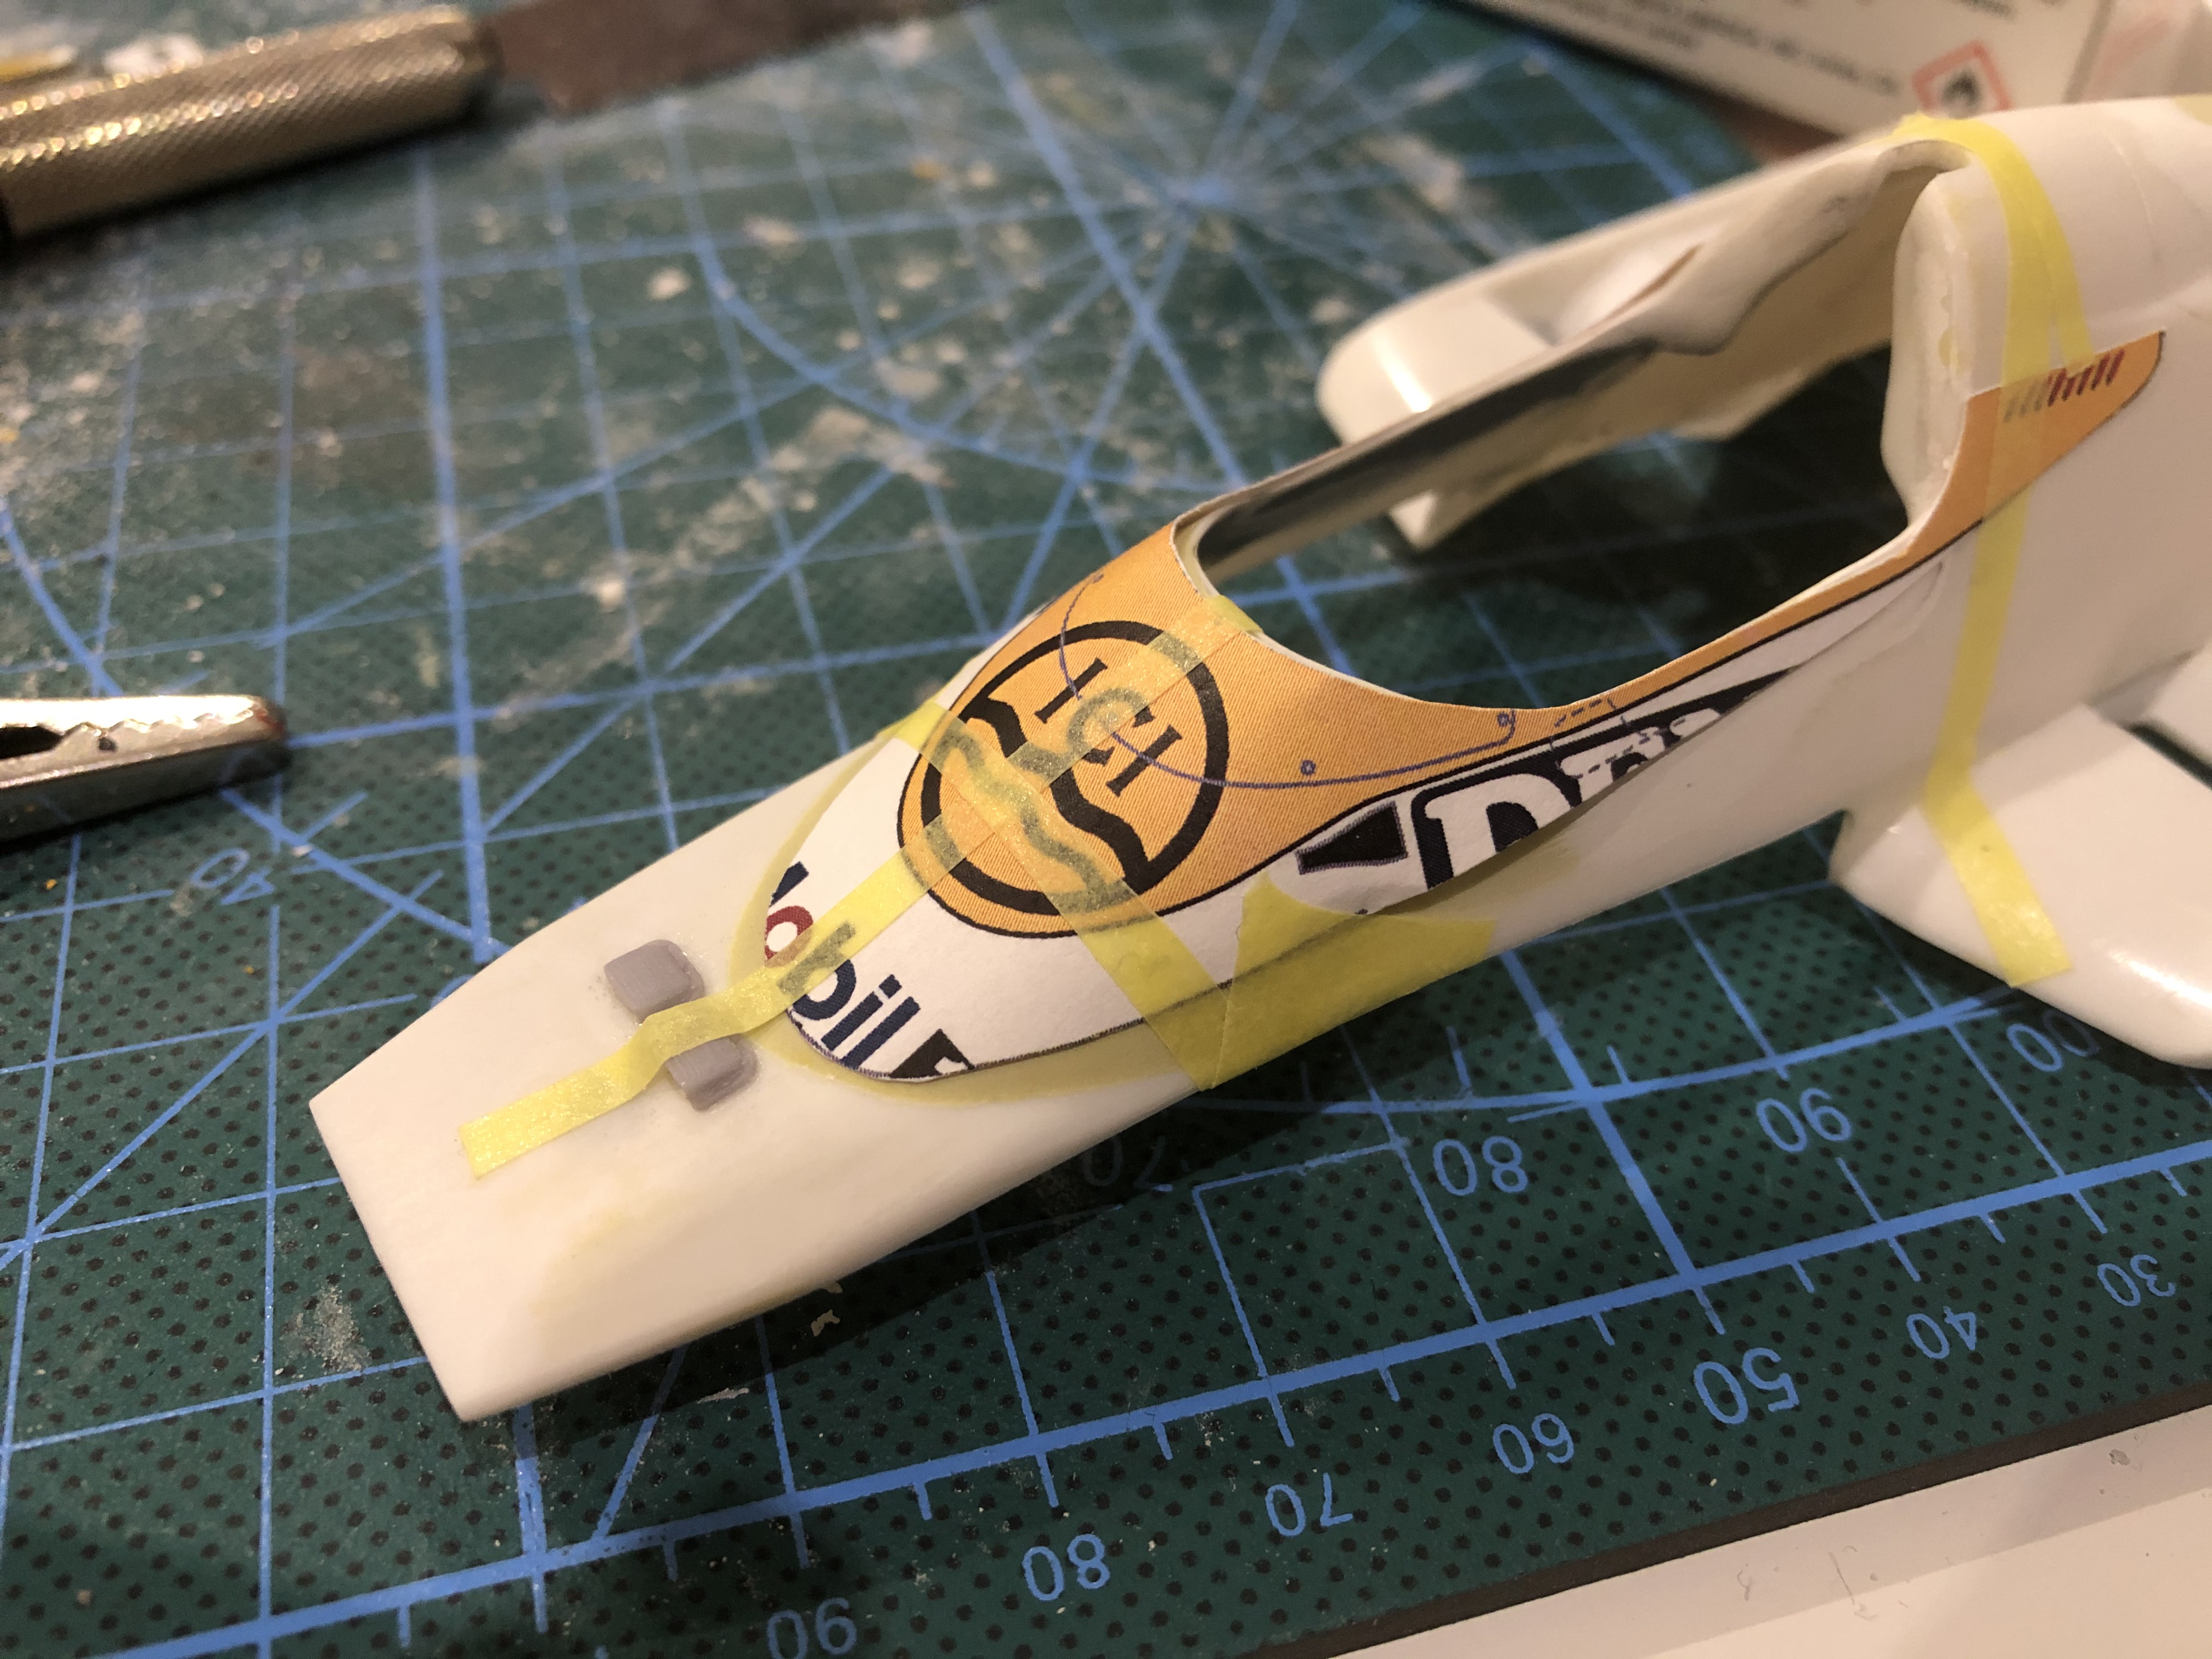
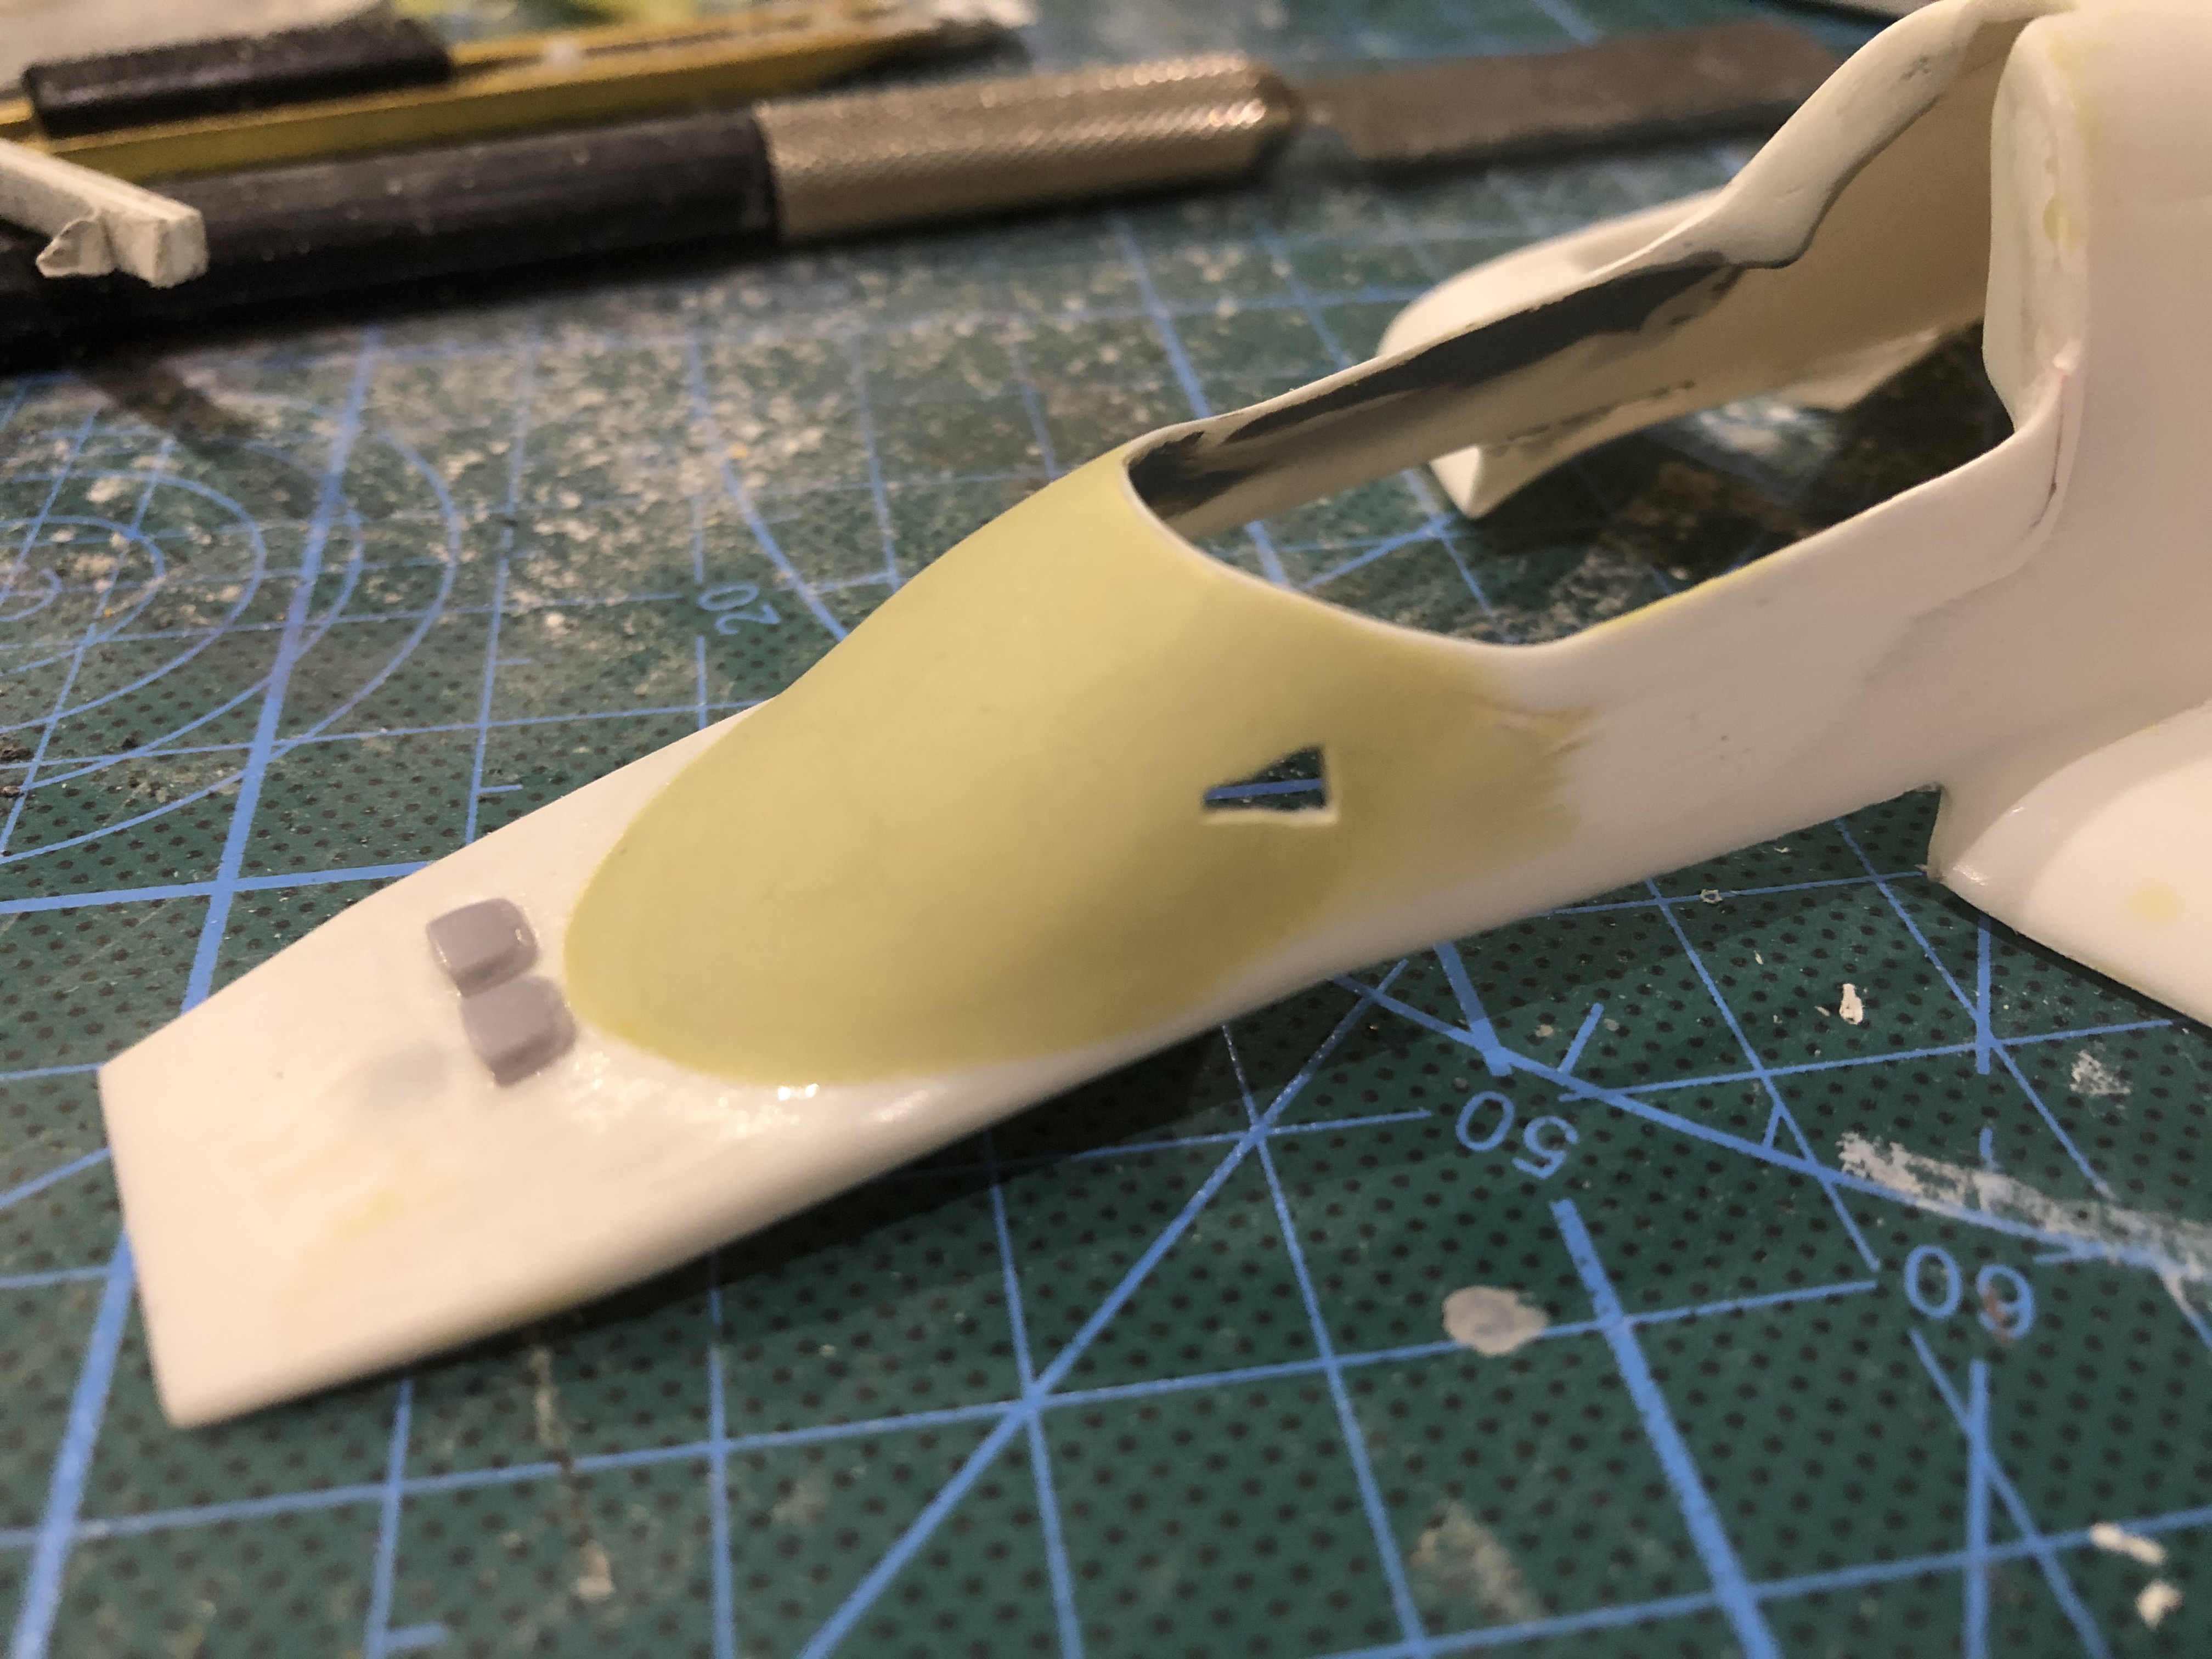
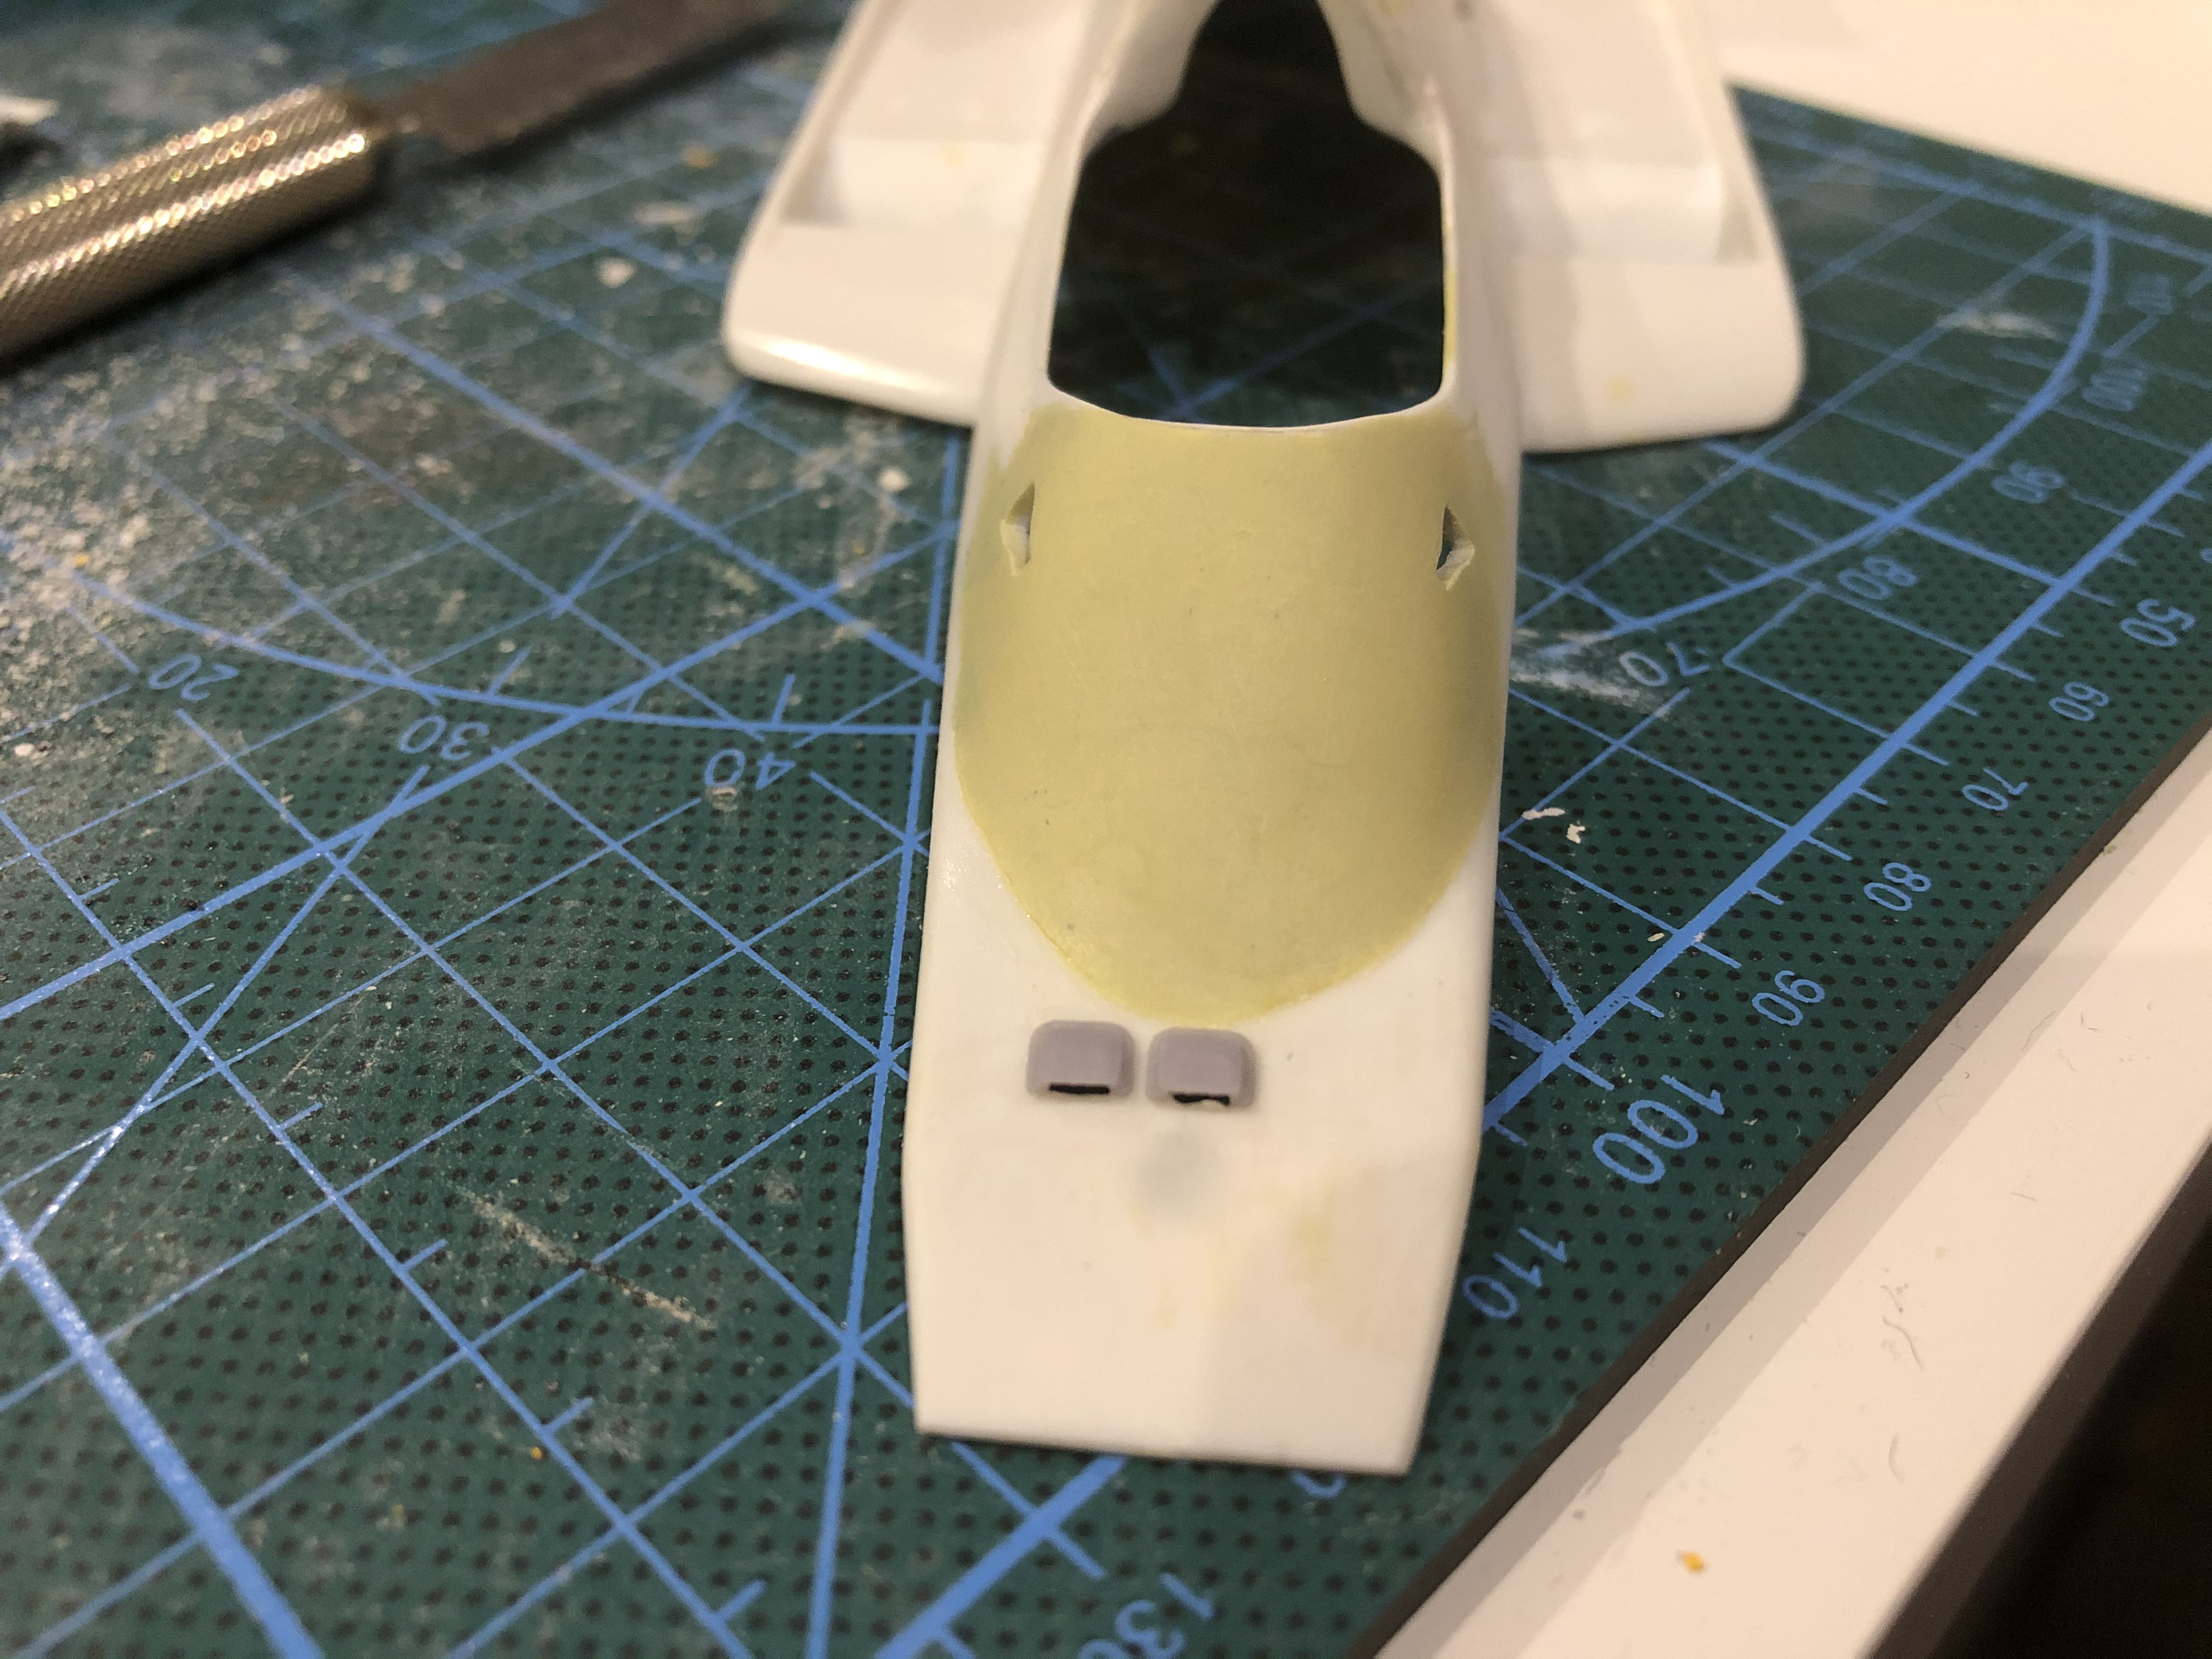
The mirrors from the kit cannot be used either. So I just printed a pair of new mirrors here.
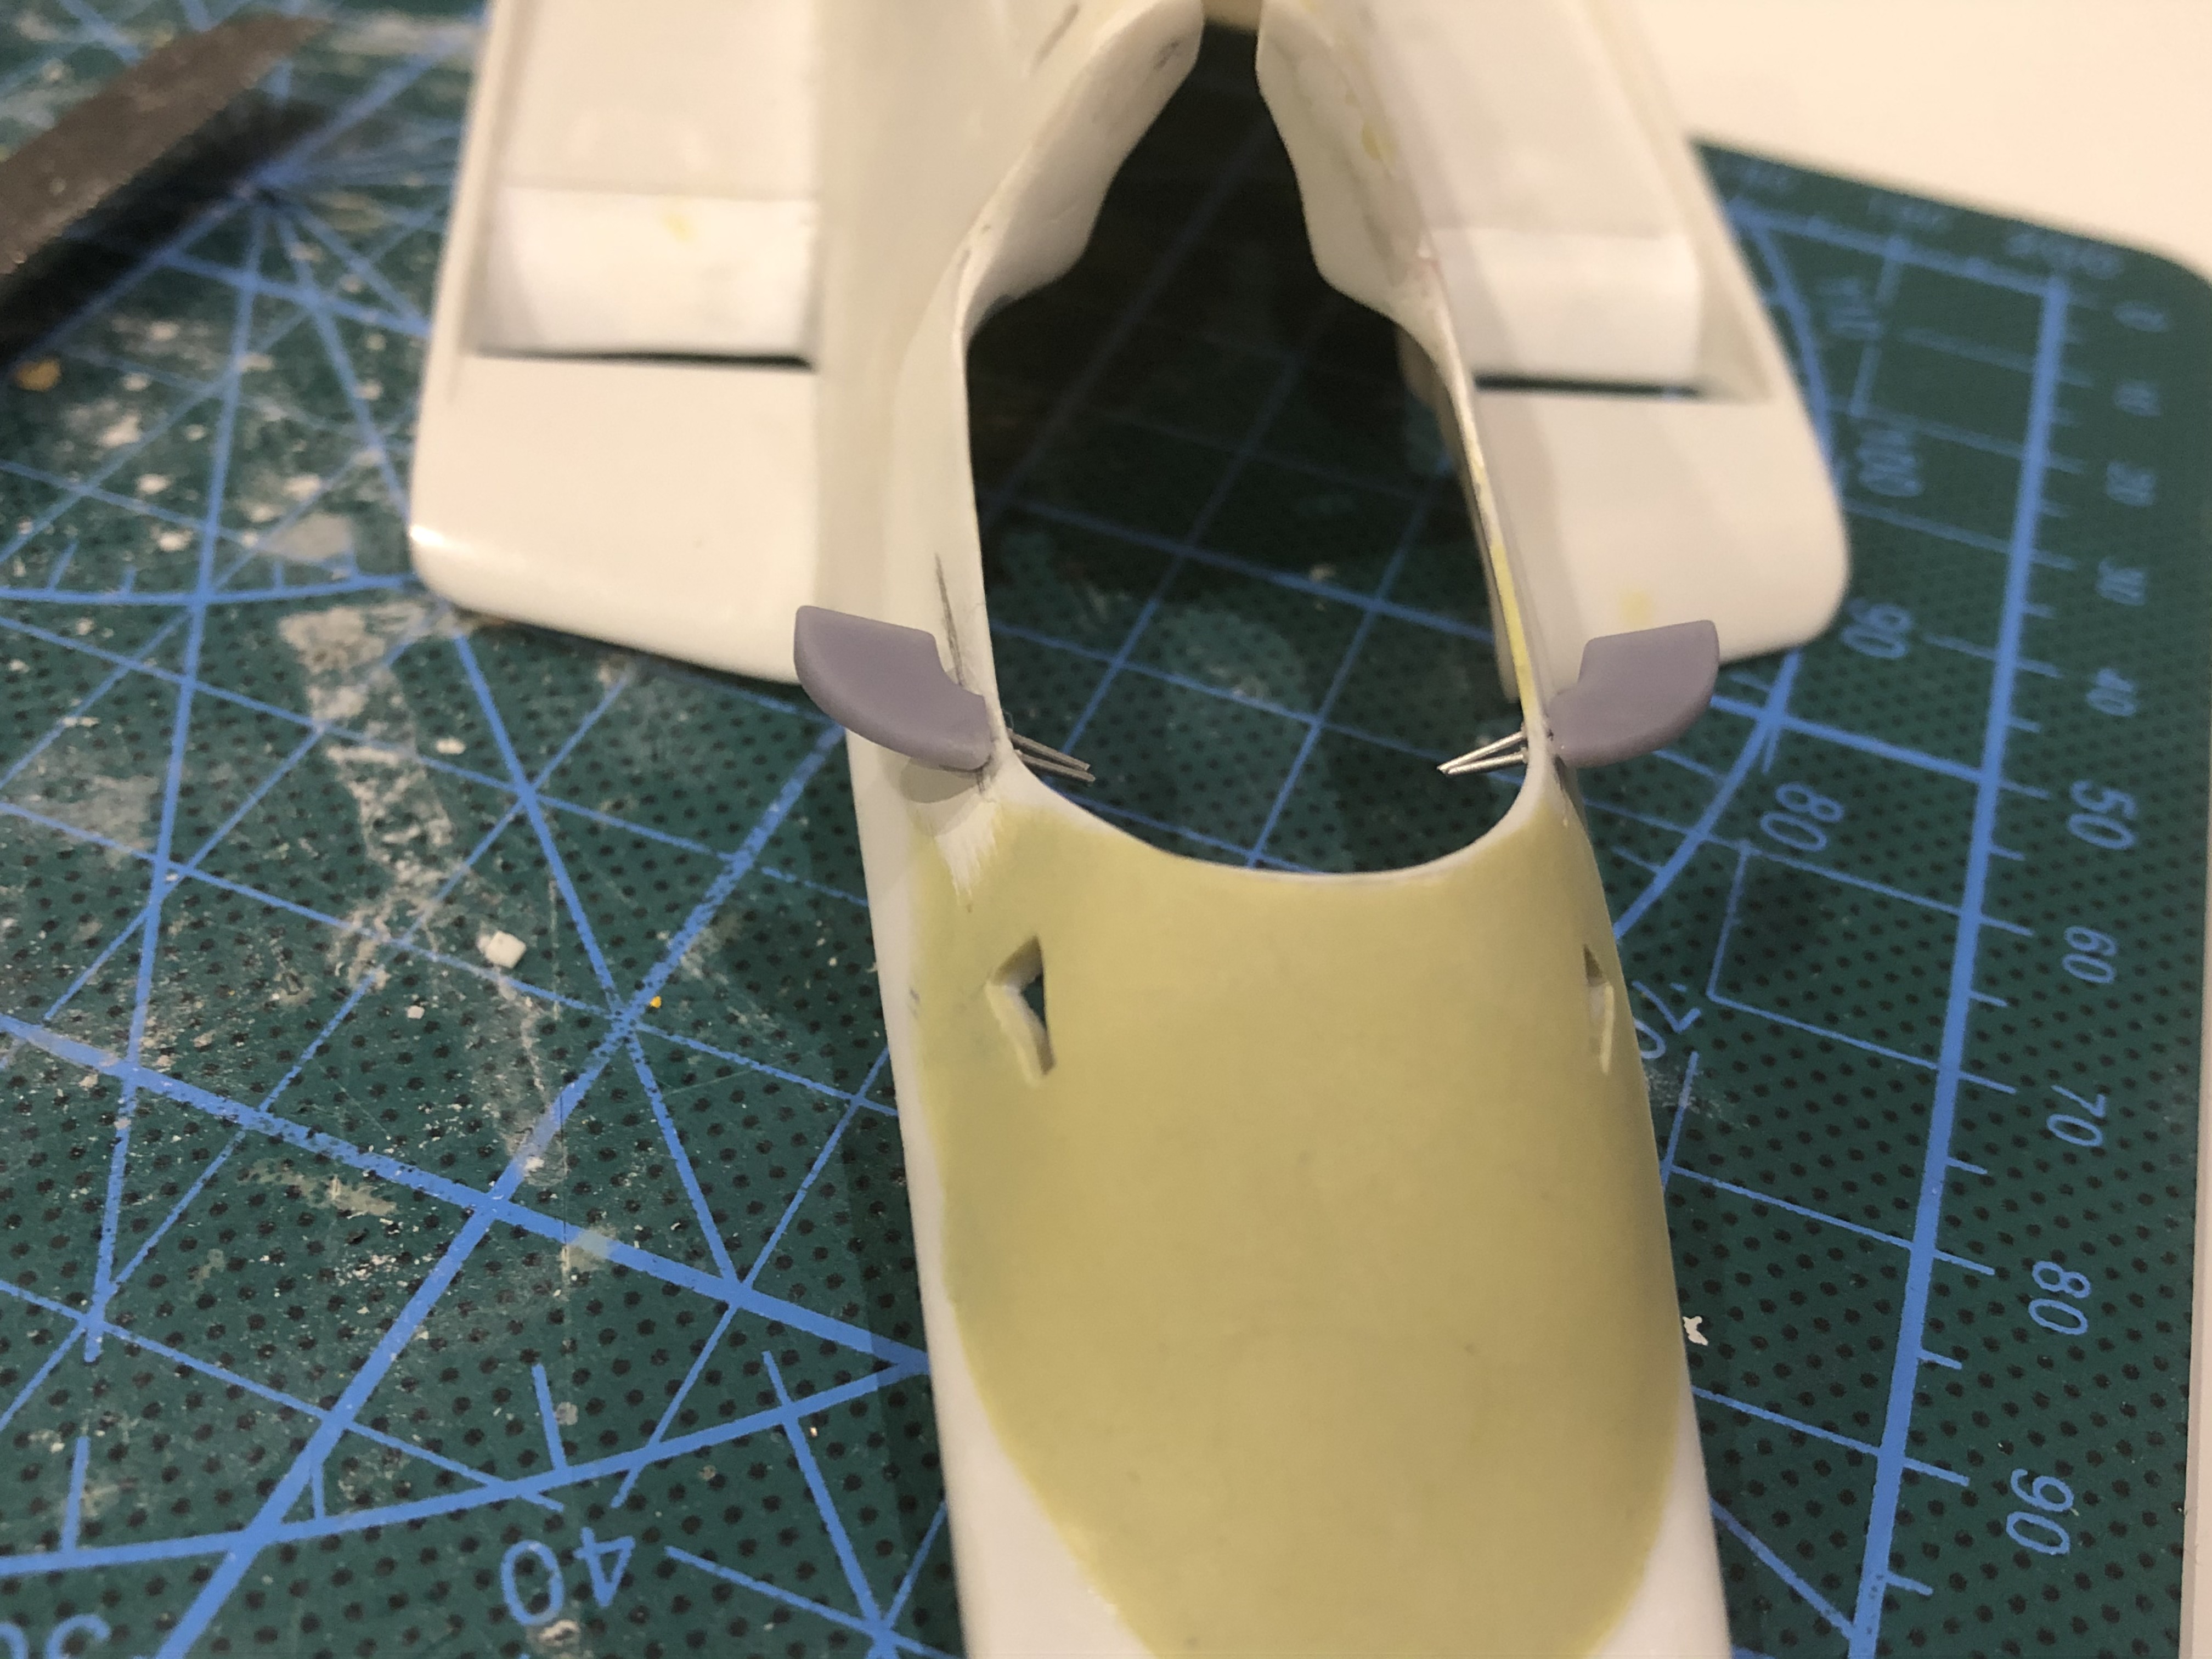
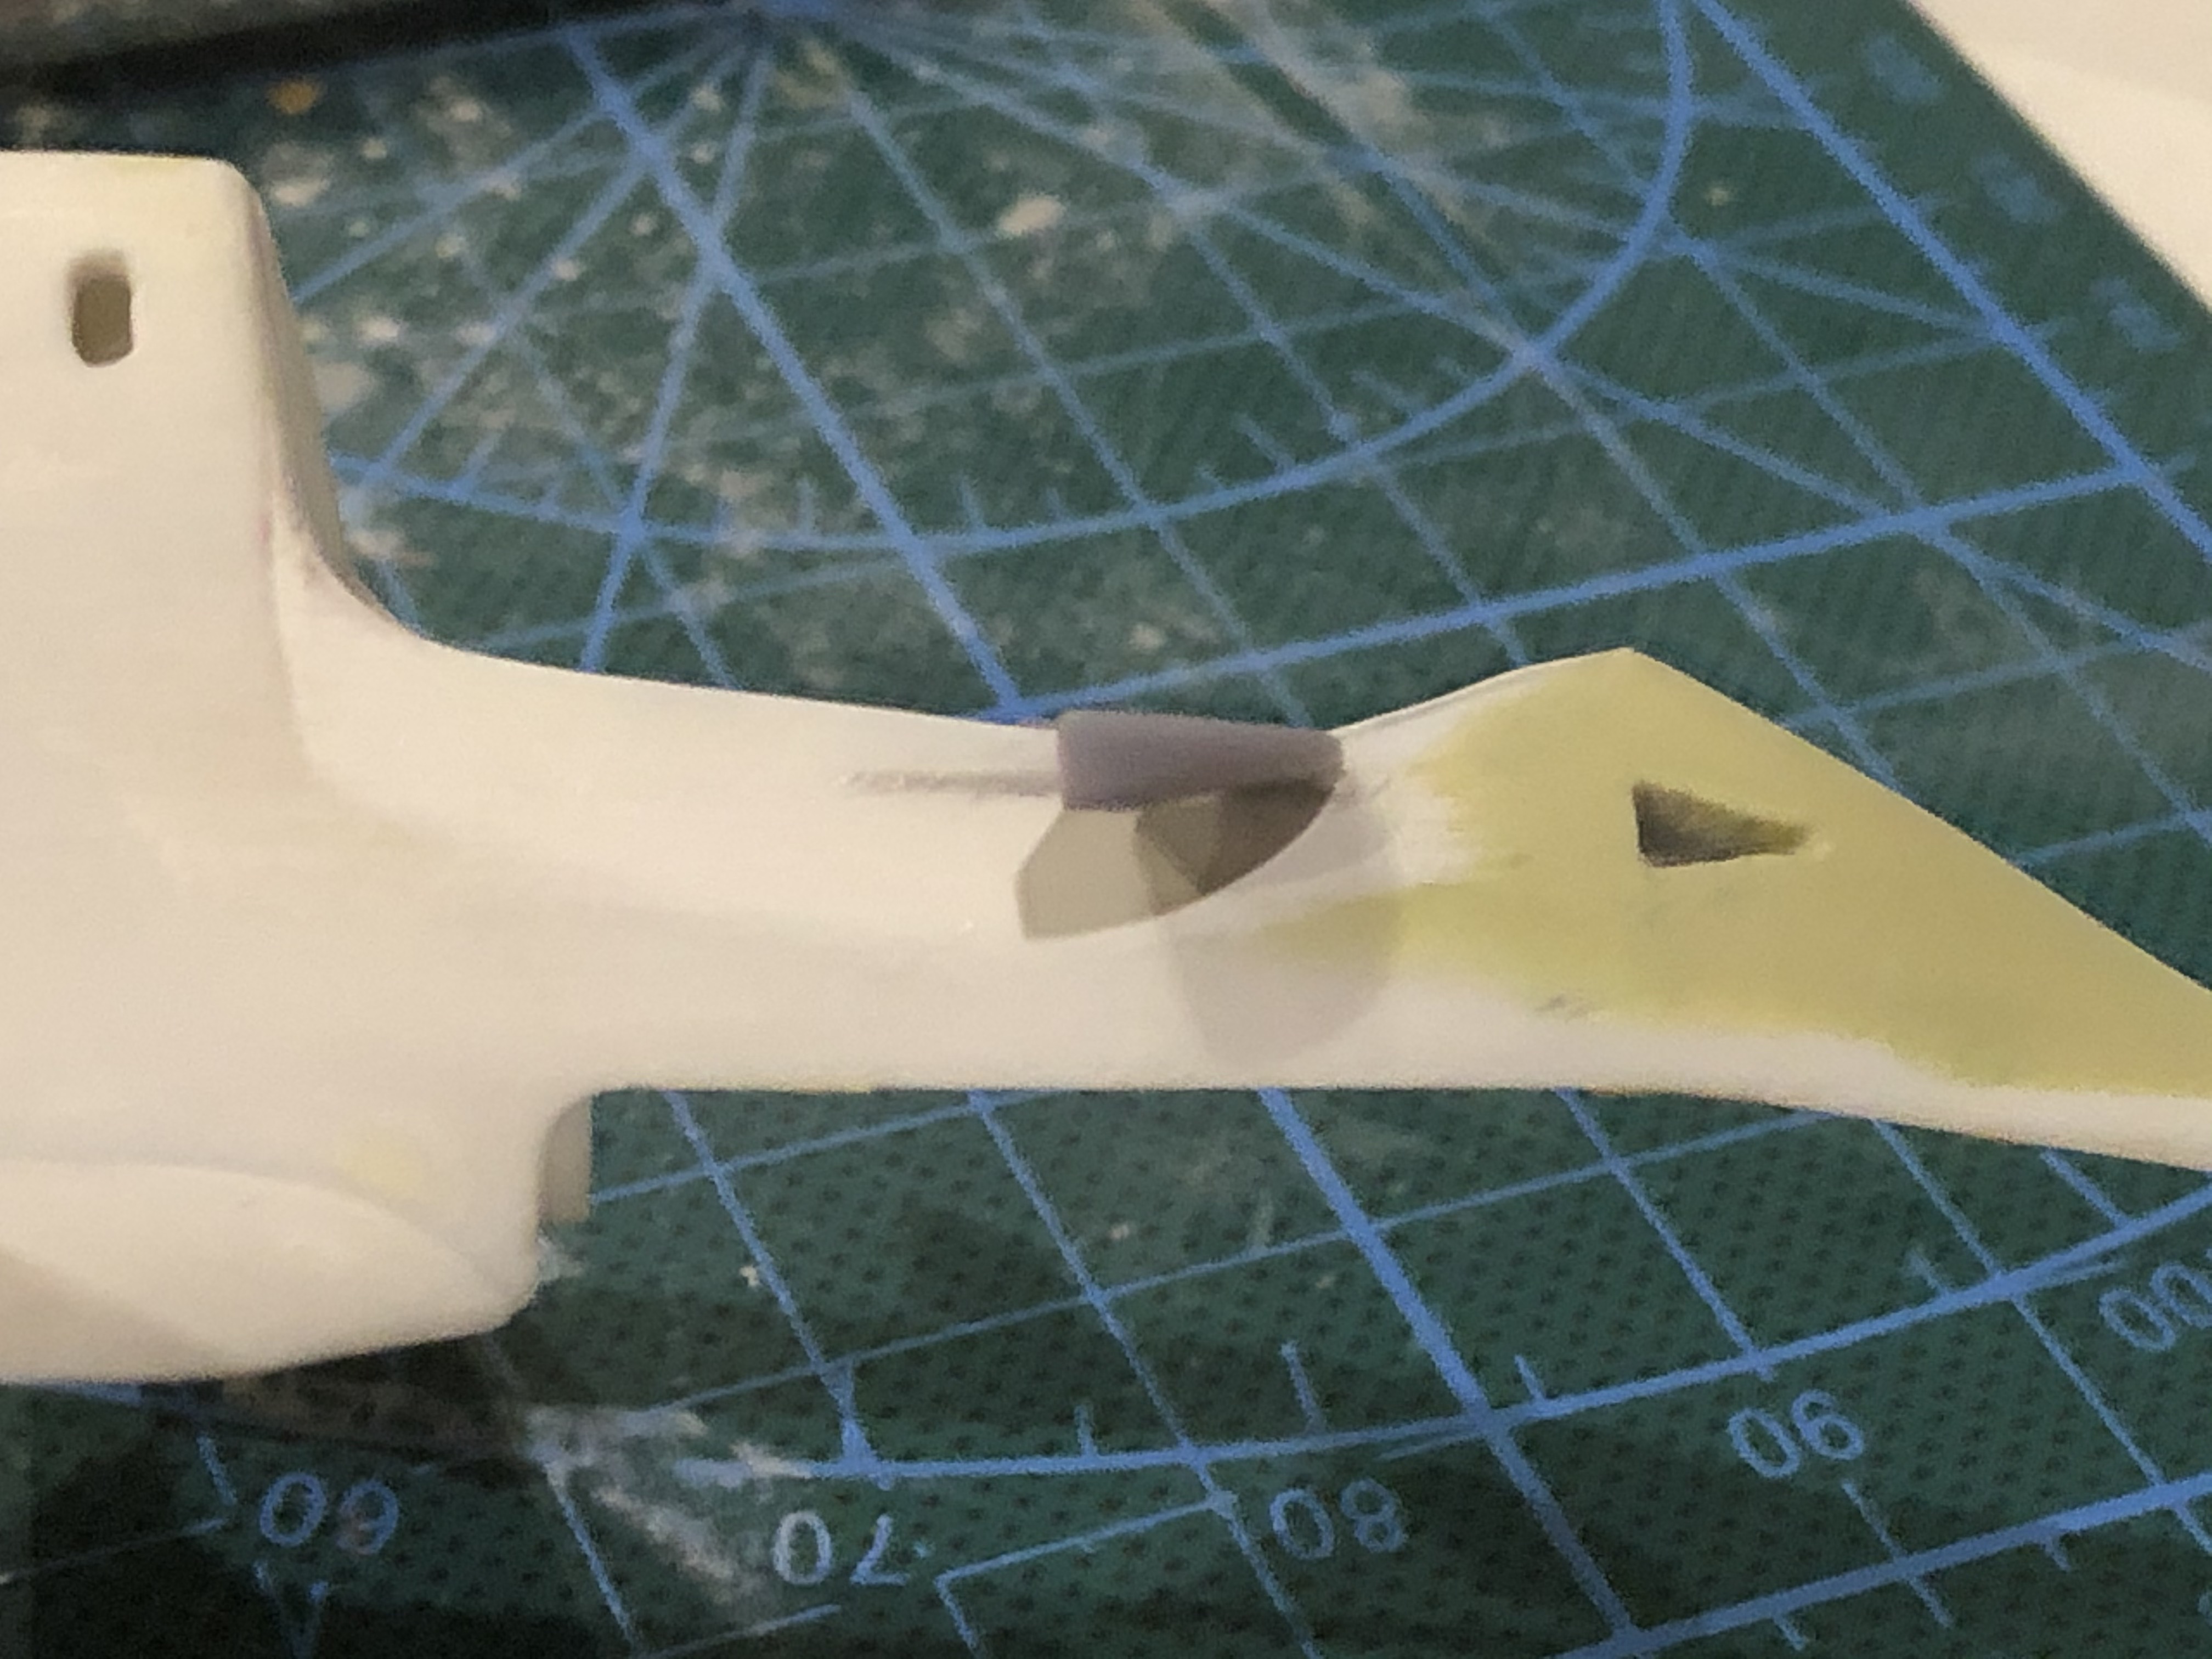
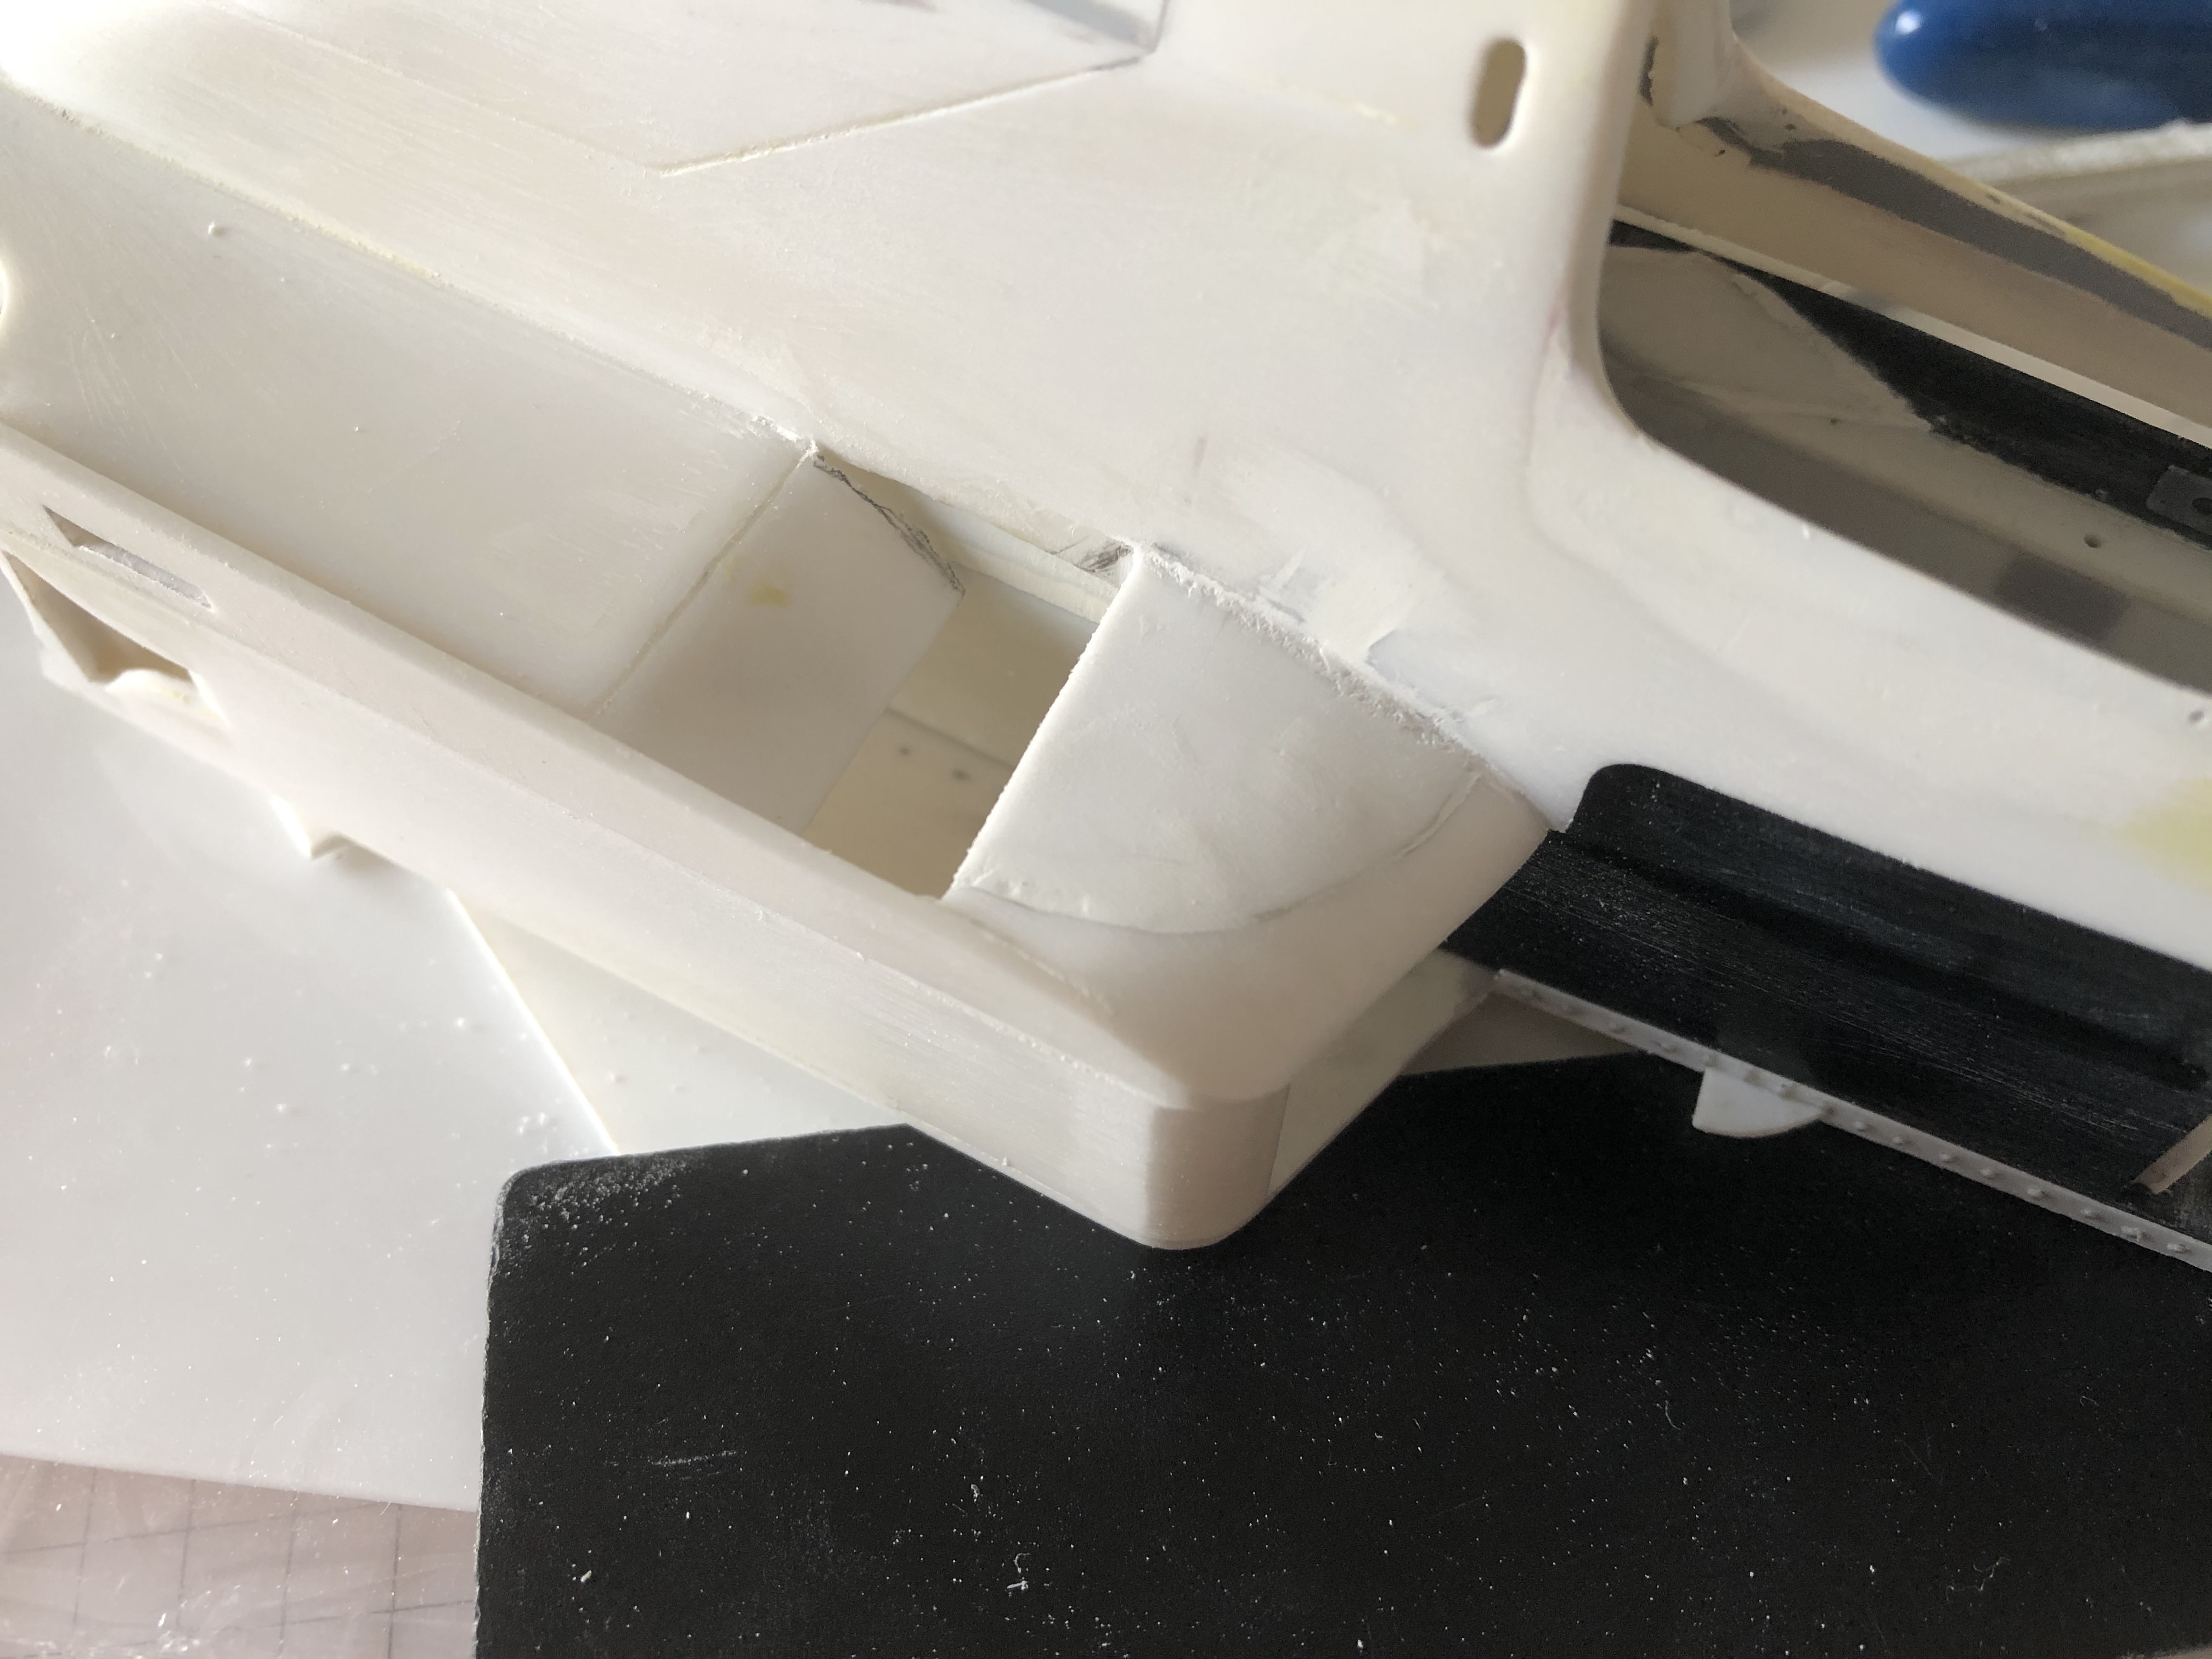
Then I always had the problem with the height offset of the sidepods. And I always thought the rear area after the air intake had to be deeper, but then I had an enlightenment.
The area in front of it must instead be higher, the height is almost as high as the lower edge in the area of the DENIM logo.
So I raised this area. Cut out and fit a new part. Simply cutting in and lifting is not possible, the material is simply not bendable / flexible enough. James had already noticed that with the air vents itself.
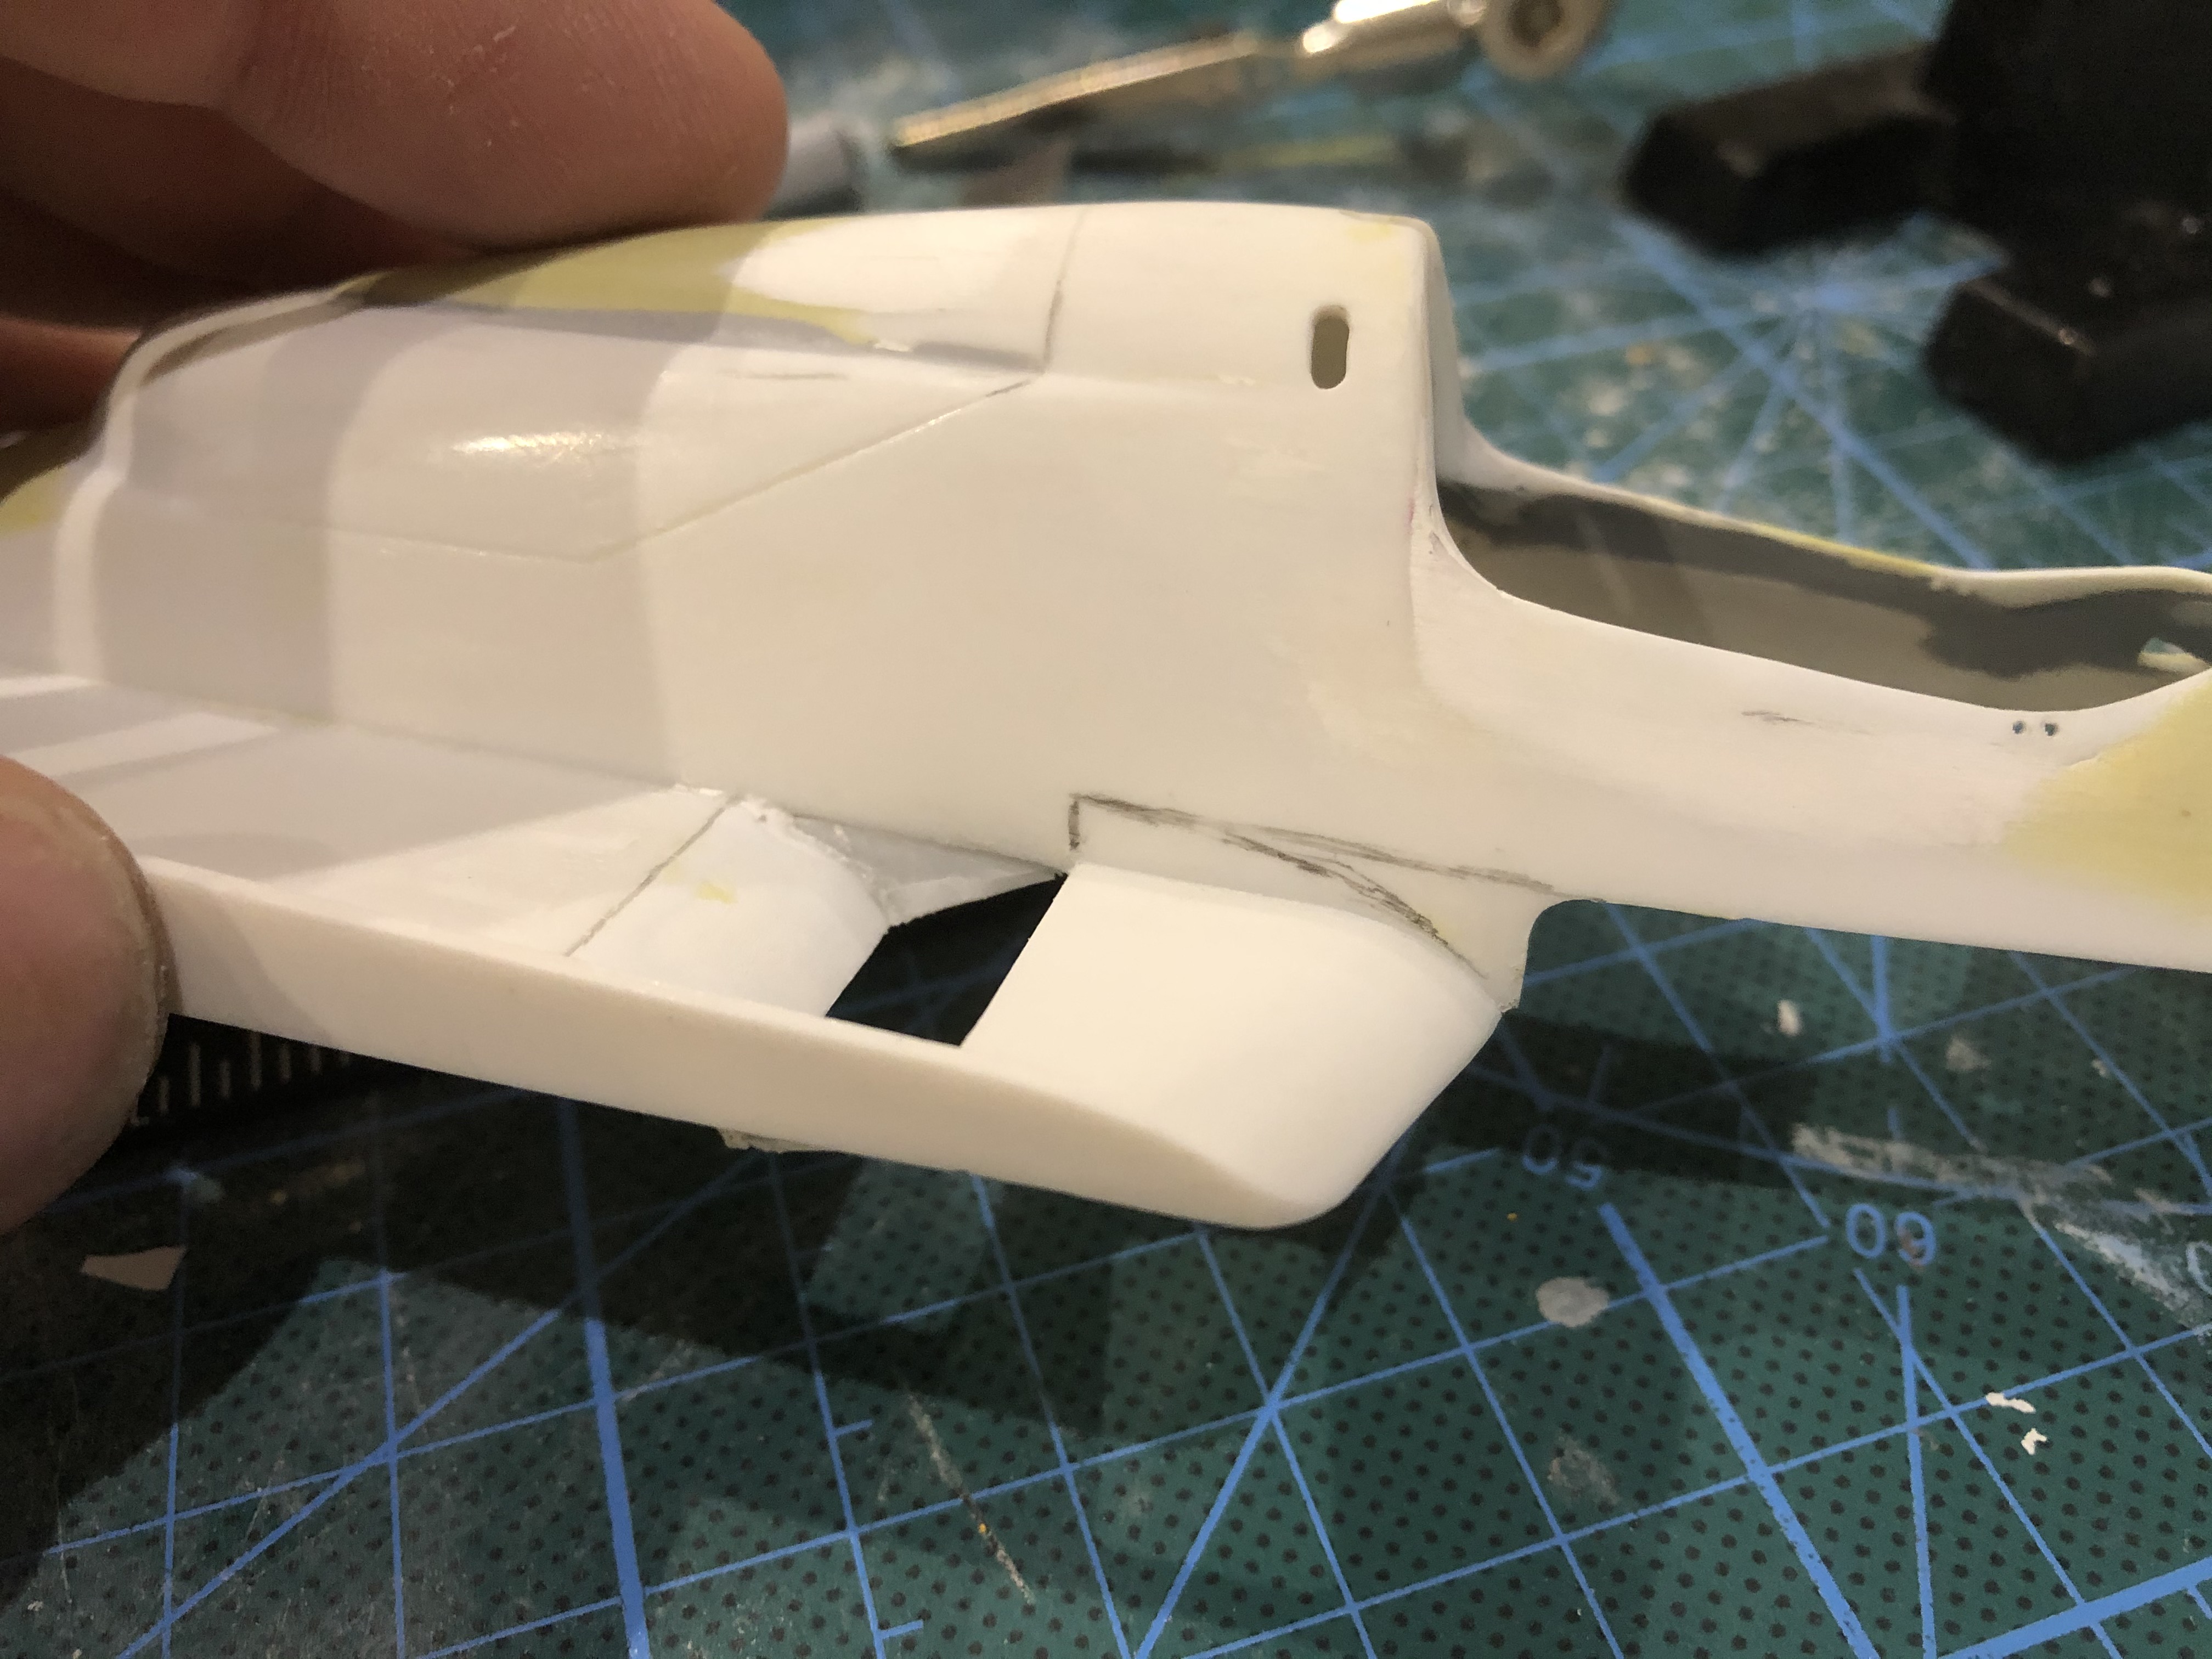
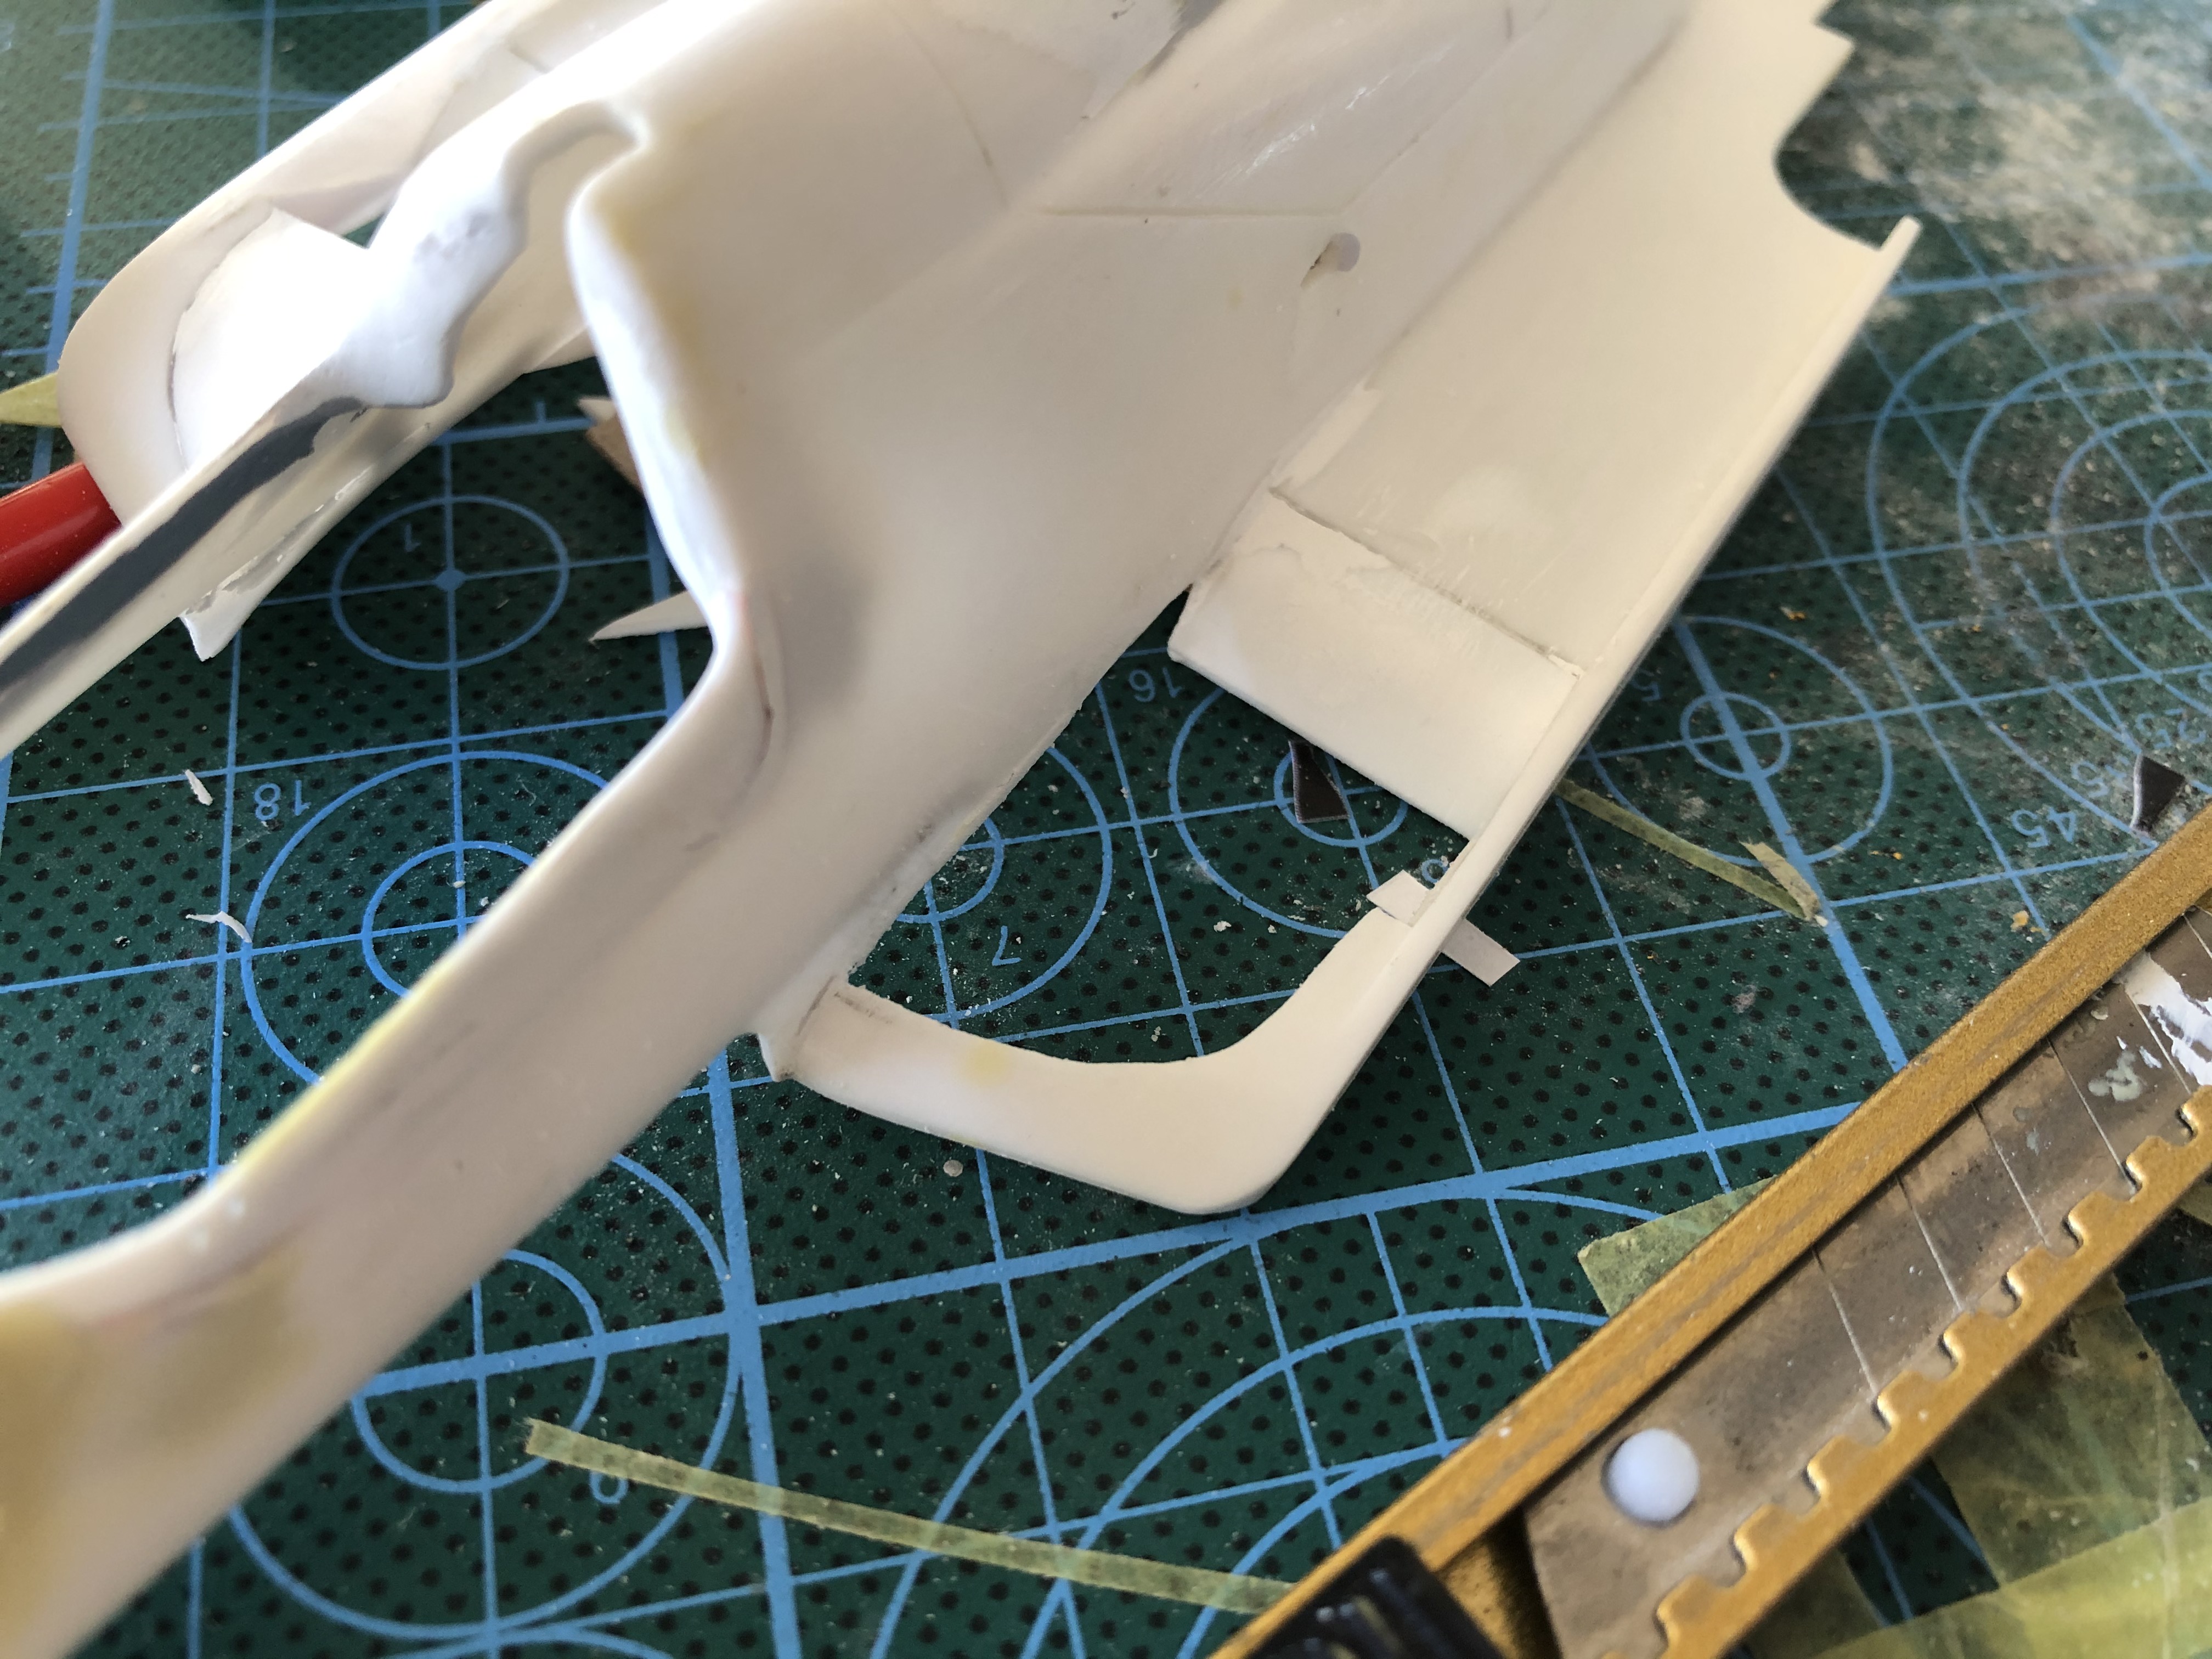
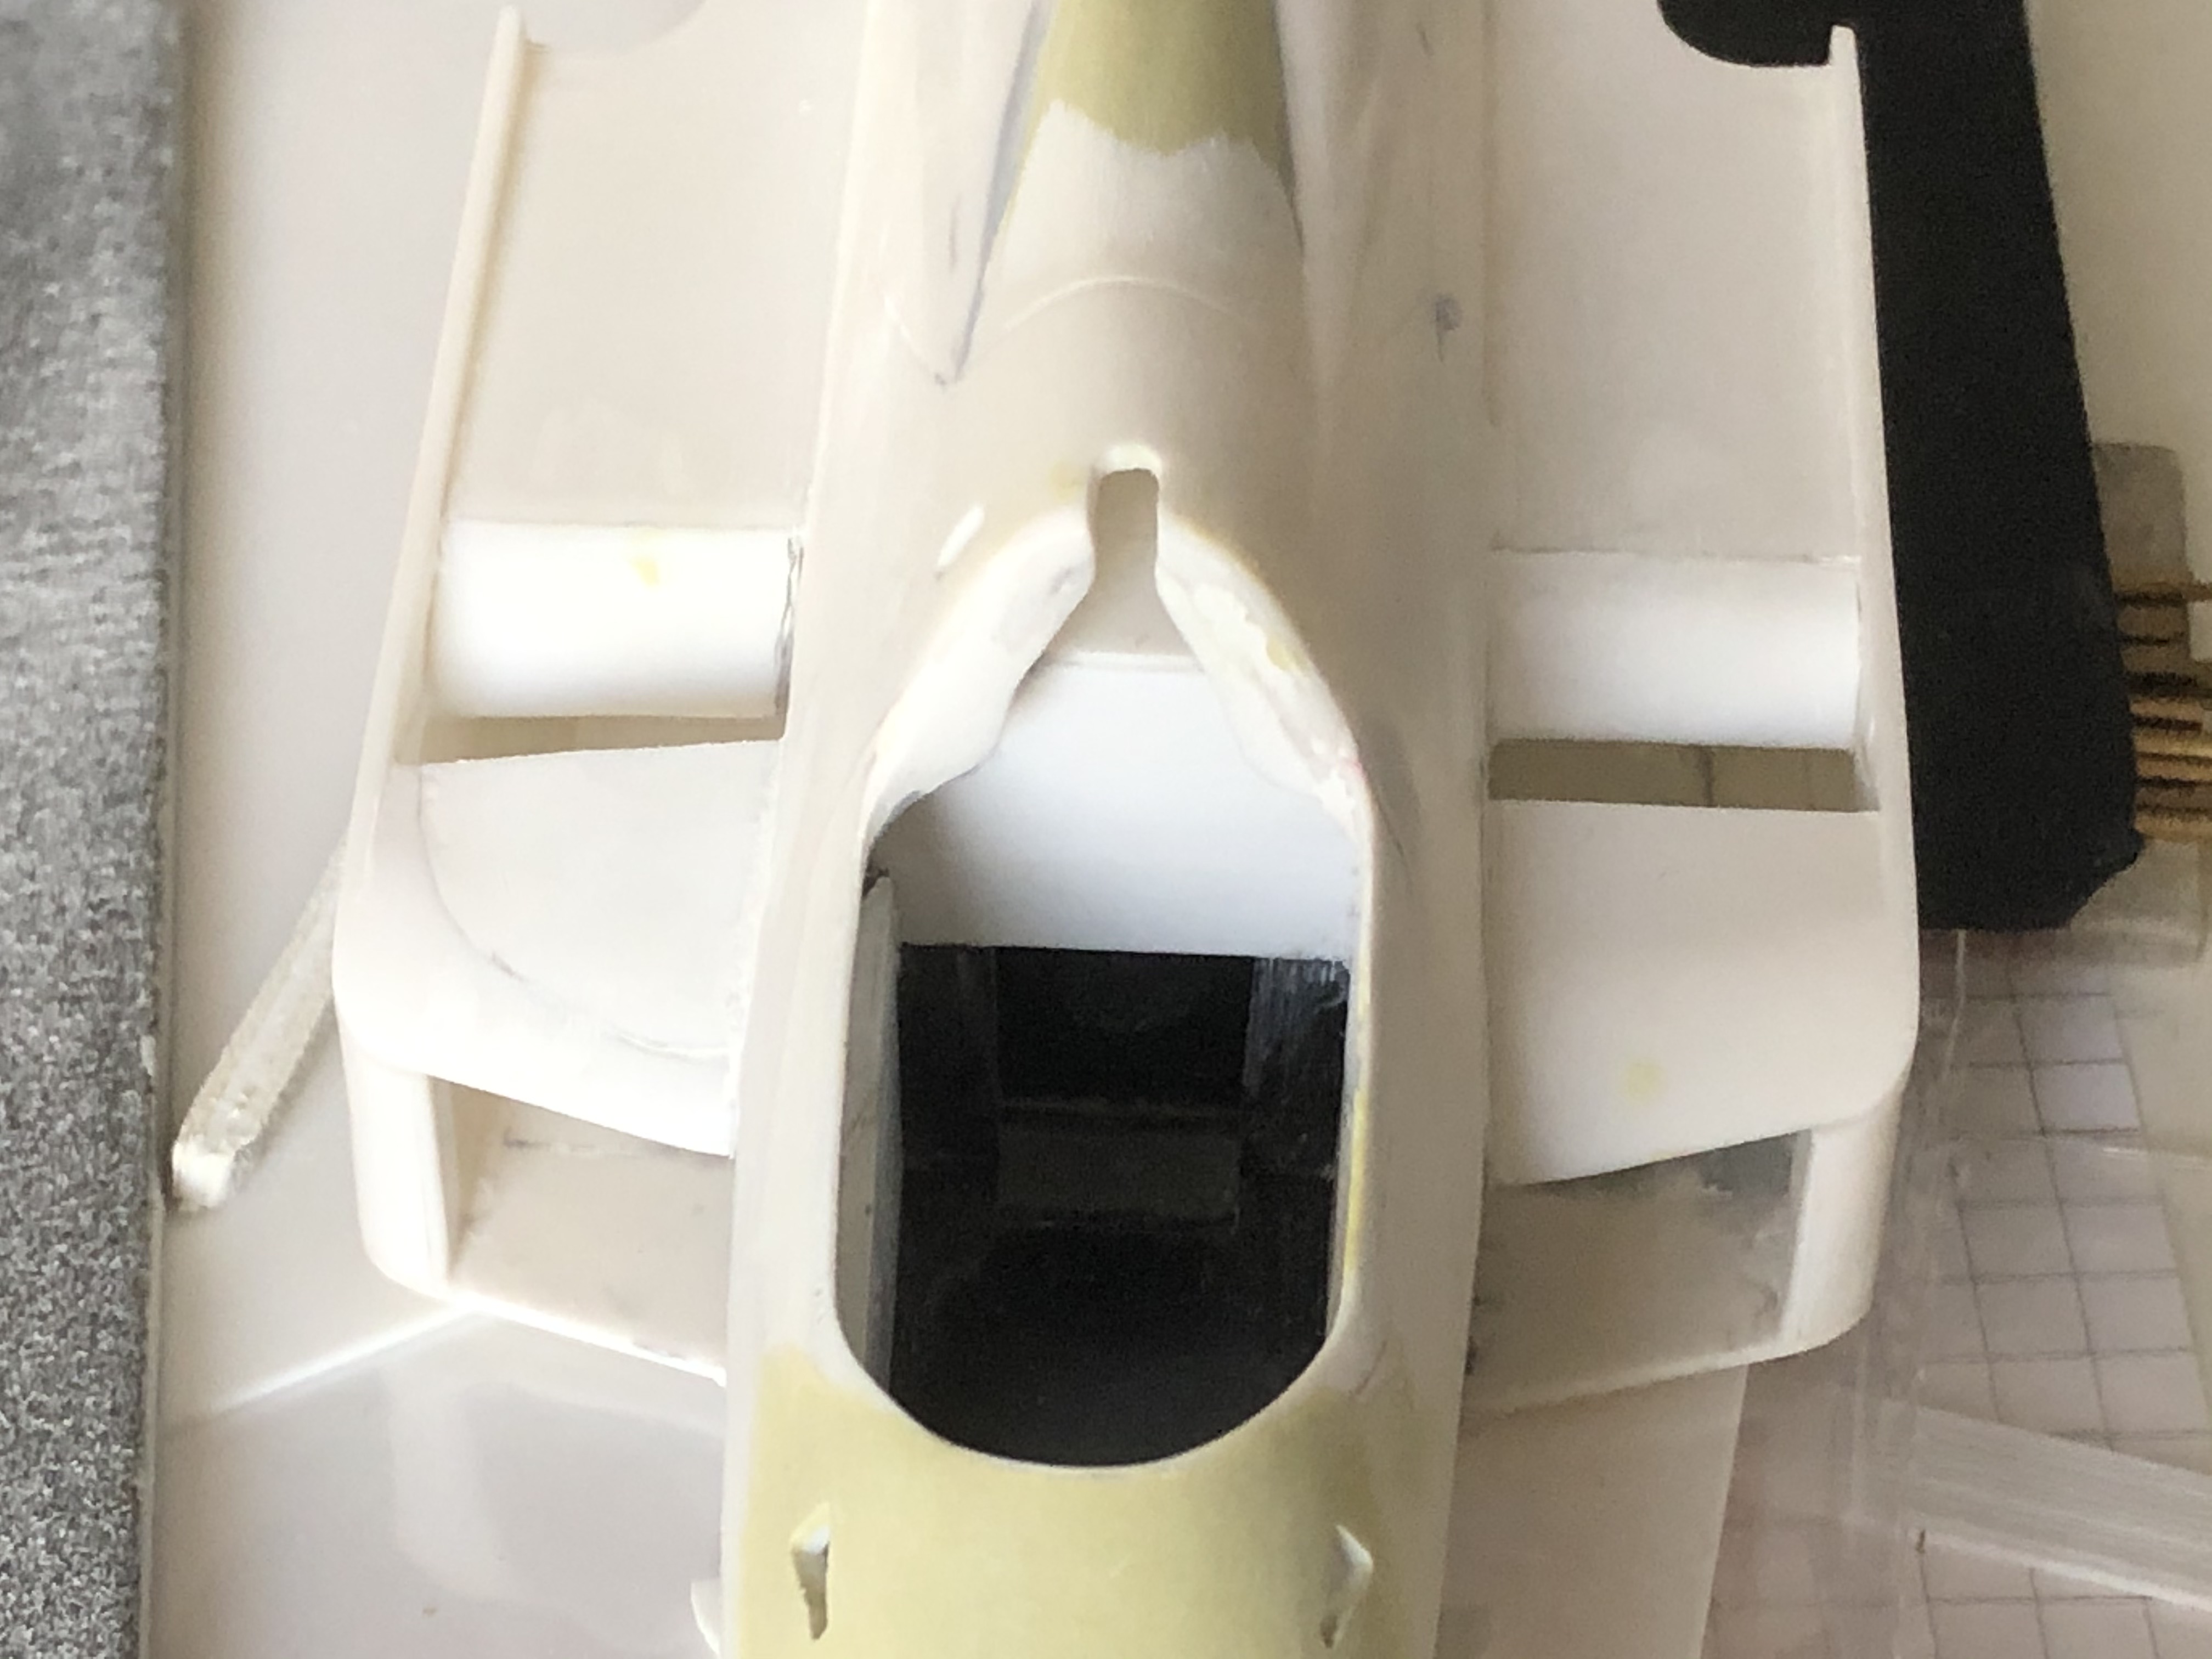

When I was done with it, the outward tilt felt too strong. So I studied pictures again...
And I found the bug. The outside of the kit was deeper and I tried not to change it in order to have to adjust less - a mistake.
So I had to lift the outside too!
So said - done. Now it looks better and the tilting to the outside is almost gone - if I look at the pictures of the original I would say - it fits.

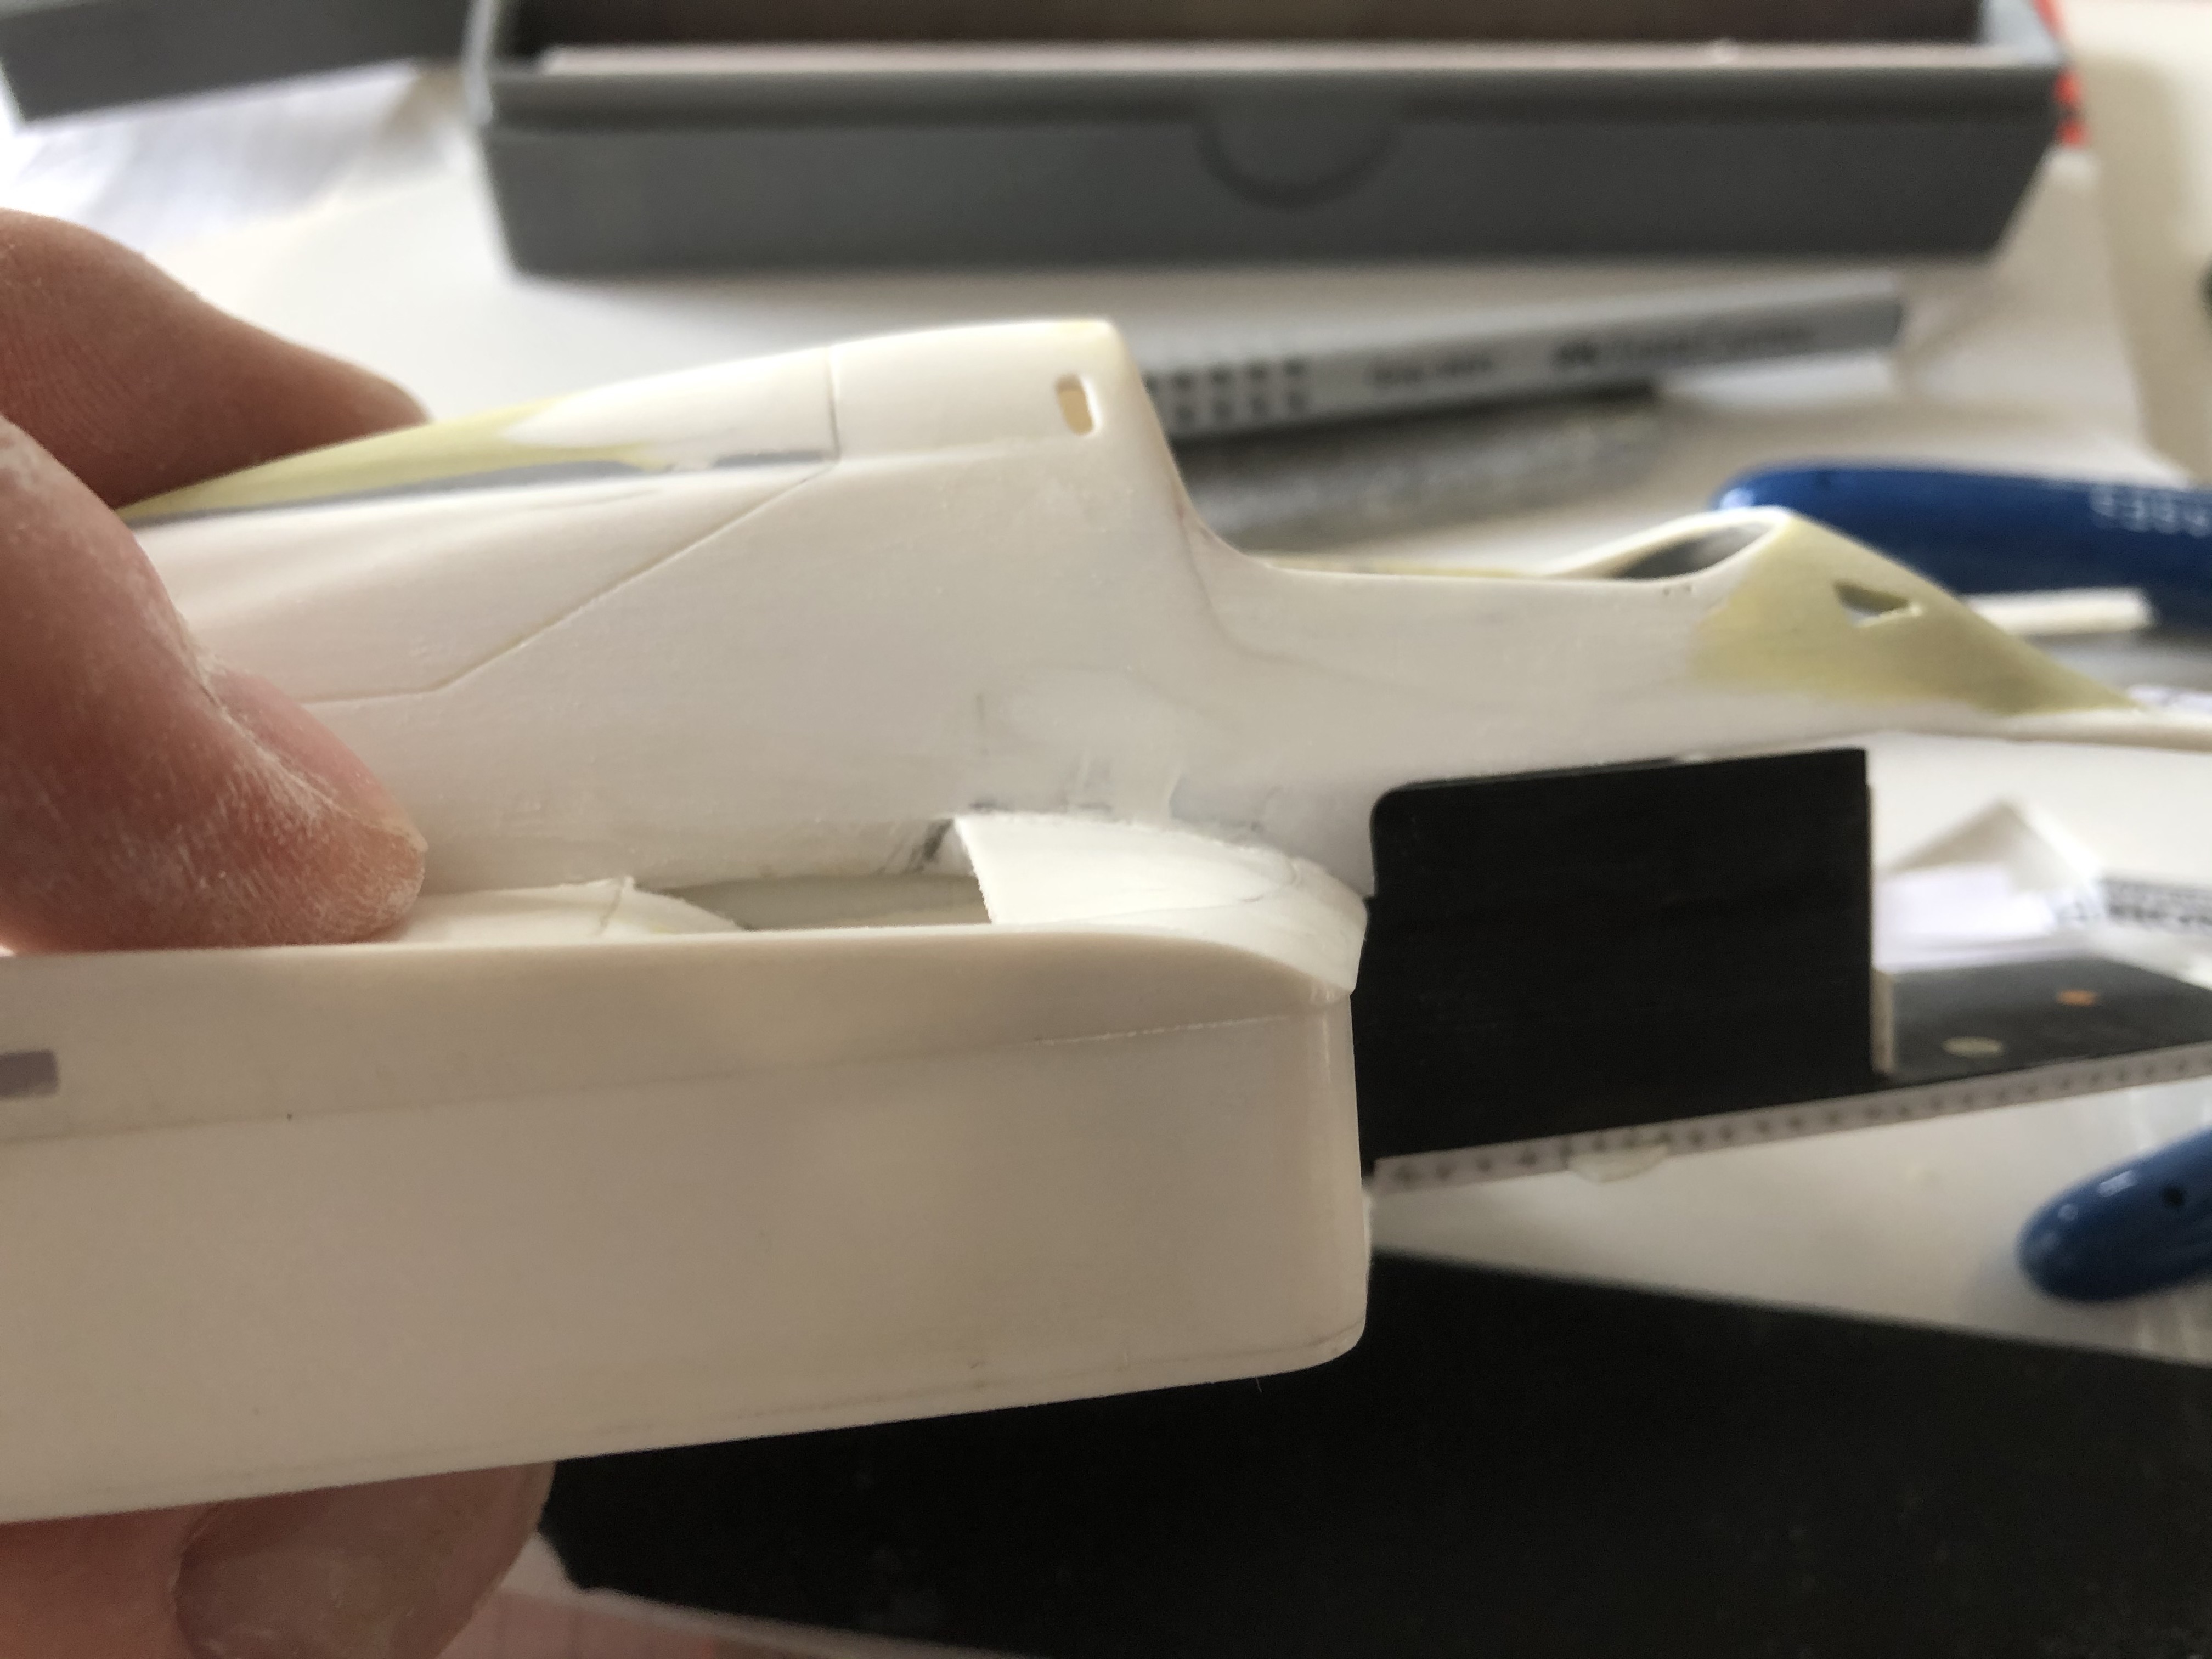
And I added 2 additional small air inlets in the rear area of the engine cover - I have to take pictures. But they look something like the opening on the left side of the Honda logo.
Then I started laying a few cables - distraction from grinding
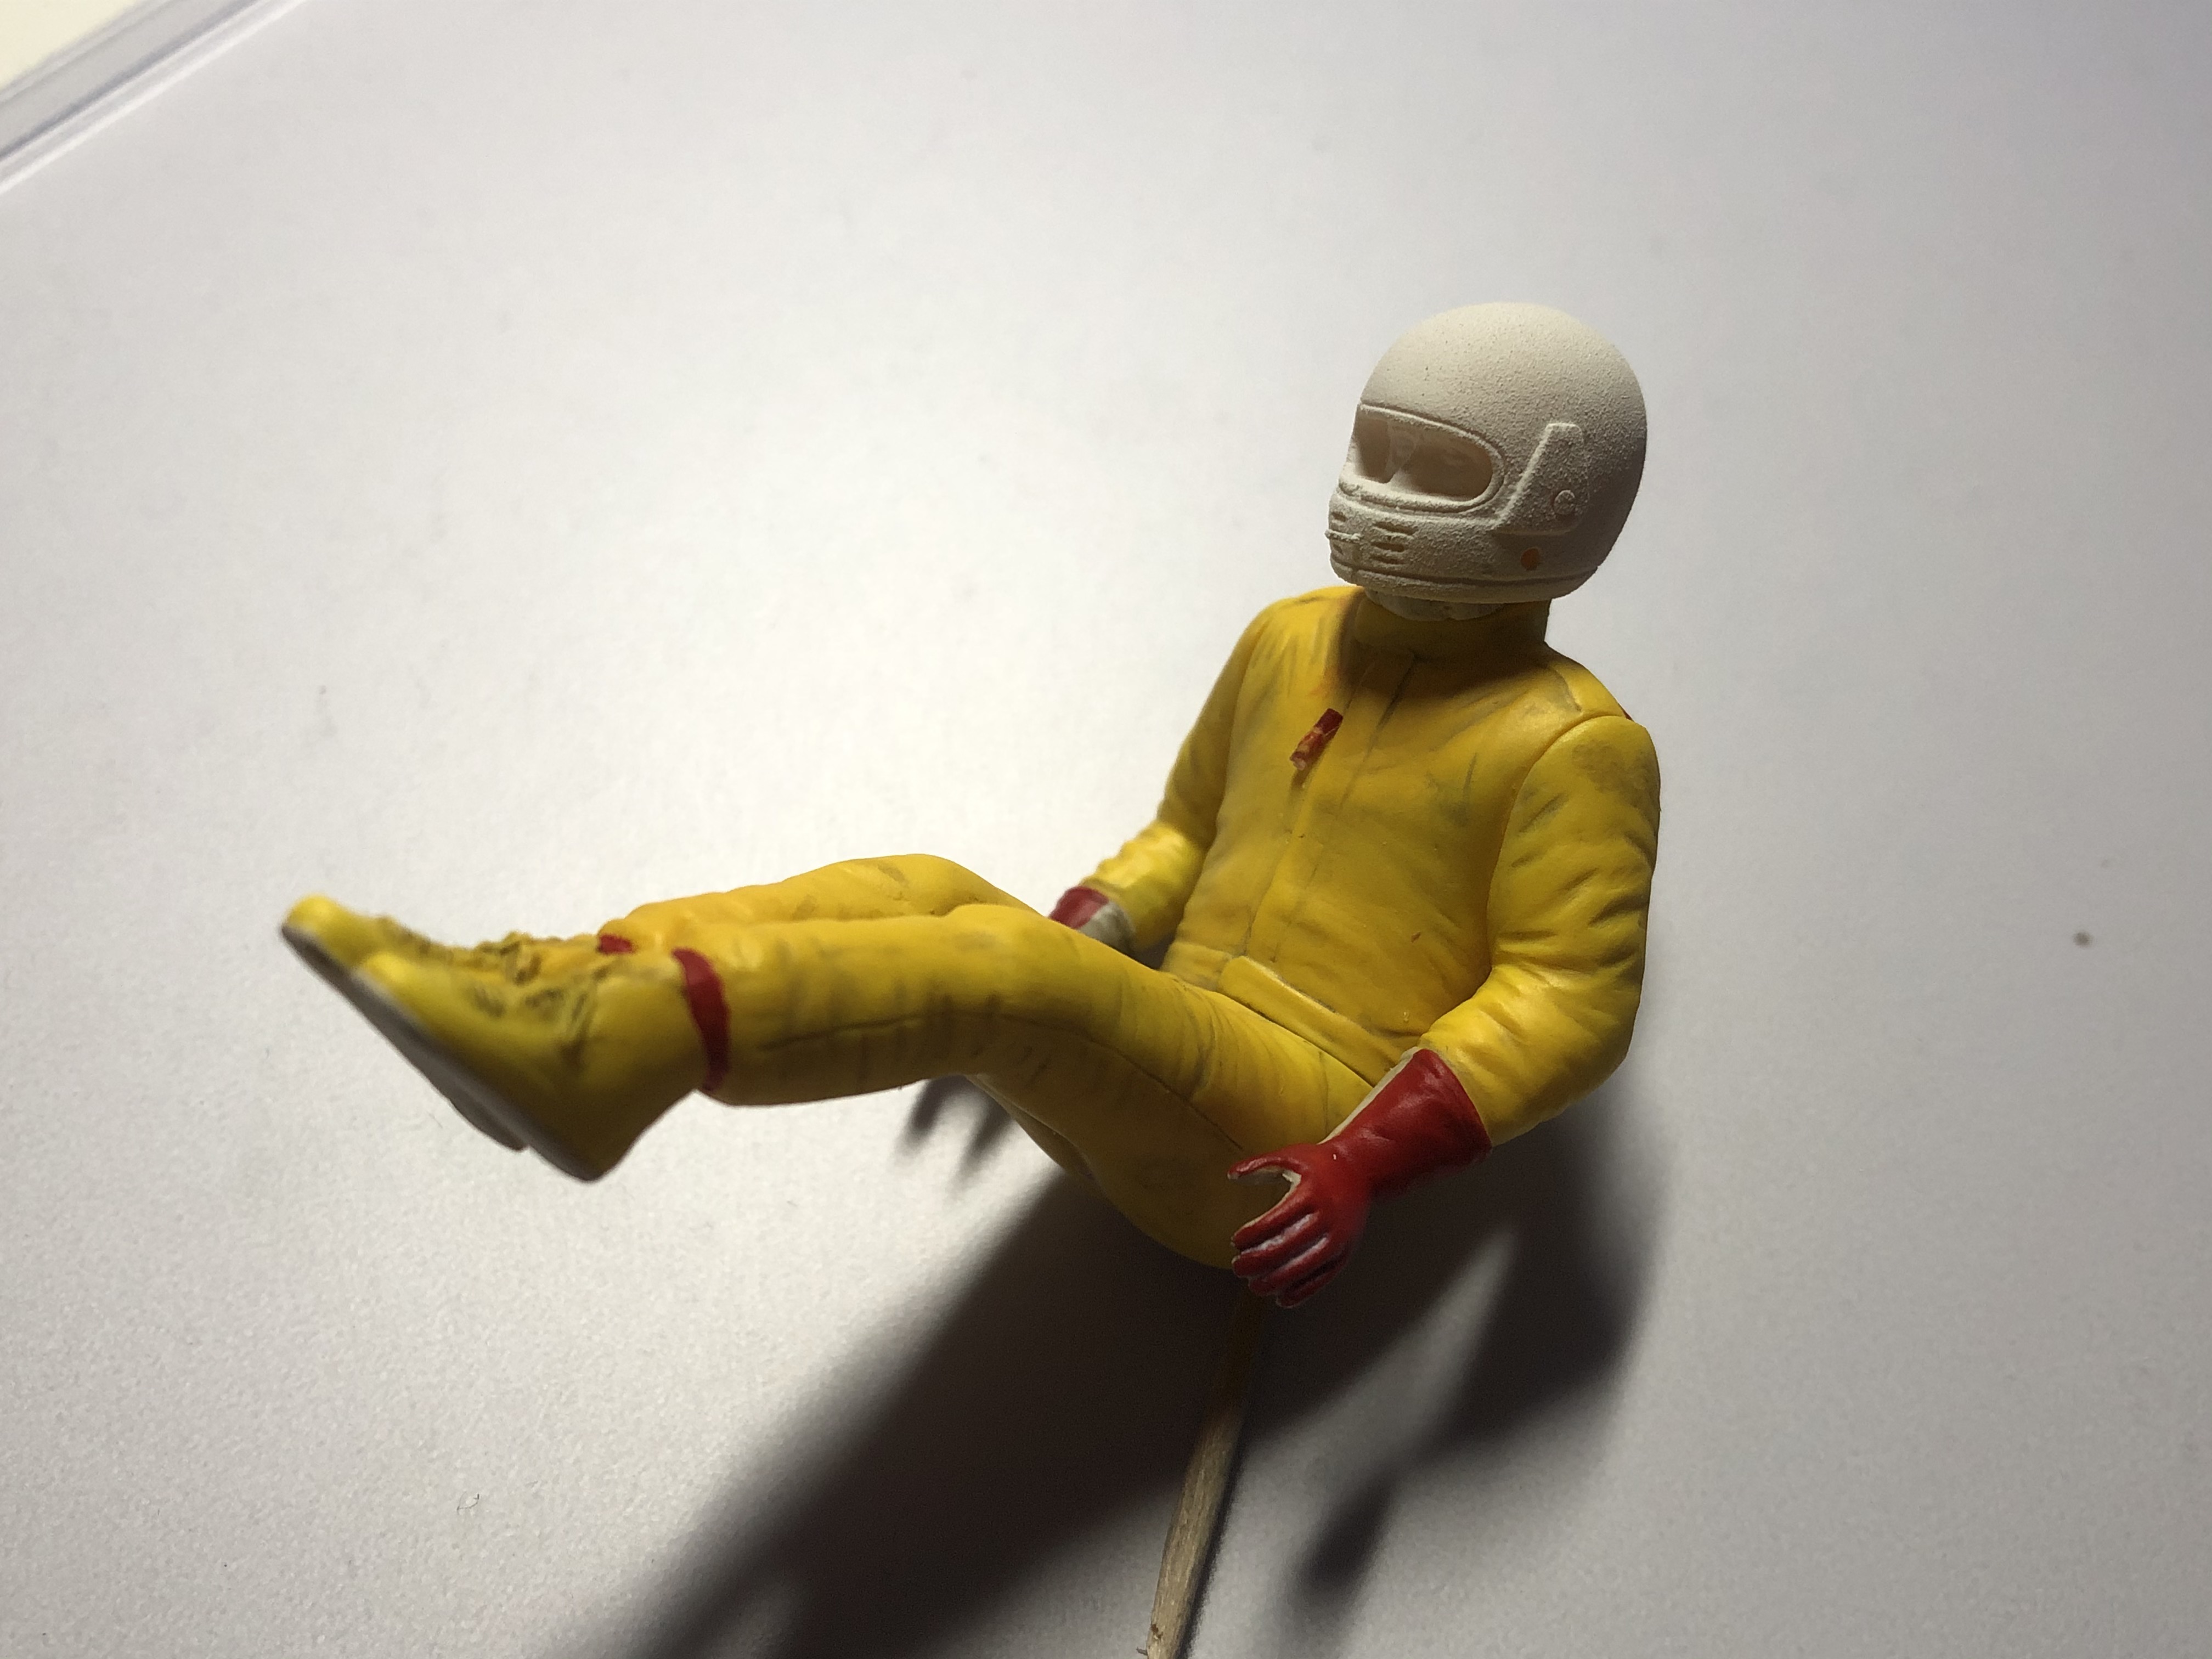
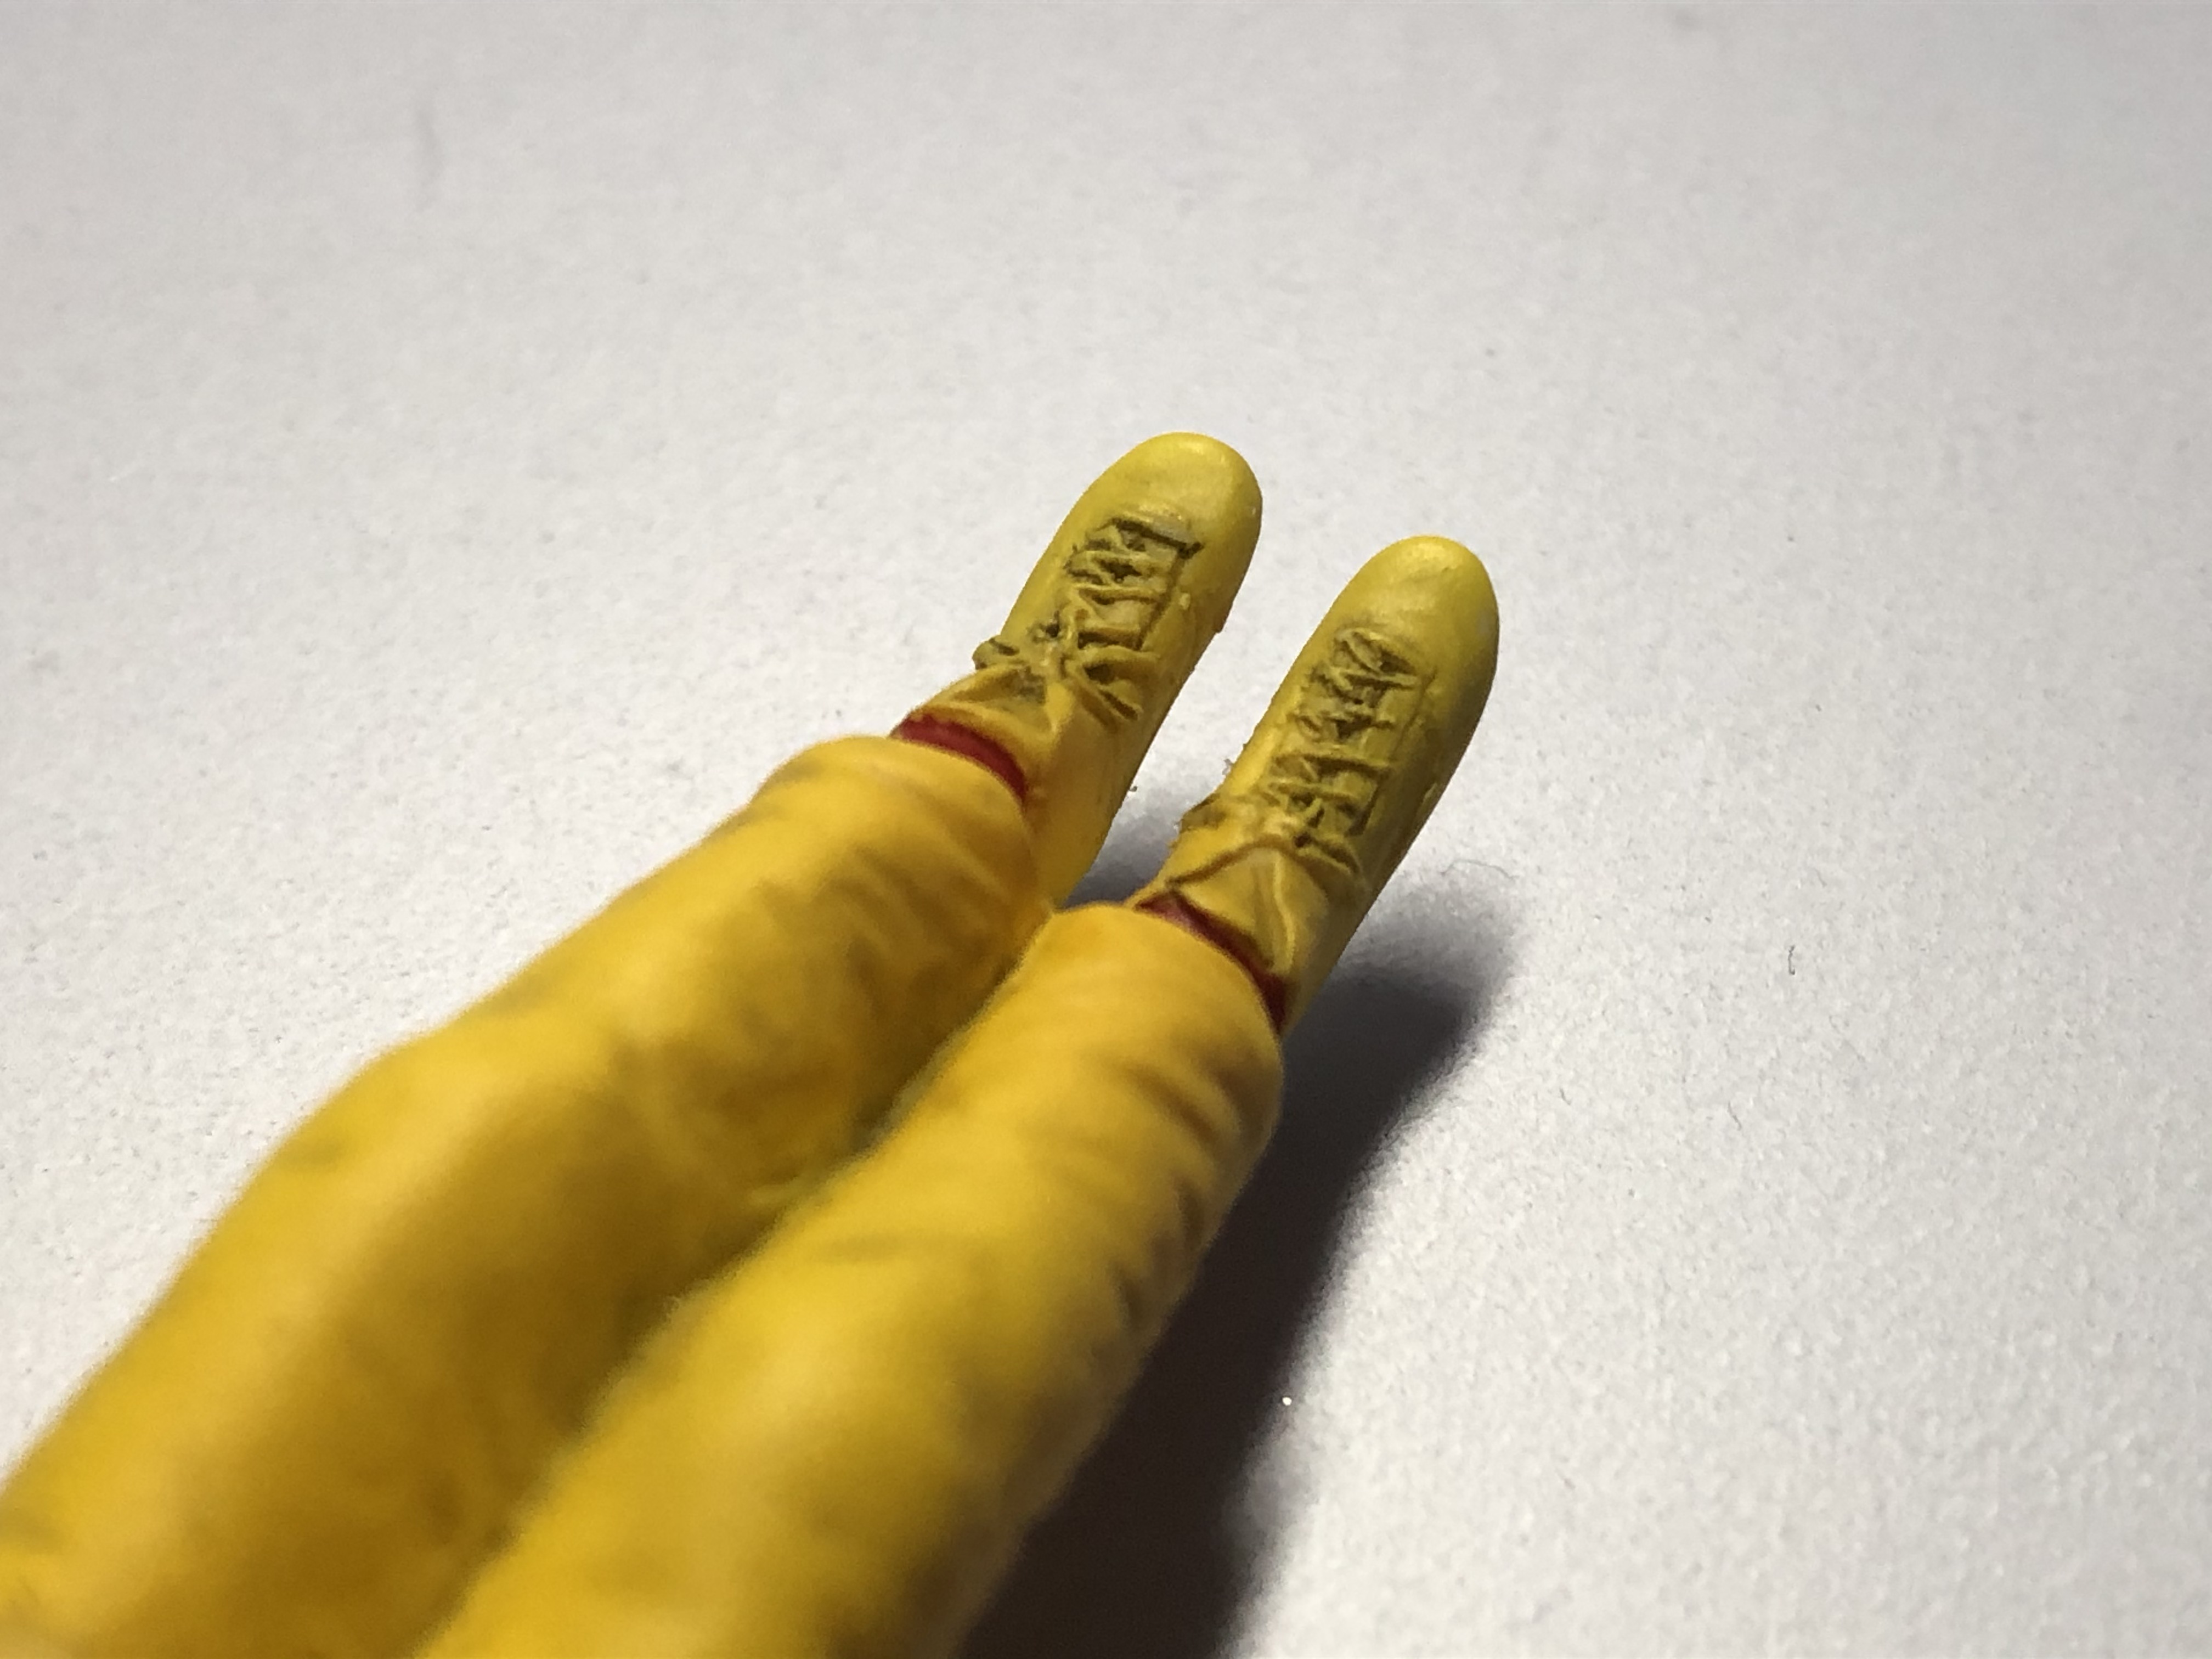
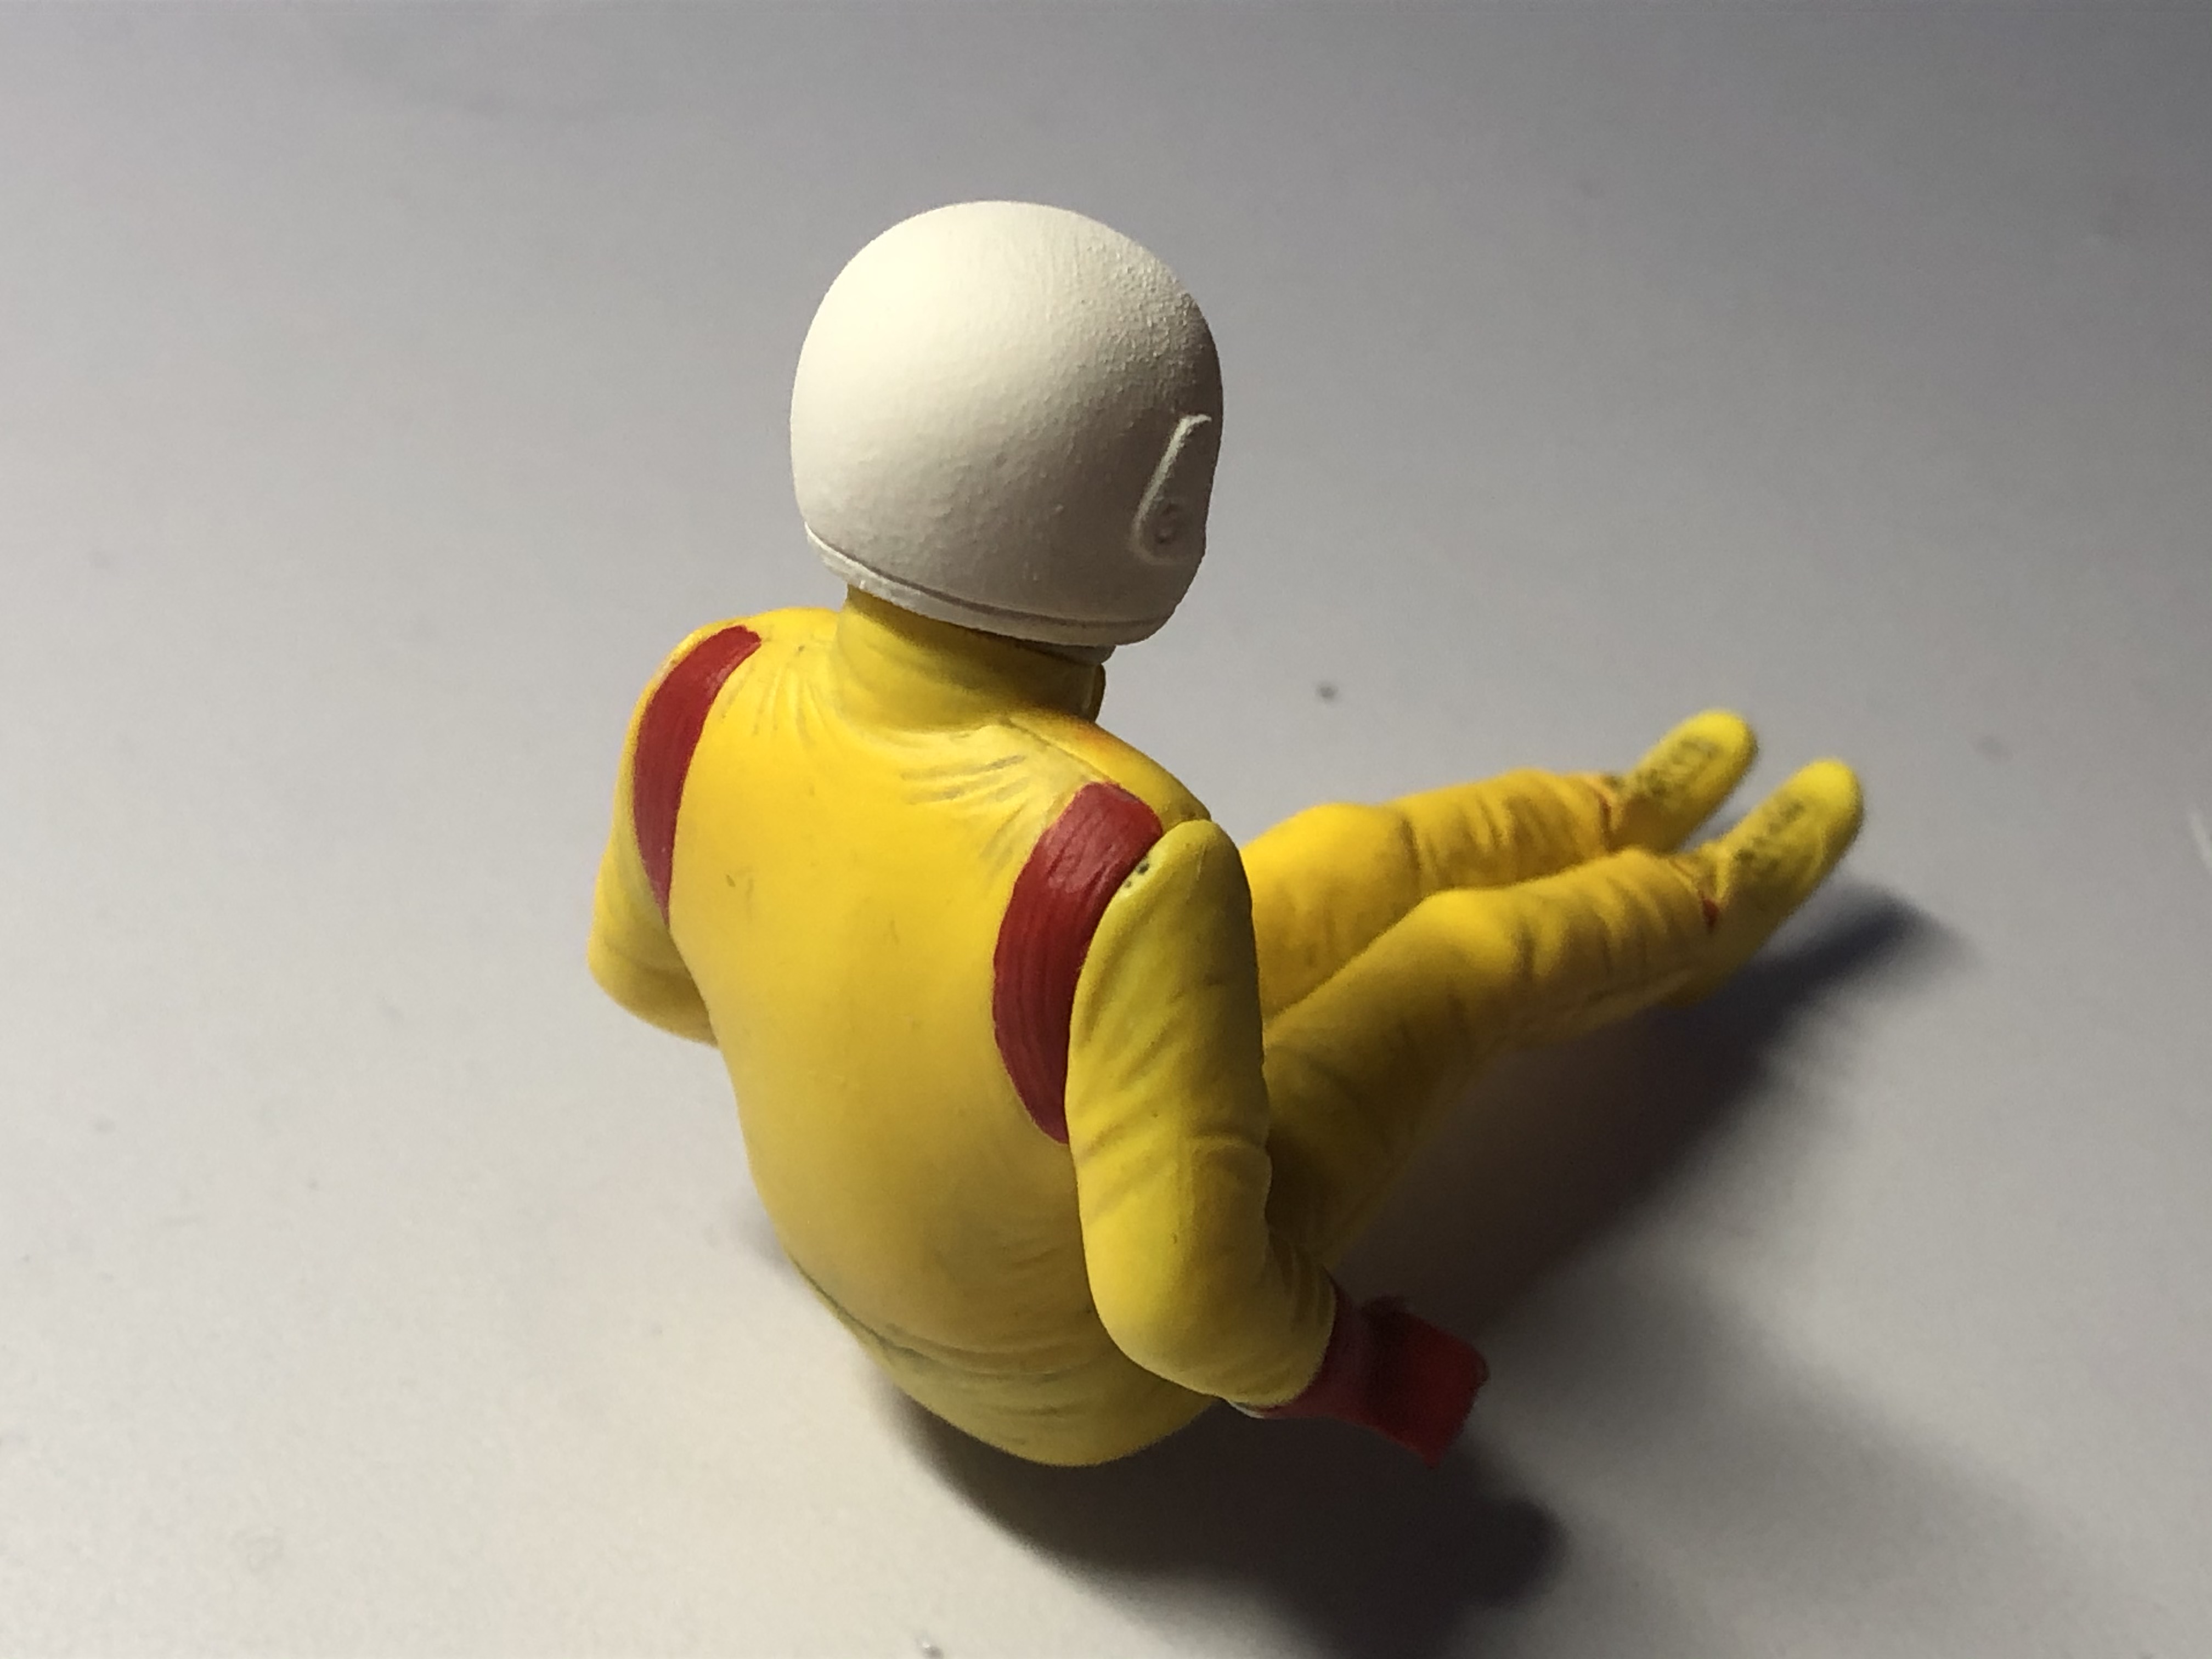
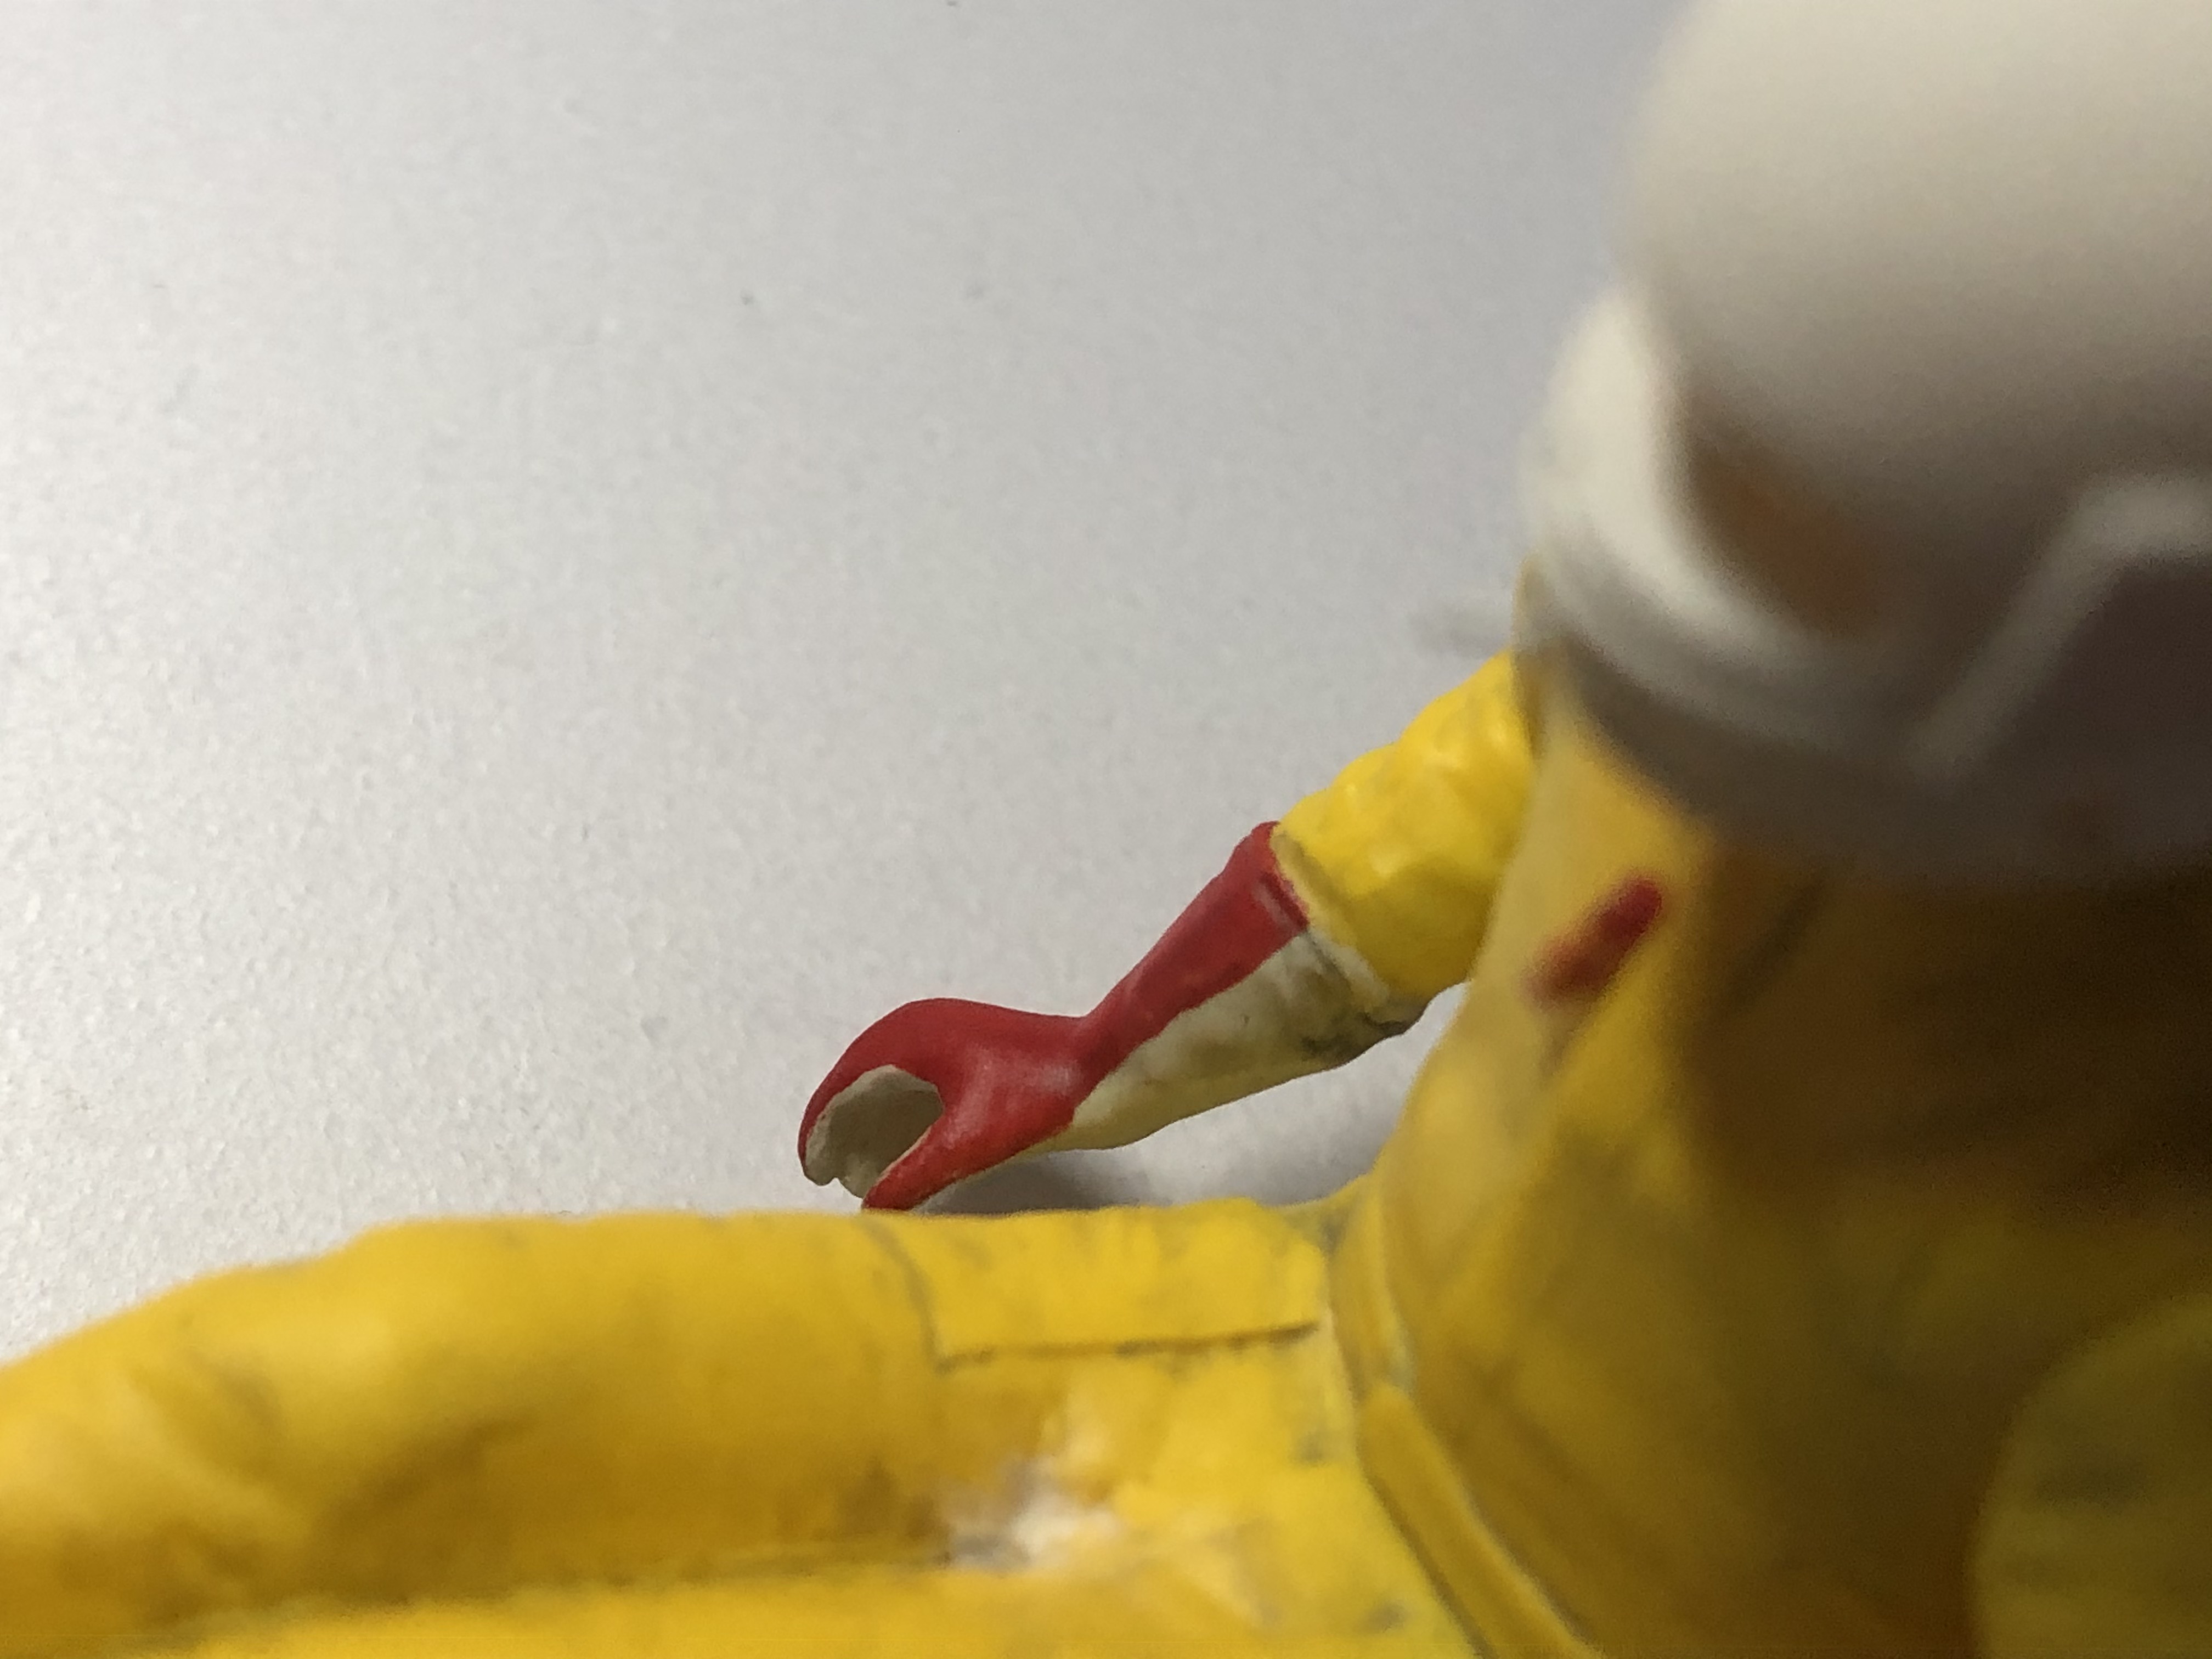
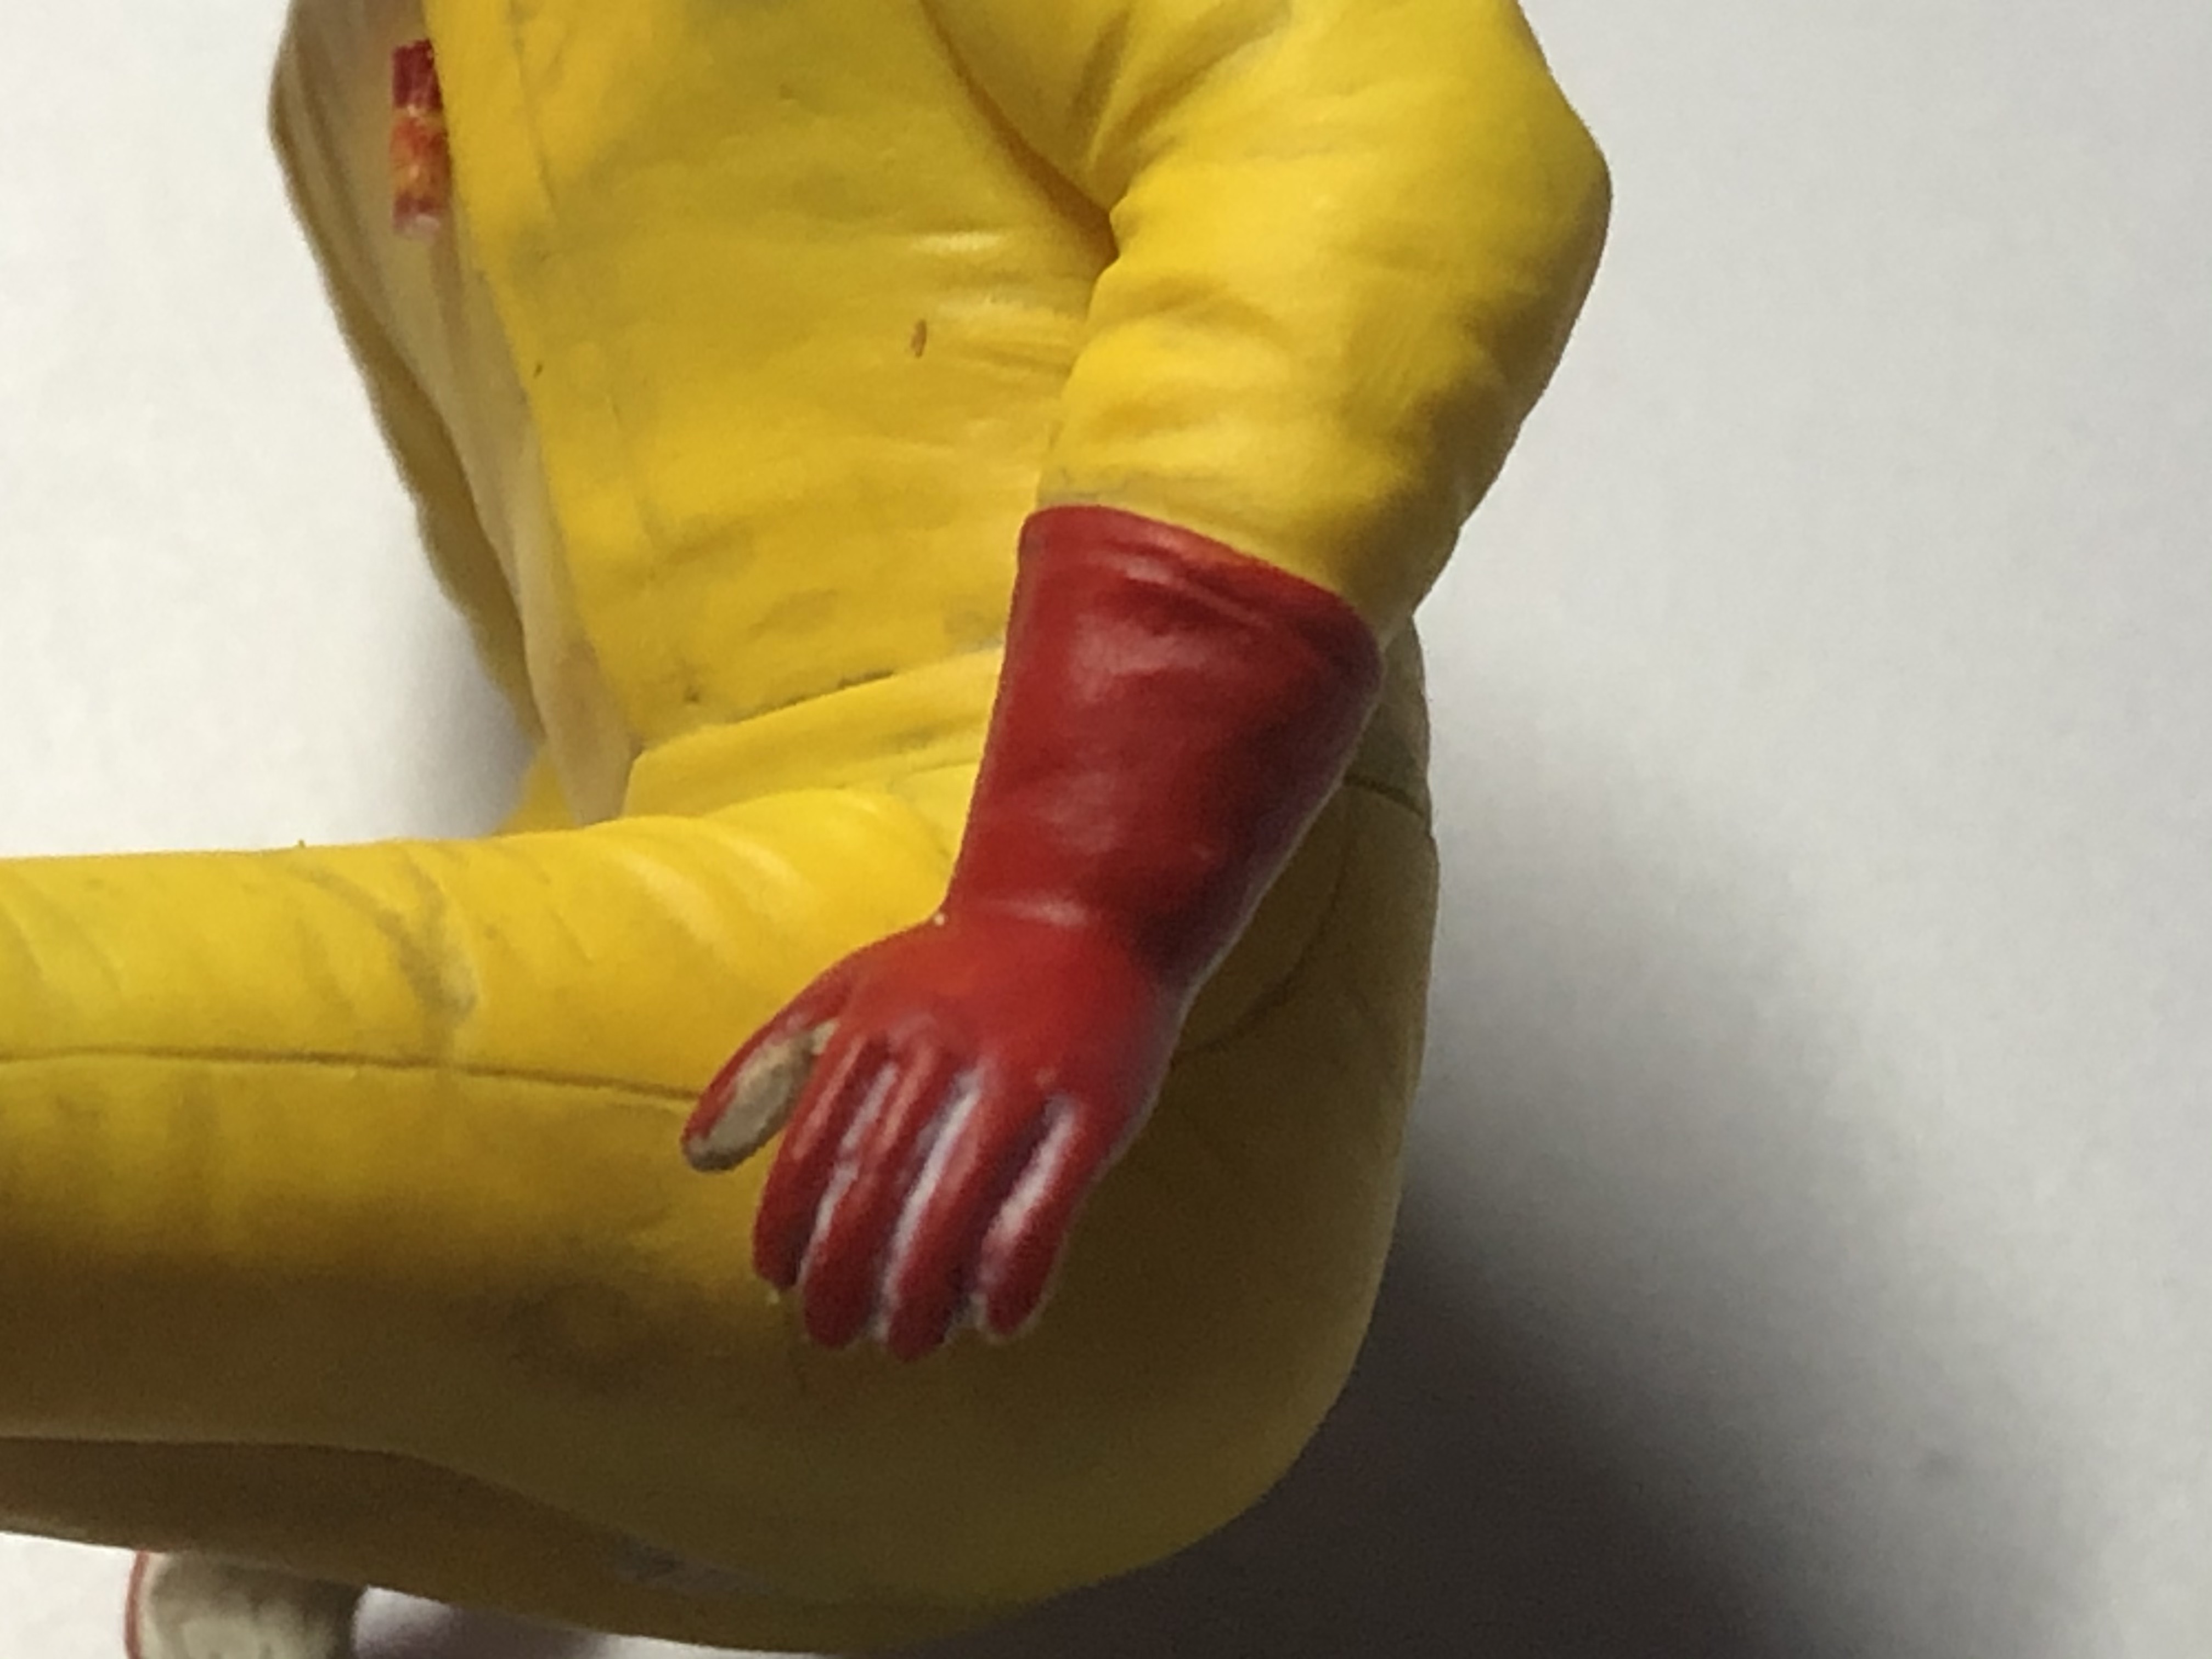
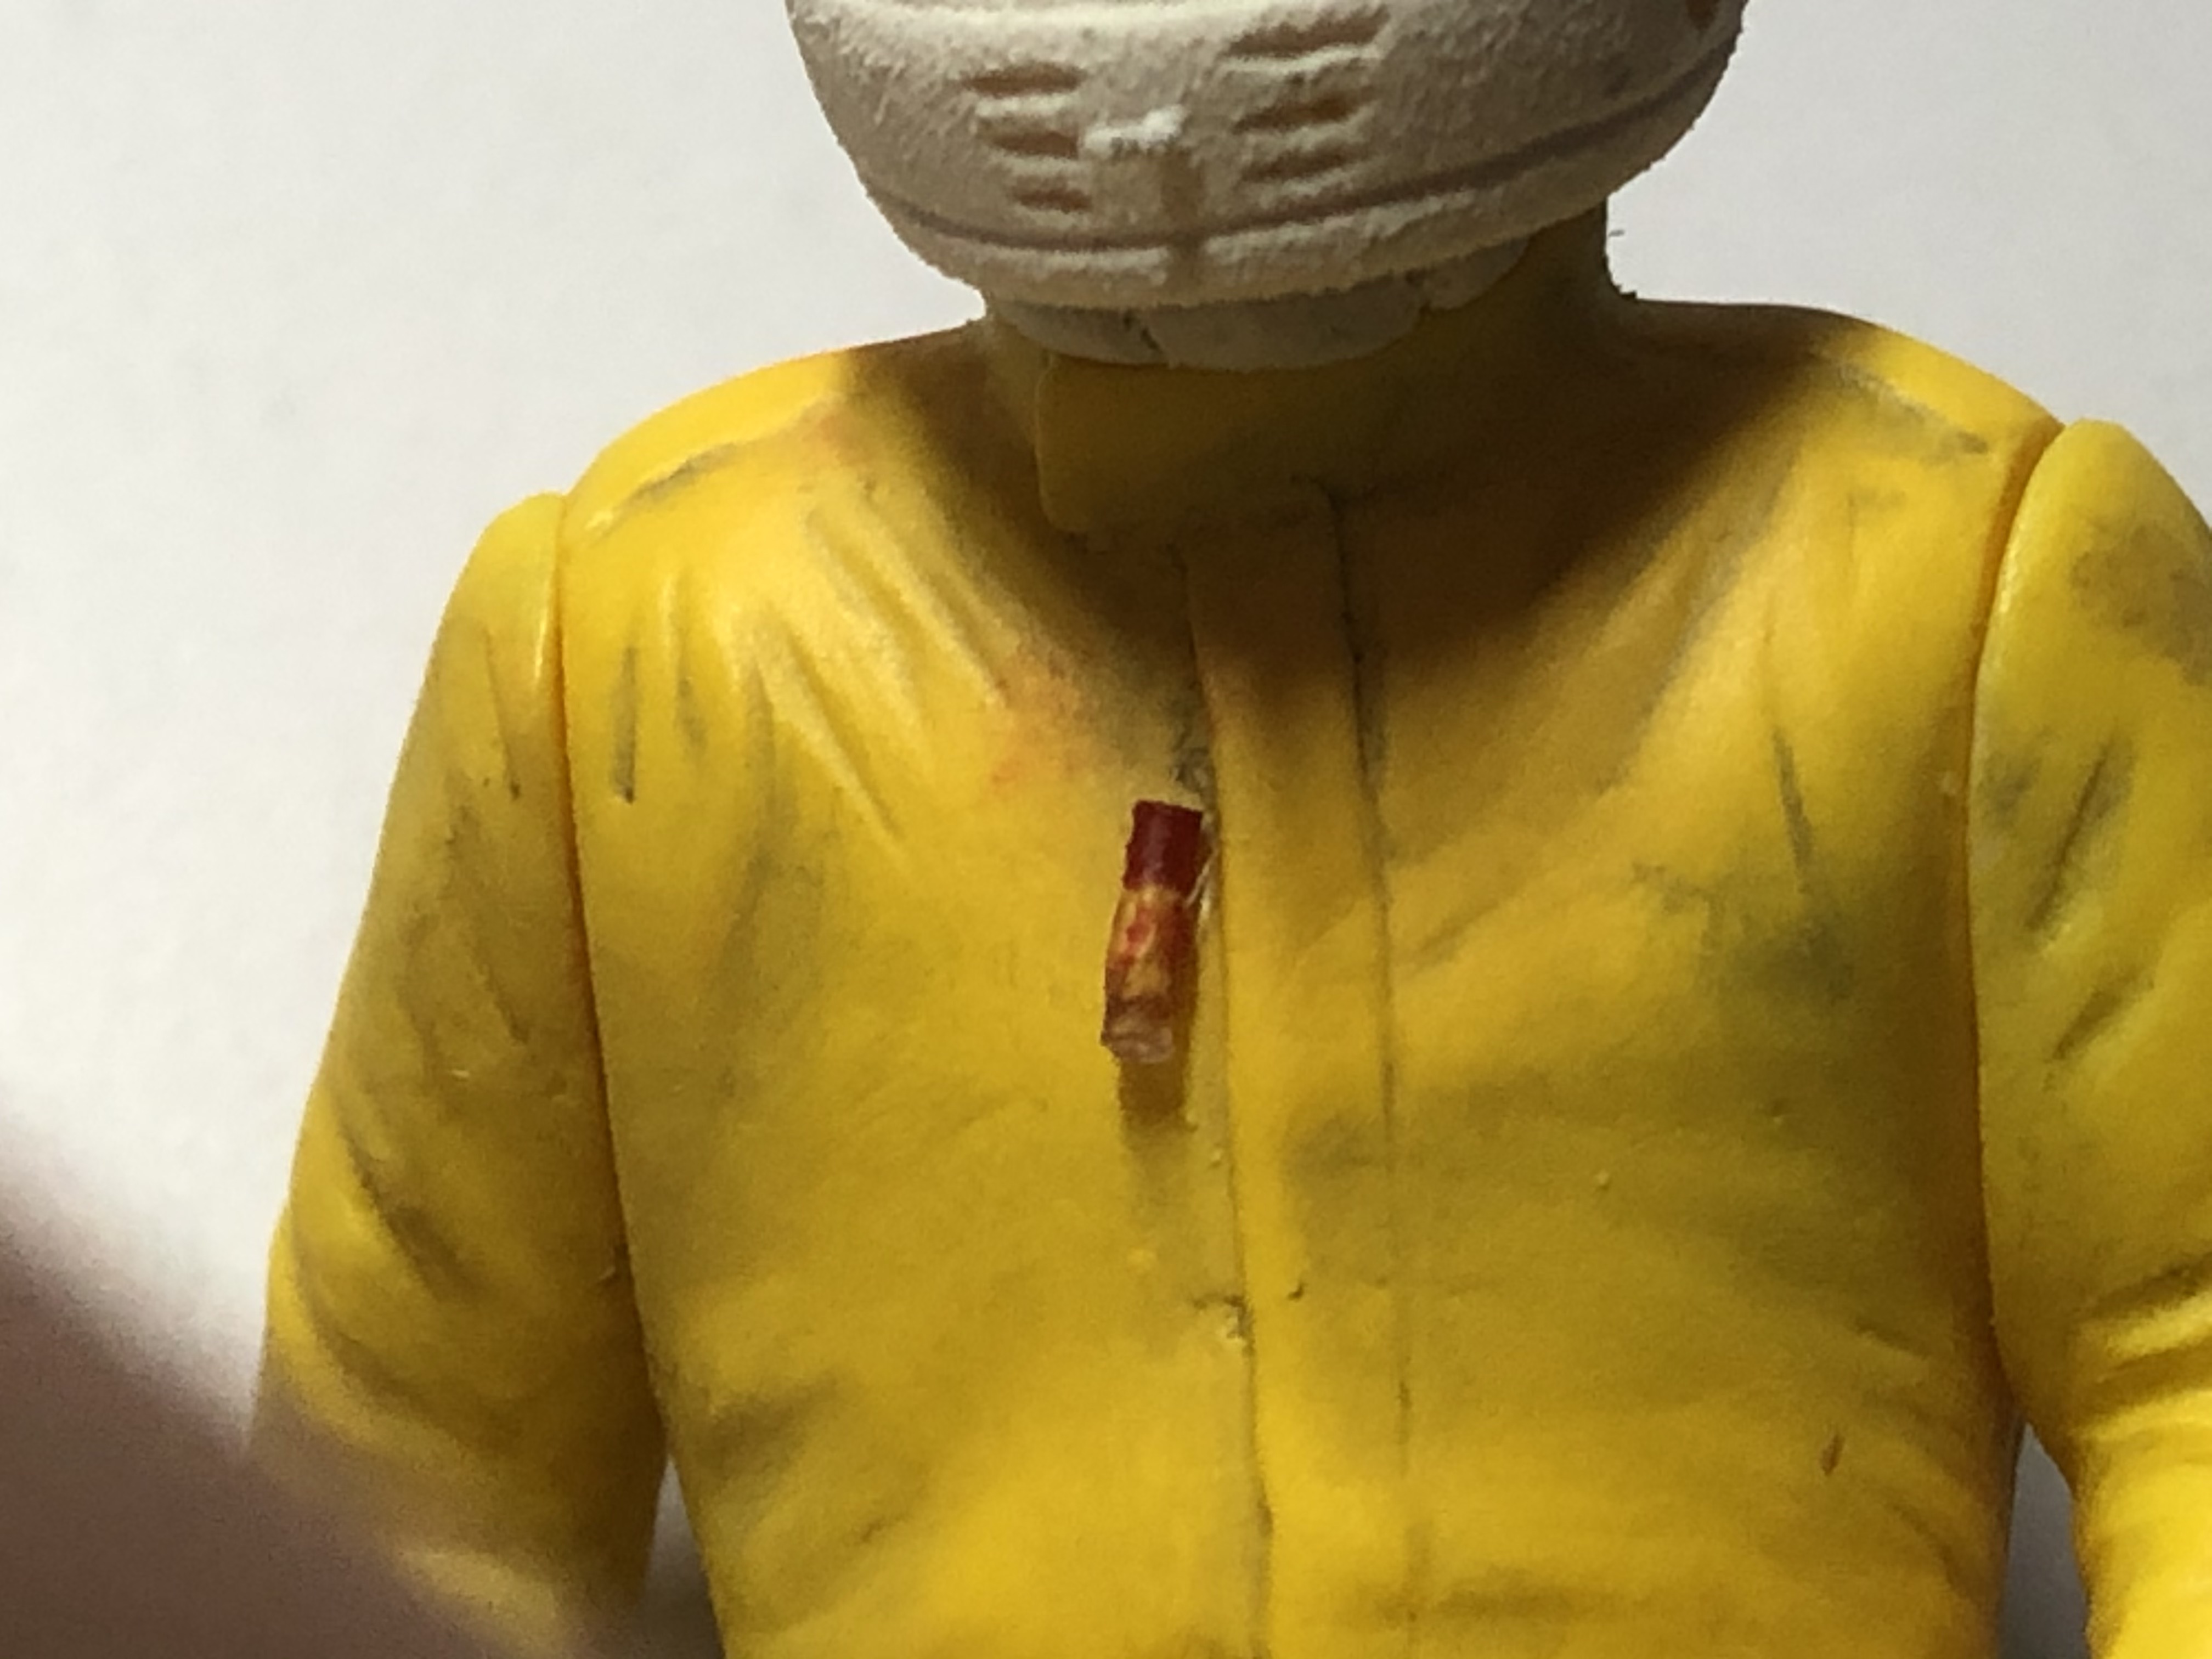
Keke continued...
I have prepared the details of the helmet. And I've painted the figure so far. Now basically only the decals are missing - have been ordered


The air inlets / naca ducts on the nose still had to be attached. By the way, I was surprised how well the templates from Rado fit - I hadn't used them there until now.
The mirrors from the kit cannot be used either. So I just printed a pair of new mirrors here.
Then I always had the problem with the height offset of the sidepods. And I always thought the rear area after the air intake had to be deeper, but then I had an enlightenment.
The area in front of it must instead be higher, the height is almost as high as the lower edge in the area of the DENIM logo.
So I raised this area. Cut out and fit a new part. Simply cutting in and lifting is not possible, the material is simply not bendable / flexible enough. James had already noticed that with the air vents itself.
When I was done with it, the outward tilt felt too strong. So I studied pictures again...
And I found the bug. The outside of the kit was deeper and I tried not to change it in order to have to adjust less - a mistake.
So I had to lift the outside too!
So said - done. Now it looks better and the tilting to the outside is almost gone - if I look at the pictures of the original I would say - it fits.
And I added 2 additional small air inlets in the rear area of the engine cover - I have to take pictures. But they look something like the opening on the left side of the Honda logo.
Then I started laying a few cables - distraction from grinding
Keke continued...
I have prepared the details of the helmet. And I've painted the figure so far. Now basically only the decals are missing - have been ordered
Last edited by steinietrabi on Wed Jan 06, 2021 5:56 am, edited 1 time in total.
Greetings Thomas
-
 GF-F1
GF-F1
- Team Owner

- Posts: 840
- Joined: Mon Feb 22, 2010 3:17 pm
- Favorite F1 Team or Driver: Ligier
- Location: Thessaloniki
- Contact:
- Status: Offline

Re: WILLIAMS FW09 Dallas winner KAWAI+some more...
Hello Thomas,
Is it still have original plastic part from the Kawai kit on you Fw09? What amount of work!
Keke looks nice too.
Cheers
Franck
http://www.gf-models.eu
Is it still have original plastic part from the Kawai kit on you Fw09? What amount of work!
Keke looks nice too.
Cheers
Franck
http://www.gf-models.eu
-
- Similar Topics
- Replies
- Views
- Last post